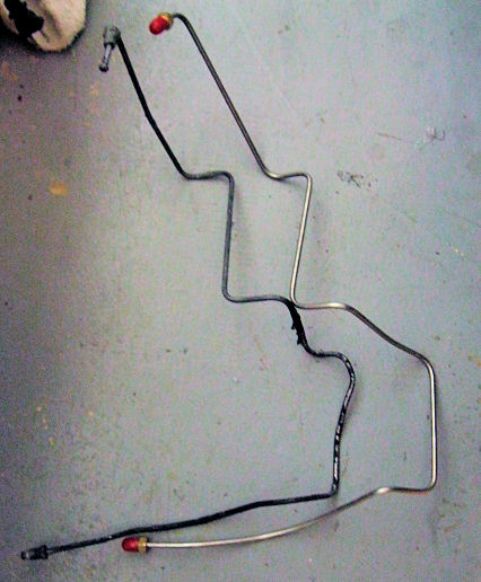
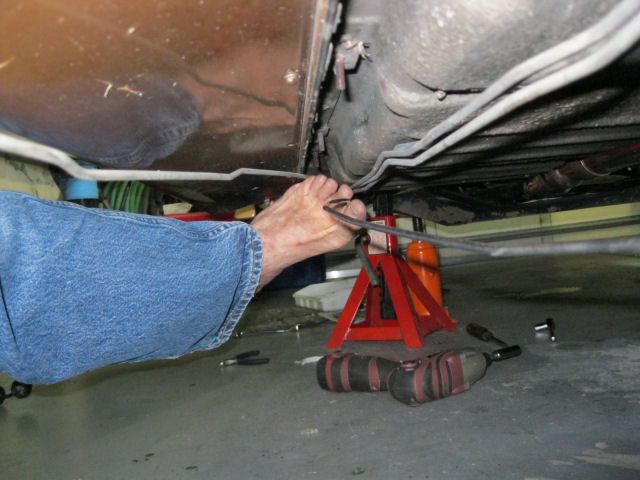
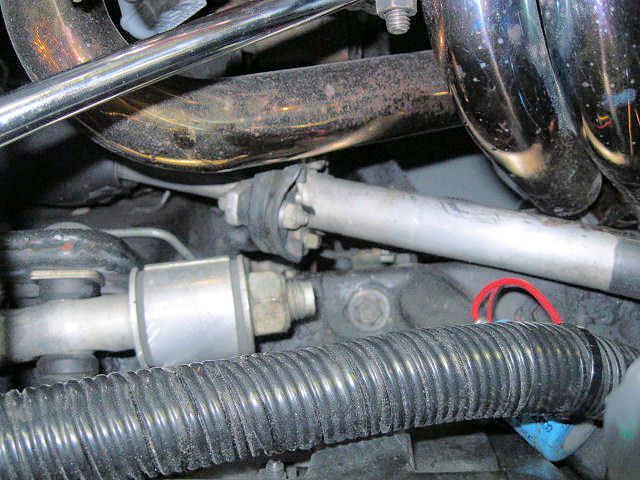
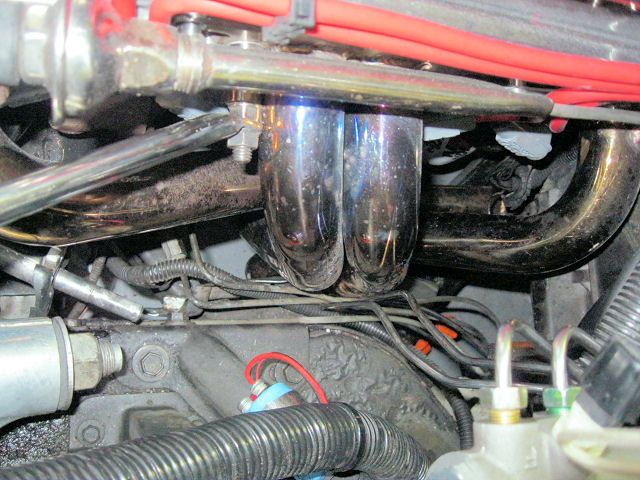
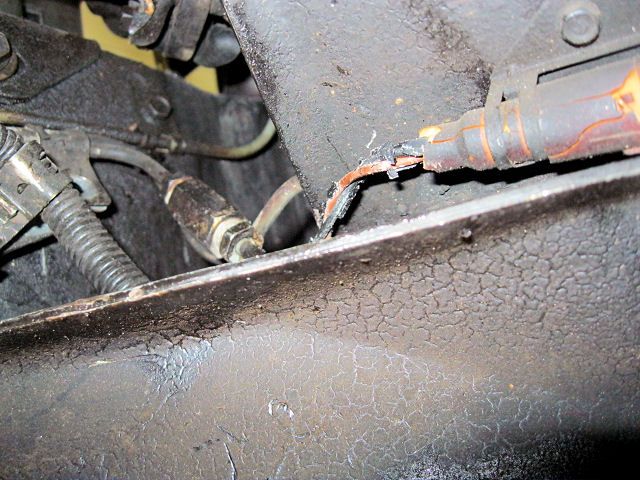
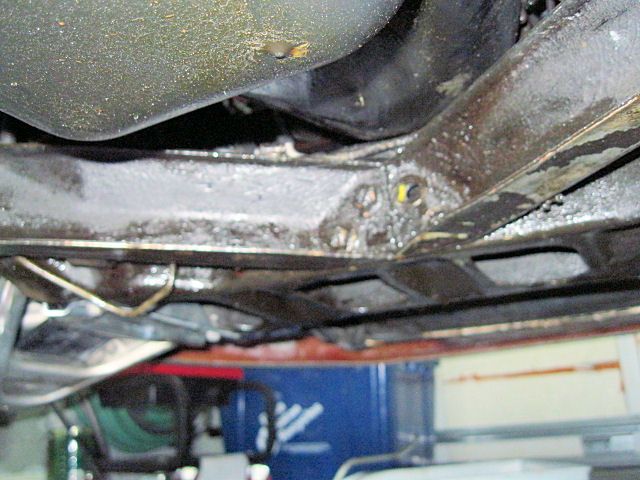
[FONT="]I notic[FONT="]ed t[/FONT]he sensor wire covers disintegrating years ago but I was surprised by the connector falling apart. I checked all the majo[FONT="]r parts suppliers and there are no new cables available anywhere. The on[FONT="]es [FONT="]on eBay [FONT="]sell for[/FONT][/FONT][/FONT][/FONT]about $100 but they are on their way out as well.[FONT="] I[/FONT]nstead, I’m going to replace both male and female connectors with Weatherpack connectors.
I have a Weatherpack connector starter kit but my cheap crimper in my handdoes a poor job putting the connectors on the wires. I wouldn’t normally spend a hundred bucks on a crimper but because I was ready to buy a [FONT="]coup[FONT="]le [/FONT]of horrible cable[FONT="]s for twice that, I'm in that mood to do it [FONT="]right. [/FONT] [FONT="]That and I [/FONT][/FONT][/FONT]know I’llbe replacing more connectors in the future so I may as well have the right tool.
While I’m at it, I’m going to put some new jackets on the sensor cable and tape up the corrugated plastic stuff so it’s a little neater in there.
[/FONT]
[FONT="]In preparation for doing the repair on the wheel sensor cable, I threw some dirty parts in the cleaner bucket. I have had extremely good luck using this carb cleaner. It's very effective, doesn't make my eyes water and so far my skin hasn't fallen off after getting it on me. It takes undercoating, grease and dirt off a wide variety of parts, including most plastic ones. I always do a quick test to see if the plastic melts or otherwise reacts before I submerge it for an extended time.
[/FONT][FONT="]Well, cha cha cha -- everything came out clean but the insulation on the sensor wires reacts with the cleaner. It doesn't melt but it does swell up quite a bit. The brown covering swelled more than the black and it even split open. The loop you see is the excess insulation that was pushed off the wire.
[/FONT]
[FONT="]So I cleaned the rest of the sensor wires with soap and water. I will now be using shrink wrap to replace the insulation. I have a bunch of black but no brown so I guess I'll be using either white or red for the second color. Shouldn't really matter because I'm going to put some braided sheathing over the pair.
[/FONT]First order of business is to crimp some connectors. [FONT="]I have the economy crimper that I used on a couple of Weatherpack connectors and it worked but the results were not great. You crimp the seal with one opening and the wire connection with another.
[/FONT]
To increase my chances of a successful crimp, I bought a [FONT="]T12 Weatherpack terminal and seal crimper made by Delphi/Packard (12014254) on Amazon.
https://www.amazon.com/dp/B005BSYYV2/?tag=atomicindus08-20
[FONT="]The seal goes on the wire, the connector goes in the block and everything lines up from there (in the[FONT="]ory). One squeeze and you're done.
[/FONT][/FONT][/FONT]
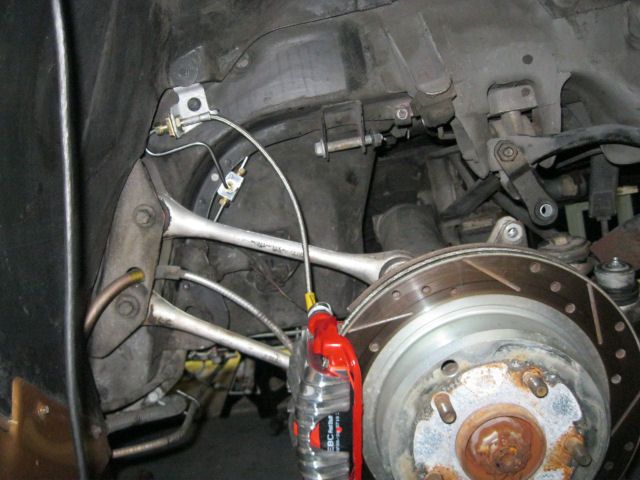
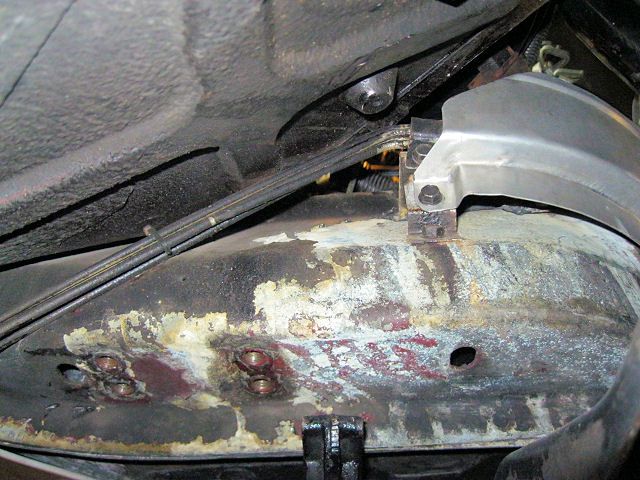
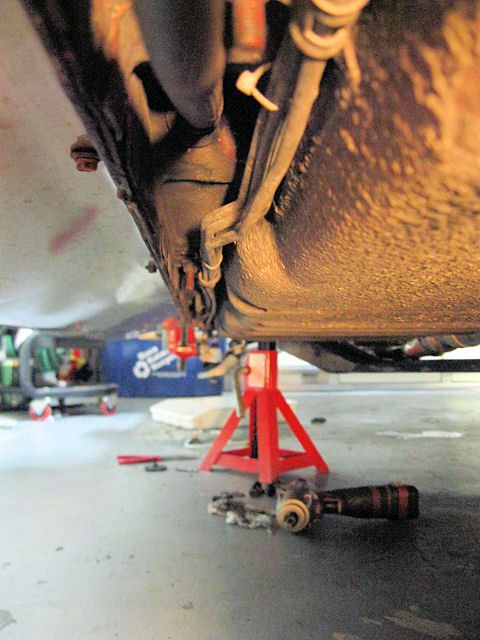
[FONT="][FONT="][FONT="][FONT="]I removed the passenger side sensor cable and took a picture before removing all the mounting clips. This will give me an idea of which grommet goes where when I go to put it all back together. And by the way, that's as close to the cleaner as this cable is going to get.
[FONT="]
[/FONT][/FONT][/FONT][/FONT][/FONT][FONT="][FONT="][FONT="][FONT="][FONT="][FONT="]I received the last items needed to make progress on the brakes. I started by covering the bare wires with shrink tubing. The tubing slides on pretty easily until you get toward the end. I spent a half hour getting the tubing to slide on the last four inches. Kinda like pushing a rope through a pipe. When I finished with the black, I broke out my trusty Harbor Freight heat gun and shrank the tubing. I figured the red tube would be easier but it was just as hard. I have a lot of patience but this flat wears you down.
[FONT="]
[/FONT][/FONT][/FONT][/FONT][/FONT][/FONT][/FONT]
[FONT="][FONT="][FONT="][FONT="][FONT="][FONT="][FONT="][FONT="]I took a break from the shrink tubing and installed a braided cover on the other sensor cable. I could have just wrapped it with electrical tape but figured this was my only chance to put on a braided sleeve. It’s a lot like pushing the shrink tubing but I used a tool much like the Chimpanzee ant collector. It’s a piece of stainless rod about 3/16” in diameter and a foot long. I rounded one end on an Excel wheel and taped the two wires to the other end. This is the sheathing after expanding it with the tool.
[FONT="]
[/FONT][/FONT][/FONT][/FONT][/FONT][/FONT][/FONT][/FONT][/FONT]
[FONT="][FONT="][FONT="][FONT="][FONT="][FONT="][FONT="][FONT="][FONT="][FONT="]Now it’s time for some serious terminal crimping. I managed to crimp the first two terminals and they came out pretty good.[/FONT][/FONT][/FONT][/FONT]
[/FONT][/FONT][/FONT]
[/FONT][/FONT][/FONT]
[FONT="][FONT="][FONT="][FONT="]I was so pleased with the result I went back to pushing heat shrink tubing on the other wires. I even remembered to put some black RTV right at the sensor so the bare wires couldn't touch.
I don’t know how I forgot the procedure in less than an hour but I did. I did the black wire and was preparing to do the red wire.
[FONT="]
[/FONT][/FONT][/FONT][/FONT][/FONT]
[FONT="]I must have been in push mode because I pushed the wire too far into the terminal. The black terminal might have conducted electricity but the red terminal was crimped to the insulation.
[/FONT][FONT="]No matter how much I spend on a tool, it can’t fix stupid. I won’t bore you with the re-do but the connectors are on and the sensors are back on the car. I thought about doing those but didn’t want to push my luck. I did manage to pull the harness out of the engine compartment and remove the covers.
At this point I hadn't made any catastrophic mistakes so I quit and went to bed. I usually keep working until I've drawn blood for the second time because the third time always requires stitches. [FONT="]To this point n[/FONT]o one has been harmed in this repair process.[/FONT]

 (or my wife) who can't quite wrap their heads around proper brake use. I had a 97 Grand prix GTP that had no ABS due to a failing unit, brakes were fantastic, I could keep the tires just at the point of starting to make noise with no issue. Trailblazer I have now near caused me to wreck more than once failing to let the wheels lock up on slight declines in icy conditions.
 (how about several "jump stop" cycles at a four way stop?)

 Man I still hate doing that. But, it had 150,000 miles, no A/C, and it HAD to have premium fuel with lead. We spent four hours in St. Louis Missouri looking for premium fuel that summer. There was some leaded regular still, and no unleaded premium, and no lead substitute or octane booster in service stations and it was Sunday and the auto parts stores were closed. Major frustration with a small child and red headed wife (personality to match the hair). The elimination of premium leaded was spotty and I got caught without additive. The car would not run on regular but it would ping loudly with no power.


 (I do like that left thumb).
 I only use 4wd when I know I need it like last year pulling vehicles out of the mud on our "gravel" road that were stuck. Even in snow and ice I don't bother unless it is needed.