To avoid these ads, REGISTER NOW!

Between 485 & 705 SQ/FT BJ383SS's Woodshop/Garage

Workspaces between 485 and 705 squarefeet.
OP
B

bj383ss

Well-known member
Joined
Sep 29, 2011
Messages
3,166
Location
TX
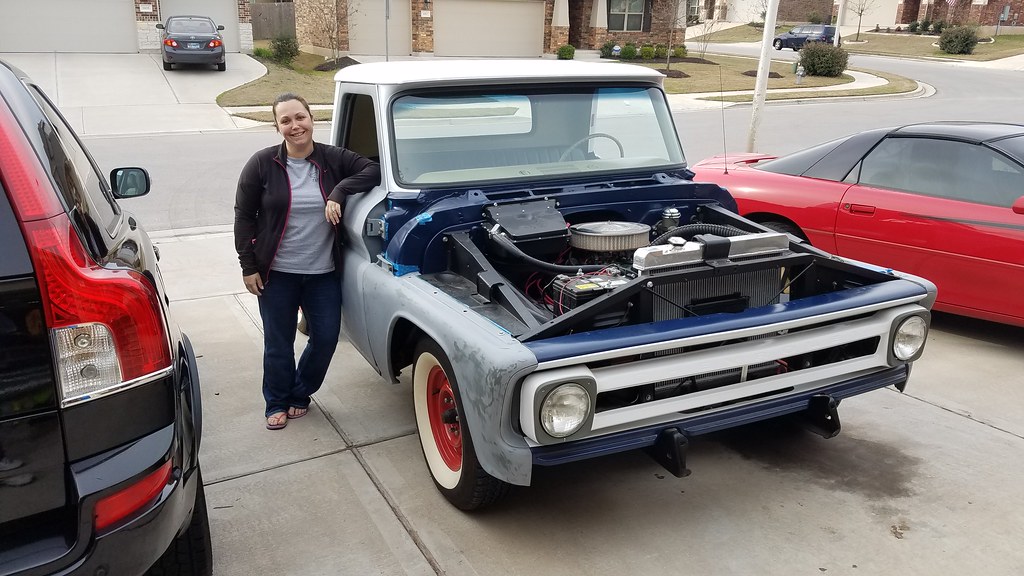
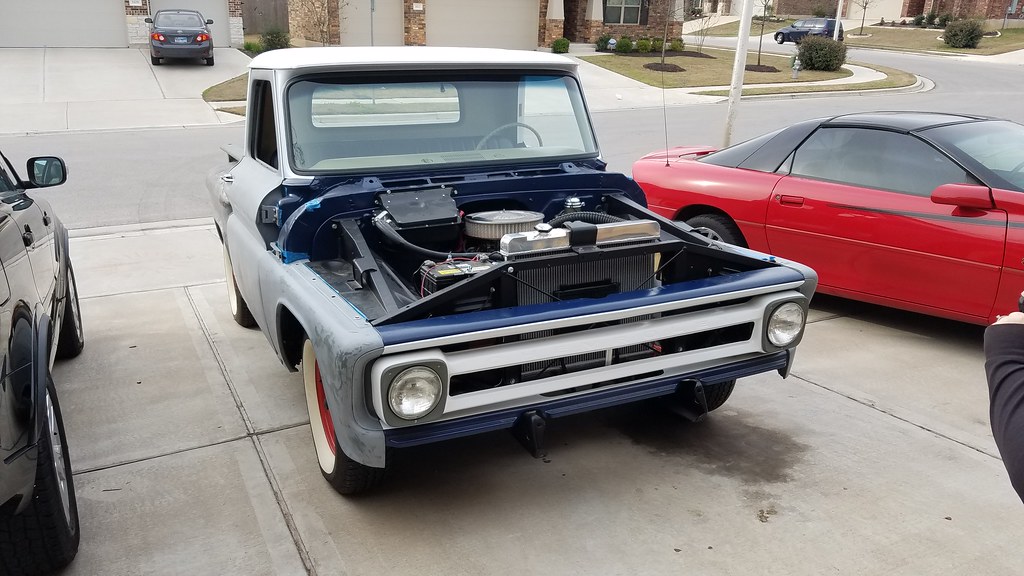
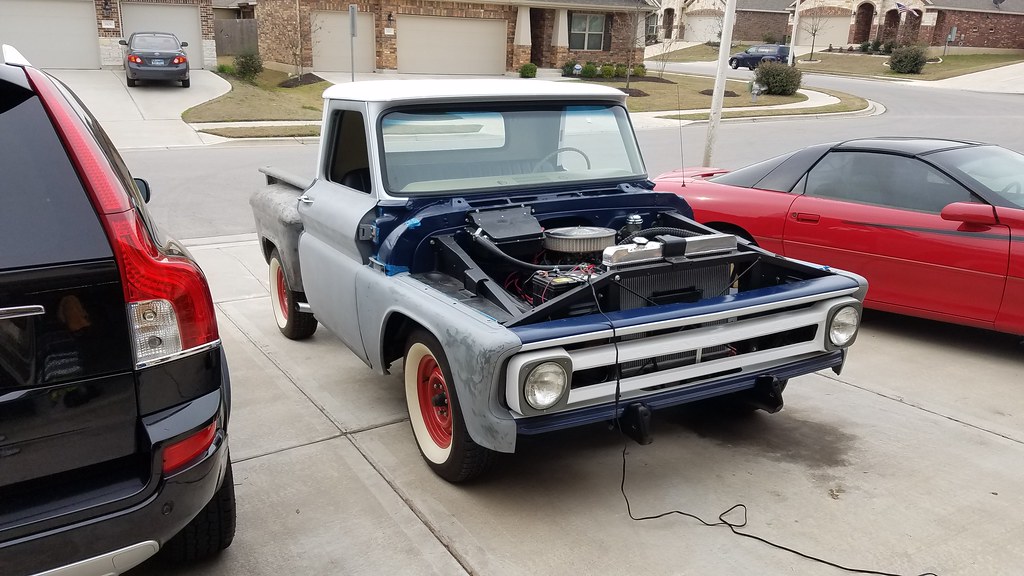
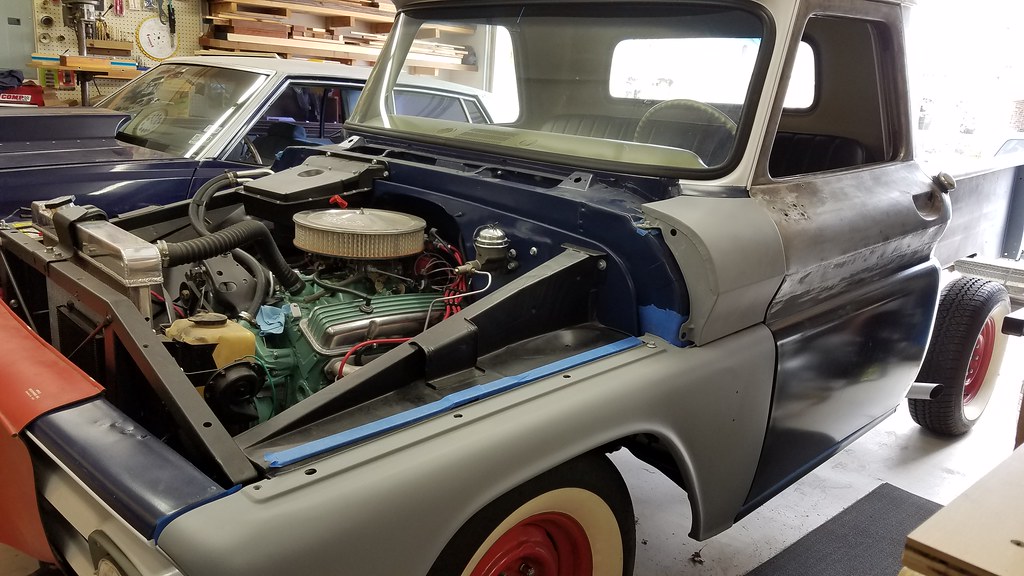
So the moment finally came!

20180308_085140 by bjohnson388, on Flickr

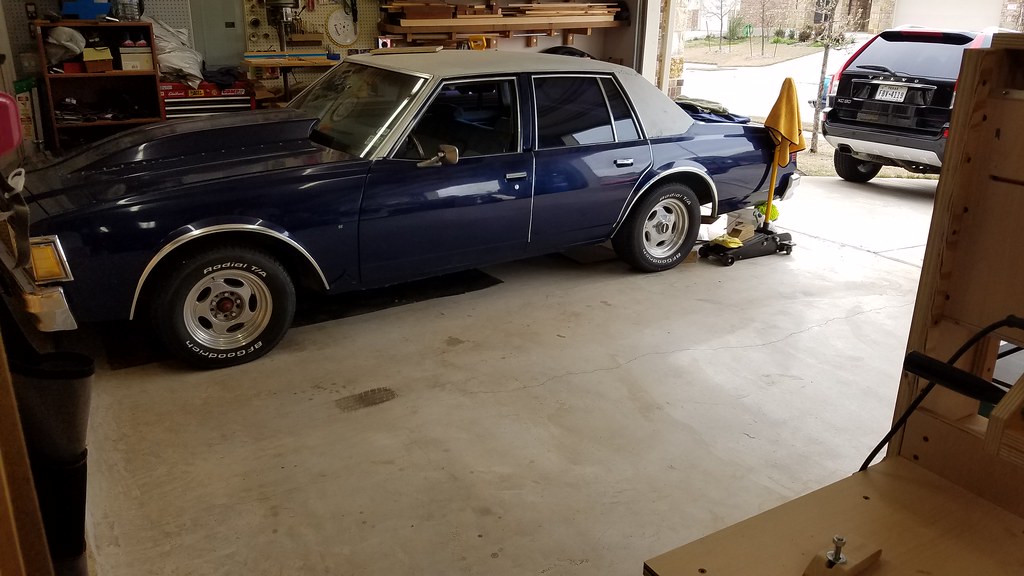
So there are 2 parts. The end of the first one I dropped the screwdriver I was using to change gears. I am about to order my new shifter. And dang it if I didn't leave the fender cover hanging on the front. :lol:


thanks for stopping in.
 
Last edited:
To avoid these ads, REGISTER NOW!

madison069

Well-known member
Joined
Nov 5, 2010
Messages
4,253
Location
Monroeville, PA
Always exciting to drive a project after a long rebuild that you tend to forget little stuff like the fender cover and forgo any common sense items like a shifter or actually bolted down seat! :bounce:
 

shortykorte

Well-known member
Joined
Sep 1, 2014
Messages
8,039
Location
Tallahassee, Fl
One thumb up.
Would have been two if you did a burn out or donut. That corner court looks like a great donut spot. LOL


Sent from my iPhone using Tapatalk
 

dchance

Well-known member
Joined
Oct 3, 2016
Messages
614
Location
OKC
Great to see the day arrive that you moved it under its own power.
You should be really motivated now.

Dwight
 
OP
B

bj383ss

Well-known member
Joined
Sep 29, 2011
Messages
3,166
Location
TX
Always exciting to drive a project after a long rebuild that you tend to forget little stuff like the fender cover and forgo any common sense items like a shifter or actually bolted down seat! :bounce:

You are right. Most of my friends said I didn't really need brakes either not to mention a driver door. I am sure some of my neighbors were shaking their head at me. I have the oldest vehicles in the neighborhood which I am proud of! I did bolt down the seat though no 5 gallon bucket.

One thumb up.
Would have been two if you did a burn out or donut. That corner court looks like a great donut spot. LOL


Sent from my iPhone using Tapatalk

Well that's just not fair. It's not ready for a burnout although I did chirp the tires on the driveway trying to get up on the garage floor bump. Does that count? My other excuse is the tires are way to expensive to do burnouts!

Awesome!!

Thank You Dennis

Great to see the day arrive that you moved it under its own power.
You should be really motivated now.

Dwight

My motivation is very high right now which is good I am about to be on a 9 day Staycation and hope to get alot done on the truck.

Rare one door Chevy!!

Was it cold enough you needed the radiator cover?:dunno:

:thumbup::thumbup::thumbup:

Yeah it was on option back then for the farmer Andy! You could check on the cows without having to roll down the window or open the door. DUH! Nice one on the radiator cover. I did a head slap after I saw that.

What he said!! :rocker:

:beer:

Thank You Dan.

Bret, congratulations! That's a big step forward. Looks like someone else is happy about it. Kinda makes you want to work on it!

Bob you couldn't be more right. She is very happy. She drove it as well but I didn't hit the right record button on my phone so I only took pictures of her driving. DOH! As soon as I finish this truck then I can spend money on the Camaro and the Caprice or so she says!

Congrats! Your sbox lives!

Thank you Kay.

Appreciate all the great comments and support. It has been a long time coming but I can finally see the light at the end of the tunnel and cruising to the local cars and coffee to show her off.

Bret
 
OP
B

bj383ss

Well-known member
Joined
Sep 29, 2011
Messages
3,166
Location
TX
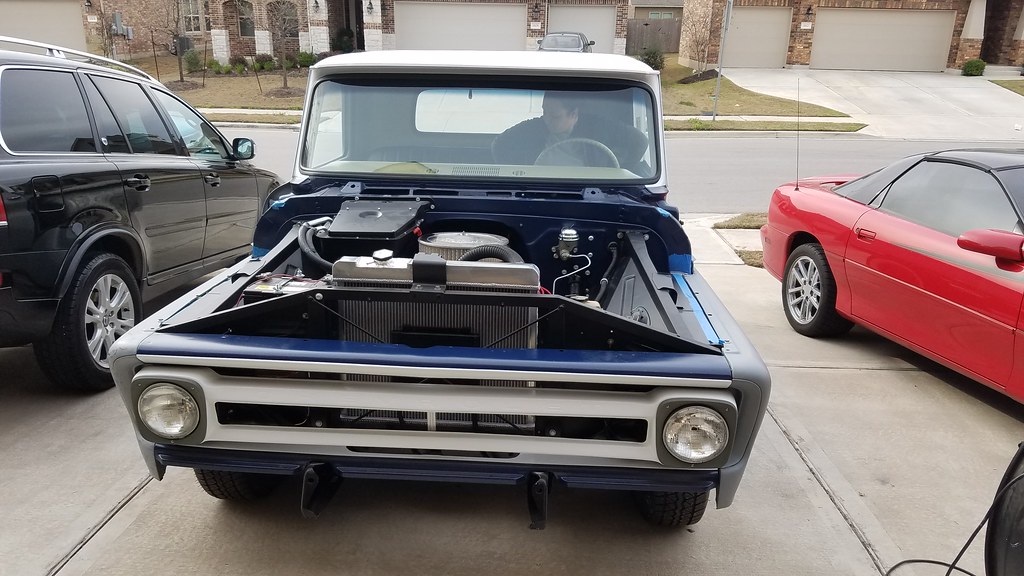
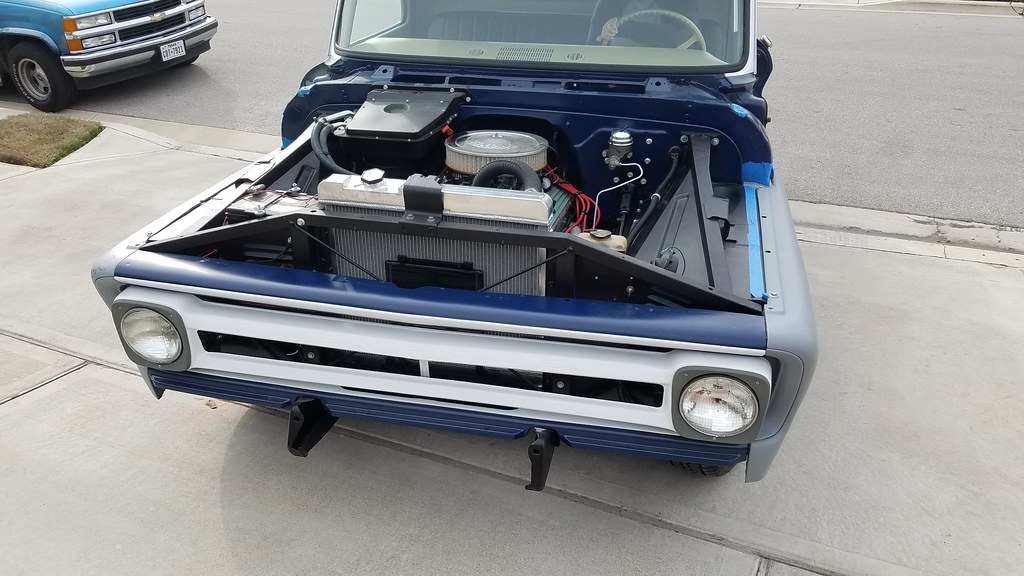
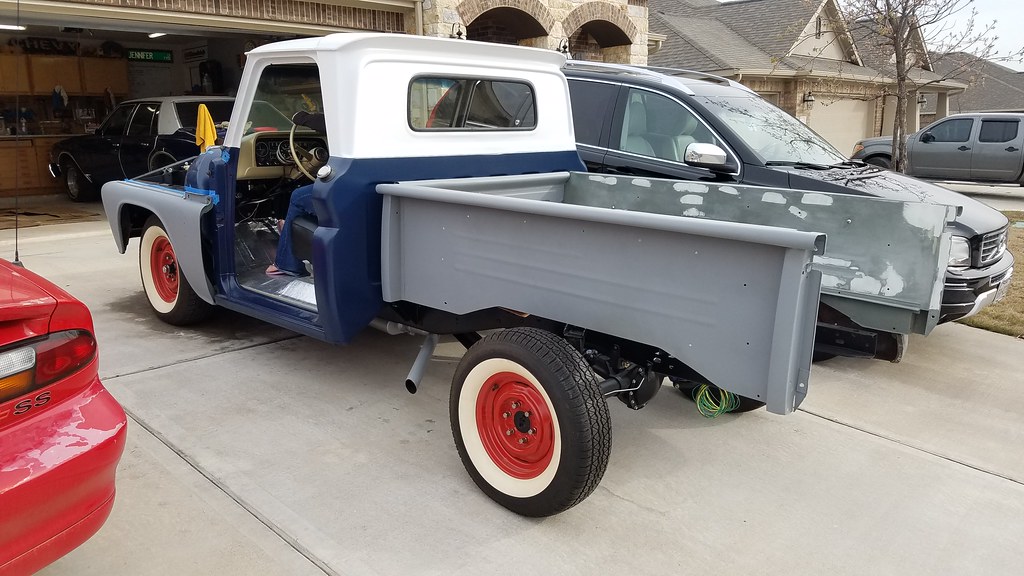
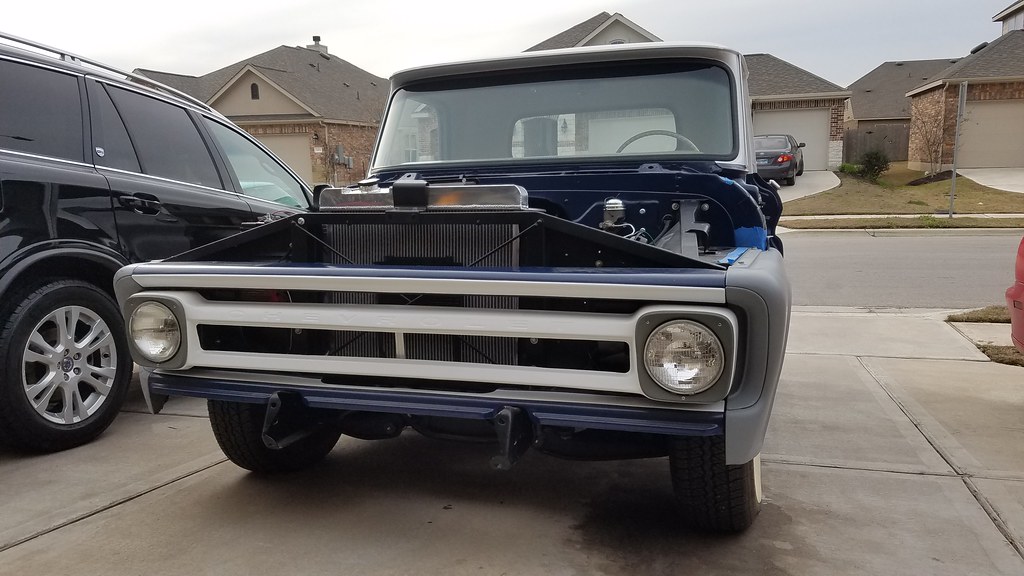
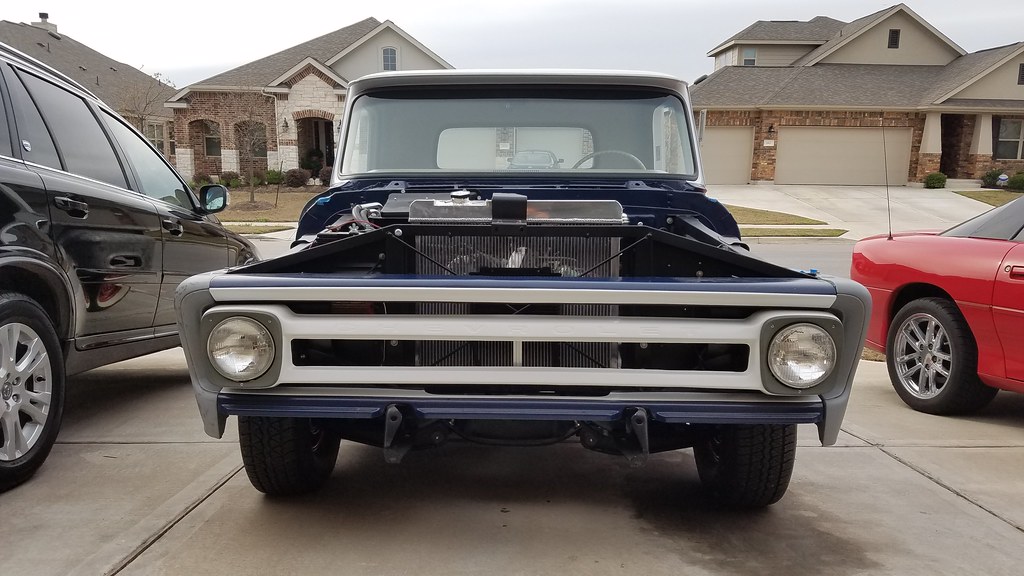
These pictures were taken while I thought I was videoing.

20180308_084828 by bjohnson388, on Flickr

20180308_084921 by bjohnson388, on Flickr

It looks so incomplete without the fender.

20180308_085036 by bjohnson388, on Flickr

Sorry lots of photos haven't photographed it outside since 2014 when I sat the cab on it at the other garage.

20180308_085120 by bjohnson388, on Flickr

20180308_085147 by bjohnson388, on Flickr

20180308_085153 by bjohnson388, on Flickr

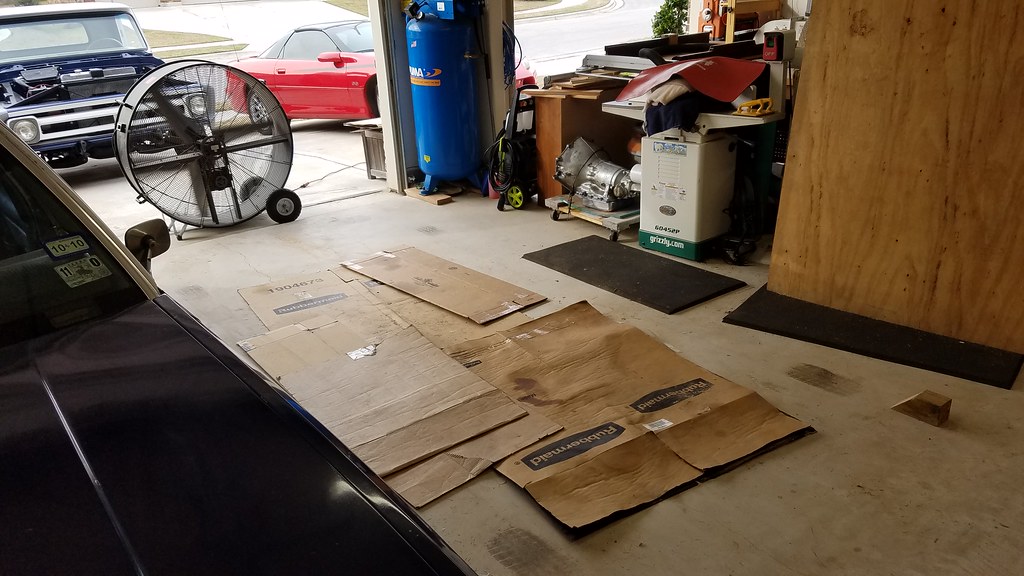
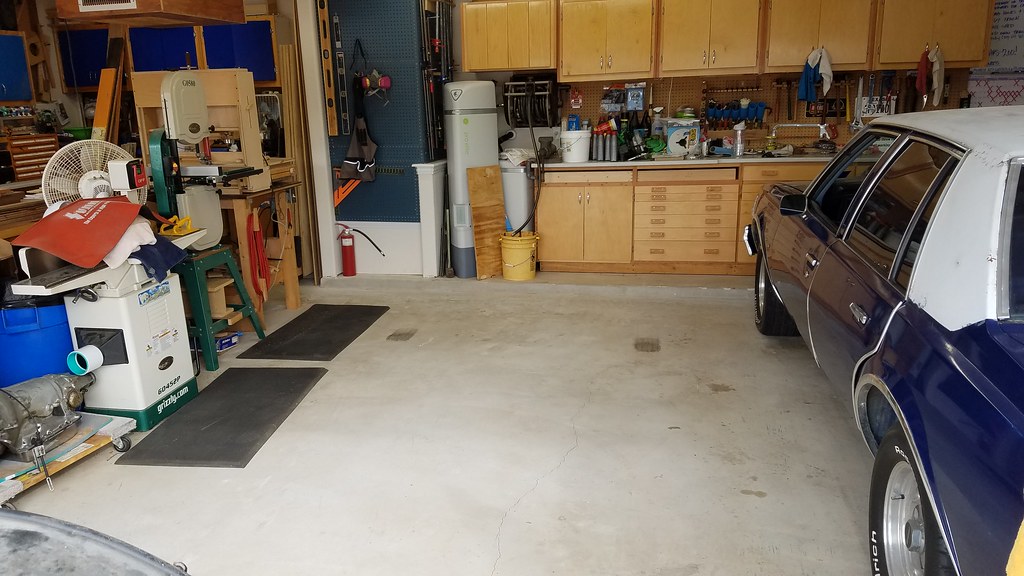
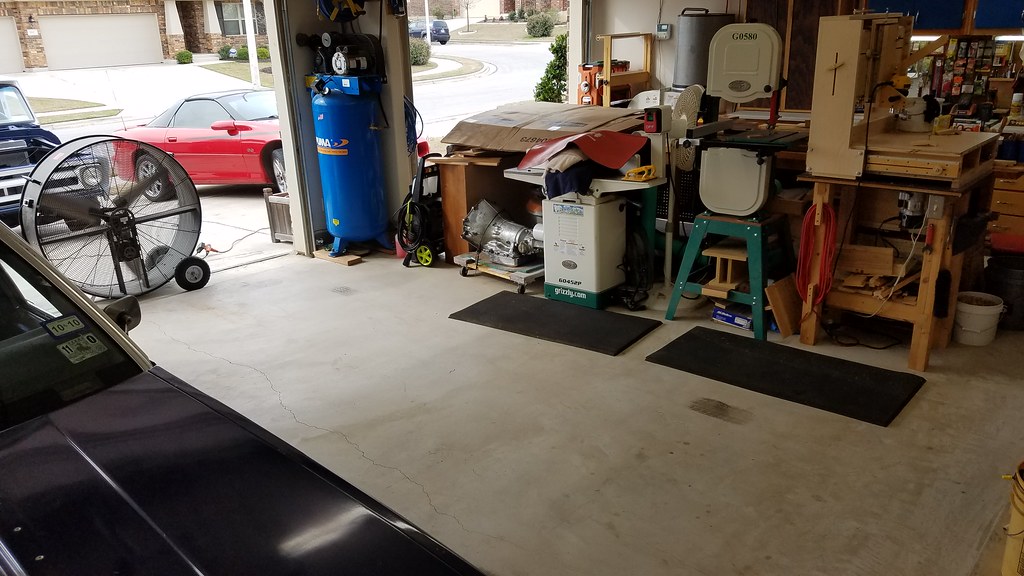
Time to do some cleaning. Has been in this spot since June of 2016.

20180308_085626 by bjohnson388, on Flickr

20180308_091735 by bjohnson388, on Flickr

20180308_091725 by bjohnson388, on Flickr

20180308_091745 by bjohnson388, on Flickr

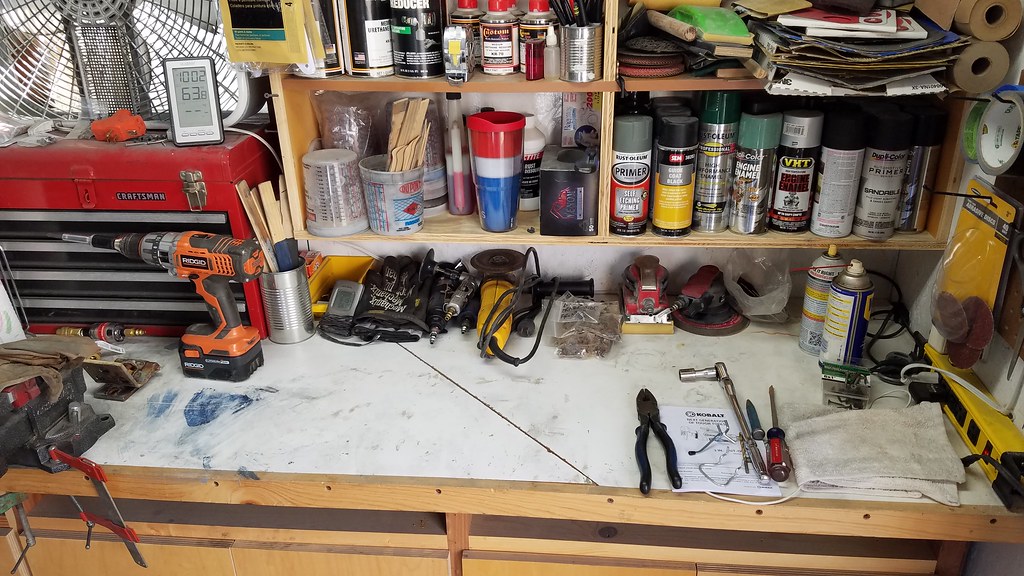
Now I need to clean my front bench it has developed a bad case of FSD.

20180308_091755 by bjohnson388, on Flickr

Did some much needed cleaning and organizing in the shed. First was to cut this piece of 1/2" ply that is warped into 4 pieces to store it better. If I don't use it for drawer bottoms it is scrap. No track saw here still old school.

20180308_105743 by bjohnson388, on Flickr

Next was moving all these decoration from this old box to a tote.

20180308_121839 by bjohnson388, on Flickr

20180308_121842 by bjohnson388, on Flickr

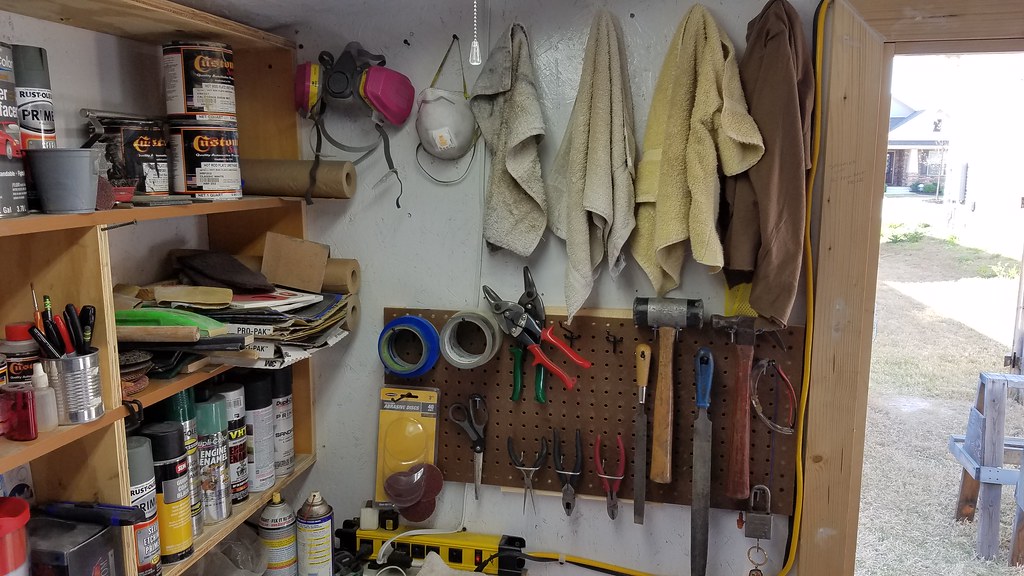
And then I moved these wires that were going across the floor up over the door way but I forgot an after pic. They were driving me nuts. I spent a couple of hours reorganizing and hanging stuff on the walls to make my time in the shed more efficient when I do work out there.

20180308_112752 by bjohnson388, on Flickr

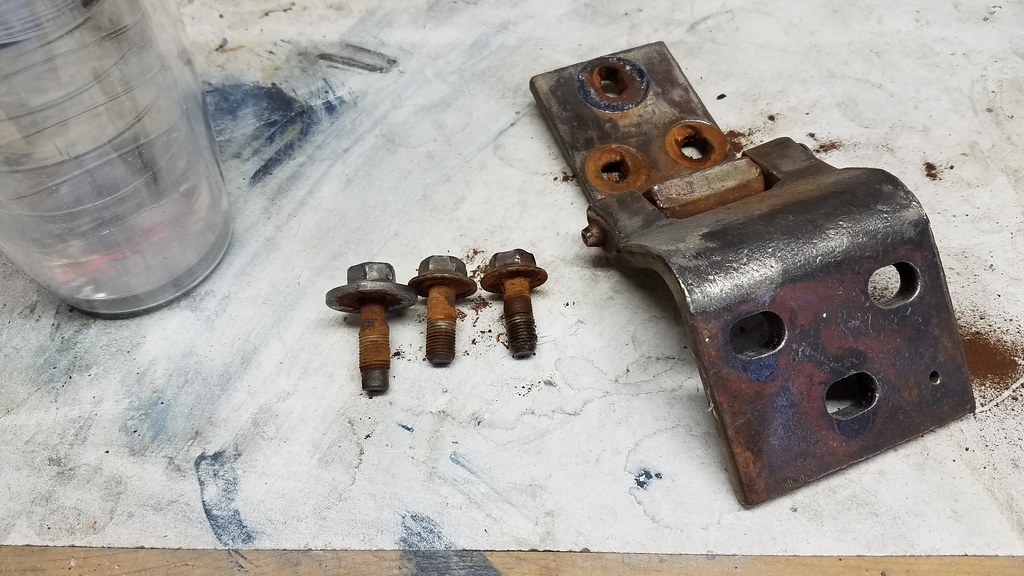
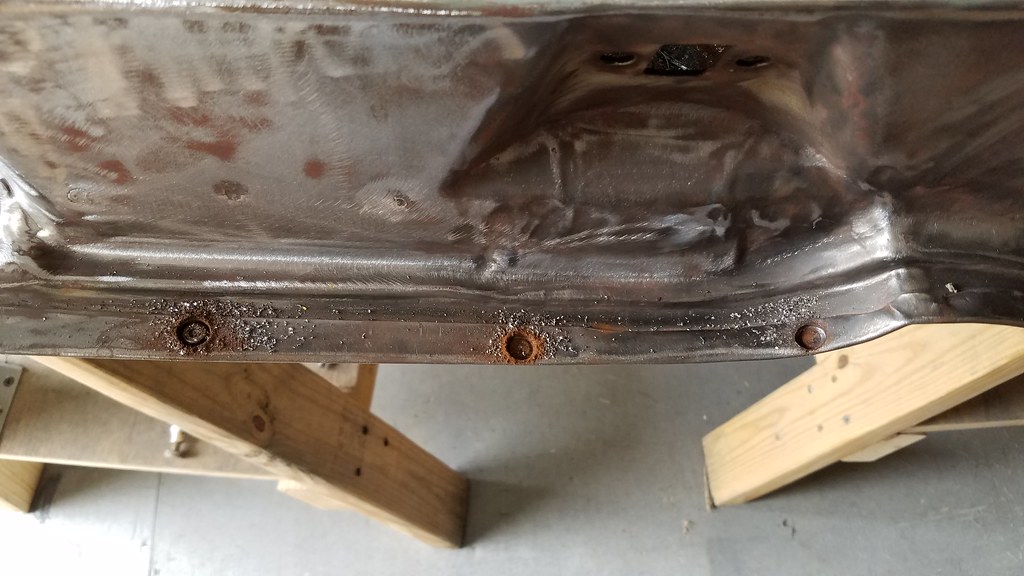
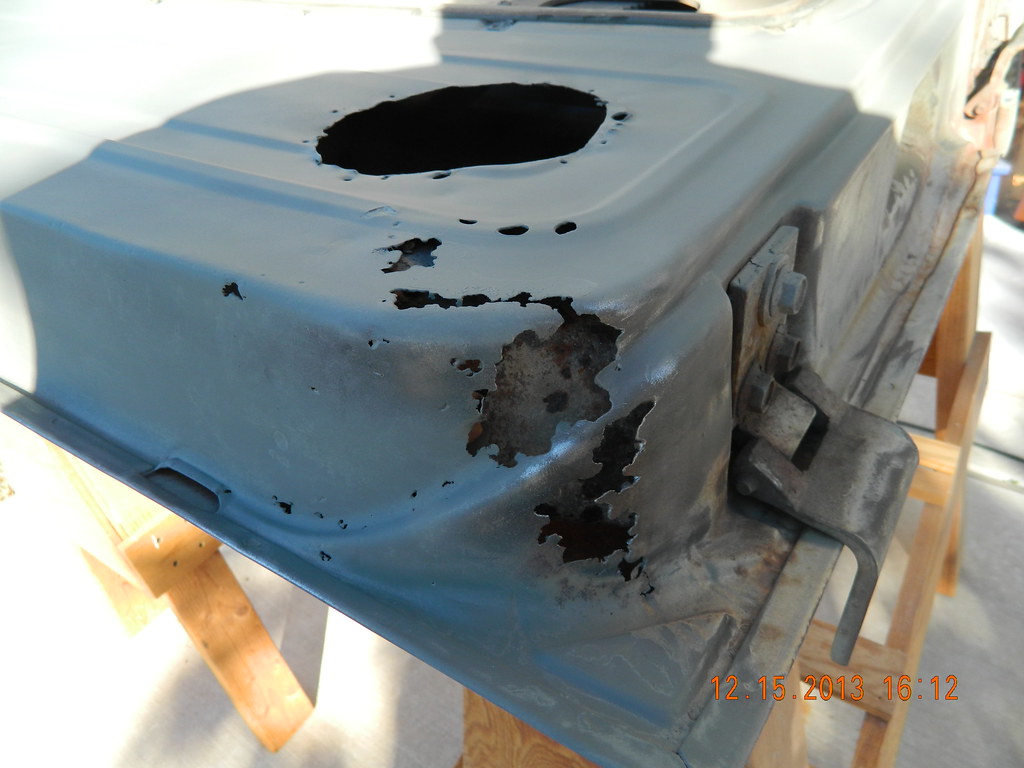
Took the hinges off the driver door and these bolts need to be replaced they have some cancer. All of that was hiding and you would have never known without pulling the hinge.

20180308_180432 by bjohnson388, on Flickr

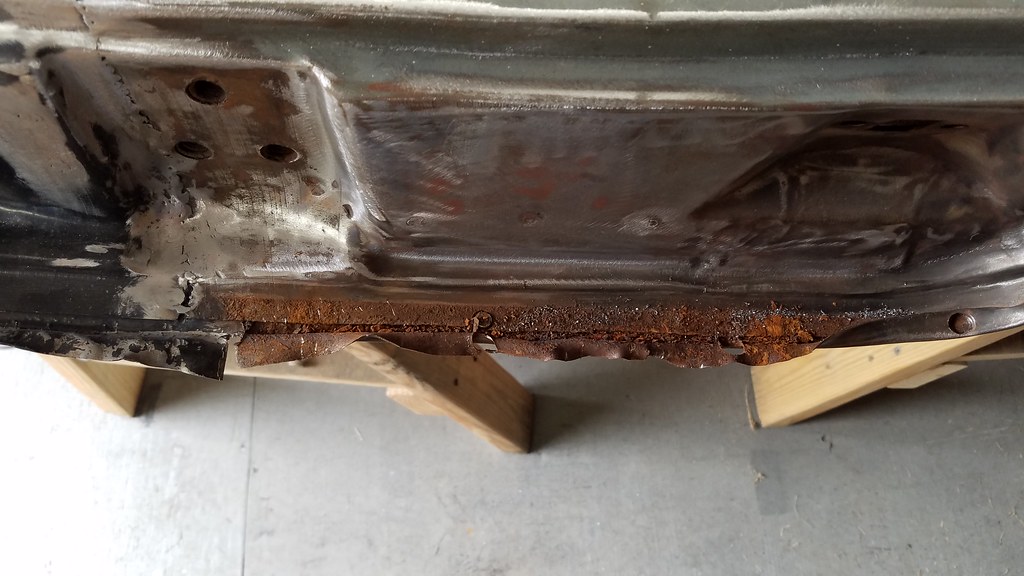
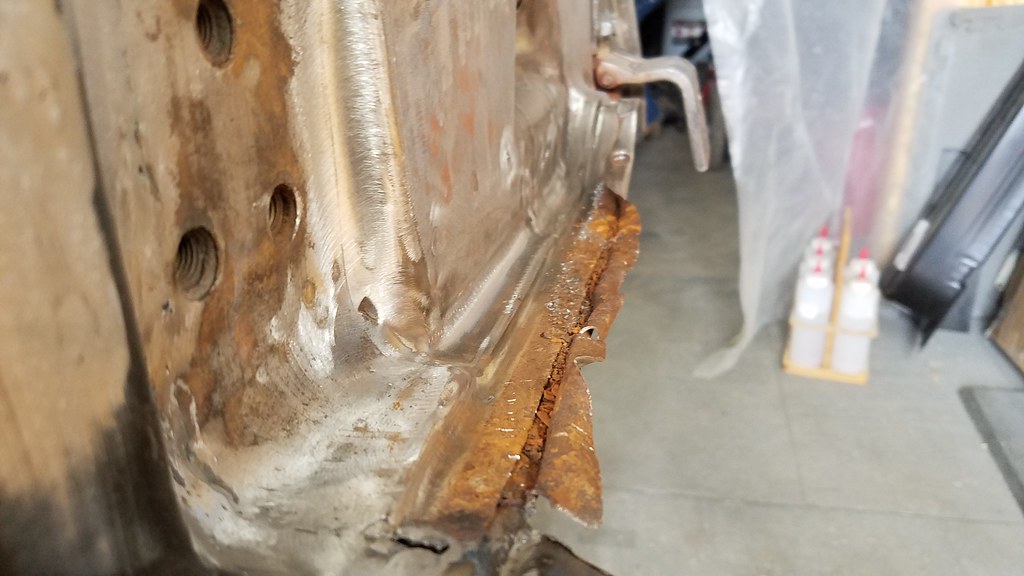
The new door bottom patch I bought will come all the way up and fix this rotted part.

20180308_180440 by bjohnson388, on Flickr

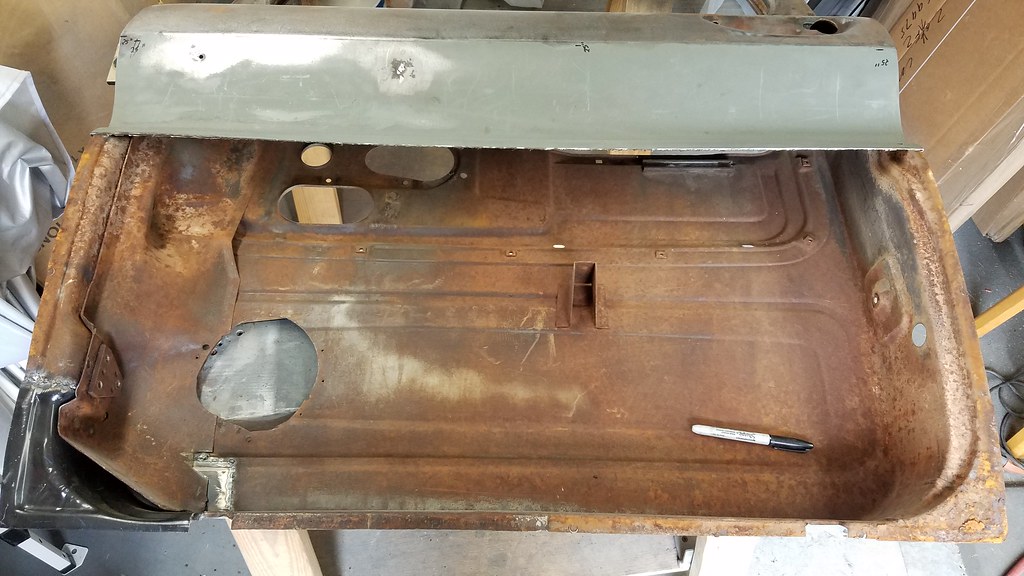
Peeling back the door skin. I am going to replace the inside piece before I do the outside skin.

20180308_182041 by bjohnson388, on Flickr

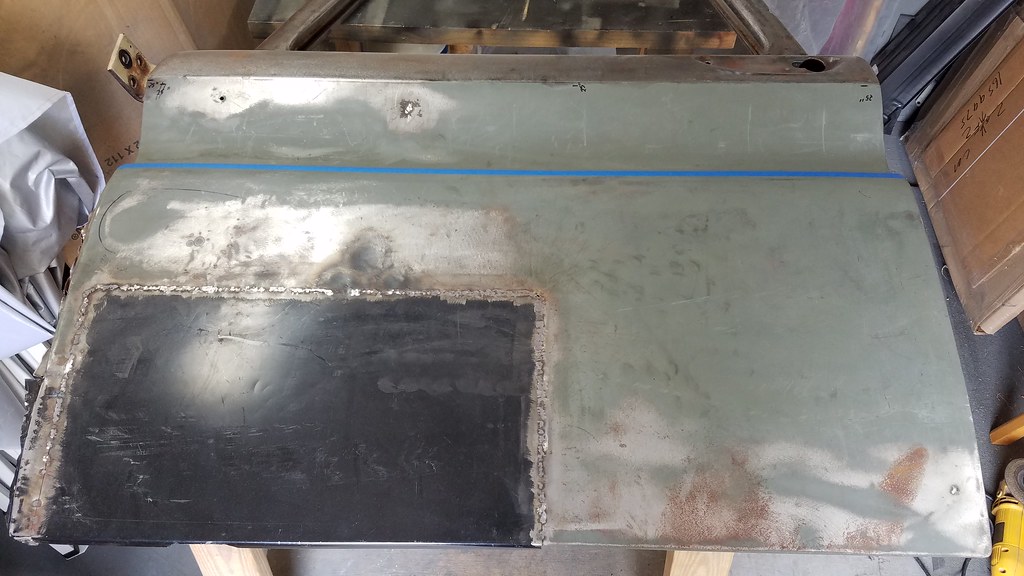
Here is what I am going to cutout and replace.

20180308_182402 by bjohnson388, on Flickr

20180308_182411 by bjohnson388, on Flickr

The new piece laid out for cut.

20180308_183053 by bjohnson388, on Flickr

20180308_183058 by bjohnson388, on Flickr

I also got the lawn already for spring. Pulled a bunch of weeds, raked leaves, and got it ready for some fertilizer. The wife's car got a bath too. Had a really good day and enjoyed the nice weather.

Thanks for stopping in,

Bret
 
Last edited:

jbmatth

Well-known member
Joined
Jun 3, 2013
Messages
5,692
Location
Northern Ok.
Great to see the truck out of the garage under its own power, congrats. Don't feel bad about forgetting a few things, I started my S10 up this morning after a power steering pump swap only to empty the reasivour into the engine bay and on the floor because I didn't connect the return line. :(
JB
 

250

Well-known member
Joined
Oct 16, 2014
Messages
537
Location
West of the Sierras
Had a really good day and enjoyed the nice weather.

Some days/weeks even months in a shop can be so slow and depressing with the amount of progress, then things finally come together and you get a day like that. Bam! I can do anything. Nicely done.
 
OP
B

bj383ss

Well-known member
Joined
Sep 29, 2011
Messages
3,166
Location
TX
Great to see the truck out of the garage under its own power, congrats. Don't feel bad about forgetting a few things, I started my S10 up this morning after a power steering pump swap only to empty the reasivour into the engine bay and on the floor because I didn't connect the return line. :(
JB

Thanks JB. Yeah one seems to lose their mind in these moments. While I was filling the trans to full it burped on me and went all down the dipstick tube and dripped on the ground. That made me mad. I had to go under and clean everything really good to make sure there were no leaks. Power steering fluid stinks man that would have made me mad too.

Some days/weeks even months in a shop can be so slow and depressing with the amount of progress, then things finally come together and you get a day like that. Bam! I can do anything. Nicely done.
You pretty much hit the moment on the head 250. Last year at this time my motivation to work on the truck and finish it was at an all time low. This will be my third attempt on repairing the driver door lower skin. I bought a complete door skin this time and the inside bottom patch so it should go better this time.

Bret
 
OP
B

bj383ss

Well-known member
Joined
Sep 29, 2011
Messages
3,166
Location
TX
Started vacation yesterday. Work was slow and caught up so I took a half day and started early.

Came home and started on the driver door again.

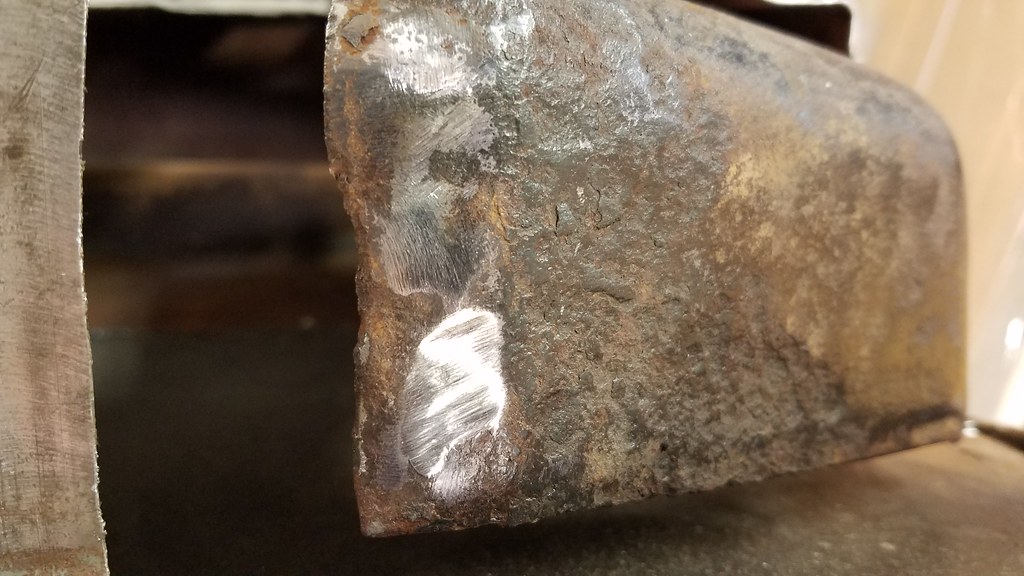
Bad bottom corner cut out. My terrible patches I made. My patches were ok I just didn't grind the welds right and it got to thin to work with. Lesson learned.

20180310_161245 by bjohnson388, on Flickr

Old corner

20180310_161302 by bjohnson388, on Flickr

New corner cut from replacement bottom.

20180310_164738 by bjohnson388, on Flickr

Now to finesse it and get to fit perfect and weld it in.

20180310_164742 by bjohnson388, on Flickr

Rust encapsulater sprayed on.

20180310_165015 by bjohnson388, on Flickr

Quick shot of my over the door temporary wire management and a some stuff I hung up temporarily to get out of my way.

20180310_165011 by bjohnson388, on Flickr


Bret
 
OP
B

bj383ss

Well-known member
Joined
Sep 29, 2011
Messages
3,166
Location
TX
Okay started on the door this morning after a run to get some supplies for the yard.

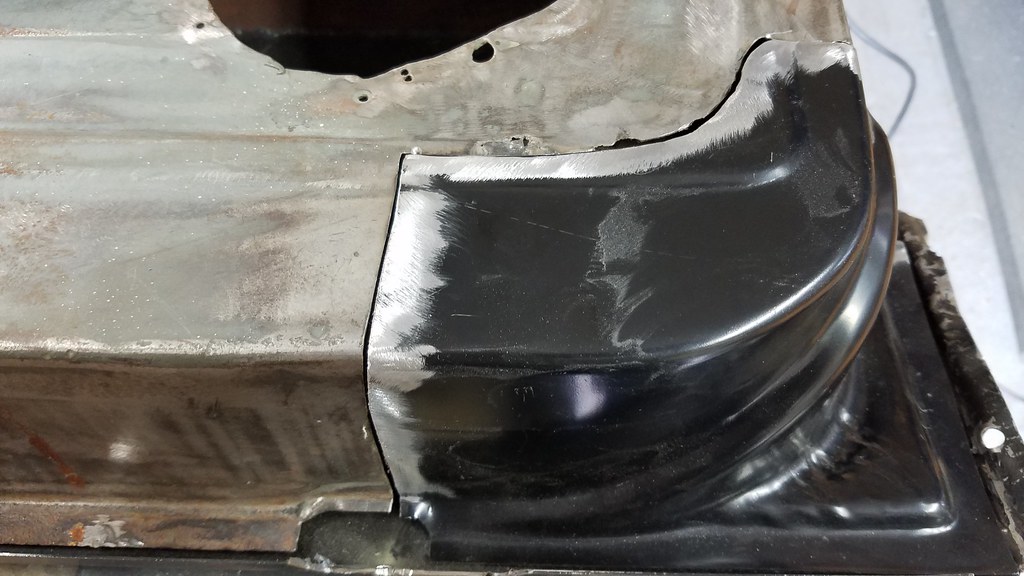
Working on getting the corner patch to fit good. Which was difficult it was not bent properly which doesn't surprise me.

20180311_125806 by bjohnson388, on Flickr
It's hard to see but the very bottom curve did not go down and line up at all.

20180311_125802 by bjohnson388, on Flickr

This left side corner fit really good once it was pulled up tight.

20180311_125756 by bjohnson388, on Flickr

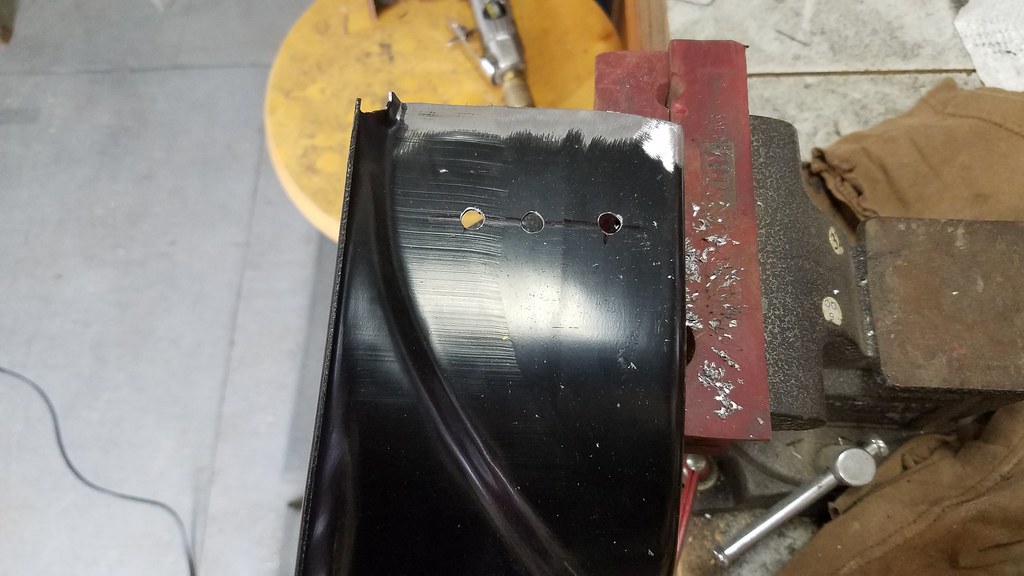
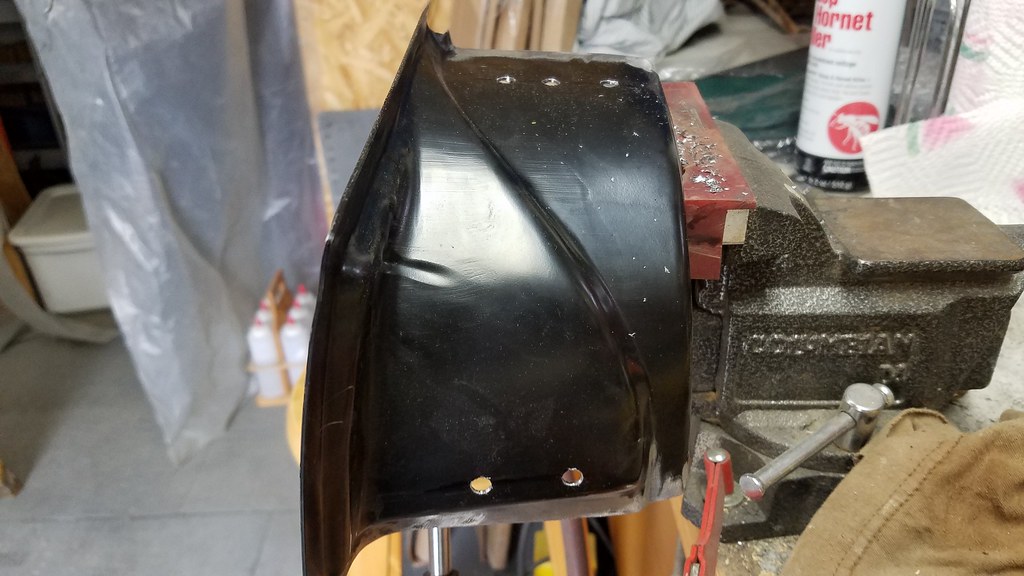
Drilled 1/4" holes for the plug welds to the inside corner brace.

20180311_131812 by bjohnson388, on Flickr

20180311_131816 by bjohnson388, on Flickr

Cleaned up where the plugs welds will be.

20180311_132155 by bjohnson388, on Flickr

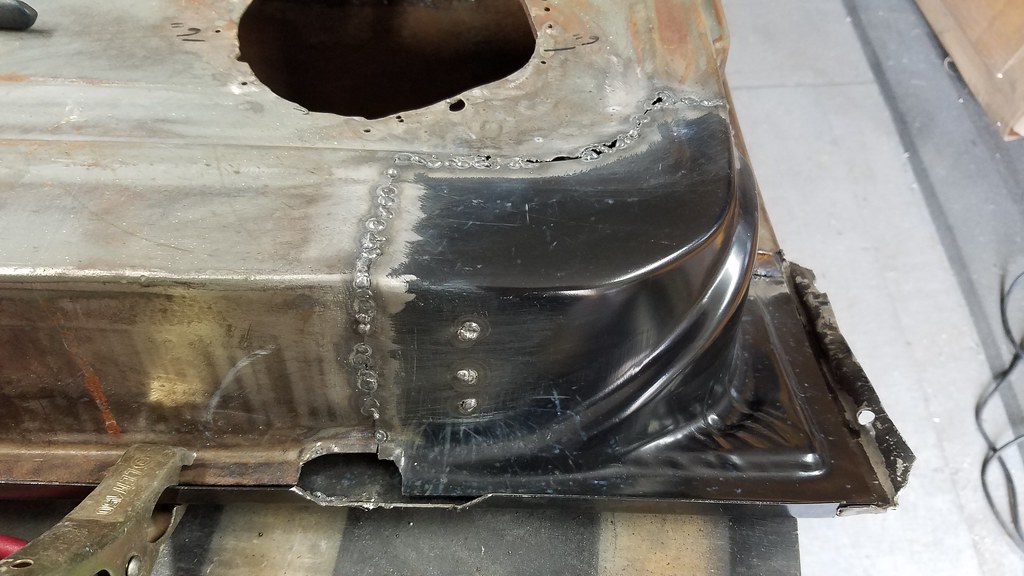
Stitching it in place.

20180311_140005 by bjohnson388, on Flickr

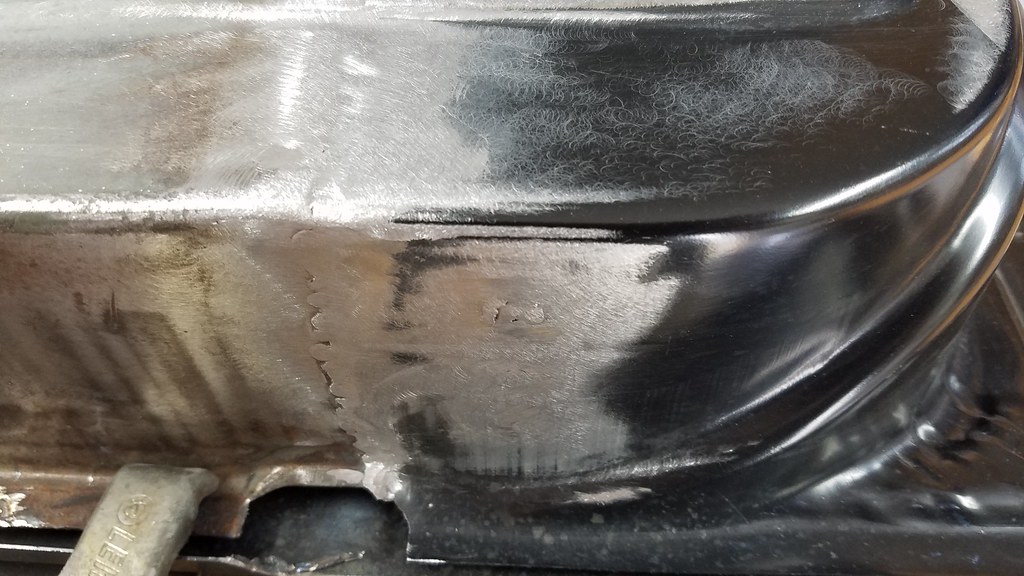
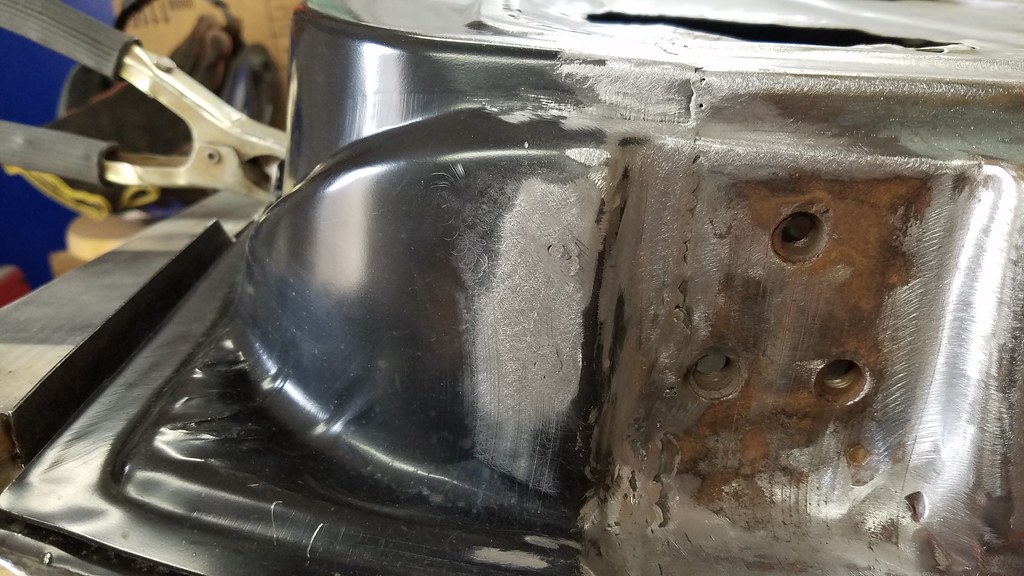
After final cleanup not to bad.

20180311_145809 by bjohnson388, on Flickr

Little mud and no one will know what happened here.

20180311_145805 by bjohnson388, on Flickr

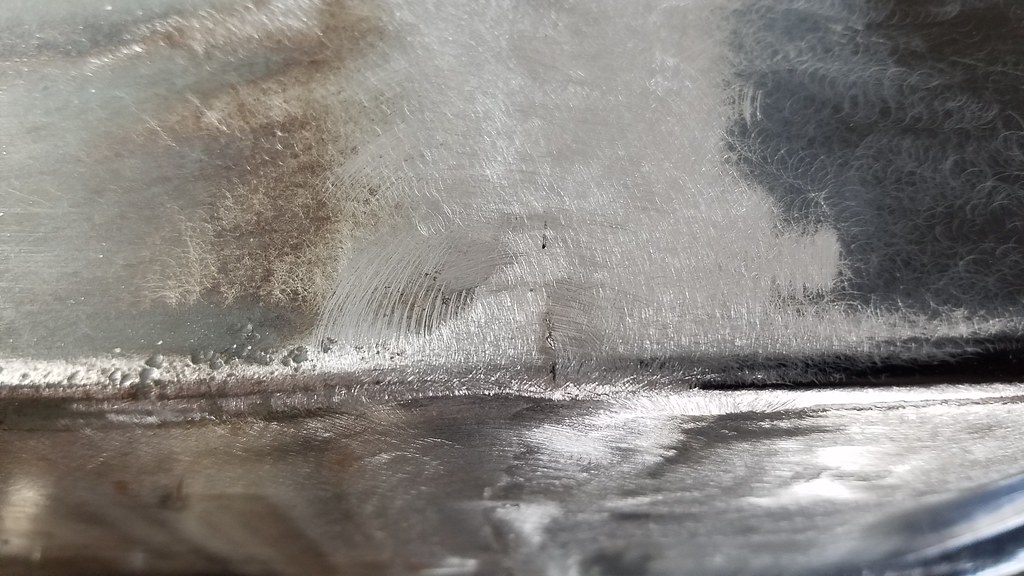
This side was alot harder to clean the welds up do to it being difficult to get the grinders in there. Will go over with some metal to metal to finish it out.

20180311_145819 by bjohnson388, on Flickr

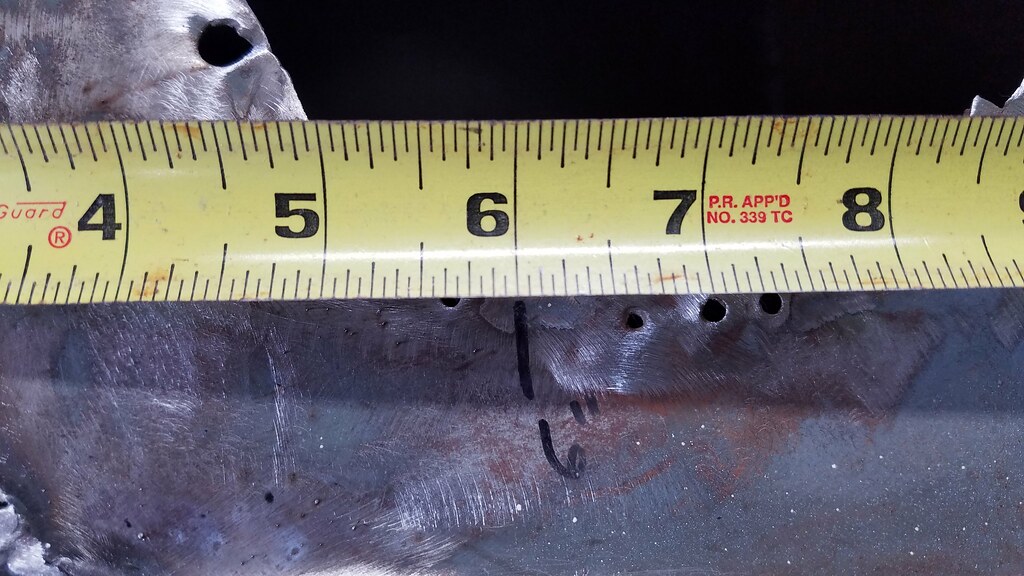
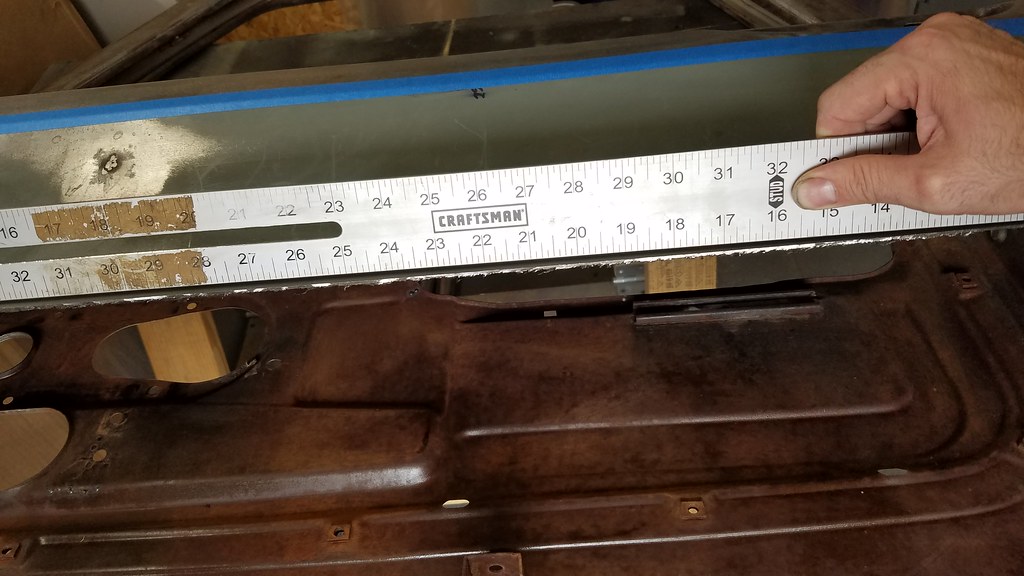
Came out right on at 6"

20180311_145850 by bjohnson388, on Flickr

Next up was pulling the skin off.

20180311_150458 by bjohnson388, on Flickr

Nasty

20180311_151113 by bjohnson388, on Flickr

20180311_151119 by bjohnson388, on Flickr

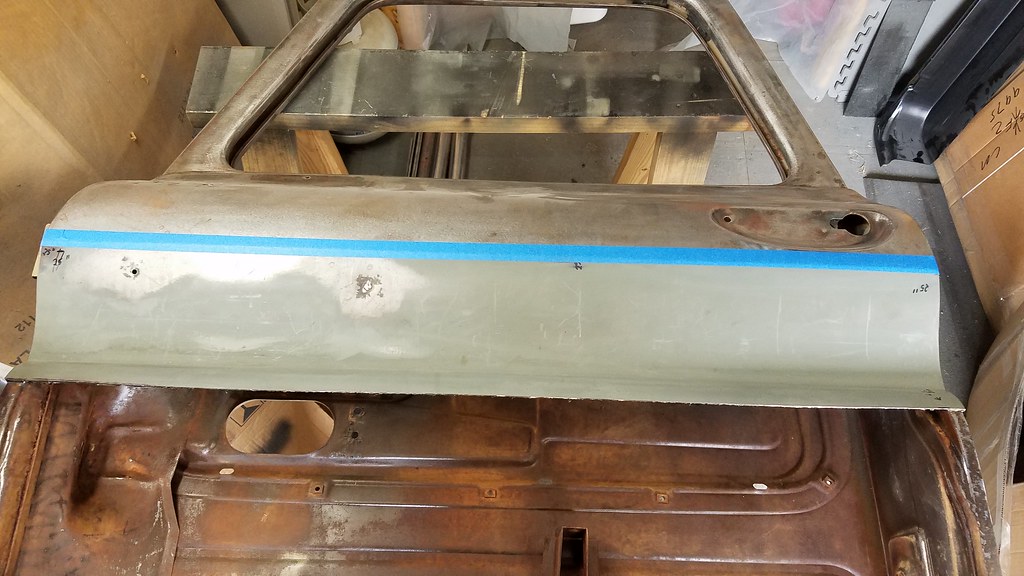
Taped off the for the cut. Get rid of this horrible messed up patch I did.

20180311_151831 by bjohnson388, on Flickr

All gone.

20180311_154955 by bjohnson388, on Flickr

While I was cutting I noticed the piece still had some tension even way up here, so going to have to make my cut higher up. It sagged afterwards that is no bueno.

20180311_161401 by bjohnson388, on Flickr

So will cut it up here at my 25" marks I made to line up the bottom of the door. Should actually be easier to line the new skin up because it will fit down into the belt line.

20180311_161456 by bjohnson388, on Flickr

Can't wait to this done. Hopefully 3rd time is the charm!

20180311_161826 by bjohnson388, on Flickr

20180311_161831 by bjohnson388, on Flickr

The wife got the flower beds ready so all I need to do now is fertilize the grass.

20180311_170703 by bjohnson388, on Flickr

Bret
 
Last edited:
To avoid these ads, REGISTER NOW!
OP
B

bj383ss

Well-known member
Joined
Sep 29, 2011
Messages
3,166
Location
TX
Door work looks great. You're getting some really good practice :)

What are you going to do with the rest of your vacation?

Thanks Andy. By the time I learn all this bodywork I will be done and vow to never do bodywork again. :D I plan on working on the truck all week and doing some stuff with the family. The boys are on Spring Break. Tomorrow I am going with my mother in law she finally found a buyer for the Cutlass that is going to pay cash. And sadly here big 6 car garage will be completely empty of vehicles except for a small trailer. What a waste.

Projects are looking great man!

Thanks man. Posted over in your thread.

Bret, great work on the patch panels.

How long do you have on vacation?

Regards

Thank you Steve. I am off until next Tuesday. Kinda of a short vacation for me but other people that work for me needed time off as well. Have to share the time!

Must be nice to actually be in Spring. We went from the mid 60s Friday to low 50s and wind yesterday to freakin' sleet and 3" of heavy, wet snow today. I'm so tired of this...

One of the benefits of our area although we are starting spring much later this year than normal. And it ***** in July/August heat.

Here is a comparison photo. The bushes in the back grew alot as well as the spiral tree. The front bushes look the same to me. And you can see the grass was alot greener last year at this time. The Crate Myrtle was also blooming. My wife also pulled the flowerbed back some on the side near the driveway.

20170323_192515 by bjohnson388, on Flickr

20180311_170703 by bjohnson388, on Flickr

Bret
 

YukonXL04

Well-known member
Joined
Feb 2, 2015
Messages
261
Location
Arlington, TX
Man... I just spent 3 days reading this from start to finish. Awesome work man. Your attention to detail and ability is just crazy! I will definitely be using some of your ideas. Great work man.
 
OP
B

bj383ss

Well-known member
Joined
Sep 29, 2011
Messages
3,166
Location
TX
Man... I just spent 3 days reading this from start to finish. Awesome work man. Your attention to detail and ability is just crazy! I will definitely be using some of your ideas. Great work man.

Thanks Yukon for taking the time to comment and getting through my mess of a thread. Glad there are some ideas you can use. Do you have a build thread with your garage?

Bret
 

YukonXL04

Well-known member
Joined
Feb 2, 2015
Messages
261
Location
Arlington, TX
Thanks Yukon for taking the time to comment and getting through my mess of a thread. Glad there are some ideas you can use. Do you have a build thread with your garage?

Bret

Yea first I just started browsing then I just kept on going to see what was next.

No not yet. Slab is poured, hoping to build when I get back in town in 2 months. I will document everything and finally start my own build thread. Can't wait!
 
OP
B

bj383ss

Well-known member
Joined
Sep 29, 2011
Messages
3,166
Location
TX
Yea first I just started browsing then I just kept on going to see what was next.

No not yet. Slab is poured, hoping to build when I get back in town in 2 months. I will document everything and finally start my own build thread. Can't wait!

Cool I look forward to seeing in it.

Bret
 
OP
B

bj383ss

Well-known member
Joined
Sep 29, 2011
Messages
3,166
Location
TX
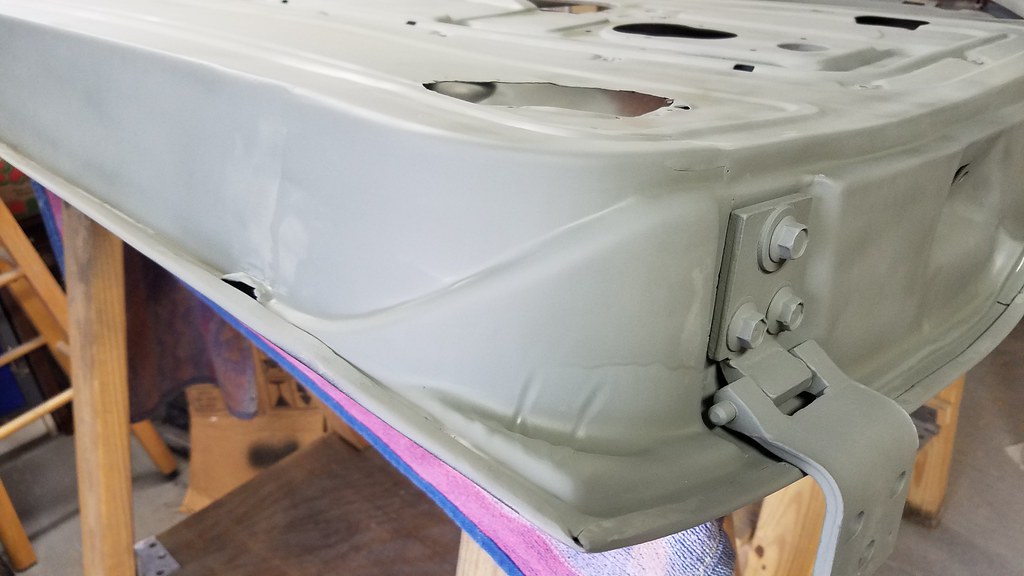
I've been working on the driver door for the last 3 days. I have the interior side 99% done. Still have some bodywork to do on the outside skin where I grafted it together.

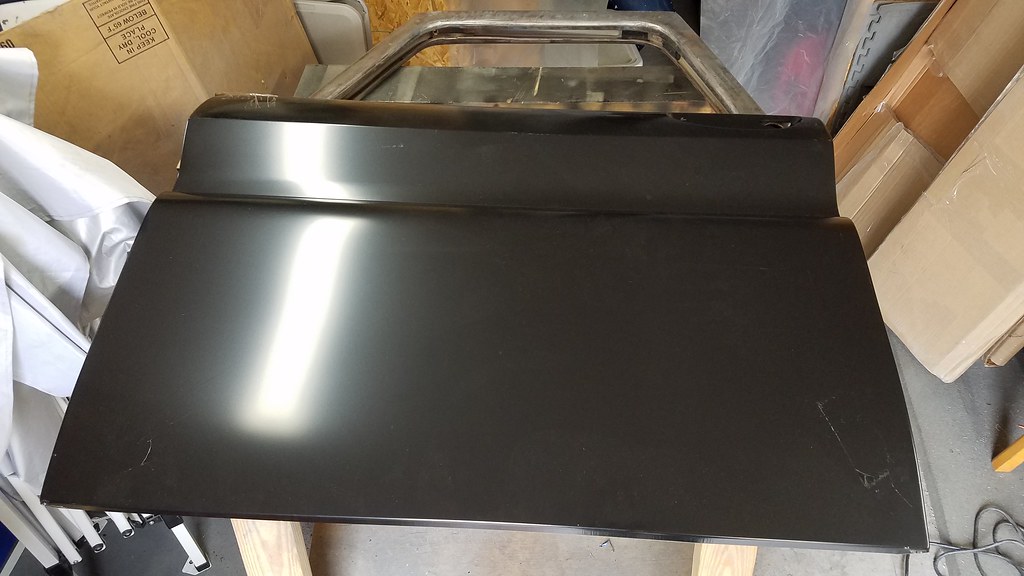
I ended up having a major debacle with the skin that I am not going to share but I found a solution even it caused me alot more work.


Outer skin welded in.

20180314_185205 by bjohnson388, on Flickr

After 3 days of cutting, welding and grinding inside the shed it was a mess and disorganized so I had to stop this morning and do some major cleaning and organizing.

20180315_100614 by bjohnson388, on Flickr

I built this quick and dirty pegboard organizer to get stuff off the bench and just using it this afternoon has been so much easier to stay organized and clean.

20180315_100619 by bjohnson388, on Flickr

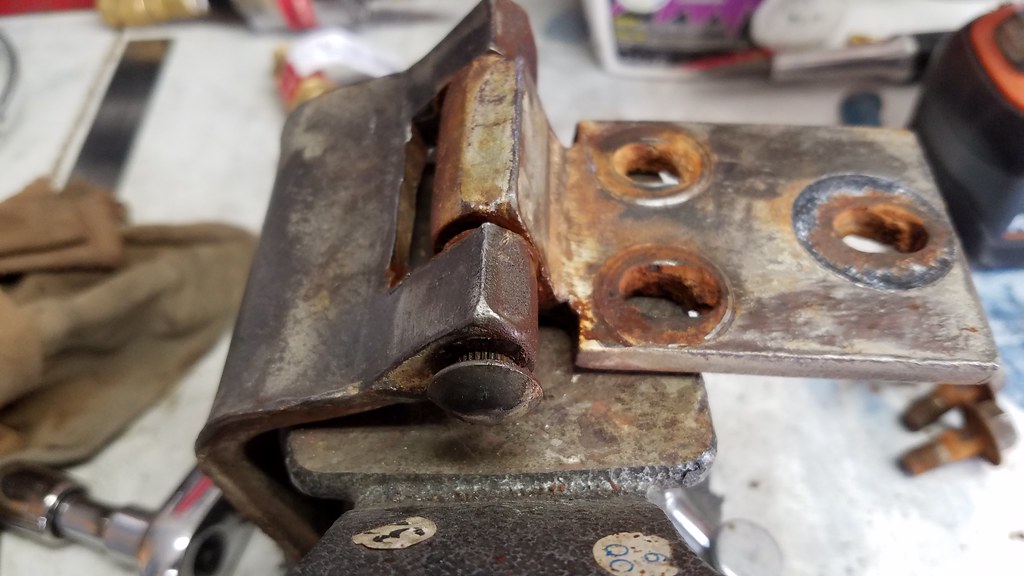
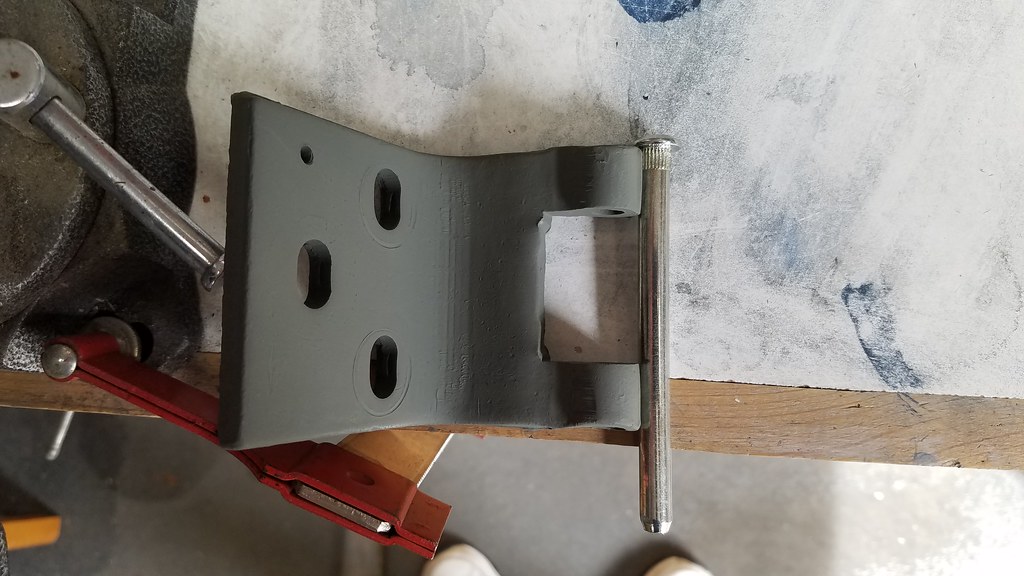
This lower door hinge had alot of slop in it so out comes the old pin.

20180315_114032 by bjohnson388, on Flickr

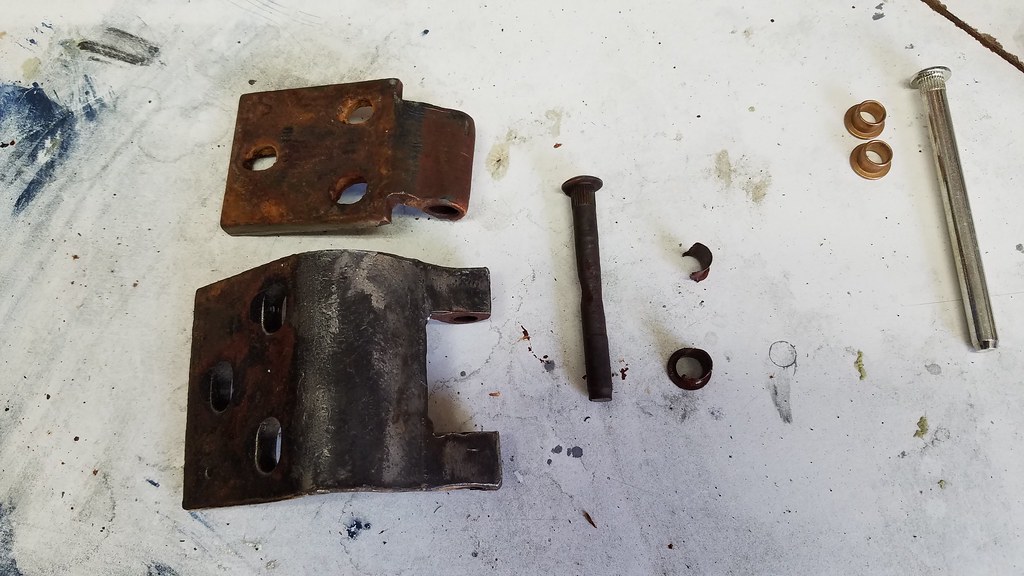
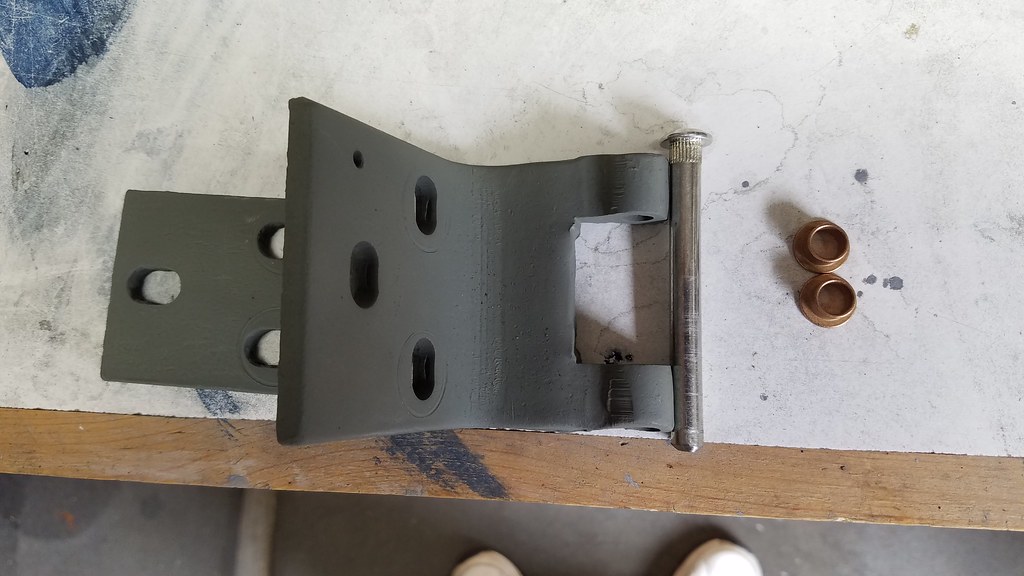
Yeah I would say the bushings are wore just a little.

20180315_120126 by bjohnson388, on Flickr

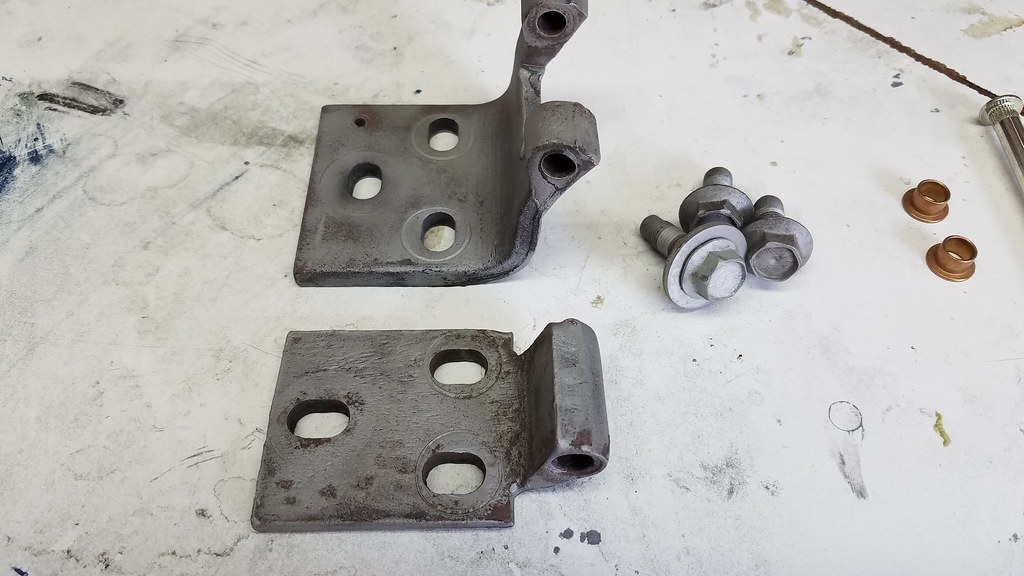
Quick trip to the sandblaster.

20180315_121923 by bjohnson388, on Flickr

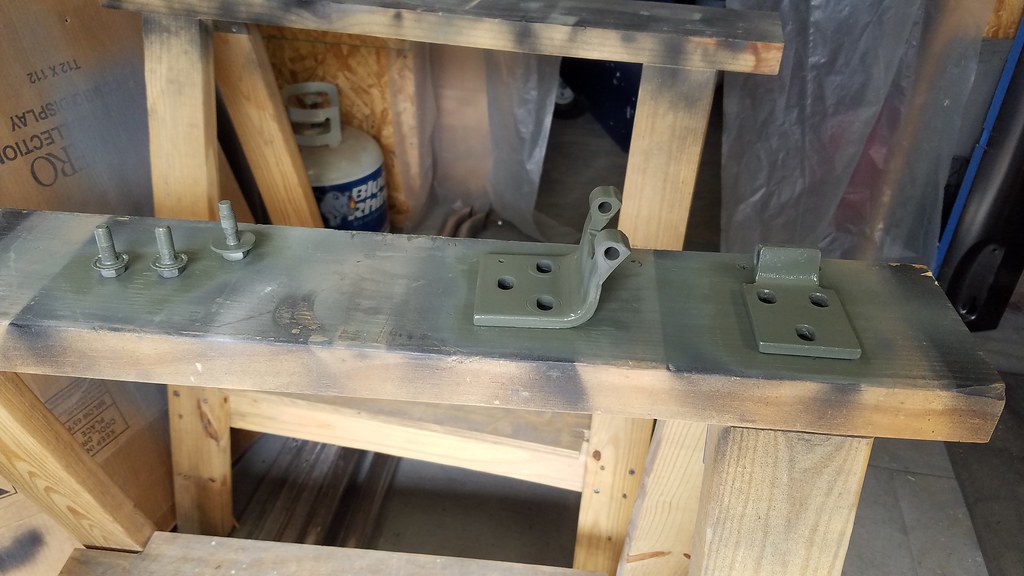
Some Primer

20180315_123435 by bjohnson388, on Flickr

Pin was a little too long.

20180315_142000 by bjohnson388, on Flickr
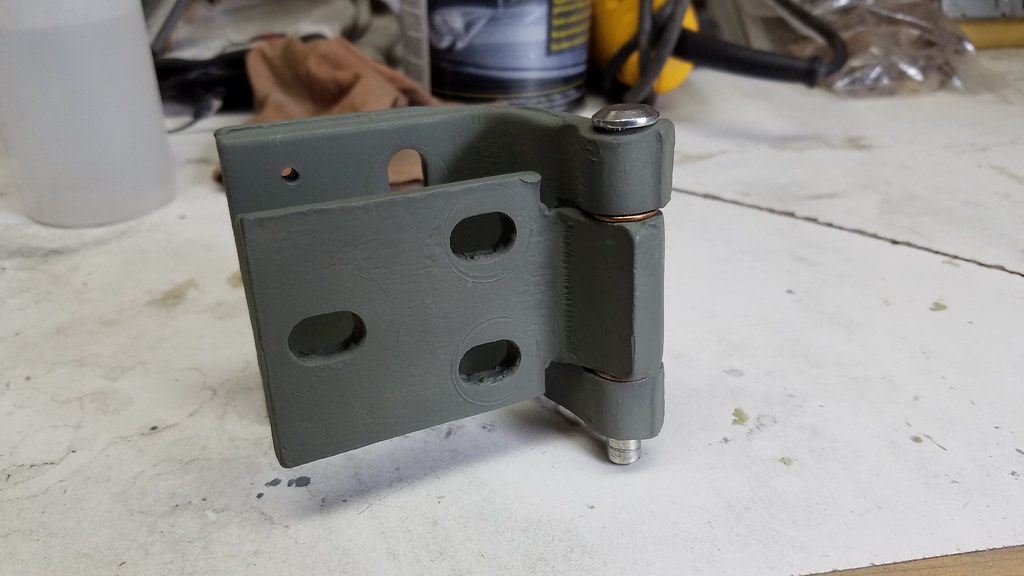
That's much better.

20180315_142600 by bjohnson388, on Flickr

Brand new hinge ready for another 54 years of use.

20180315_142819 by bjohnson388, on Flickr

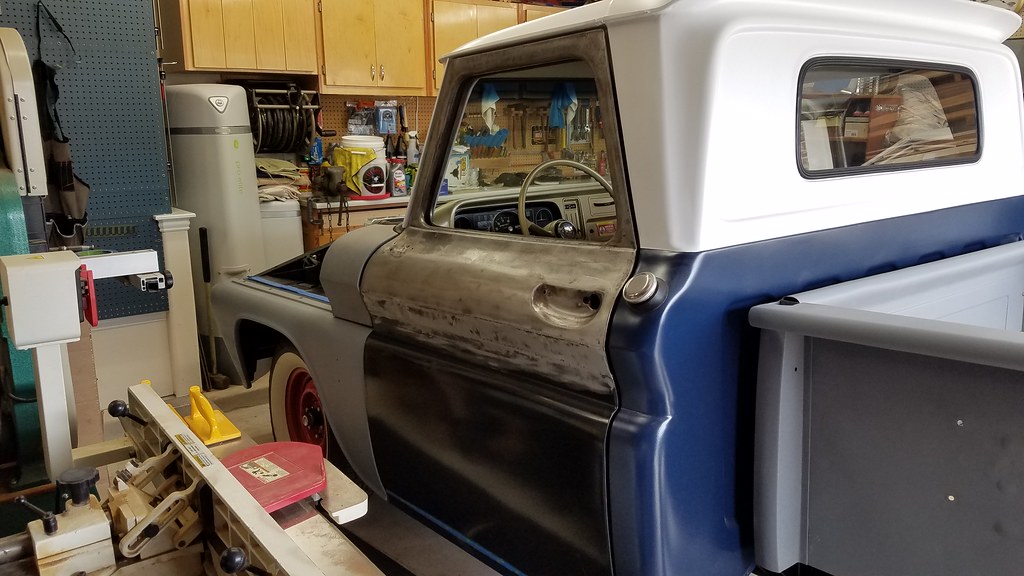
Quick test fit.

20180315_150046 by bjohnson388, on Flickr

This poor old truck hasn't had a driver door on it since Nov' of 2013.

20180315_150025 by bjohnson388, on Flickr

Everything looks better in primer.

20180315_175236 by bjohnson388, on Flickr

20180315_175231 by bjohnson388, on Flickr

Original state of the door bottom.

DSCN7664 by bjohnson388, on Flickr

Bret
 
Last edited:

ODIS

Well-known member
Joined
Apr 30, 2012
Messages
2,110
Location
Pacific Northwest
Great job on the truck and all of your fabrication skills, both wood and metal.

Wonderful thread and very much enjoy all of the content.

Thank you!
 

Denwood

Well-known member
Joined
Sep 22, 2014
Messages
4,224
Location
Thunder Bay, Ontario, Canada
Nice work on that hinge. It's details like that, and likely 1000 others, that bring true value to your restoration. Looking at the date on the door pic (before), it's been a long project.

Do you have a target finish date in mind, or are you just focusing on task completions?
 

drivesitfar

Well-known member
Joined
Oct 23, 2013
Messages
36,077
Location
Pacific Northwest
BJ: sorry to hear about your set back (whatever it was) on your door, but from my chair it's looking good now so way to adapt and overcome the issue.

i'm guessing the bolts for the door hinge are going into threaded plate or do tell cause i love the improvement you made, but i'd be afraid to take off a 50+ year old door hinge that might have become a rusted piece?

congrats on getting the door all redone and looks like it's fitting pretty well too.

keep up the great work!!
 
OP
B

bj383ss

Well-known member
Joined
Sep 29, 2011
Messages
3,166
Location
TX
Bret, that's some amazing progress. Now I feel bad for having the driver door off my Corvette for the past 10 years.

Thank you Bob. I felt like 5 was an eternity!

Bret, top job. :thumbup:

Its amazing what you can get done with a little Quality Shed Time..:thumbup:

Thank You Steve. I have been in Nirvana in my shed all week except for Monday but we are past that!

Great job on the truck and all of your fabrication skills, both wood and metal.

Wonderful thread and very much enjoy all of the content.

Thank you!

Thank You Odis and thanks for visiting my thread. I thoroughly enjoy yours as well.

Nice work on that hinge. It's details like that, and likely 1000 others, that bring true value to your restoration. Looking at the date on the door pic (before), it's been a long project.

Do you have a target finish date in mind, or are you just focusing on task completions?

Thank You so much Dennis. You know I am a stickler for details. One of my favorite parts besides making everything new again on this old truck is attention to all the little details. The truck has been torn down to the frame since March of 2014 but I started taking it apart in Nov. of 13' There have been times where I didn't think I was ever going to finish. It has been a Journey. My target right now for an inspected/registered driving truck is Sept. 2018. It won't be 100% done but it will be close. I hope! September will be the 6 yr anniversary to inheriting the truck and my FIL passing so it would be kinda cool if I could hit that date.

BJ: sorry to hear about your set back (whatever it was) on your door, but from my chair it's looking good now so way to adapt and overcome the issue.

i'm guessing the bolts for the door hinge are going into threaded plate or do tell cause i love the improvement you made, but i'd be afraid to take off a 50+ year old door hinge that might have become a rusted piece?

congrats on getting the door all redone and looks like it's fitting pretty well too.

keep up the great work!!

Thank You Drive. Yes there are 5/16" thick steel plates for the door hinges to bolt to that our held in place by little cages that are welded to the door posts.

As far as taking the hinges off since i had the skin off I had access to the backside of the threads so I soaked them in PB blaster and they came out with no fuss.

If you look closely at the old hinge pin you can see the middle of it was almost rusted half way through. Although it was rusted pretty good to the hinge so even if it rusted through I don't think the hinge would have come apart. Glad that I decided to change it.

The biggest deal for taking the hinge off the door is I did not get back exactly where it was as it has adjustment so makes for more frustration when trying to get the door adjusted exactly back where it fits right.

The door fits about good as you could expect from a 50+ yr old truck.

Looking great mate.

Impressive

Glad to hear from you Rian and good to see you feeling better my friend.


I want to thank everyone for the great comments and moral support. It made me feel alot better about what I am doing after Monday's let down. I was so mad at myself.

Tuesday I didn't work on the truck. I helped my Mother in Law go and sell her Cutlass to a local guy that has a house in East Austin. She doesn't talk cars so I helped her with that part and thankfully he bought the car. So it is on to its new owner and I hope he enjoys it. It is a huge burden off her back and she was able to use the money for something she needed.

This is such a great community and I am really impressed by all the support GJ members offer. So once again thank you to all that follow along on my thread and give feedback.

Building this truck has been a journey for sure. I have learned so many new skills and then there are some that I am still figuring out.

Bret
 

shortykorte

Well-known member
Joined
Sep 1, 2014
Messages
8,039
Location
Tallahassee, Fl
Glad to hear your MIL was able to sell her beautiful Cutlass. East Tallahassee would have been better than east Austin but just not in the cards.


Sent from my iPhone using Tapatalk
 
OP
B

bj383ss

Well-known member
Joined
Sep 29, 2011
Messages
3,166
Location
TX
Glad to hear your MIL was able to sell her beautiful Cutlass. East Tallahassee would have been better than east Austin but just not in the cards.


Sent from my iPhone using Tapatalk

Yes I would have loved for you to get it but that guy the bought it has 18 classic cars and trucks in 3 different states. So I assume he will take care of it.

Here is the last pic. I took it just for you!

20180313_132454 by bjohnson388, on Flickr

Bret
 
OP
B

bj383ss

Well-known member
Joined
Sep 29, 2011
Messages
3,166
Location
TX
Nice car indeed. Cars like the Cutlass have either rusted away here, or are only seen in summer months when salt can’t get to them...

That is certainly true Dennis. This car was from Texas. Not a spot of rust on it. Even the underside was just dirty. No rust anywhere I could find. Garage kept its entire life.

Is that Cutlass Red over White interior? Have a soft spot for that color combo.

Pretty car!

Odis it is actually Sunset Orange. A pretty rare color combo as a convertible actually.

Bret
 
OP
B

bj383ss

Well-known member
Joined
Sep 29, 2011
Messages
3,166
Location
TX
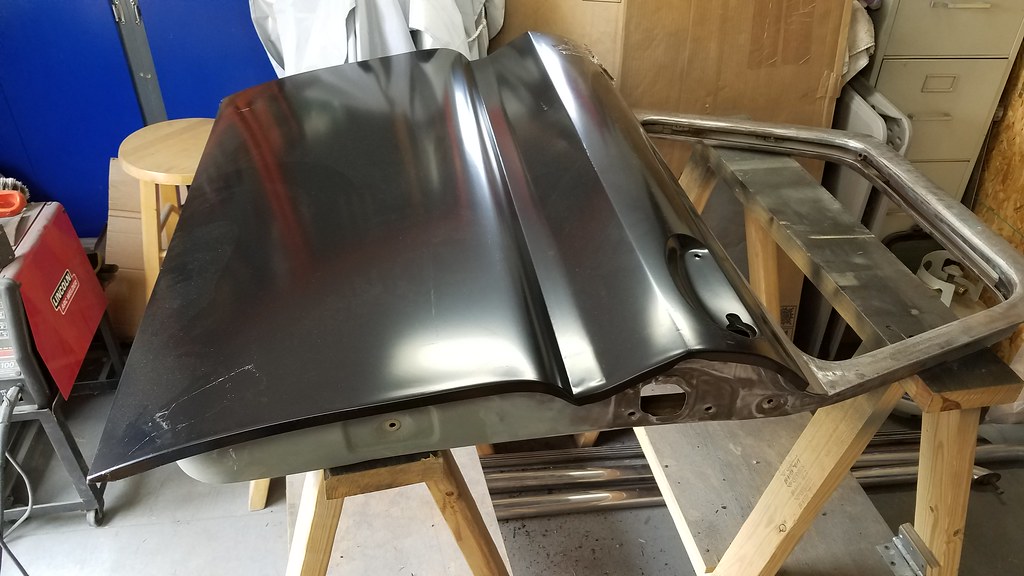
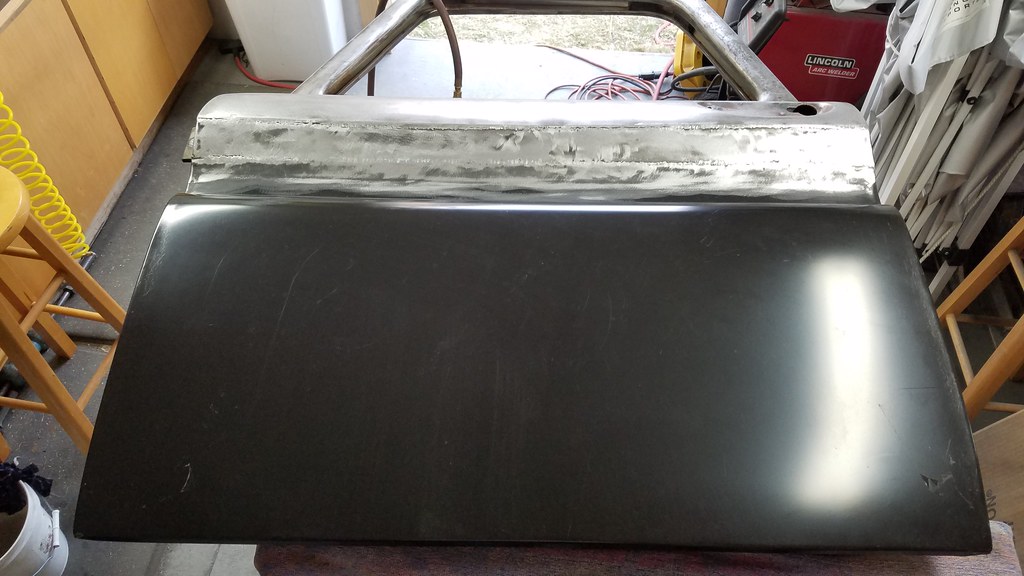
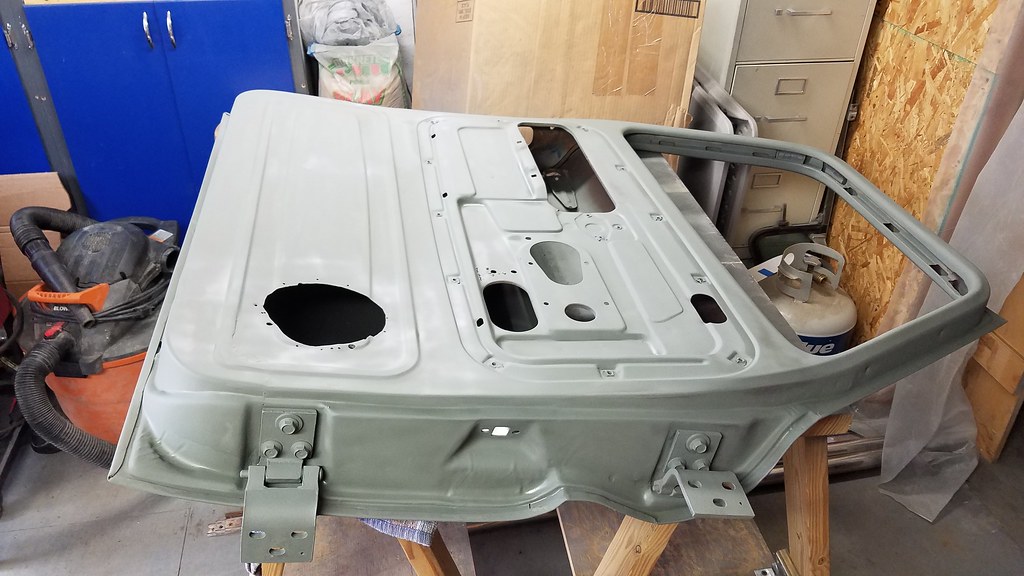
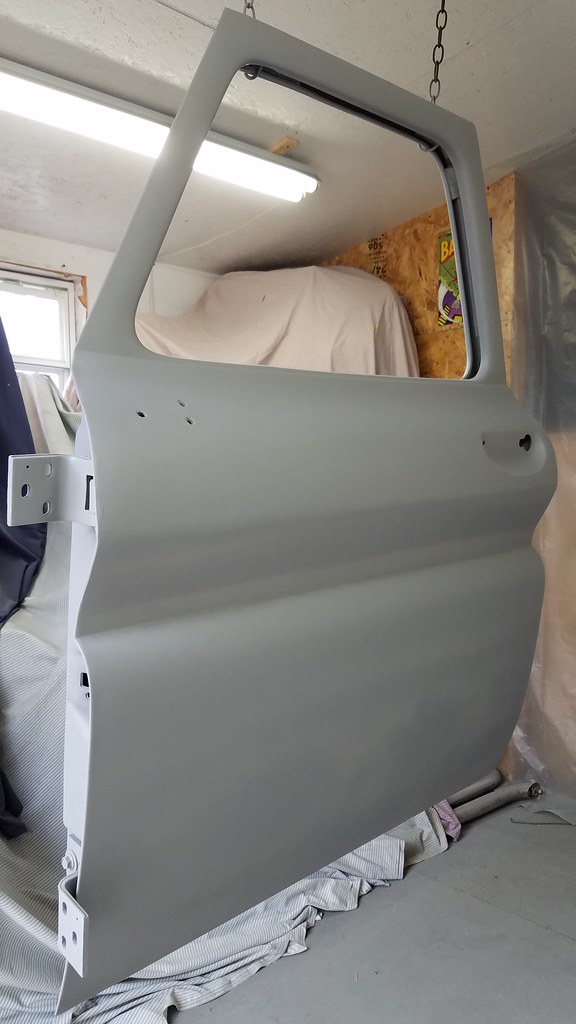
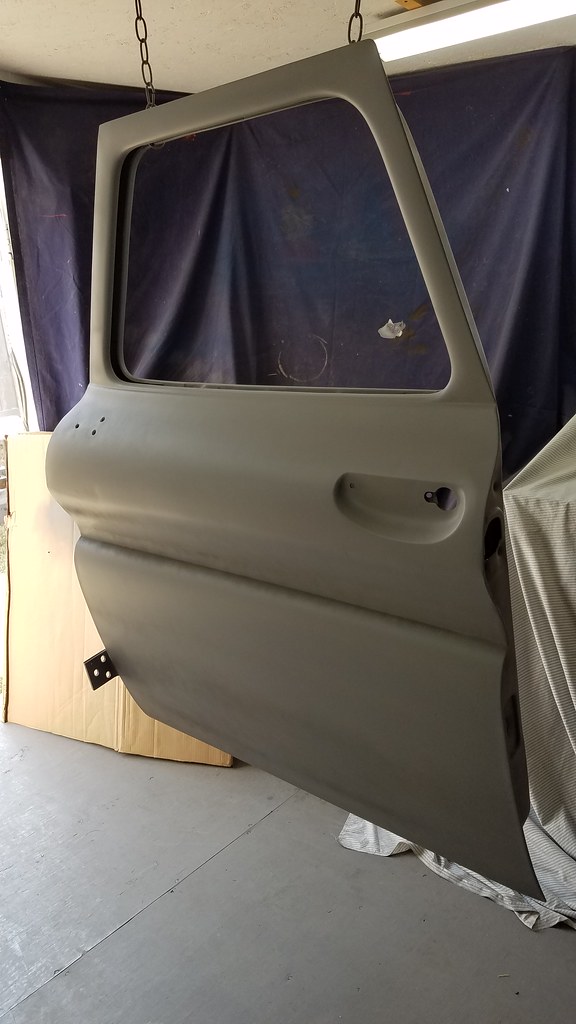
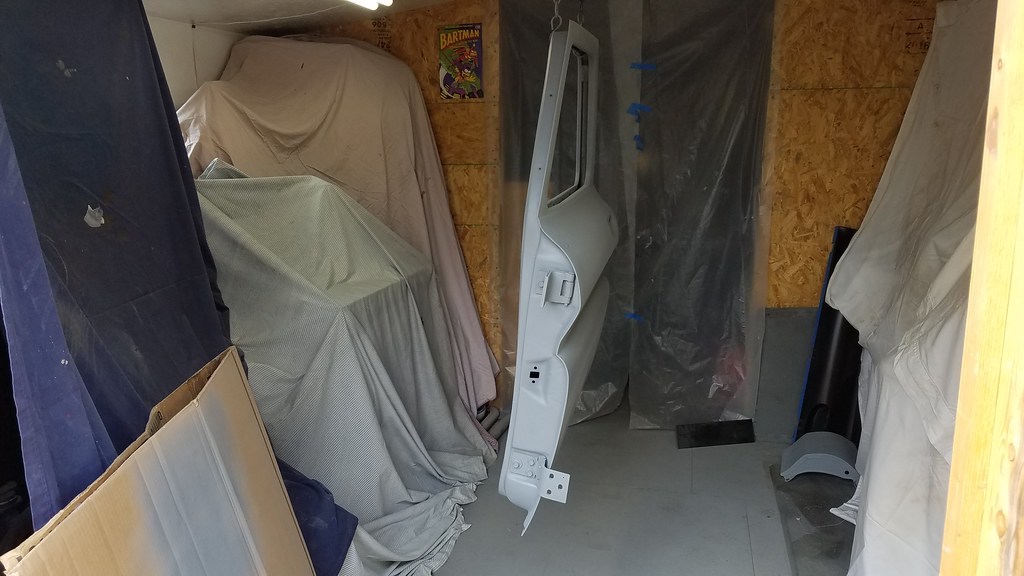
Well vacation is quickly coming to an end with tomorrow the last day. I have slaved all week on the driver door and while I am not going to get it painted it is damn close to being ready.

20180318_161412 by bjohnson388, on Flickr

It was really hard to take a decent photo of it but I just shot 2 heavy coats of filler primer on it so I can block sand it tomorrow and fix any small imperfections.

20180318_160812 by bjohnson388, on Flickr

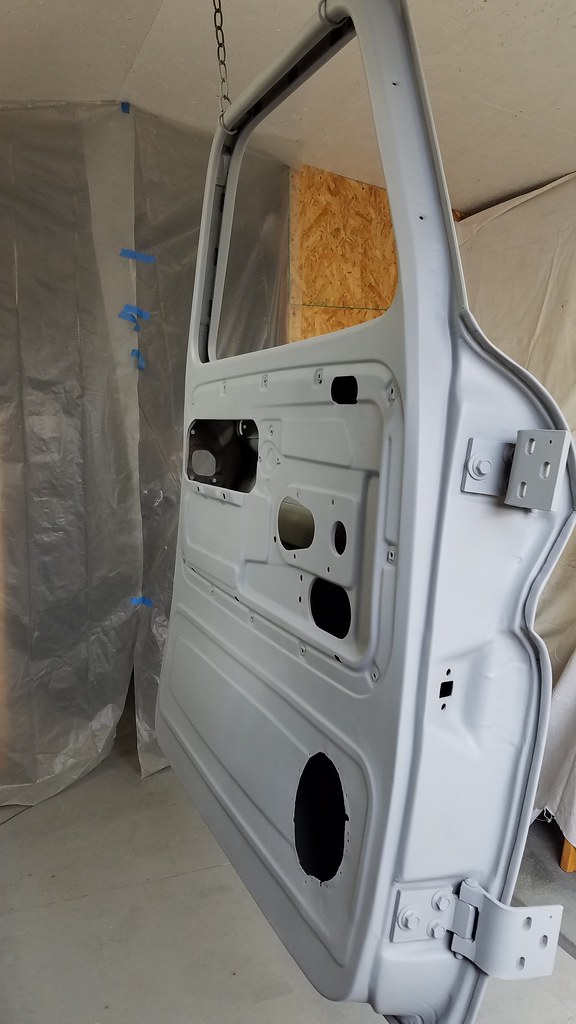
The inside is 100% ready to shot color on.

20180318_161422 by bjohnson388, on Flickr

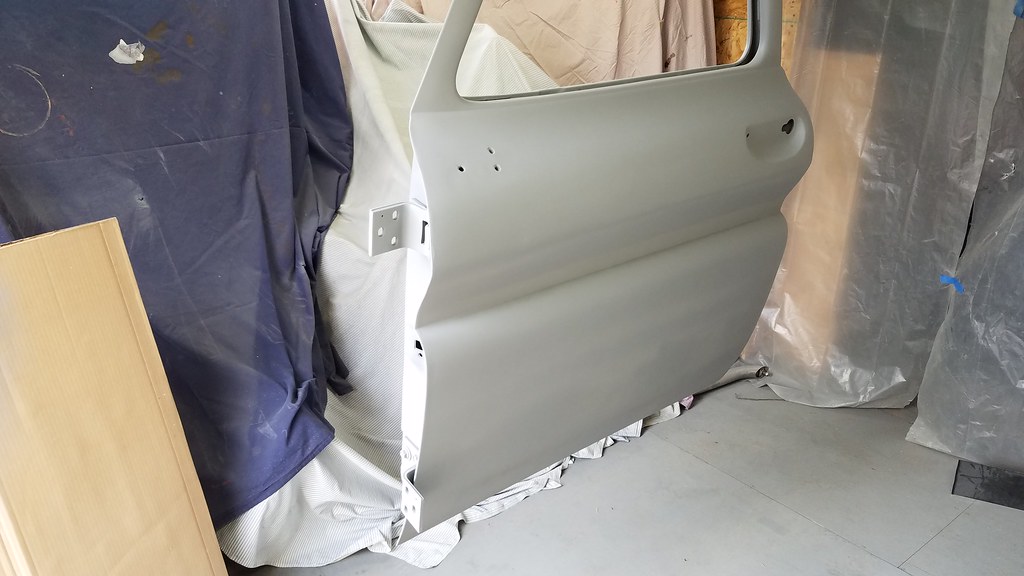
Hanging it from the ceiling worked out really well I was able to shot both sides at the same time. I was even thinking when I shot the color since I will be painting the outside and inside different colors I could put both doors back to back and paint them at the same time.

20180318_160714 by bjohnson388, on Flickr

I covered everything up this time so I wouldn't have overspray everywhere like last time when I shot the grille support.

20180318_160723 by bjohnson388, on Flickr

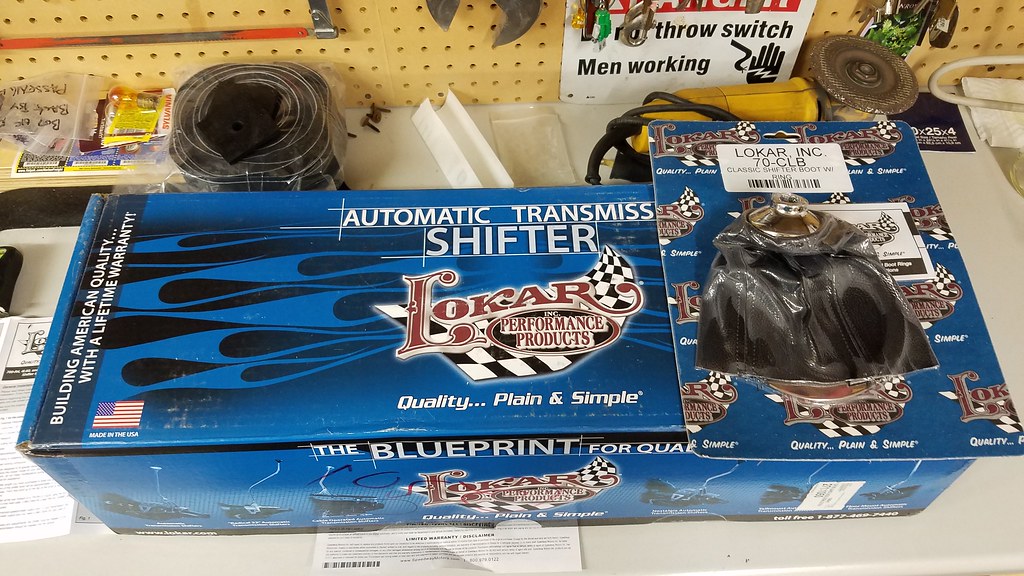
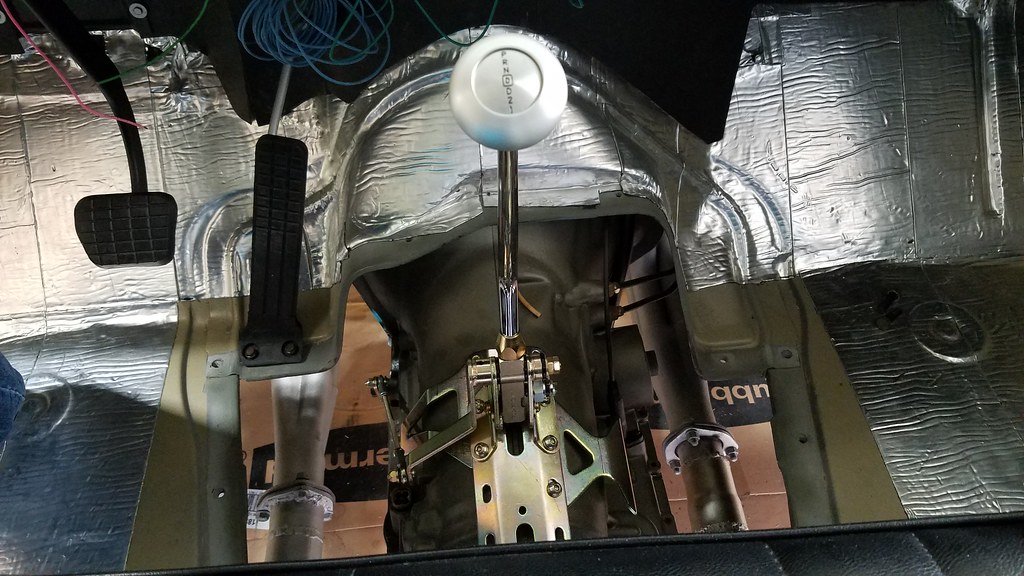
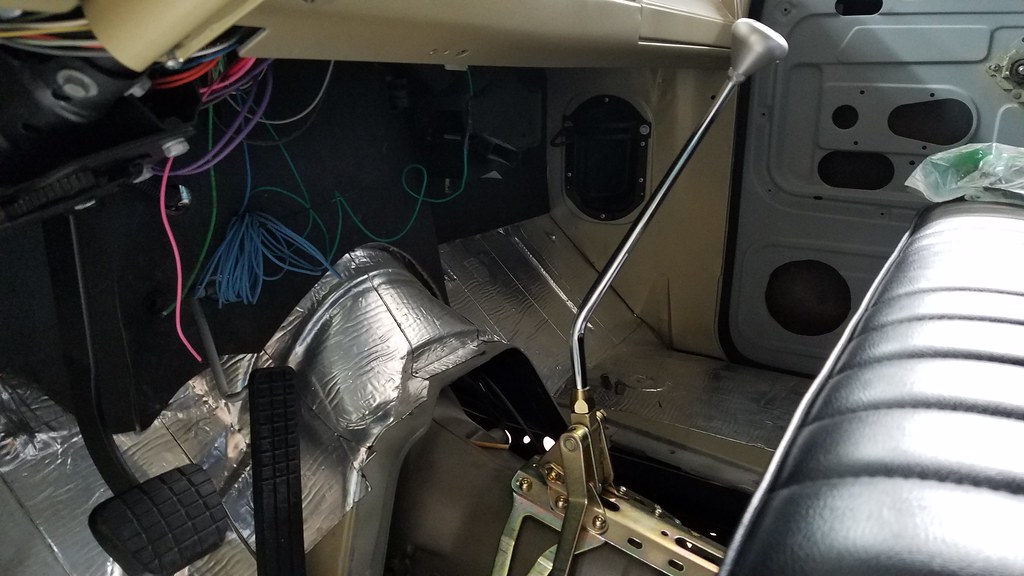
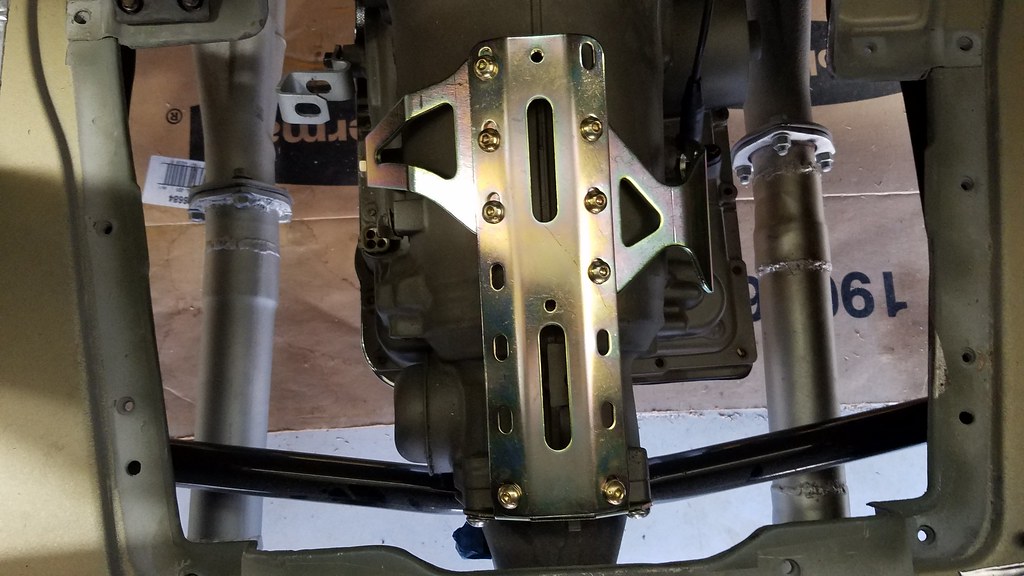
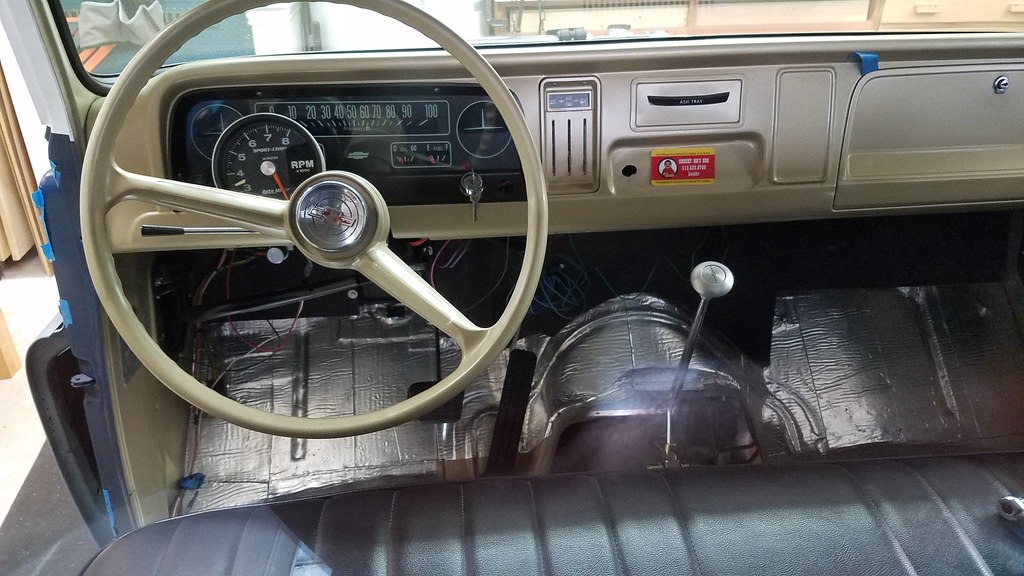
I also got my Lokar shifter in and somewhat installed. Haven't cut the hole in the hump yet. This thing is really nice and well worth the money.

20180317_195326 by bjohnson388, on Flickr

20180317_192324 by bjohnson388, on Flickr

20180317_192331 by bjohnson388, on Flickr

20180317_195813 by bjohnson388, on Flickr

Ignore my messy wiring under the dash. I can know hookup the neutral safety switch and backup lights. After I cut the hole in the hump and shoot the underside with some undercoating. It will get some sound deadening as well.

20180317_192350 by bjohnson388, on Flickr

Thanks for stopping in,
Bret
 
Last edited:
To avoid these ads, REGISTER NOW!
Top Bottom