FJ 432
Well-known member
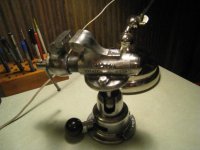
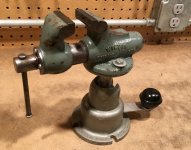
Sorry, I don't have any photos here but check post #52 in this thread (crappy photos)
https://www.garagejournal.com/forum/showthread.php?t=377463&highlight=tool+polisher&page=3
https://www.garagejournal.com/forum/showthread.php?t=377463&highlight=tool+polisher&page=3