OP
zmotorsports
ALLIANCE MEMBER
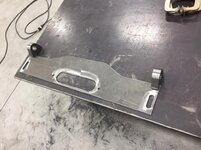
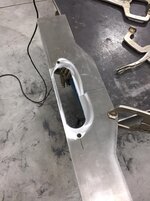
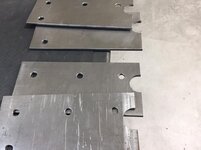
That is the part I was curious about. Did you make a template/guide for your plasma cutter when cutting those holes?
I know my little HF plasma cutter isn't the best, but even if it was, I find it impossible to do anything that even resembles a straight line going free hand. Even with a straight edge as a guide, any burr or flaw along the metal's surface will cause my torch to jump and leave a ragged edge. I guess I need to invest in a roller type guide to avoid this, but I use it so rarely I haven't bothered.
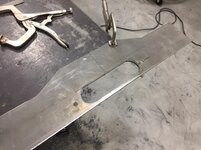
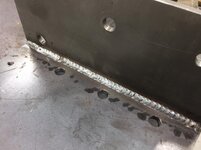
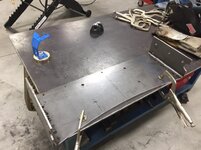
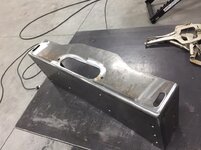
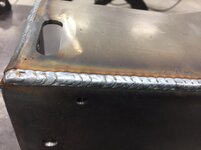
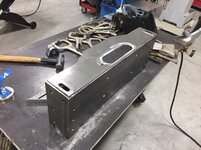
I merely used a piece of 1" square tubing as a guide. I clamped it about .5" off of each line as that's the distance from outside of cup to center of electrode tip and then just drag the plasma torch along it. It's amazing how quickly you can move with just a couple of Vise Grip clamps and a piece of tubing yet make clean cuts. Also getting the current set properly will minimize dross or slag that needs to be cleaned off. There was minimal cleanup that just slightly breathing over with a blend disk removed.


 . IMHO