To avoid these ads, REGISTER NOW!

Above 1200 Sq/FT Jumpman-Z 50x60 Dream Shop and Office Build

Wokspaces above 1200 squarefeet.

Jumpman-Z

Well-known member
Joined
Jun 9, 2014
Messages
145
Location
Amarillo
Some of you may have seen my previous thread, "Jumpman-Z 4-Car Garage". After construction of my house, my original plan was to build a shop around 30 x 50, primarily to house project cars and work on hobbies. For years, I was able to put it off as my 4-car garage was more than adequate. But thanks to a growing collection of project cars including my wife's car after getting married last year, having a baby, and an eBay business that has significantly expanded and taken over much of my house, my hand has been forced to not only go through with the build, but also to go much bigger. After much thought, I decided to build with a 50' x 60' with 16' walls and 3/12 pitch roof to provide room for an office and loft storage in the future. Also two 14' doors because why not?

This build has been in the planning stages for a few years now, along with some setbacks, frustrations, and the necessary changes listed above, but I was determined to get this accomplished in 2025. I've already made a lot of progress and have been too busy to start this thread up until now, but I'll get everyone up to speed and continue with updates of my progress.

Early 2025
After determining what size garage I wanted, the next decision was choosing construction style and picking colors. Red iron was an easy choice for me, and my preference was weld-up rather than bolt-on. For the longest, I wanted to go with a dark brown building with tan trim and a rock wainscot to match my house. Ultimately, I decided it wasn't worth the extra cost and lost interest in that color combo. After much browsing, I fell in love with the koko brown exterior & burnished slate trim combo in the example below, as it matches my home's brick much better:

481032408_564903203240020_7060570469951523406_n.jpg

March-July 2025 - Finding a Metal Building and Concrete Contractor
The first step was getting quotes and finding a good contractor. After meeting with quite a few people and comparing itemized quotes for general contractors, I decided that educating myself as much as possible and subcontracting all of the work myself with the exception of the building itself was the best way to go for cost savings.

It took a little while, but after talking with a few metal building contractors, I finally selected one that I felt pretty good about, and placed an order for a weld-up building through Metal Mart. The colors chosen were Tudor Brown and Patrician Bronze, which seem to be an identical match to what I wanted, and as expected, it was a good match for my brick.
DSC09787.JPG
At the same time, I got a number of quotes for concrete, and ultimately chose a company recommended by a family member.
 
To avoid these ads, REGISTER NOW!
OP
J

Jumpman-Z

Well-known member
Joined
Jun 9, 2014
Messages
145
Location
Amarillo
August 6 - 11 - Dirtwork and Rough-In Electrical and Plumbing
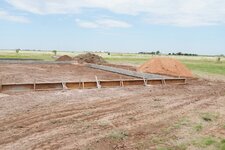
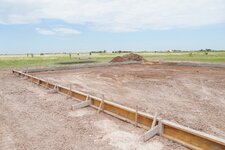
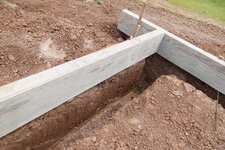
At this point, the building has already arrived at Metal Mart and is waiting for a slab. I decided to go with a 5", 4,000 psi slab with 2' x 2' x 24" piers. Main reason being, I eventually would like to have a car lift installed, but wasn't quite sure where to place it. I have an idea, but things change, and it's always nice to have the option to relocate it in the future if needed.

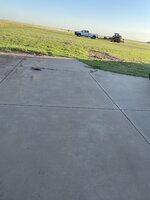
August 6 - The crew showed up around 7:30 AM, and we discussed the shop's location and plans for a driveway extension once the building was completed. The contractor recommended doing driveway work after completion of the building due to the heavy machinery that would be used during the building's construction.

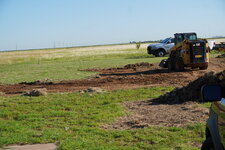
Once everything was determined, they took some measurements, marked the area, and got to work. These guys did not mess around. This day they primarily cleared and leveled.

IMG_8274.JPG
DSC09023.JPGDSC09027.JPGIMG_8277.JPG
Img_8286.jpg
Aerial view captured with my drone.
OLTA5117.JPG
 
OP
J

Jumpman-Z

Well-known member
Joined
Jun 9, 2014
Messages
145
Location
Amarillo
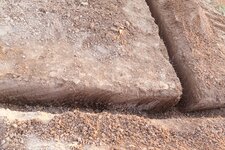
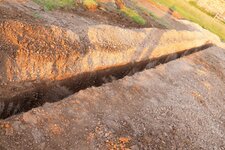
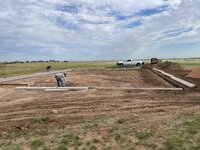
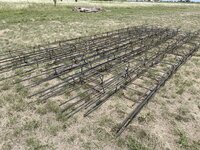
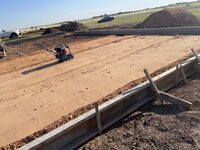
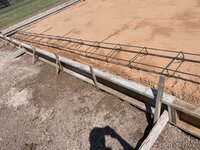
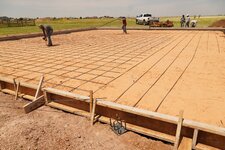
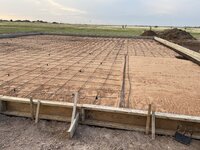
August 8 - Some more digging went on, but just for the piers. They also laid down the sand and rebar, and the building contractor delivered the mounting plates and j-bolts.

This is actually a shot from the previous day, but here's the rebar for the footing.
Img_8319.jpg
A look at where one of the piers will be poured.
Img_8321.jpgImg_8322.jpg

The sand getting spread out and compacted.
Img_8341.jpgImg_8339.jpgImg_8340.jpg
Img_8347.jpg
Rebar for the pad going down and getting tied.
Dsc09096.jpg
It was this day that I learned a gun existed specifically for tying rebar. Cool!
Dsc09100.jpg
 

Attachments

  • Dsc09101.jpg
    Dsc09101.jpg
    758.7 KB · Views: 12
OP
J

Jumpman-Z

Well-known member
Joined
Jun 9, 2014
Messages
145
Location
Amarillo
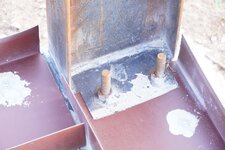
The builder dropped off the mounting plates and j-bolts. They painted a red line on each to mark the correct direction the plates would go in.
Img_8342.jpgImg_8346.jpg

The rebar setup is mostly done at this point, with the grid sitting on chairs to keep it at the correct height.
DSC09103.JPG
 
Last edited:
OP
J

Jumpman-Z

Well-known member
Joined
Jun 9, 2014
Messages
145
Location
Amarillo
August 10 - My plumber and electrician (same guy) came to do the rough-in electrical and plumbing.

The concrete crew held off on this section of rebar to allow us time to do the rough-in, and came back later in the day to finish it up once we were done.
Img_8362.jpg
The plumbing is simple, as I'm only going to have a sink and water heater. I chose not to go with a bathroom because (1) having three toilets in the house to clean is enough as-is, (2) it takes up more space and adds extra expenses, and (3) the shop is very close to the house, so it’s not much of an inconvenience to just walk over.

The insulated PVC will tie into the house water supply right before the water heater, and the non-insulated PVC will tie into the septic.
Dsc09138.jpgImg_8364.jpg

The electrical will be the usual, garage doors, outlets, lights, and some additional outlets for a welder, car lift, and runs for a compressor and a few other random things.

2 PVC conduits were run, A 2" conduit for electrical, and a 1" for Ethernet cable for the Internet. *NOTE* Looking back, we should have used at least 1-1/2" for the Ethernet cable to allow for easier pulling of the cable. I'll get into that a little later.

Dsc09139.jpg
Dsc09140.jpg


Img_8369.jpg
 

Attachments

  • Img_8368.jpg
    Img_8368.jpg
    2.7 MB · Views: 10
  • Img_8367.jpg
    Img_8367.jpg
    2.7 MB · Views: 11
  • Dsc09137.jpg
    Dsc09137.jpg
    677 KB · Views: 10
  • Dsc09136.jpg
    Dsc09136.jpg
    1.1 MB · Views: 13
Last edited:
OP
J

Jumpman-Z

Well-known member
Joined
Jun 9, 2014
Messages
145
Location
Amarillo
August 11 - Time for Concrete!

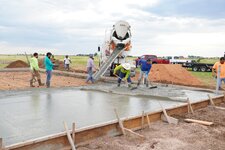
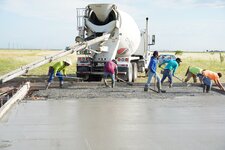
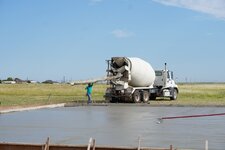
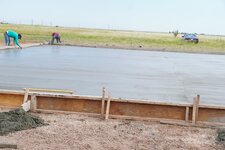
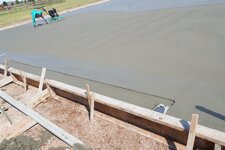
At this point, we are ready for the concrete. There was some slight rain very early in the morning that made me (and the concrete guy) a little nervous, but it was just a light sprinkle, and didn't last very long. They got started around 5:30 AM with final prep, and the first couple of trucks showed up about an hour or so later. It took around 7-1/2 trucks total to pour the slab.

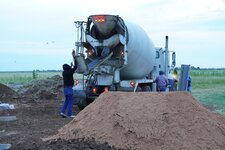
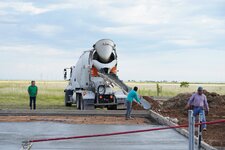
The first truck has arrived. The deliveries were staggered to allow for proper time for pouring and spreading,
Dsc09150.jpg

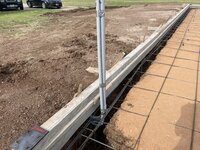
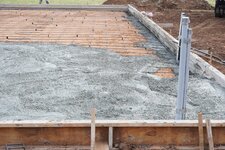
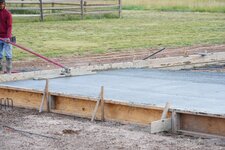
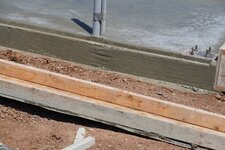
Filling up the footing. Normally they pour the footing first, and pour the pad after it has cured, but per the builder's request, they poured everything at once.
Dsc09153.jpg

Dsc09154.jpg
This is one construction job where you didn't see anyone standing around. It was a crew of 8 people, and they were all busy.
Dsc09156.jpg

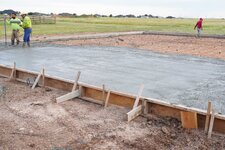
Starting to smooth out the first 1/3 or so of the slab.
Dsc09157.jpgDsc09158.jpg
Getting everything smooth with the longest extension pole I've ever seen.
Dsc09160.jpgDsc09161.jpgDsc09162.jpgDsc09163.jpg
 
OP
J

Jumpman-Z

Well-known member
Joined
Jun 9, 2014
Messages
145
Location
Amarillo
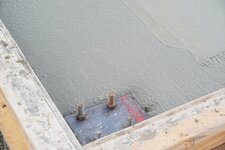
Once of the plates dropped in.
Dsc09164.jpgDsc09166.jpg
The owner of the concrete company (left) came to check things out as well.
Dsc09167.jpg
Another plate.
Dsc09168.jpg
Almost done. They originally estimated 7 trucks would do the job, but, but ended up having to request about a half truck (3 cu. yards IIRC) to finish up.
Dsc09169.jpgDsc09170.jpgDsc09171.jpgDsc09174.jpgDsc09175.jpgDsc09176.jpg
 
OP
J

Jumpman-Z

Well-known member
Joined
Jun 9, 2014
Messages
145
Location
Amarillo
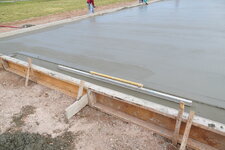
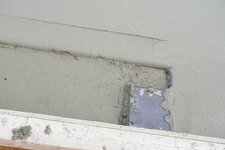
The slab is mostly safe to walk on now, and is receiving control joints with the saw. Joints were cut approximately every 10 feet in both directions.

Dsc09186.jpg
1303.jpg
All done with the slab!
Dsc09195.jpg
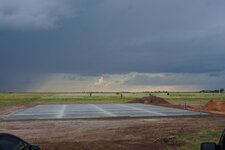
And just in time. A storm rolled in later that evening.
Dsc09197.jpgImg_8400.jpgImg_8401.jpg
 

Attachments

  • Img_8399.jpg
    Img_8399.jpg
    1.6 MB · Views: 9
  • Dsc09196.jpg
    Dsc09196.jpg
    479.1 KB · Views: 9
  • Dsc09188.jpg
    Dsc09188.jpg
    479.3 KB · Views: 9
Last edited:
OP
J

Jumpman-Z

Well-known member
Joined
Jun 9, 2014
Messages
145
Location
Amarillo
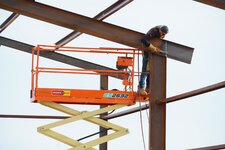
August 28 - One of the welders arrived in the morning to start prepping, with a couple more joining later in the day with a forklift. They were busy most of the day measuring and making cuts for the columns and rafters, and later in the day began welding plates to attach the girts and purlins.Dsc09432.jpgDsc09434.jpgDsc09435.jpgDsc09438.jpgDsc09439.jpgDsc09441.jpgDsc09442.jpgDsc09444.jpgDsc09445.jpgDsc09446.jpg
 
OP
J

Jumpman-Z

Well-known member
Joined
Jun 9, 2014
Messages
145
Location
Amarillo
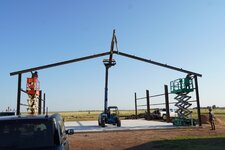
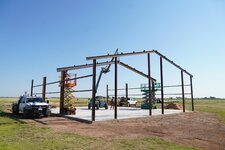
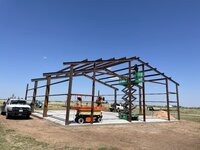
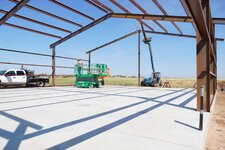
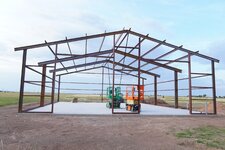
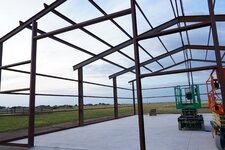
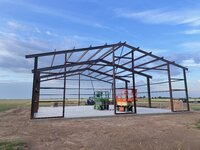
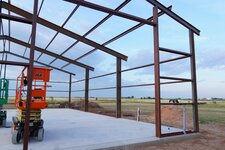
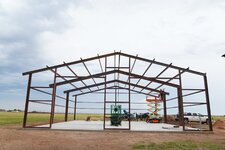
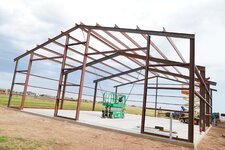
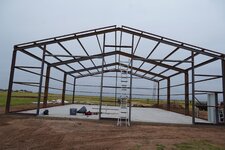
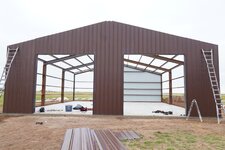
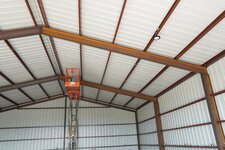
September 3 - The rafters and purlins were installed. Really starting to come together at this point.

Aerial drone shot.
1586.jpgDsc09508.jpgDsc09510.jpg

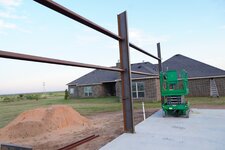
Putting one of the endwall posts in place.
1587.jpg

All of the endwall pieces are in place, now for the second rafter.
Dsc09516.jpgDsc09517.jpgDsc09518.jpgDsc09519.jpgDsc09520.jpg1600.jpg
 
To avoid these ads, REGISTER NOW!
OP
J

Jumpman-Z

Well-known member
Joined
Jun 9, 2014
Messages
145
Location
Amarillo
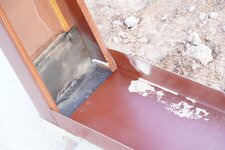
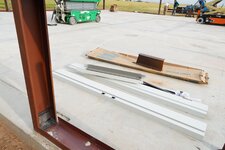
In the building's interior, for ease of mounting items and hanging shelves (and better aesthetics IMO) my plan is to cover the first 8 feet of wall height in plywood. Looking at a few Youtube videos and recommendations here, the general consensus seems to be securing the plywood at the bottom, with either channel from the start, or angle iron if you do it later. I don't want to deal with securing angle iron into the concrete later, so I requested the builder to use channel, and he ordered 8" channel to line up with the girts.

A slot was cut into the channel, allowing it to slide past the conduit.
Dsc09530.jpgDsc09538.jpgDsc09540.jpgDsc09541.jpgDsc09542.jpgDsc09544.jpgDsc09545.jpgDsc09546.jpgDsc09547.jpg
 
Last edited:
OP
J

Jumpman-Z

Well-known member
Joined
Jun 9, 2014
Messages
145
Location
Amarillo
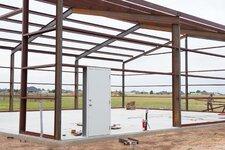
Also, I had the builder install a 3070 (36" x 84") man door. It just made sense to me to have the door swing out from the left.

Just FYI, I learned from one of the crew members, if I did want to have the door swing in, I'd have to contend with leak issues due to the door seal being on the outside. Dsc09552.jpgDsc09553.jpgDsc09559.jpgDsc09561.jpg
Dsc09563.jpg
Dsc09562.jpg
 
OP
J

Jumpman-Z

Well-known member
Joined
Jun 9, 2014
Messages
145
Location
Amarillo
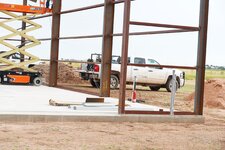
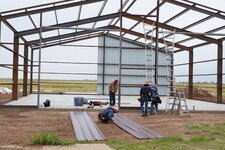
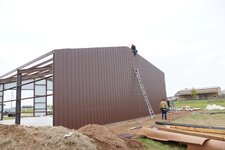
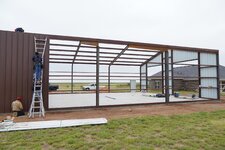
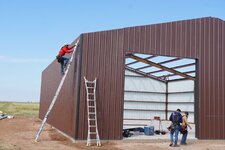
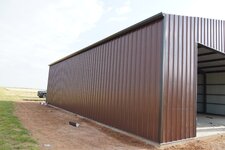
September 6 - Now for the sheeting! I wasn't expecting this to get done for a while, as the builder told me that the sheet metal crew he used was really backed up, but to my surprise, they showed up the next day, and a Saturday at that! Watching these guys in action was pretty impressive. They worked fast, made clean cuts, but what really surprised me was the fact that they used ladders instead of man lifts. A little too sketchy for my taste, but they definitely knew what they were doing.

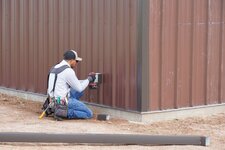
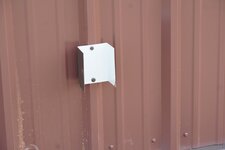
They started off with installation of the flashing around the building.
Dsc09569.jpgDsc09571.jpgDsc09582.jpg
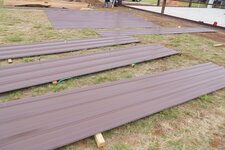
Some of the sheets laid out.
Dsc09572.jpg

Yeah... ladders!

Dsc09568.jpgDsc09570.jpg
Taking some measurements before cutting.
Dsc09573.jpg
You can kinda see in this photo that they mark the lines where the screws will go into the girts.
1648.jpg

Dsc09574.jpg
Dsc09583.jpg
 
OP
J

Jumpman-Z

Well-known member
Joined
Jun 9, 2014
Messages
145
Location
Amarillo
Awesome man! :beer: You are so lucky that you don't have to deal with the frost line and impending snow, ice and freezing rain like I am.
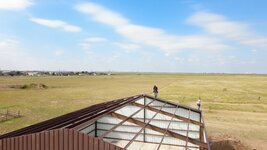
Yeah that definitely slows things down! Luckily this fall has been even warmer than usual, we've only had a couple of below freezing days so far.
 
OP
J

Jumpman-Z

Well-known member
Joined
Jun 9, 2014
Messages
145
Location
Amarillo
The crew was done with most of the major work on the first day. Here's a couple shots from my drone of the roof being installed. These are actually from many gigabytes of video footage that I'll eventually get around to editing and posting on my Youtube channel as part of a Shop Build series.Image2.jpgImage1.jpg
 
OP
J

Jumpman-Z

Well-known member
Joined
Jun 9, 2014
Messages
145
Location
Amarillo
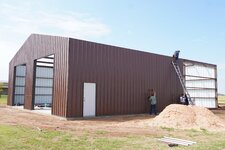
September 7 - On the second day, it was mostly installing remaining trim and gutters. And they were pretty much done. I was surprised that they came back to work on a Sunday, but I guess they needed to stay on schedule. I was lucky that it rained the next day, which allowed me to determine if any screws were missing. My wife found one, and that was it. Considering how many they used, that's not bad! They sent a couple guys out and took care of it quickly. Dsc09595.jpg Support for the gutters getting drilled and mounted.Dsc09596.jpgDsc09599.jpg
Openings getting cut.
Dsc09601.jpg
Dsc09598.jpgDsc09600.jpg
For some reason the rear end cap was missing. The crew told us about it, and one was delivered and installed the next day.
Dsc09611.jpg
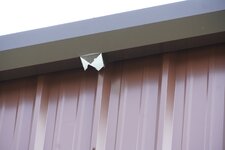
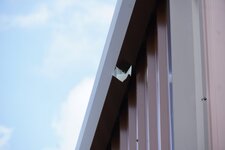
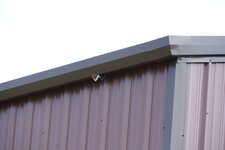
Can you see it? The one missing screw. *HINT* Look for the light.
Dsc09612.jpg
 

Attachments

  • Dsc09597.jpg
    Dsc09597.jpg
    180.3 KB · Views: 5
OP
J

Jumpman-Z

Well-known member
Joined
Jun 9, 2014
Messages
145
Location
Amarillo
September 8-September 25 - Electrical and Plumbing
It's finally time for the electrical and plumbing work. Everything has been going pretty smooth up until now, but things get frustrating from this point on.

My goals for the electrical and plumbing are as follows:
Electrical
  • 12 UFO-style LED lights inside, 4 every 20 feet
  • 2 security flood lights on the left and right sides of the building
  • 2 - Gang, four-outlet boxes every 5 feet, one higher up in the center for a camera, and one higher up on one side to run power to a few signs
  • Outlet for a welder
  • Outlet for a car lift
  • Outlet for a water heater
  • Outlet for an electric dryer (I used to flip these, if I ever do that again, it'd be nice to test in the shop instead of dragging into the house:))
  • Electrical for Compressor
  • Electrical for HVAC (Heat pump for main area and mini-split for office, will do later)
  • Electrical for Office (will do later)
Plumbing
  • Sink
  • Water Heater,
  • Connection to septic
Right now, the main goal is to complete what's needed prior to insulating the building, which includes the plumbing, lighting, and outlet boxes.

September 8 - Getting started. The night before we purchased wires, flex conduit, boxes, a sub-panel, and some breakers. I originally purchased a 100-amp panel (IIRC), but based on my needs, it was returned and I went with a 150-Amp Siemens for the sub panel instead.

1694.JPG
Digging the trench to to run the cable from the main panel to the sub panel. This will be the primary source of my frustration, I'll get into that later.

1695.jpg

The wire for the sub panel was run from the shop through a trench and up through the soffit to get to the attic space above the garage, and finally down the the other side of the garage to access the main breaker panel.
1693.jpg

September 10 - Some of the outlets wired up.
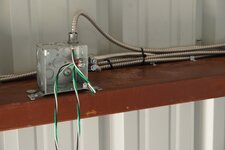
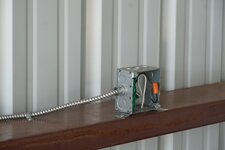
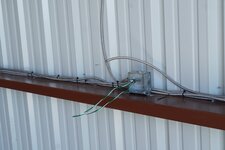
The flex conduit was run through the columns, which I preferred, especially for the purpose of hiding things. I wasn't too fond of the fact that he used an angle grinder (MY angle grinder at that) to make the holes in the columns. I personally would have used a step-up drill bit (which I also had), but I let it go. 😤 Everything will be covered with plywood, so it's not that big of a deal.
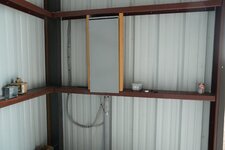
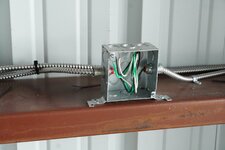
Dsc09613.jpgDsc09614.jpgDsc09615.jpgDsc09616.jpg
 

zanyad

ALLIANCE MEMBER
Joined
Apr 26, 2018
Messages
2,898
Location
NE Ohio
I wasn't too fond of the fact that he used an angle grinder (MY angle grinder at that) to make the holes in the columns. I personally would have used a step-up drill bit (which I also had), but I let it go.
That's... less than ideal. I would also much preferred a drilled hole!
 
OP
J

Jumpman-Z

Well-known member
Joined
Jun 9, 2014
Messages
145
Location
Amarillo
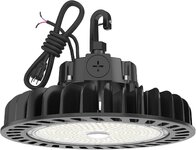
For the interior lighting, I went back and forth on which brand light to get, but I ultimately chose to go with Hyperlite. I purchased 12 of the 29000 Lumen / 200W Dimmable High Bay LED UFO-style Lights. My main reasons for choosing these are because they seem to have a really good reputation and the fact that they were dimmable, which gave me some leeway since I basically guesstimated how much lighting I'd need instead of coming up with an actual lighting plan😅. I did look at some lighting plans from other garages and though. Also, these are adjustable from 100W to 200W, and can be switched between 4000K, 5000K, and 6000K. I already knew I wanted 200W and 5000K settings, but having the option to change later is nice.
61meBero1aL._AC_SL1500_.jpg

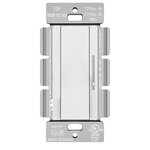
I ordered three of Hyperlite's 1-10V dimmable switches, so I can have individual control over the each row of lights, and the brightness.
617gdbme0hL._SL1500_.jpg
I also went with Hyperlite for the outdoor lights. I purchased 4 of these 120W, 15,600 Lumen wall pack lights.
717kzLBeSXL._AC_SL1500_.jpg
 
Last edited:
OP
J

Jumpman-Z

Well-known member
Joined
Jun 9, 2014
Messages
145
Location
Amarillo
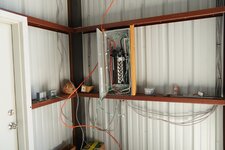
September 11-14 - Continuing to run wires, and even got some of the lights wired up. All of the lights probably would have gotten installed during this time, but I procrastinated and took too long deciding which ones to get, and only a few arrived in time. Dsc09619.jpgDsc09620.jpgDsc09622.jpgDsc09623.jpgDsc09624.jpgDsc09625.jpgDsc09627.jpg
The panel was a mess at this point, but coming together.
Dsc09628.jpgDsc09617.jpgDsc09629.jpg
 
Last edited:

zanyad

ALLIANCE MEMBER
Joined
Apr 26, 2018
Messages
2,898
Location
NE Ohio
Dsc09627.jpg
Oh look! A hole saw! I wonder whether that'll go through some iron beams... :evil:
 
To avoid these ads, REGISTER NOW!
Top Bottom