

jblnut
ALLIANCE MEMBER
Not in the shop but in the lean attached to the shop so I think it counts ……
This has been a dumping area since the shop was built and an area on the farm I’m not at all proud of. Today Pops and I decided to do something about it.

Holy tires Batman !!

There is a clean floor in here !!

We drug the pallet racking so it lined up with the other stuff. The plan is to put a mezzanine on top of the pallet racking so I can store even more treasures !!

This has been a dumping area since the shop was built and an area on the farm I’m not at all proud of. Today Pops and I decided to do something about it.
Holy tires Batman !!
There is a clean floor in here !!
We drug the pallet racking so it lined up with the other stuff. The plan is to put a mezzanine on top of the pallet racking so I can store even more treasures !!


")
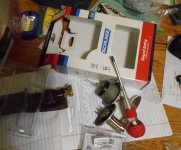


 But I did them on the motorcycle lift in the garage. Does that count?


 If I had to describe the replacement unit in one word, it would be "beefy". I expect it to last longer than 45k miles.
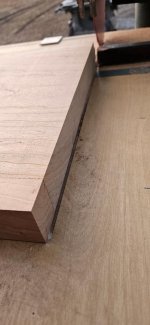
 After hosing the engine bay down with peppermint oil and shop-vac'ing the nest(s) out, then de-pinning, uncrimping, re-crimping, soldering, heatshrinking, and looming seven circuits, the car was back in business with zero DTC's and restored oil pressure readings.
