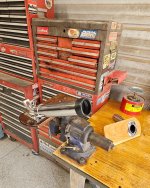
Update: I bought this ring lamp, and it arrived today.
The ID of the ring is spec 64mm. Caliper says it’s closer to 63.5mm.
The quill on my drill press is 65mm.
So I spent some time in CAD trying to make a 65mm guide I could attach to the light to help hog out the ID to fit the quill.


After a few revisions, I had this fitting ok, but decided that my sheet metal cutting skills/tools on hand aren’t sufficient to make a perfect 65mm hole.
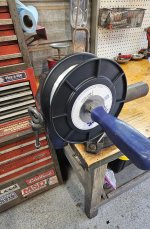
Abandoning the CAD, I mounted my Dremel in its busted drill press, and used a sanding drum with lots of movement and light pressure to slowly open up the ID. After a few minutes, I had a tight slip fit on the quill.
I shortened the setscrews too.

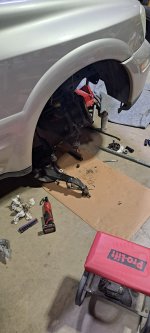
This DP has a built in “light” feature. Behind the quill is a standard lamp socket in a hole. Lamp out, lamp socket to outlet adapter installed, and that gives me a place to plug in the power pack and hide the extra wiring. Now it works from the big “light” switch up front.


Pretty shadow free, just a little bit at the drill point.


 )
)