You say, "rear tyres are toast", so presumably new tyres are needed.
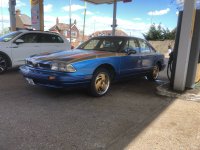
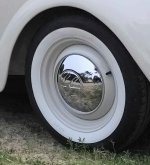
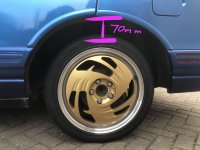
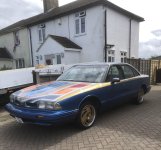
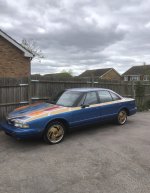
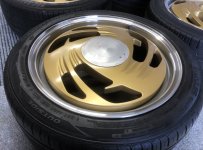
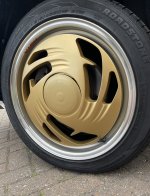
IMO you need 'taller' tyres. You have gone from 70 profile 15" to 45 profile 17", which is a significant part of the visual problem. It will also impact ride quality too. The overall height of the new wheel/tyre combo is less than the original. I think that this era of car doesn't really suit low profile tyres anyhow.
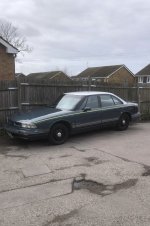
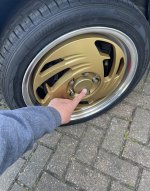
My suggestion would be to check how 55 profile tyres on the 17" rims would fill the arches before you start lowering.
IMO you need 'taller' tyres. You have gone from 70 profile 15" to 45 profile 17", which is a significant part of the visual problem. It will also impact ride quality too. The overall height of the new wheel/tyre combo is less than the original. I think that this era of car doesn't really suit low profile tyres anyhow.
My suggestion would be to check how 55 profile tyres on the 17" rims would fill the arches before you start lowering.
") ?
?


 !
!