To avoid these ads, REGISTER NOW!

Making my 70 El Camino a show car

To avoid these ads, REGISTER NOW!
OP
D

don long

Well-known member
Joined
Mar 31, 2012
Messages
8,893
Location
southern california
Well It's been almost a year since this thread was hit. So I'll try to bring youall up to date here.
The truck was sooo close to being finished when I took my son for a quick ride around the block.
We were past the point of no return when I remembered to *** air to the rear shocks to lift the body off the rear tires. It was too late the damage was done, Both rear panels had been heated up from the tires rubbing and the paint was bubbling up. I was sick to say the least. There were a few other small imperfections like when I started to buff the drivers door too soon and put a burn mark in front of the side mirror. The mirrors were a lighter color than the doors and the hood had closed too tighrtly and gouged the paint on the inner fenders.

With all that said I had made up my mind the the truck is my driver and I'm not going to worry any more over this unit.

2 weeks later my friend from P.P.G. came by to look at the truck. He saw all the blems and said that this will never do. He made me agree to let him send me a hotrod specialist that works for him over to inspect the truck. He now spends his spare time working with me to redo the El Camino and make it a show truck.
 
OP
D

don long

Well-known member
Joined
Mar 31, 2012
Messages
8,893
Location
southern california
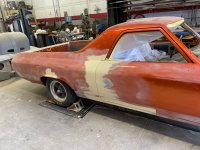
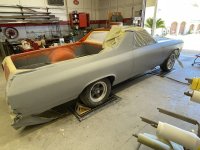
We started by TOTALLY dismantling the entire truck, Engine and trans out, Glass out, Interior out,gas tank, bumpers and dash all sitting on the shelves as we started working on the tailgate and gaping it.
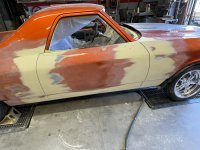
Next we moved over to the right side of the truck, Blocking the paint, and gapping the door.

IMG_0424.JPG

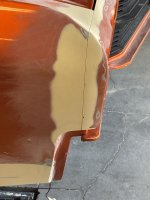
Then to the fender gap

IMG_0444.JPG

Then up to the head light door

IMG_0442.JPG

And as long as we are at the front of the fender the marker light must be altered before priming the entire side with a sealing primer

IMG_0521.JPGIMG_0524.JPG
 
OP
D

don long

Well-known member
Joined
Mar 31, 2012
Messages
8,893
Location
southern california
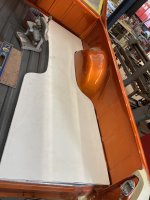
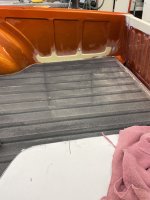
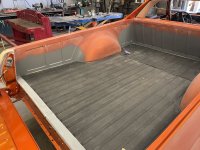
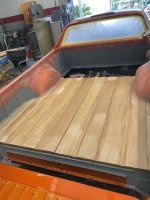
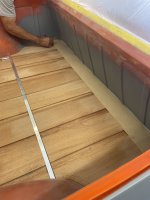
While waiting for him to find time to come by I tackled the wood bed first a template to follow to cut around the wheel wells

IMG_0190.JPG


A couple of problems arose
#1 the taper on the wheelhouse
#2 the gaps on the side walls of the bed
The solution for the first problem was to put wood under my pattern high enough to mark where the wood floor will sit. Then cut the pattern to match the height of the wood floor

The bigger problem was to raise the lower edge of the cut outs to be above the height of the wood so that was my job to fix that

IMG_0199.JPG

Next I had to make the end panel 3/4" higher to sit above the wood when it was in the bed

With most of that done it was time to start on the wood itself


IMG_0389.JPG
 
To avoid these ads, REGISTER NOW!

Swanny1953

ALLIANCE MEMBER
Joined
Jul 28, 2010
Messages
1,093
Location
Lucas, TX
Sorry you had to do a step forward and several back to get on the right track! The gaps look terrific and I'm sure the paint will be even more spectacular the second time around. The wood bed and your attention to detail around the side panel indents will make all the difference in the world and make the truck truly a standout!
 
OP
D

don long

Well-known member
Joined
Mar 31, 2012
Messages
8,893
Location
southern california
To avoid these ads, REGISTER NOW!
Top Bottom