To avoid these ads, REGISTER NOW!

3 cars in a 2 car garage

To avoid these ads, REGISTER NOW!
OP
W

Willy81

Active member
Joined
Sep 20, 2013
Messages
31
Sorry guys. I forgot to update this forum with my blog posts. I'll catch you up a few years (not that it's been a blistering pace)...
 
OP
W

Willy81

Active member
Joined
Sep 20, 2013
Messages
31
August 2016

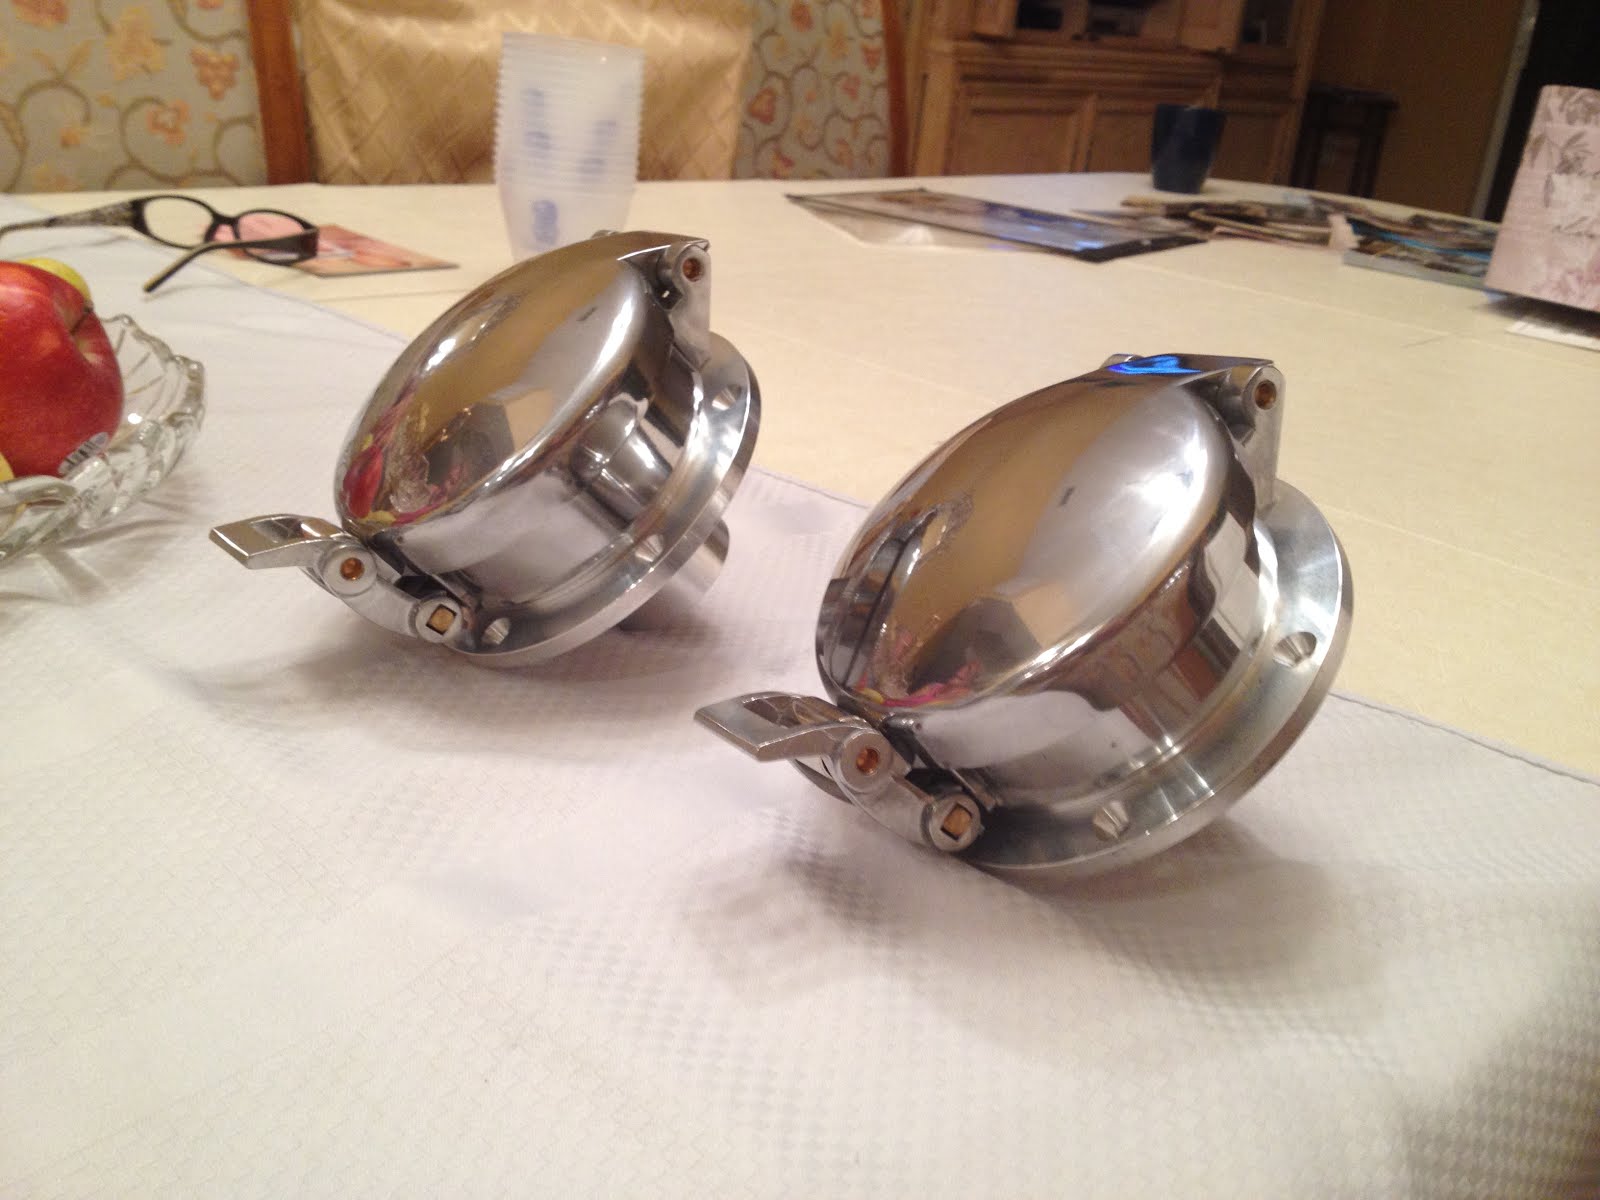
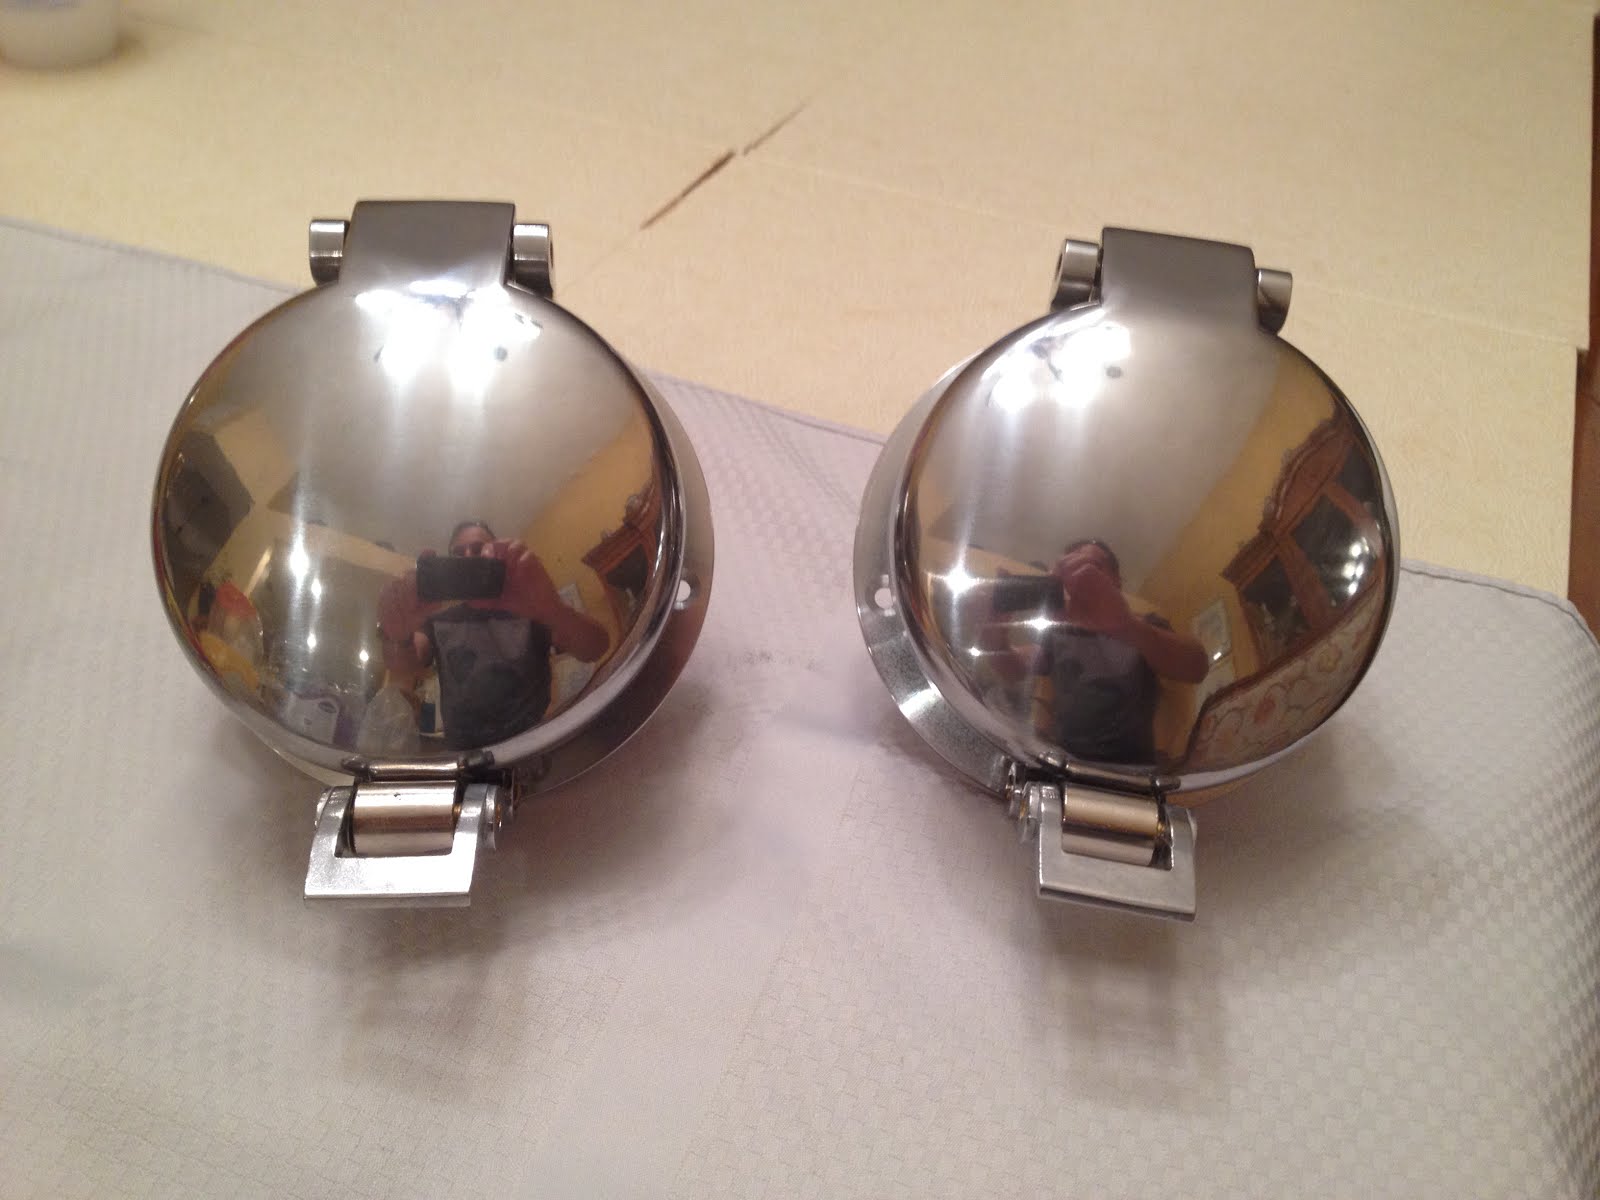
Well over a year has passed by at lightning speed and not much has happened with the GT40. So what the hell have we been doing? Well, it’s been one hell of year. First up, we did a massive family trip to the USA. One fortunate off-shoot of this, were these awesome fuel fillers that I managed to pick up off a US eBay seller. They’re not strictly true GT40 replicas, but they will look great and do the job. They arrived at the house we were staying at on the very last day we left. Phew!

IMG_2837.JPG


IMG_2836.JPG


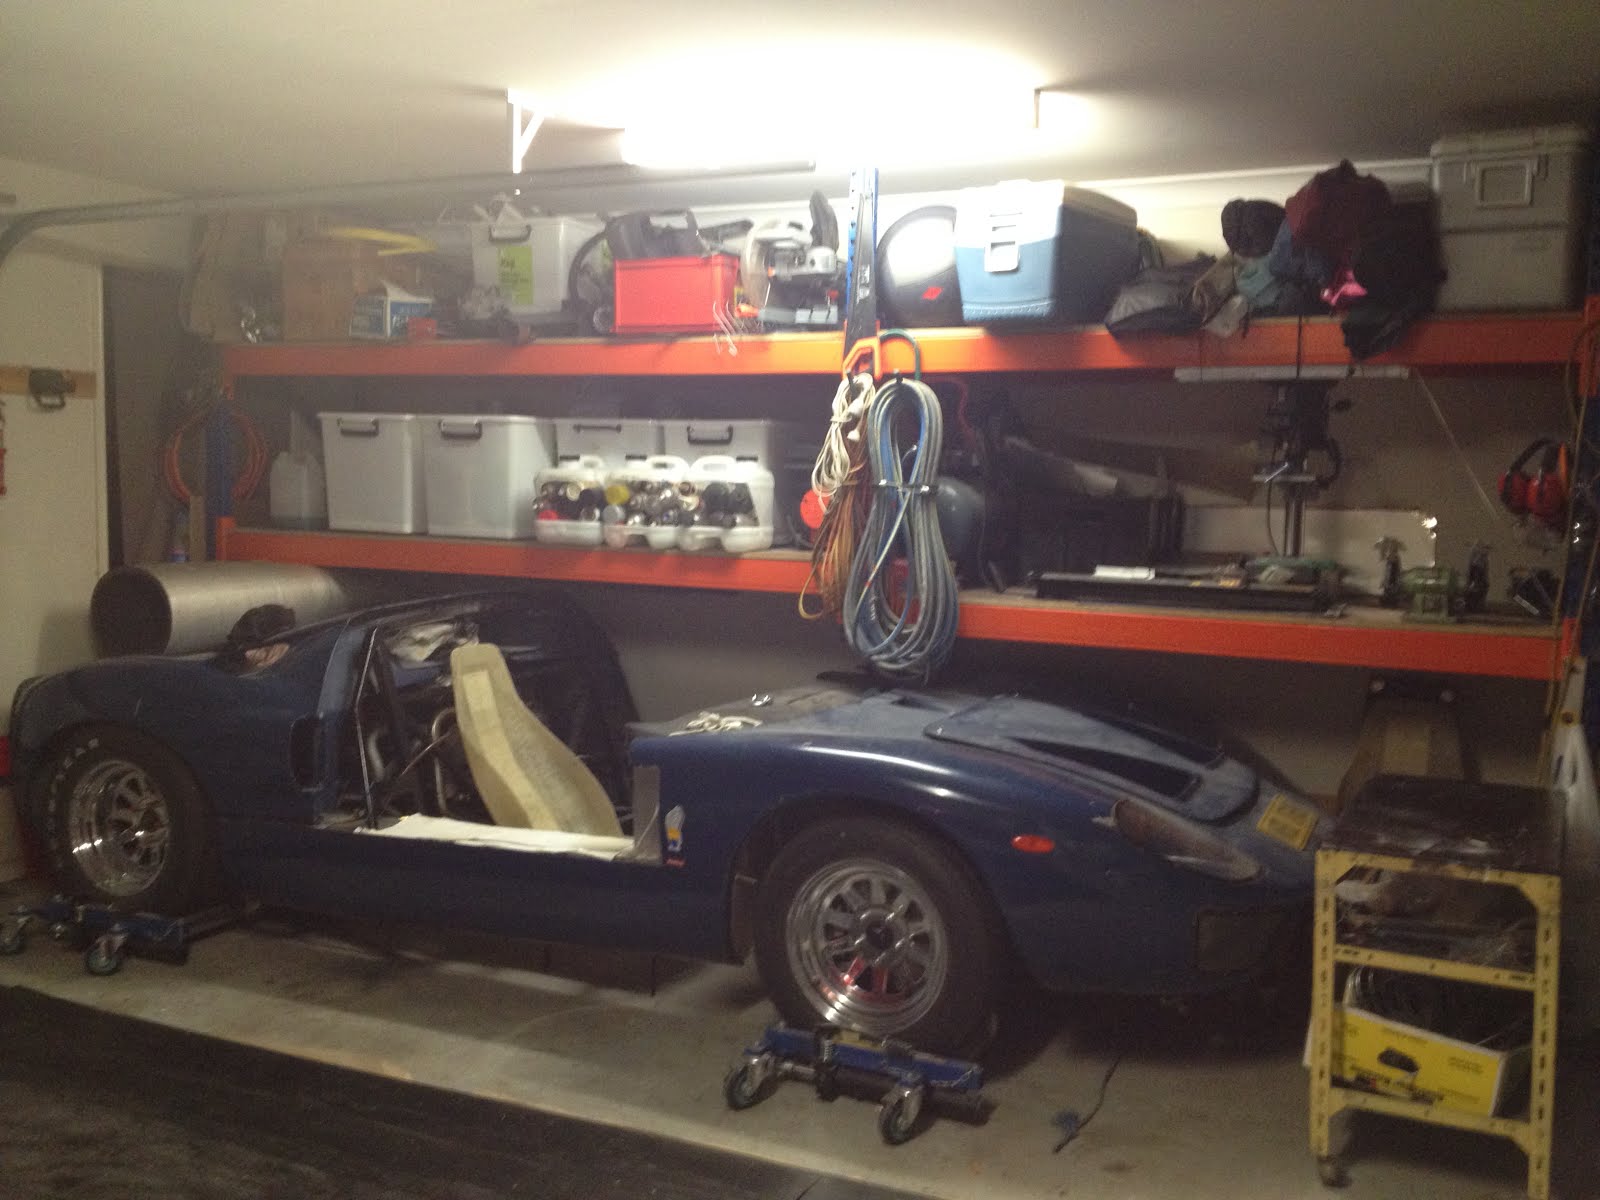
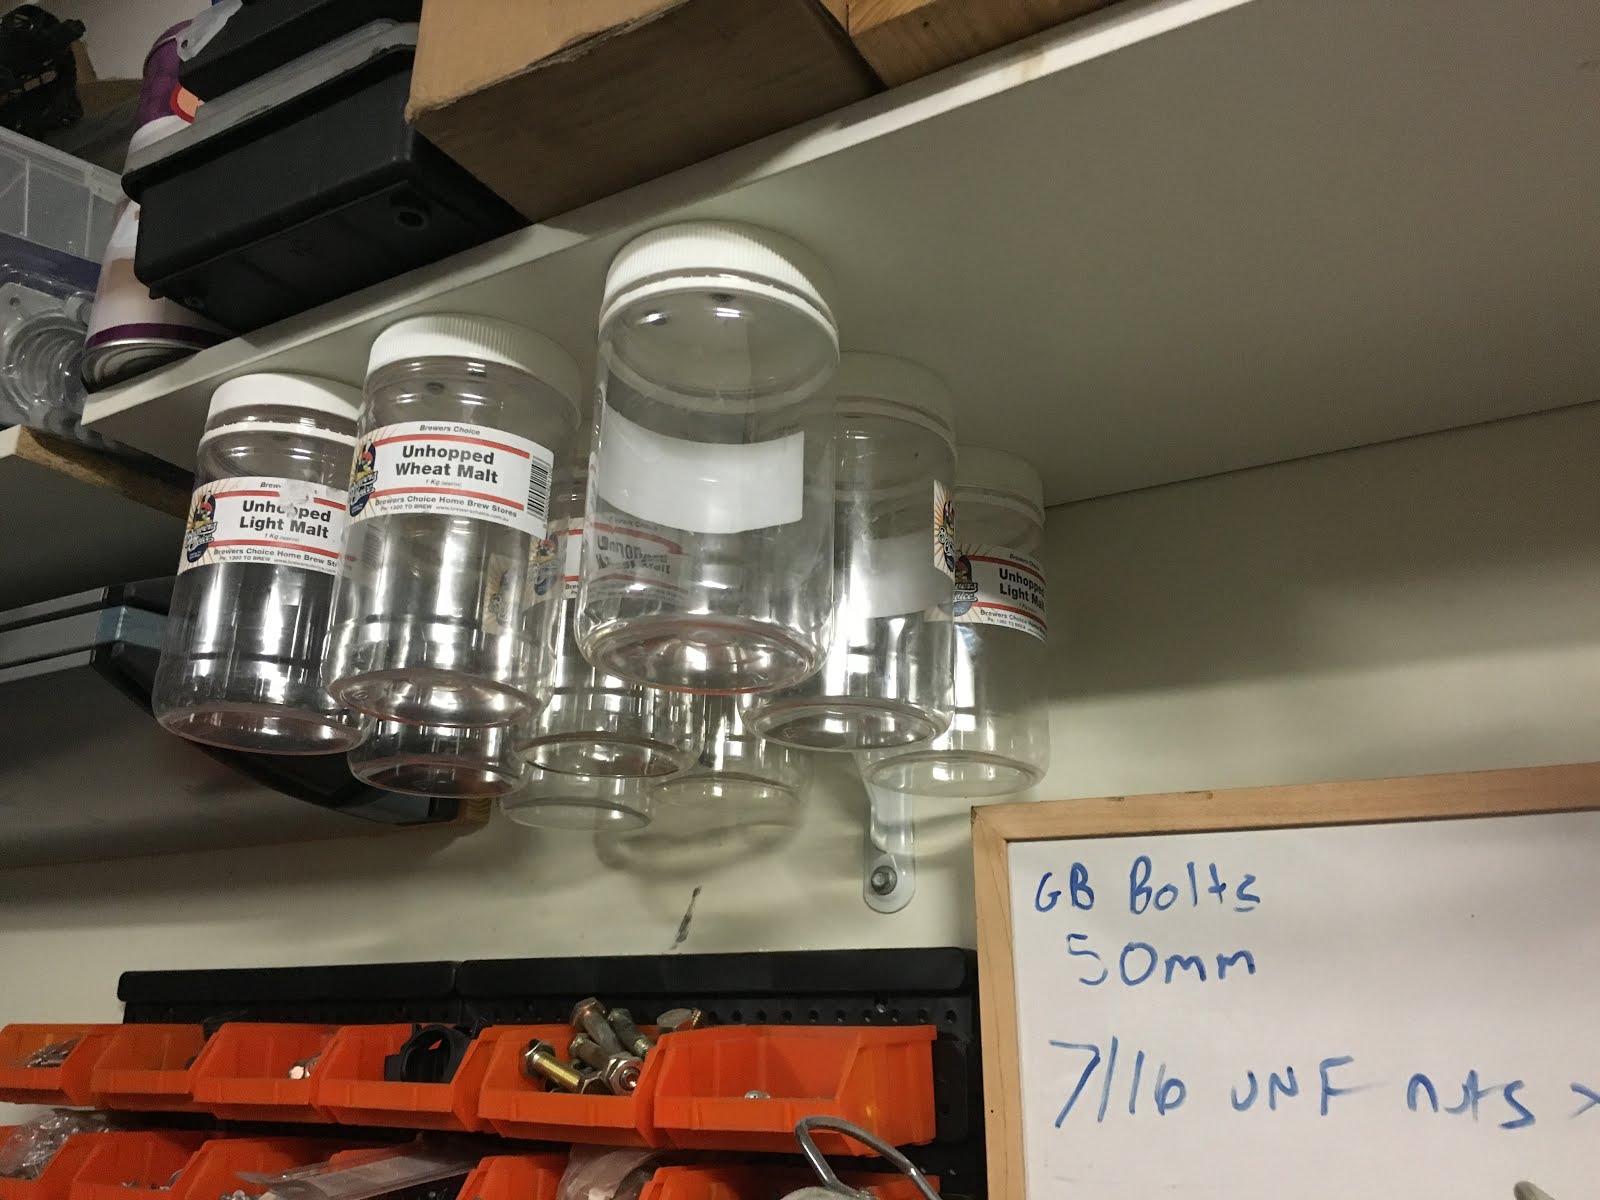
On return from the trip, I hit the garage with the intention of getting stuck into the car, but discovered it was a bit of a mess and soon got side tracked into organising the garage so that it’s easier to work in and find things. These homebrew malt jars make good screw storage and the old fresh wort kit “cubes” can be cut open to store spray cans, etc.

IMG_2869.JPG


IMG_2882.JPG


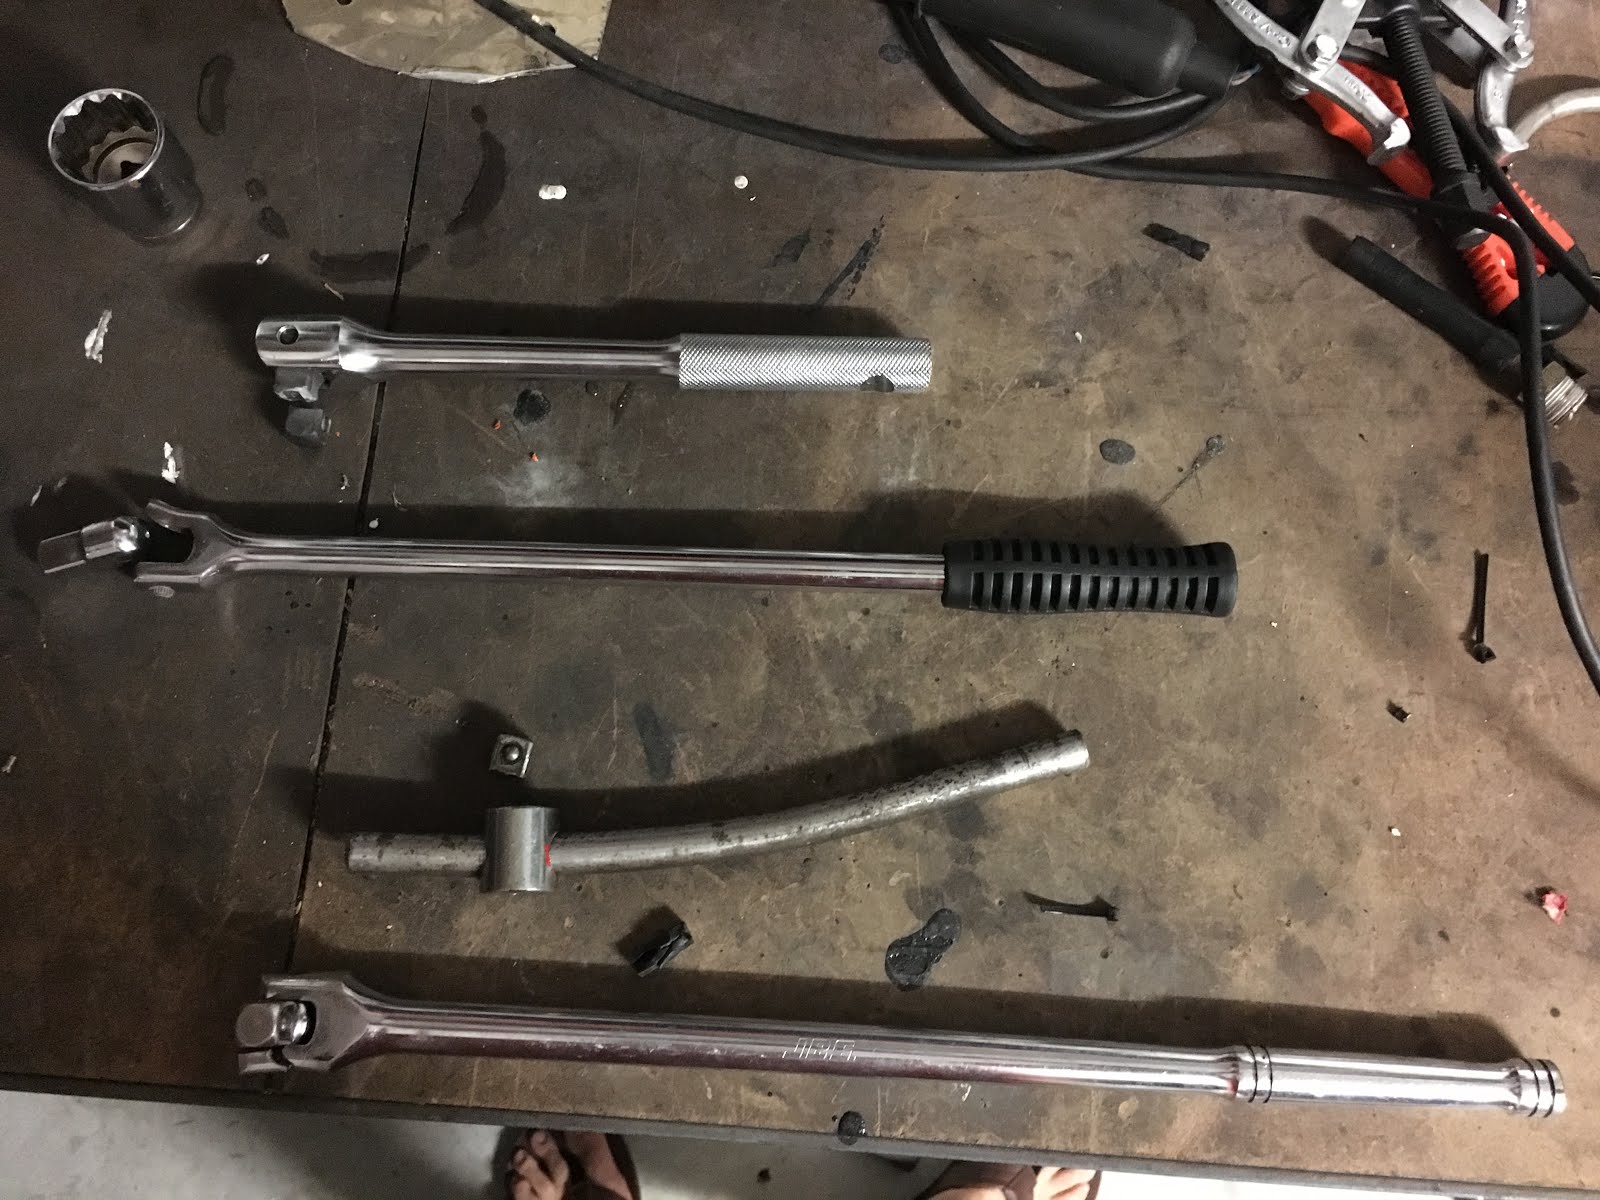
Soon after this, I was sent on a last minute work trip to Zambia, which took us through to Christmas. Over Christmas time, I discovered my Stagea had a radiator leak. Whilst the radiator was out I decided to do the timing belt, plus a full service of every fluid in the car: 10 different fluids in total! These are the casualties of the dreaded RB26 harmonic balancer bolt. Eventually I hired a big torque wrench to crack it. It probably took me a month to get the car back on the road.

IMG_3392.JPG


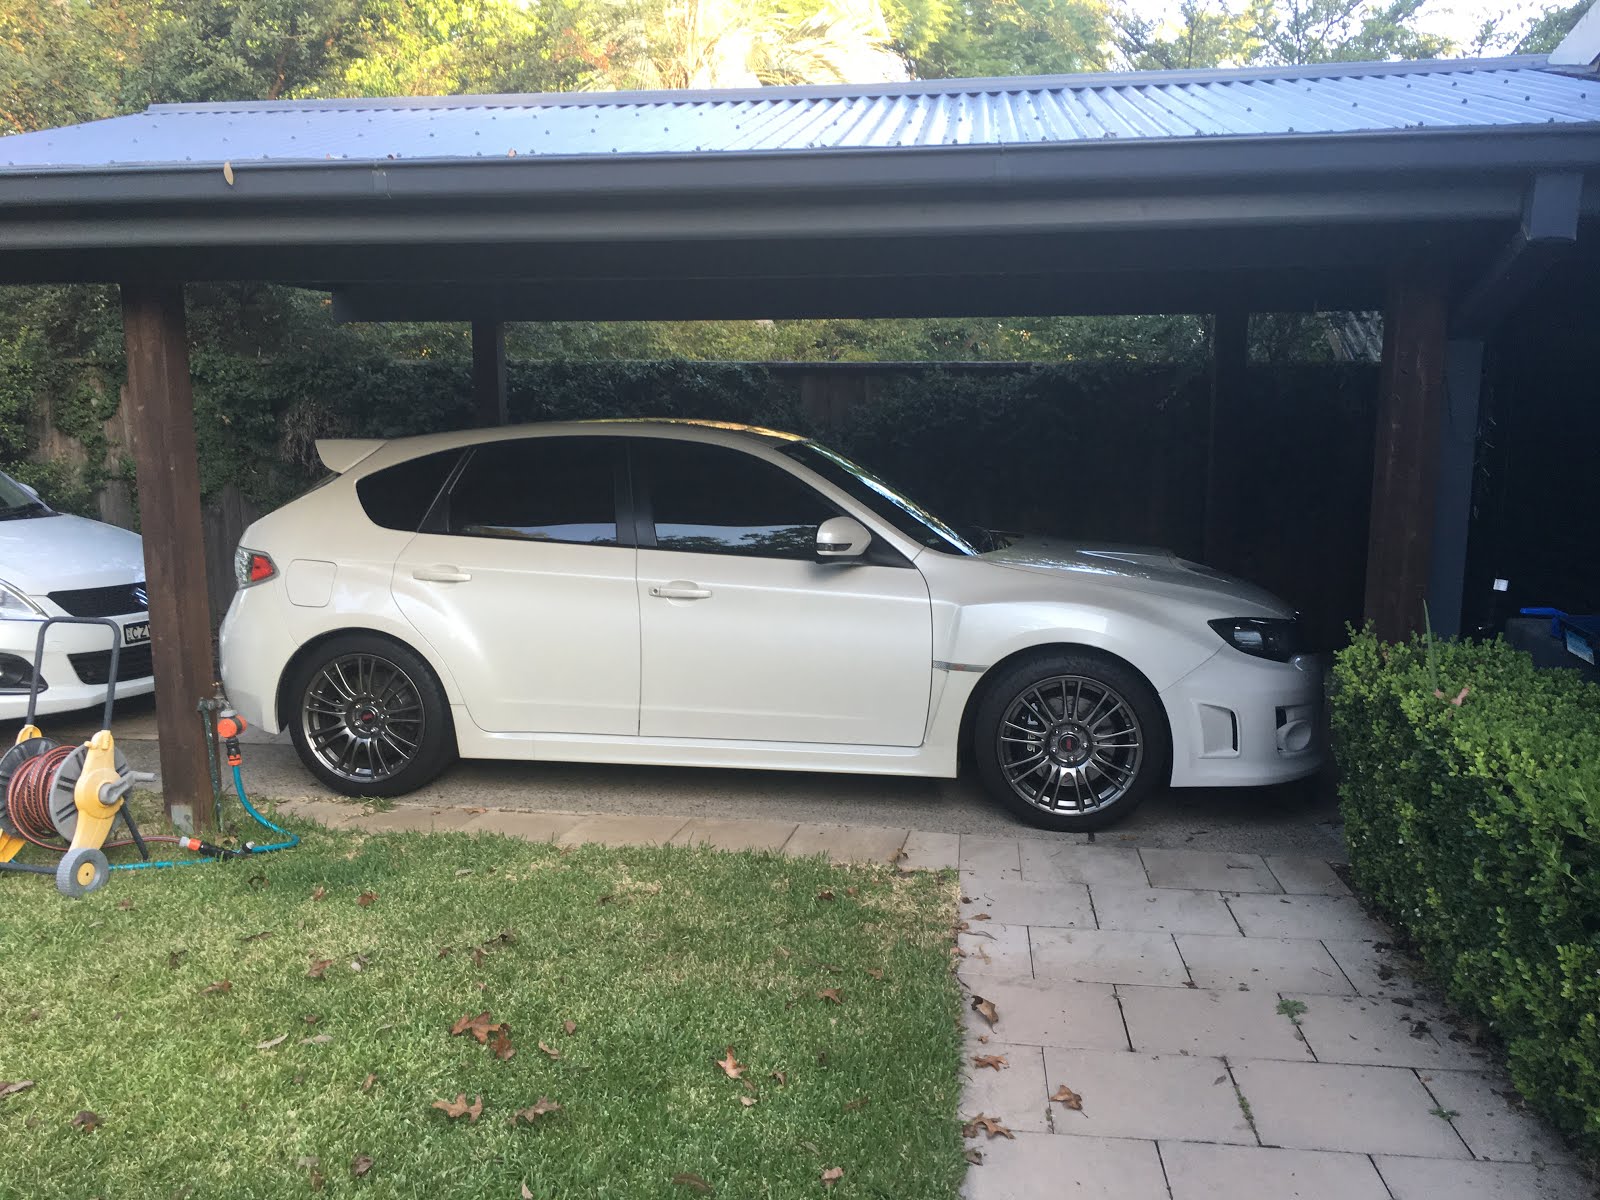
Once the Stagea was fixed, we decided it was time to upgrade the wife’s car. I twisted her arm (not that it needed much twisting) into getting an MY11 Subaru WRX STi. A quick trip down to Sydney and it was ours. We absolutely love it.

IMG_3556.JPG


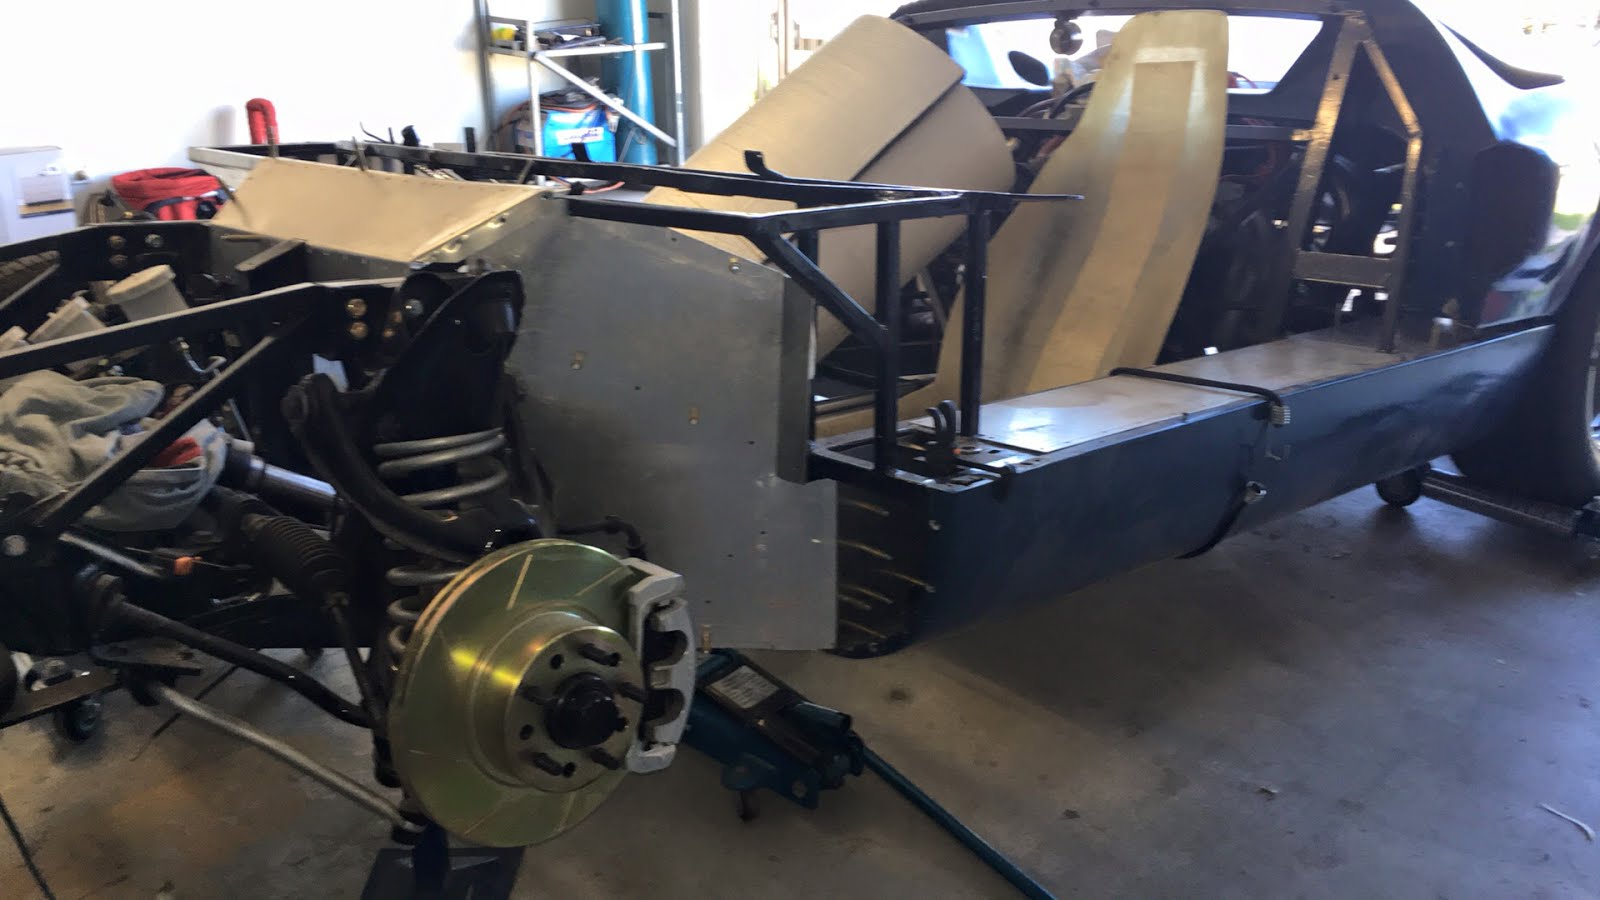
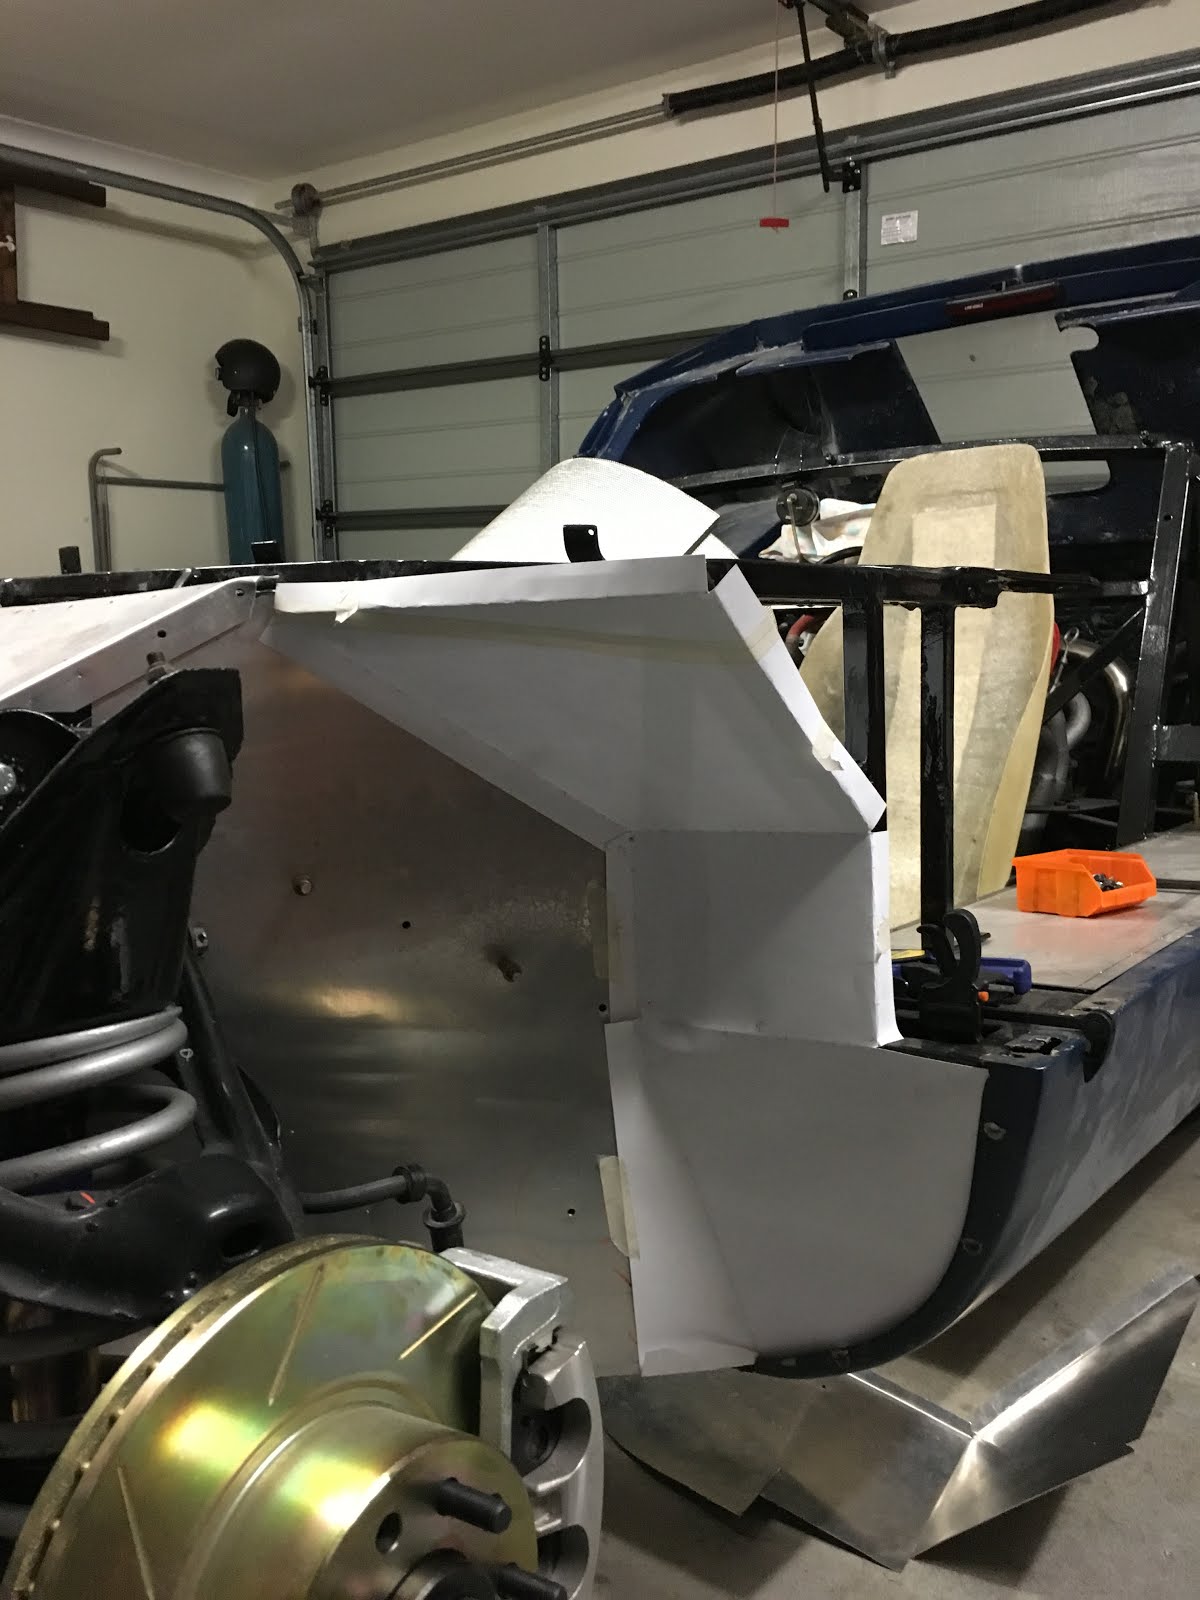
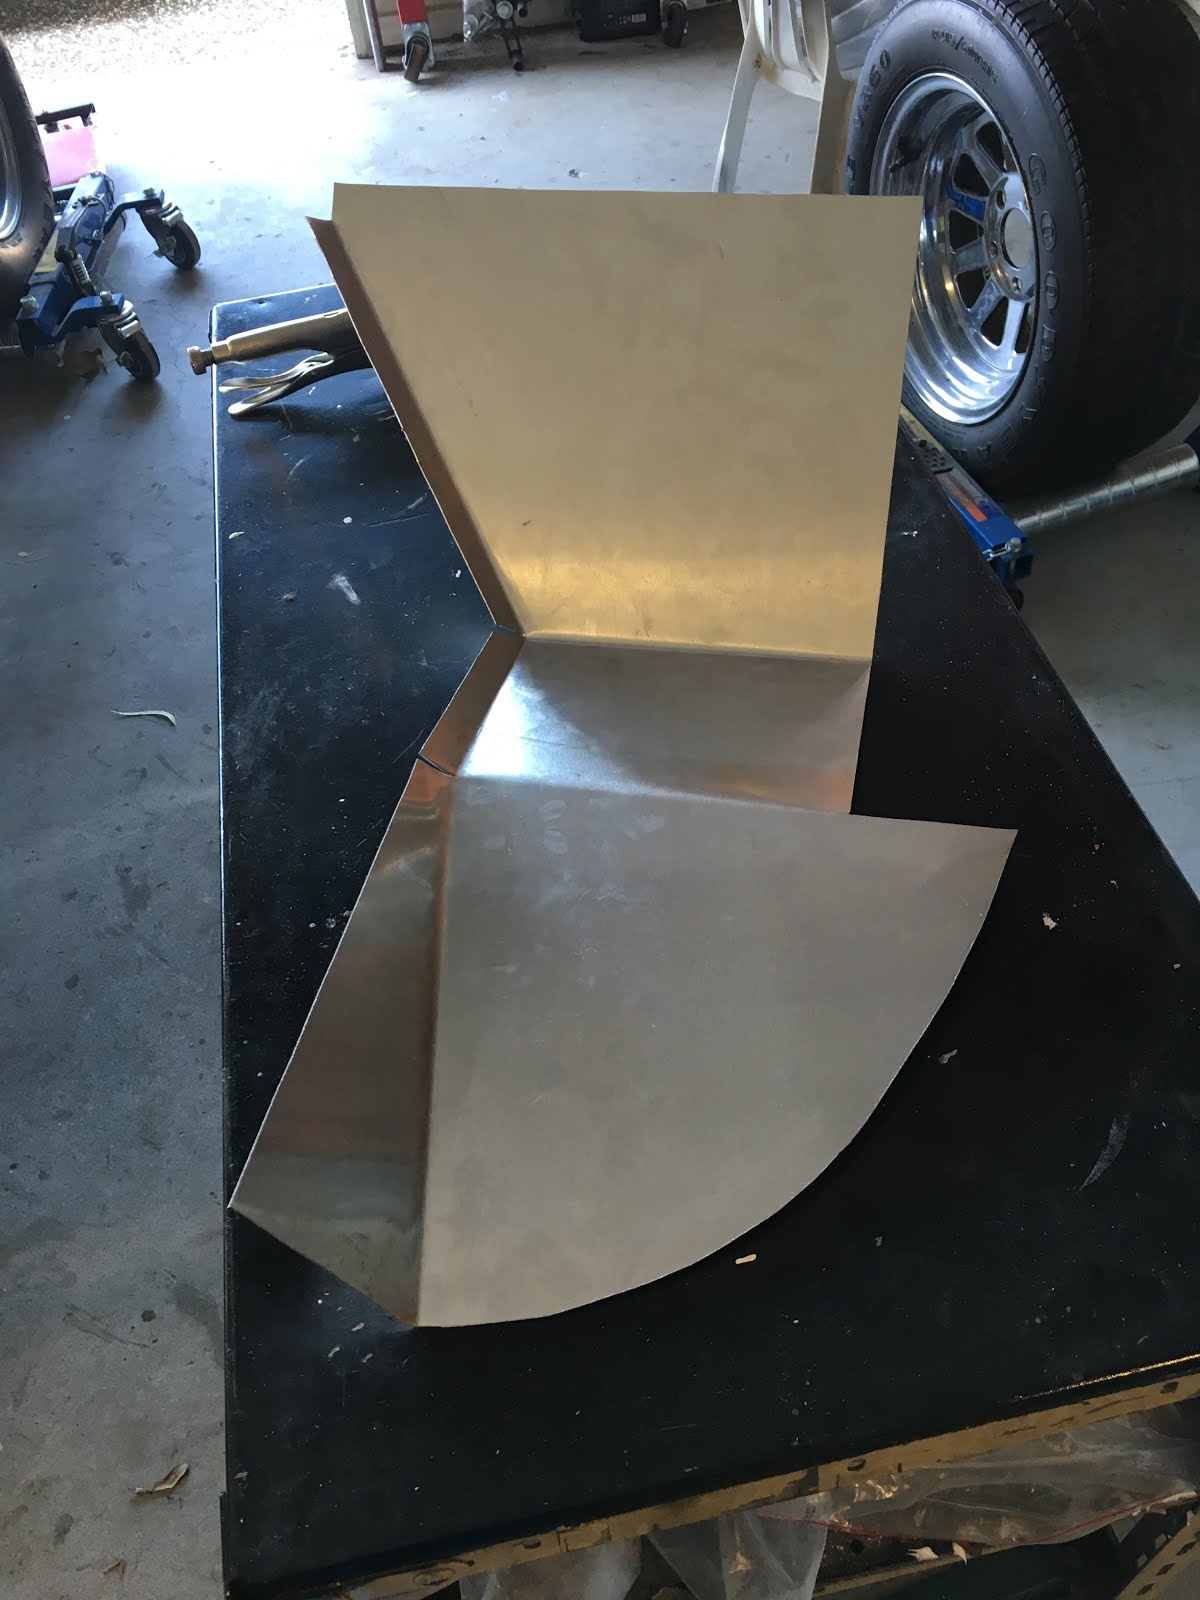
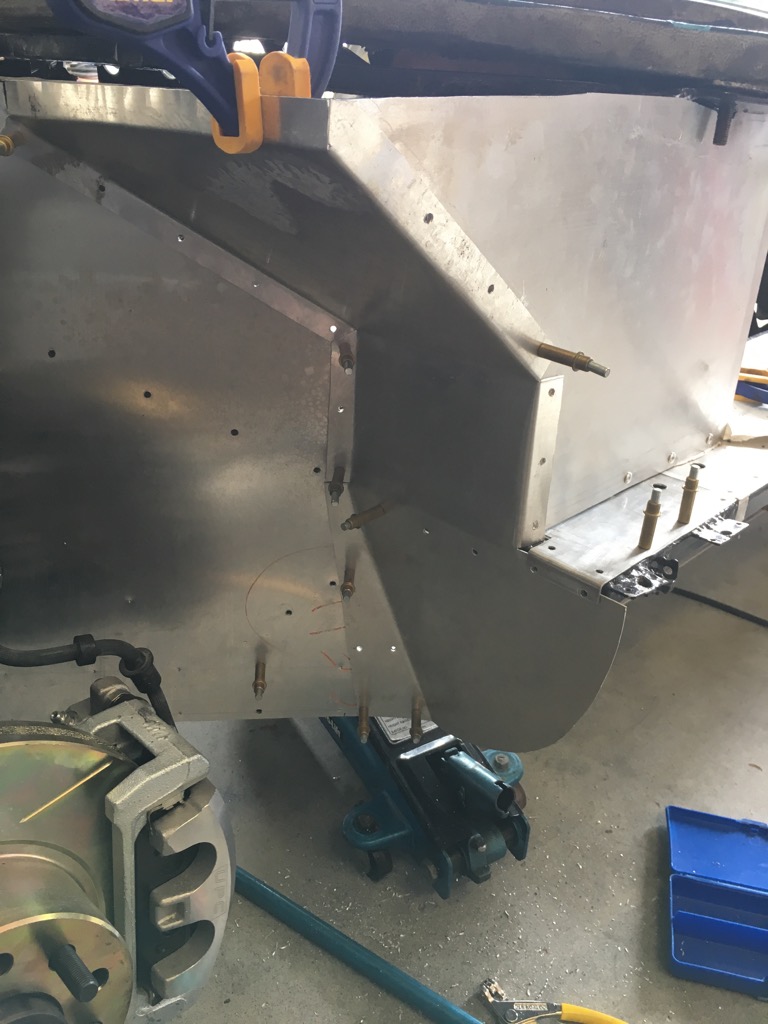
So finally, in recent times I have been able to do a small amount of work on the GT40. It feels damn good to get stuck into it again. Currently, I’m trying to build the panel that goes in the top of the passenger’s side wheel arch. It’s a complex shape with several bends.

IMG_3861.JPG


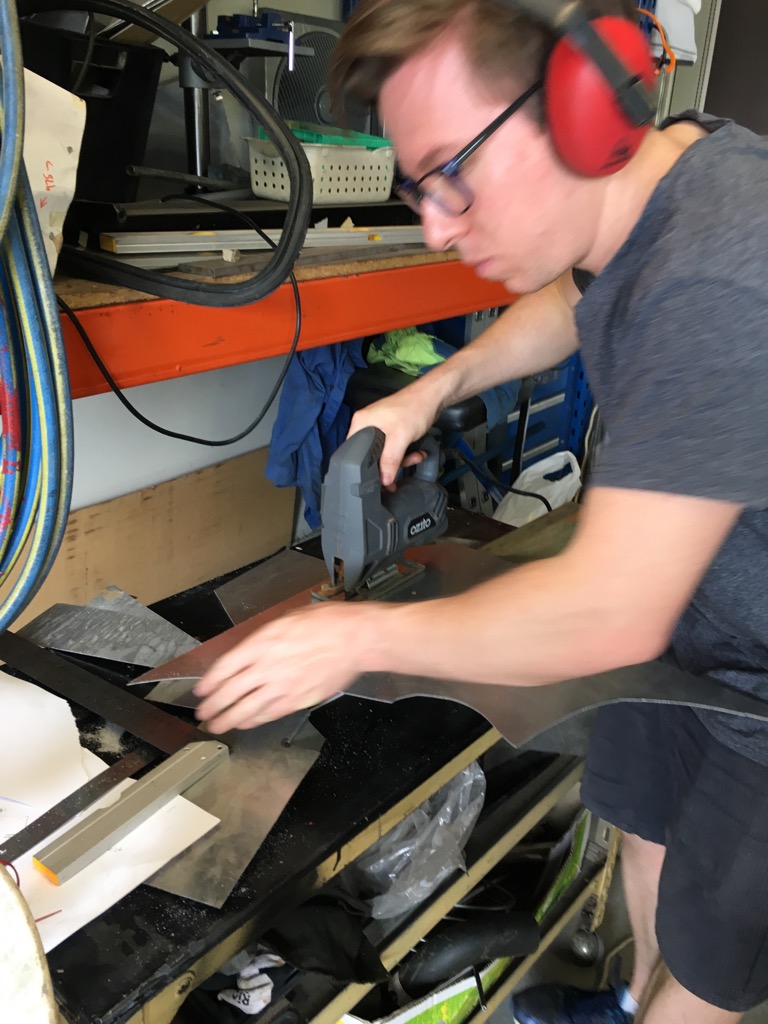
First up, I was lazy and took the template from the driver’s side, saw that it looked close enough so decided to cut out a new panel from it. I soon discovered the sides are not symmetrical (no surprise really). So next I created a new template.

IMG_3822.JPG


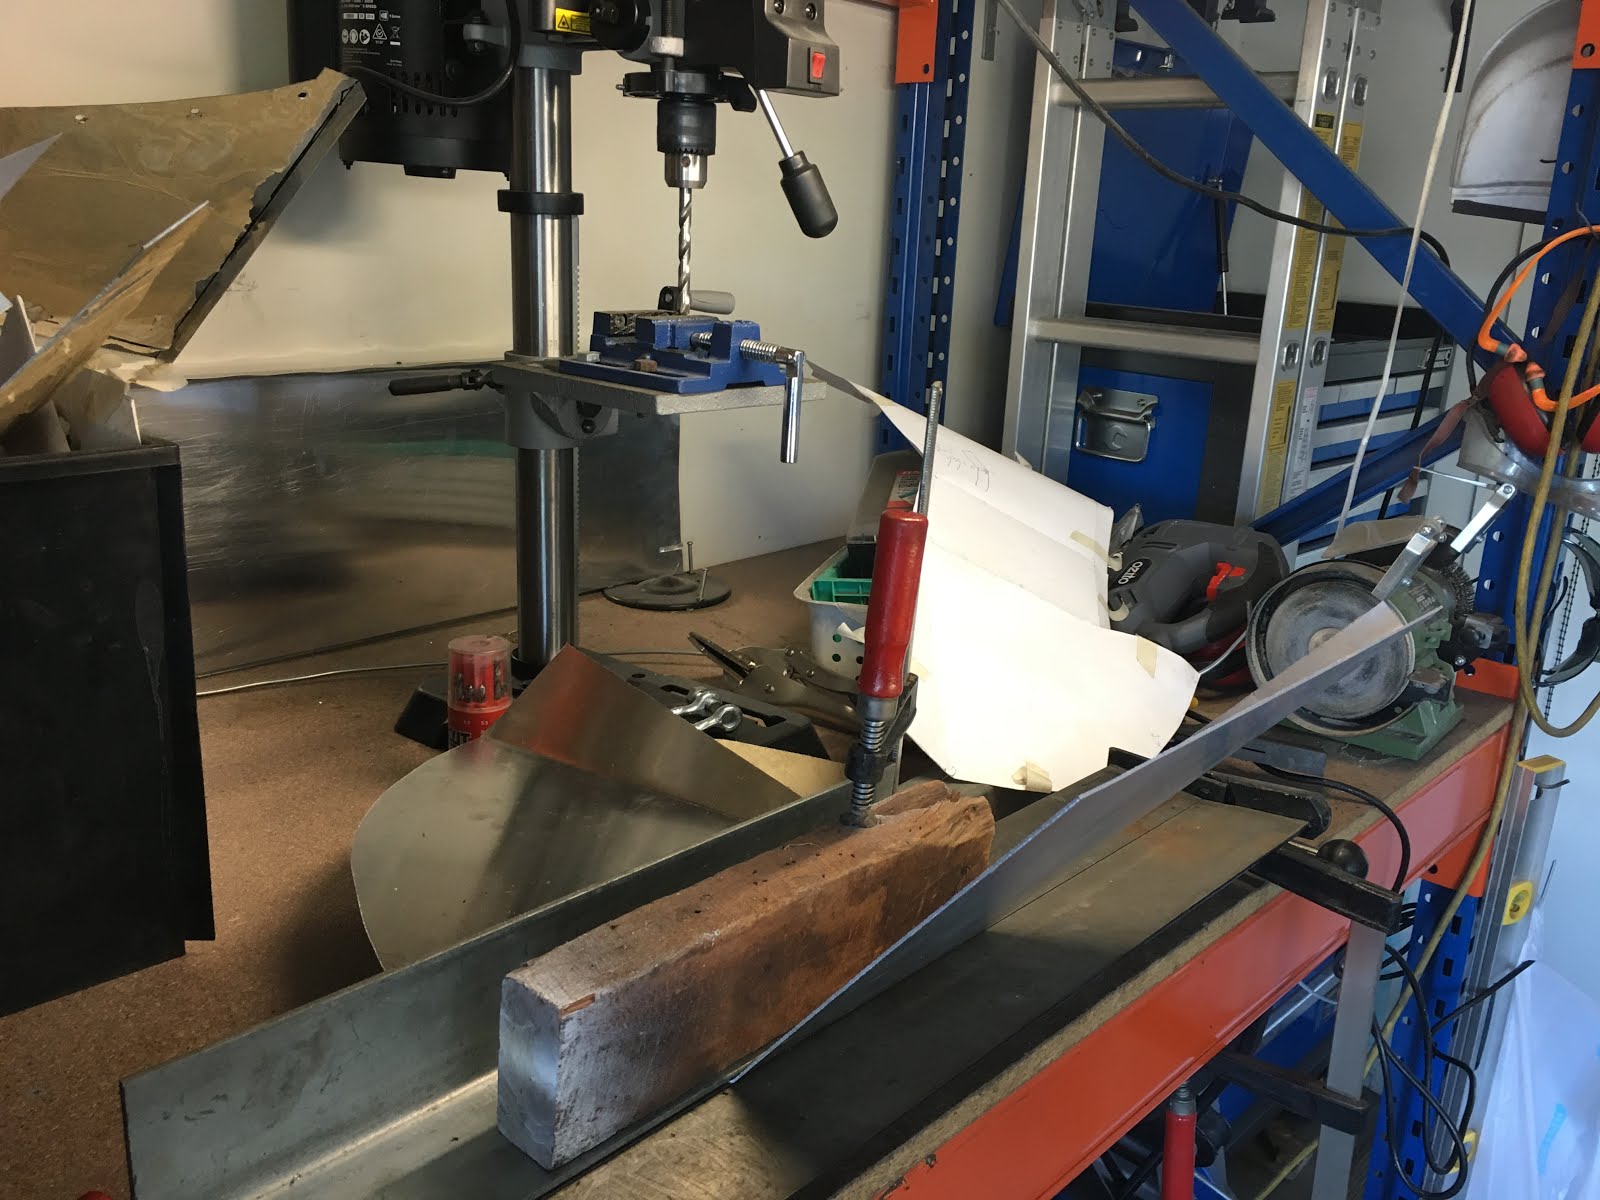
And cut it out. Bending these requires a lot of patience and a bit of improvisation. Normally, I can only do 1 or 2 bends in my little bending brake. The rest of the bends have to be done with improvised methods. Thank God I chose to use 1.2mm Aluminium.

IMG_3862.JPG


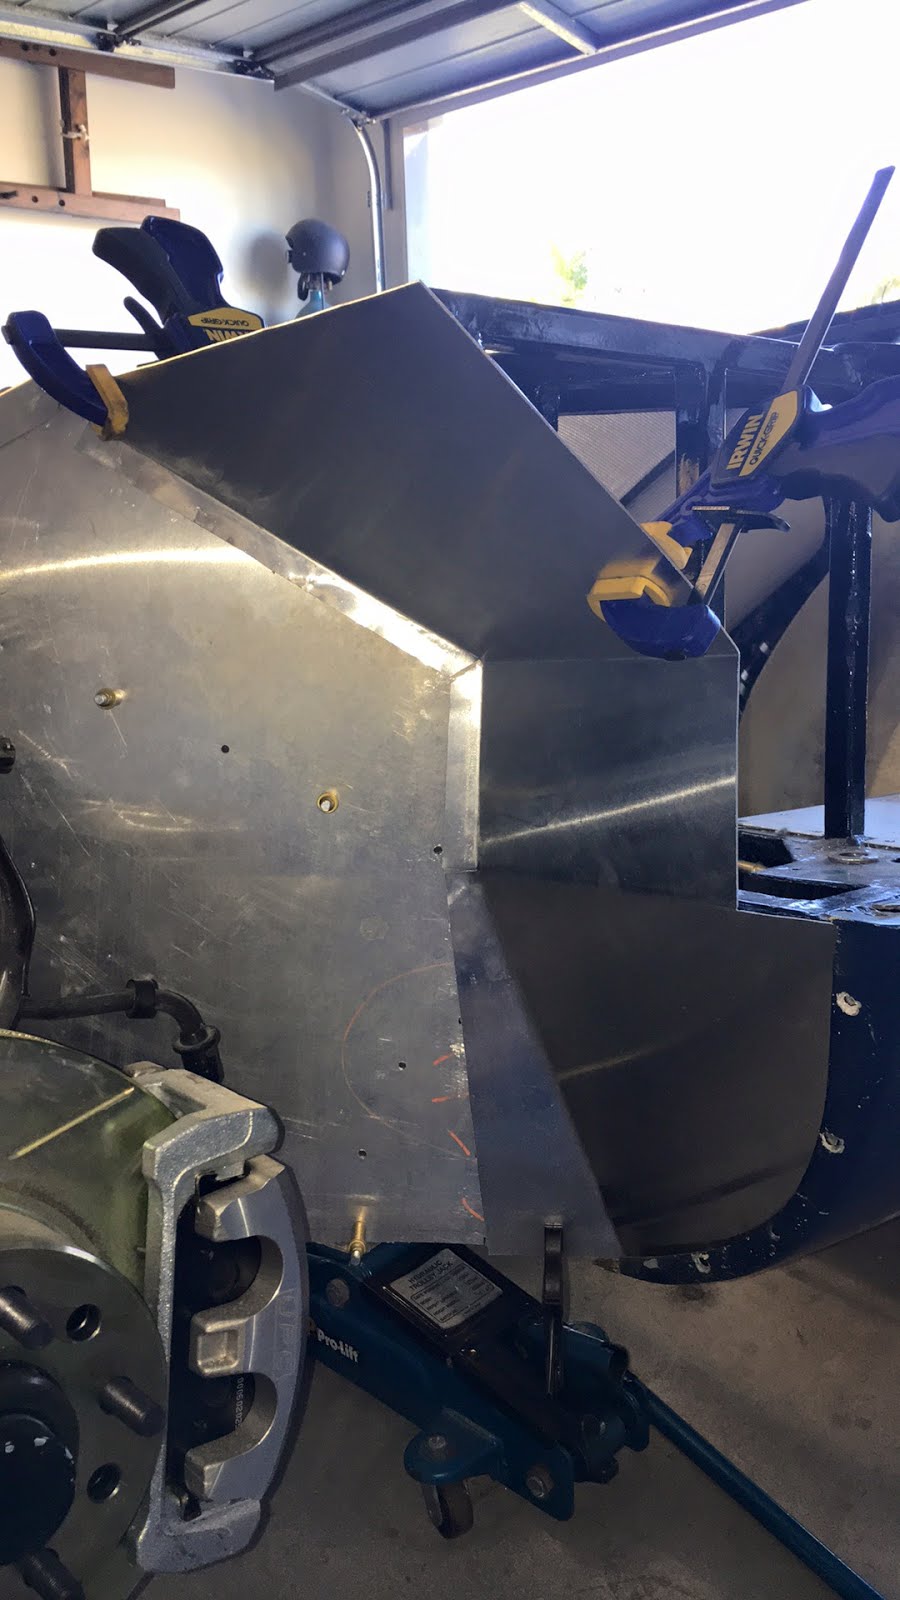
Here’s the result partway through the process.

IMG_3863.JPG


IMG_3864.JPG


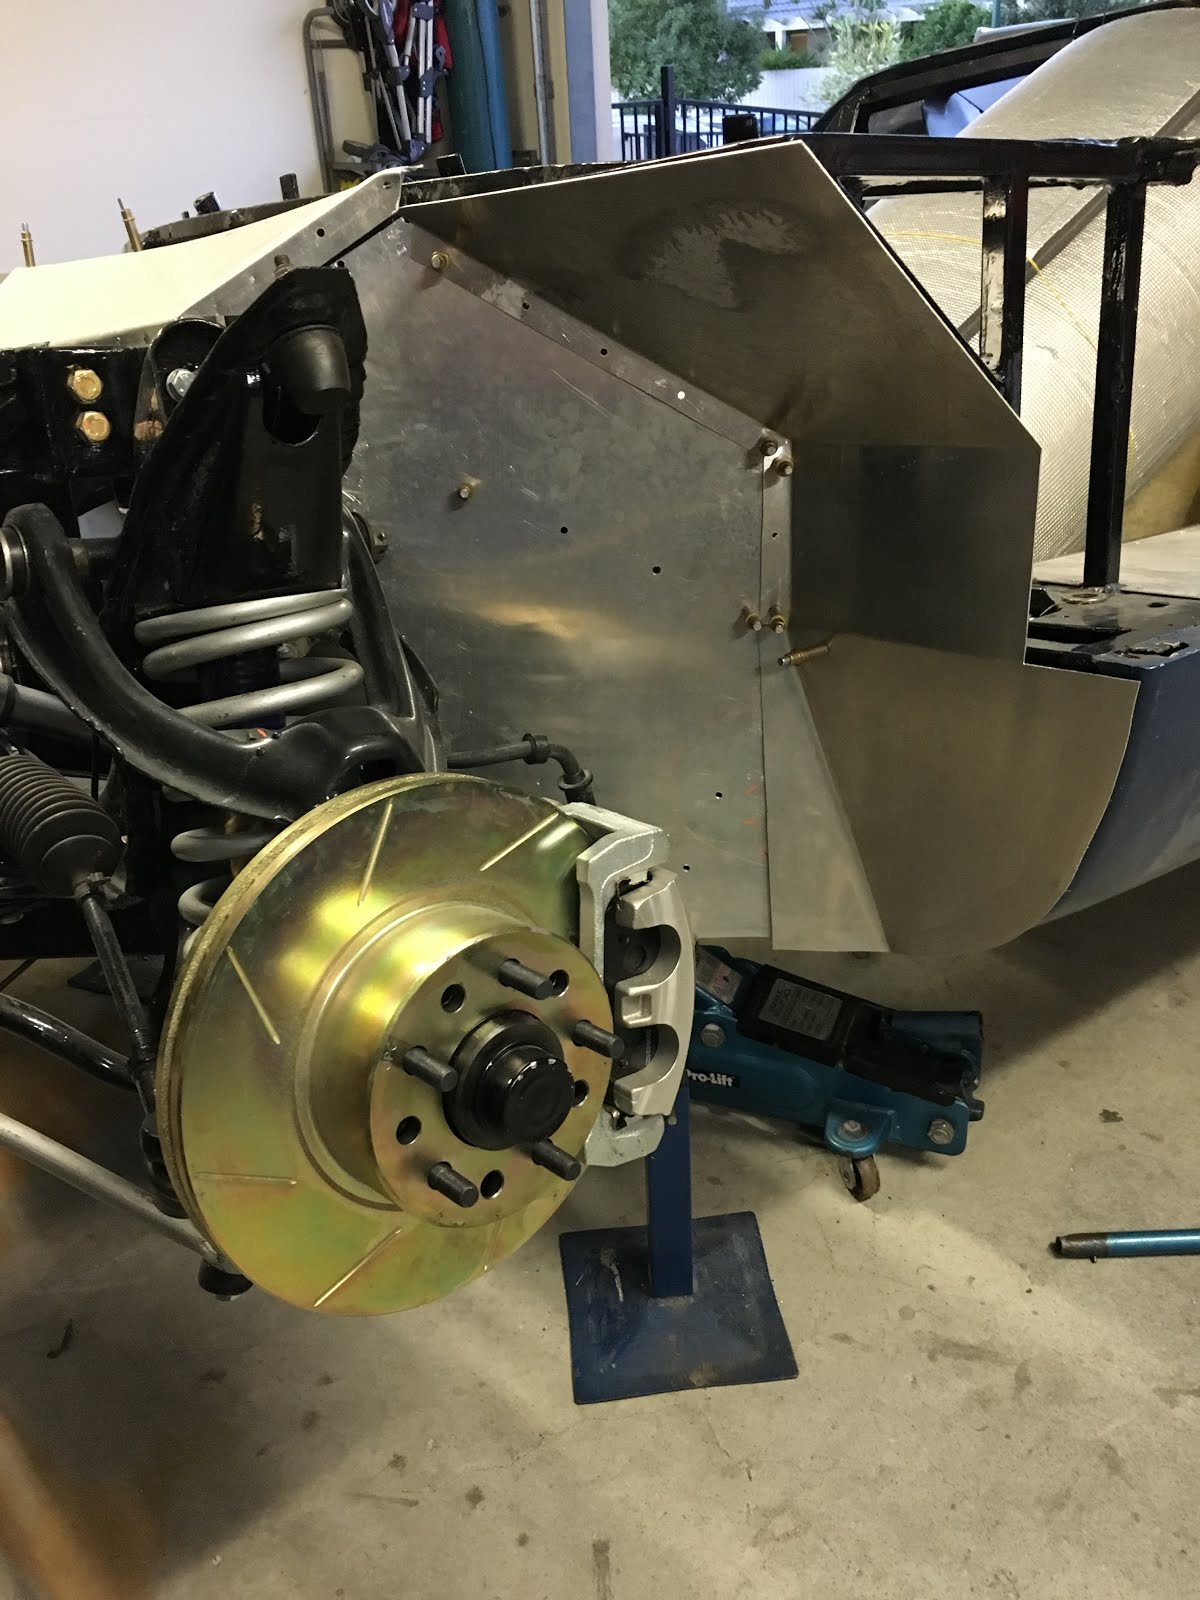
So after making this one, it turned out one of the angles was a bit off. It looks OK in the picture, but it wasn’t a good fit. No amount of clamping, trimming or forcing would make it work, so it was back out with the jig saw to cut the same panel a third time. Lesson learned here is to take the time with the template. If it is slightly off with card, then you can guarantee it won’t fit with Aluminium. Thankfully this time it fits. Third time lucky!

IMG_3899%2B-%2BCopy.JPG


So that’s where we’re up to. Dad has taken the dash home, so he can work on that in his spare time. I’ve been sent away with work again, but am hoping to pick up the pace now and get things progressing. I just need to remind myself that it will be an absolute joy when it is eventually finished. I think the current plan is to keep knocking over the remaining panels in the front end, fit the fuel fillers and then put the roof back on so we can work on the rear firewall. The clutch is done, brakes are nearly done, throttle and steering are done. So I’m really hoping that we might be able to move it under its own power sometime soon.
 
OP
W

Willy81

Active member
Joined
Sep 20, 2013
Messages
31
October 2017

It's time to get on with it!
Well, it's been a very long time between posts. A lot has happened for Dad, Tim and I during that time. Tim has been buried in studies and I have been busy with family, work trips away and this purchase....

IMG_5665.jpg


IMG_5667.jpg


Unfortunately the GT40 has sat gathering dust. Finally, a couple of weeks ago, the planets aligned and we were all free to pull it out and do some work on it.

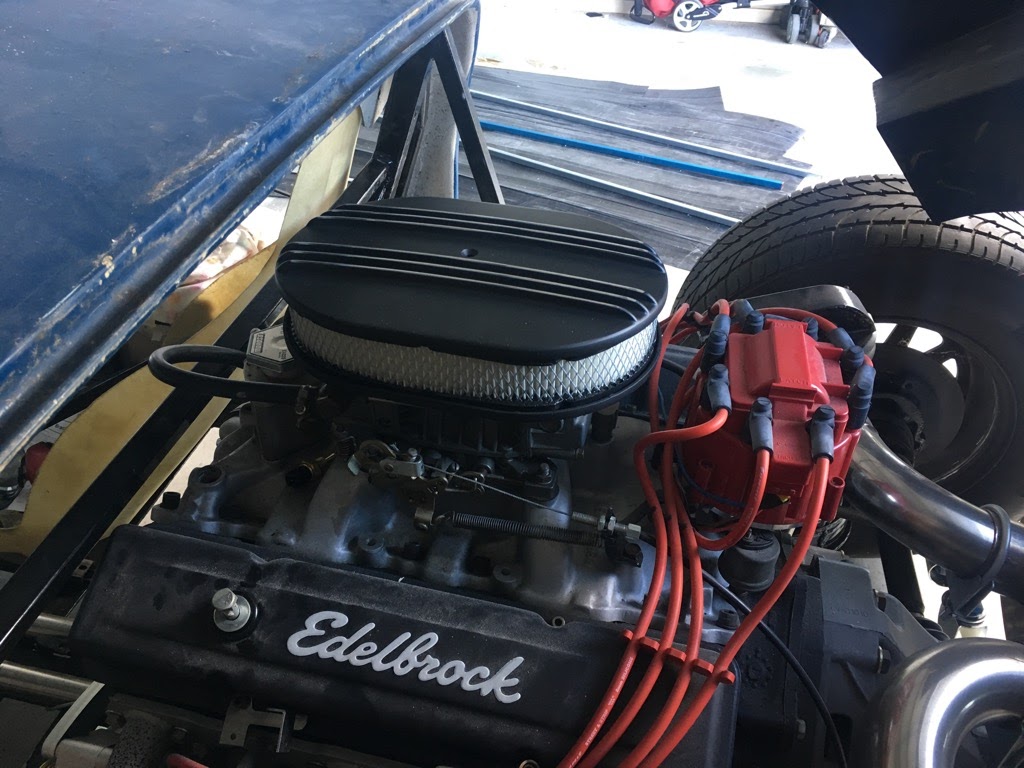
First up, we started her up. Yep, the 350 still runs.

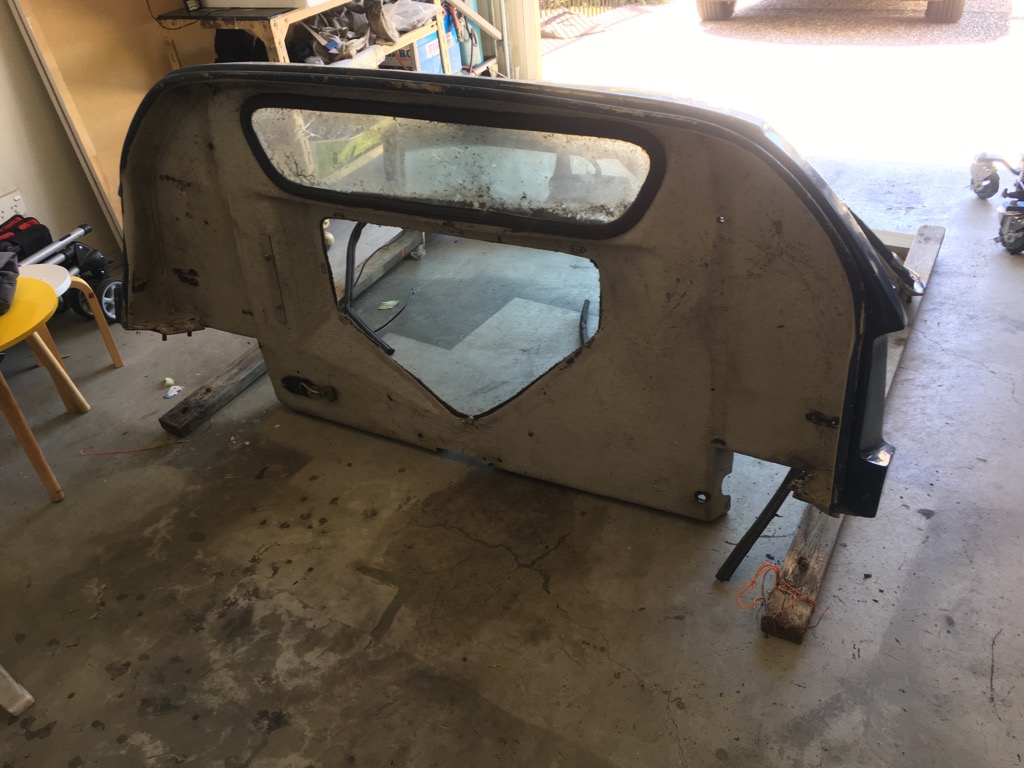
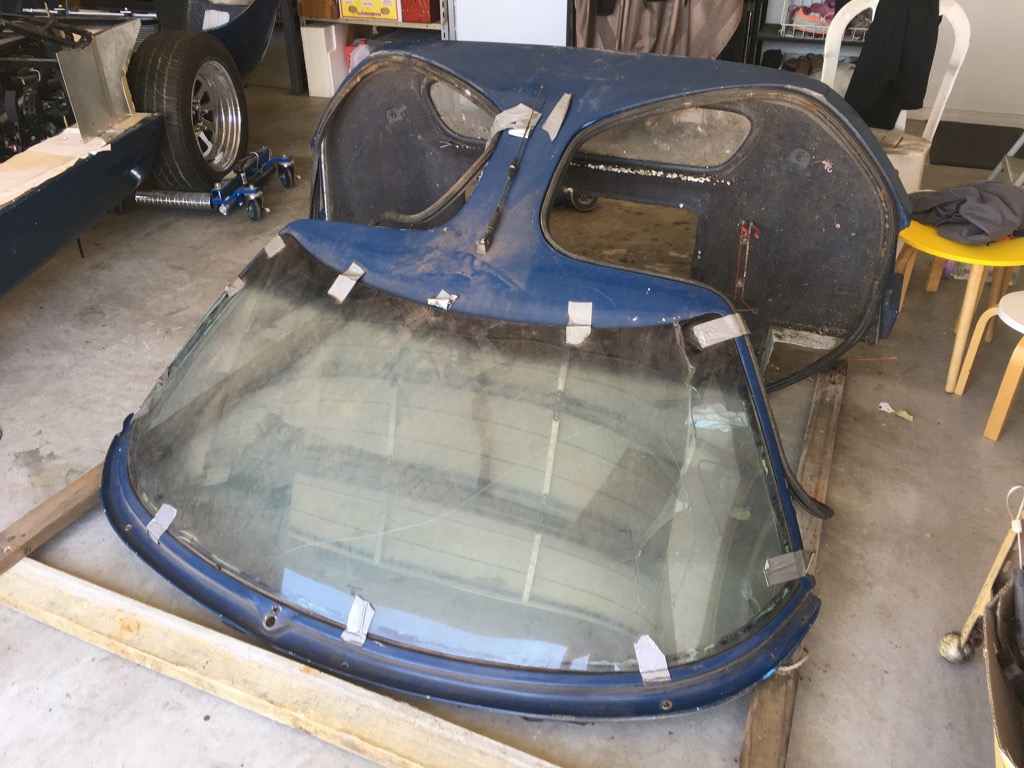
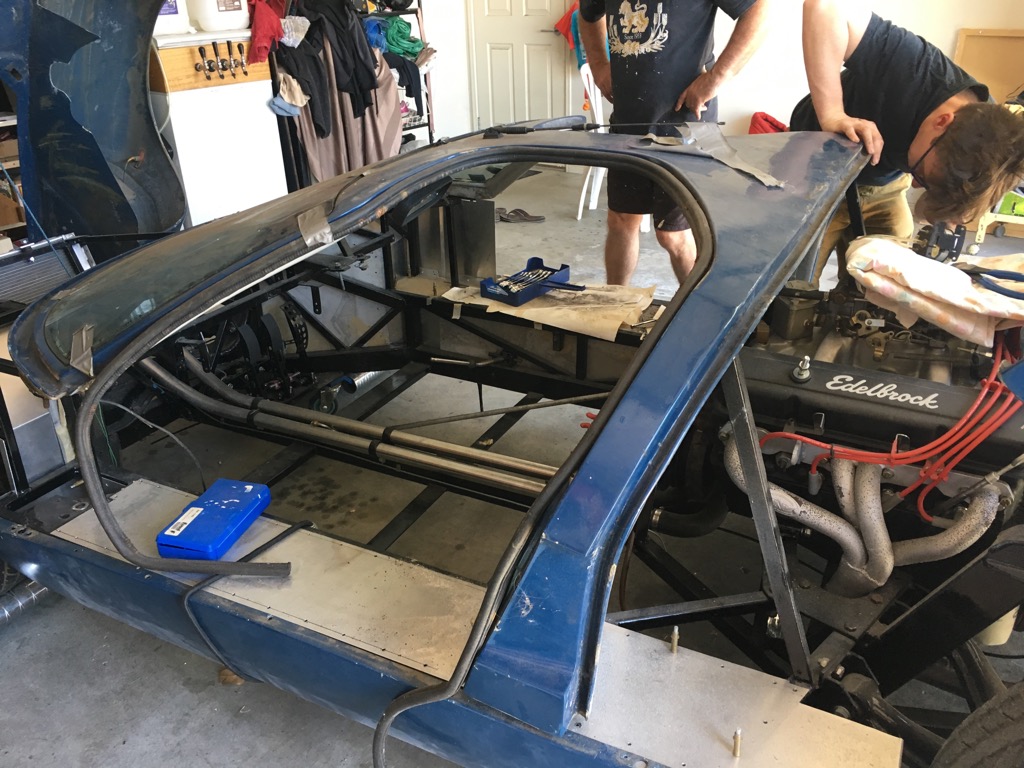
Next, we decided it was time to put the roof back on. This has been sitting around the back of the house for years.

IMG_6567.jpg


IMG_6569.jpg


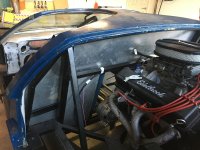
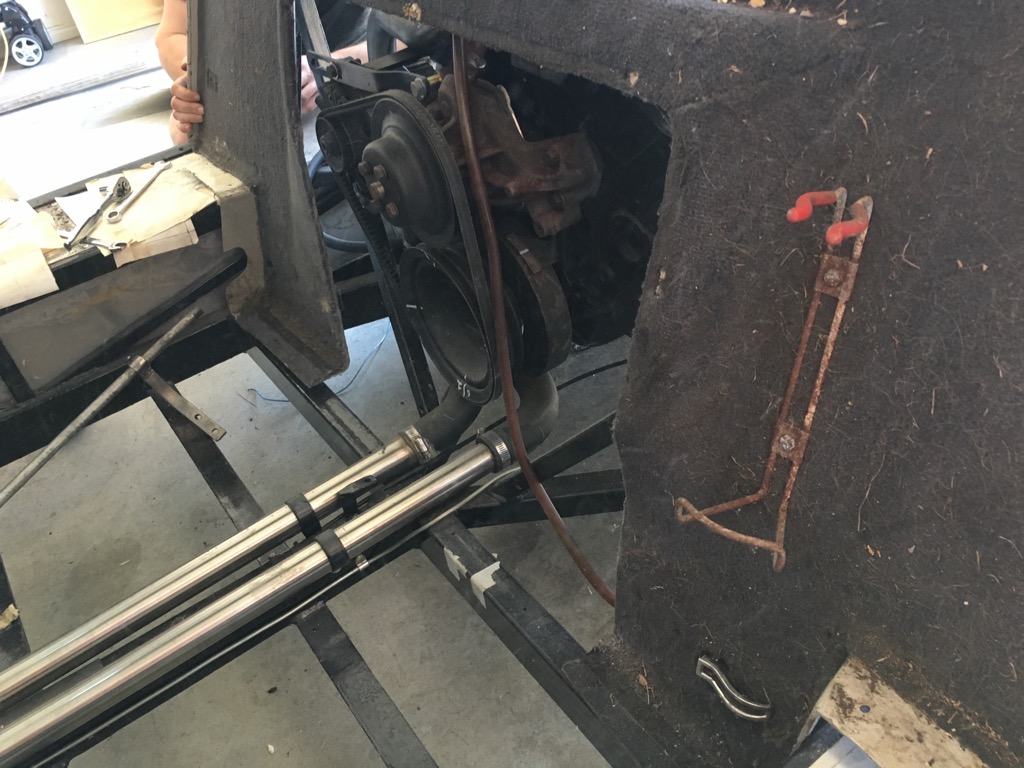
It turns out the firewall fouls on some of the extra bracing we added, but we had already decided that the fibreglass firewall would be replaced with Aluminium.

IMG_6575.jpg


IMG_6577.jpg


After a short session with the angle grinder..

IMG_6578.jpg


We've left a small amount of the fibreglass in place that we will seal against the new aluminium firewall.

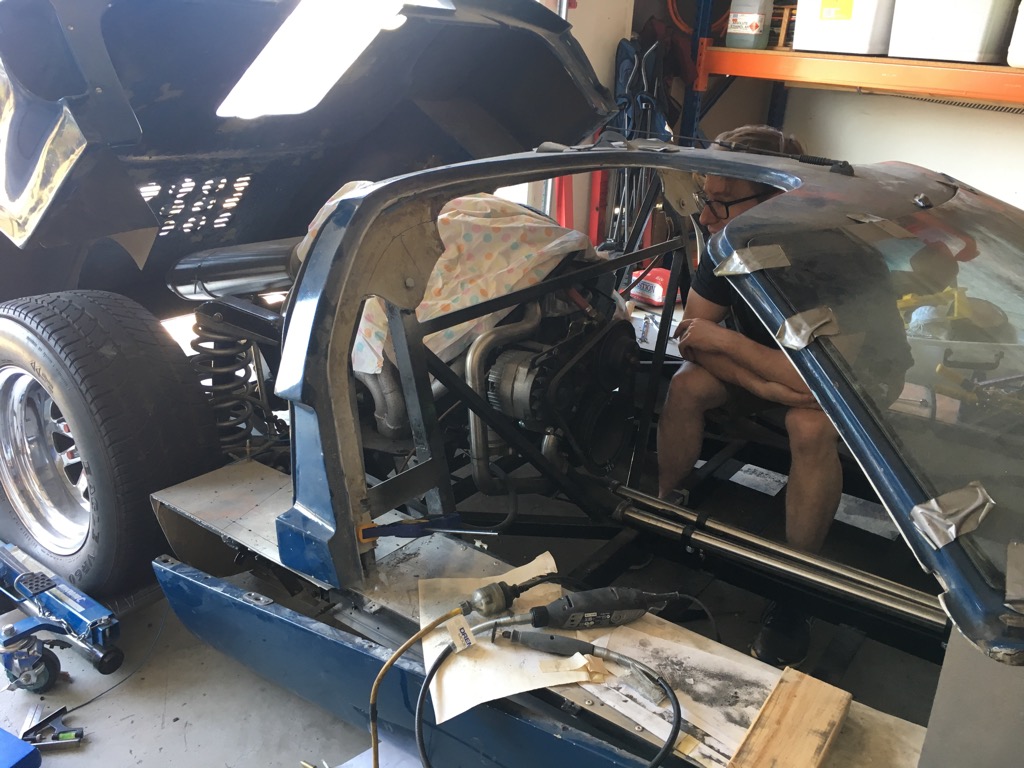
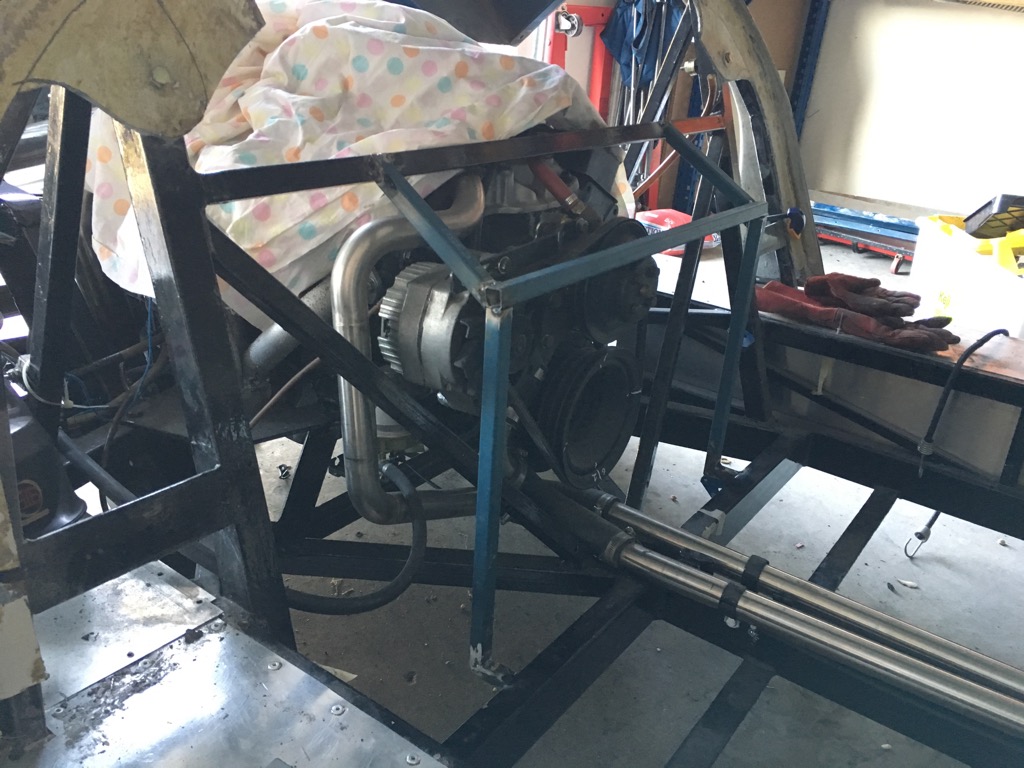
The next job was to build a frame around the front of the engine. Originally the car had a small cup fitted over the nose of the water pump, right near the driver's left elbow. We want to improve on this with a flat firewall. Here's the frame tacked in place.

IMG_6580.jpg


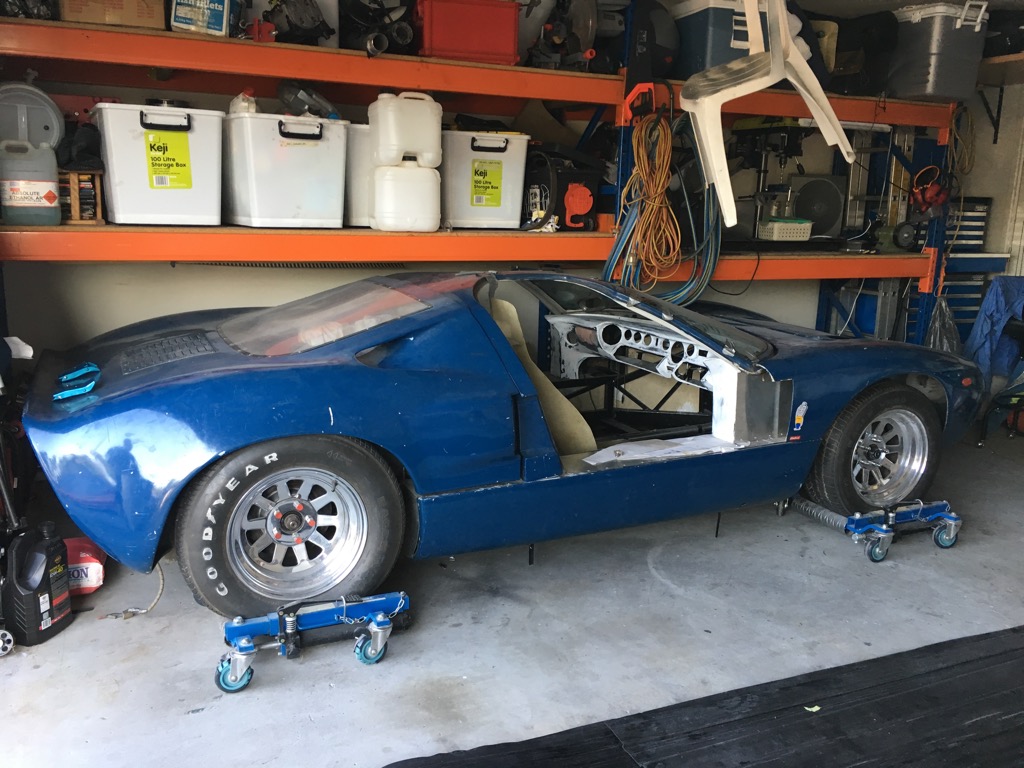
And that was the end of day 1. She looks so much better with the roof back on.

IMG_6583.jpg


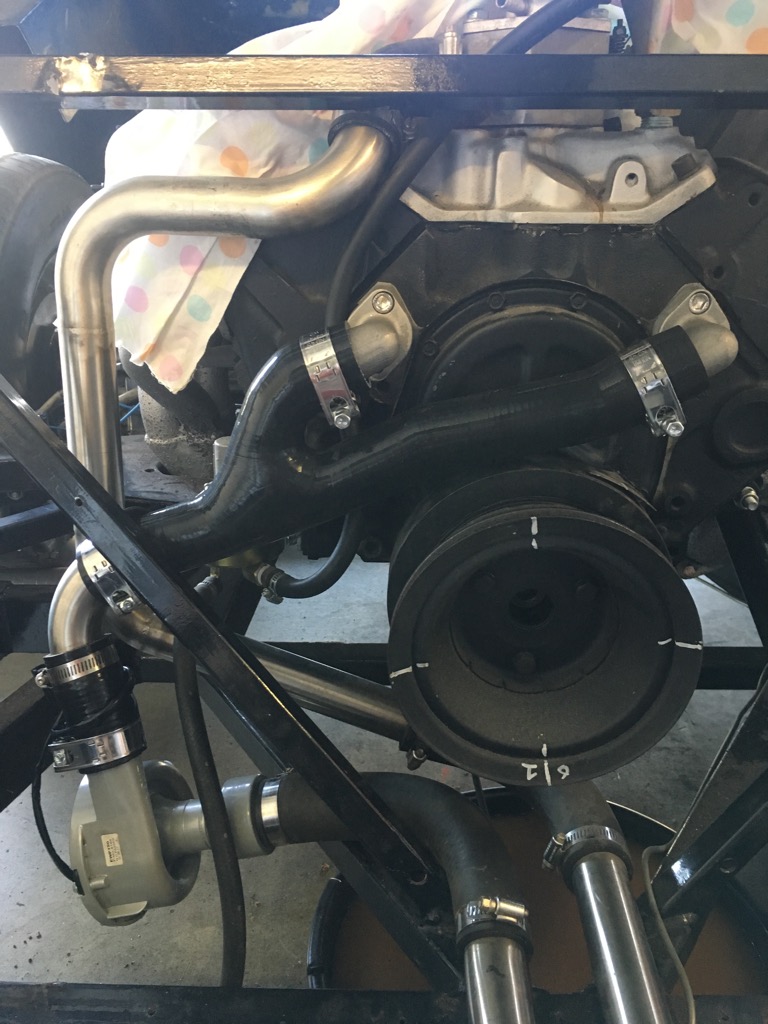
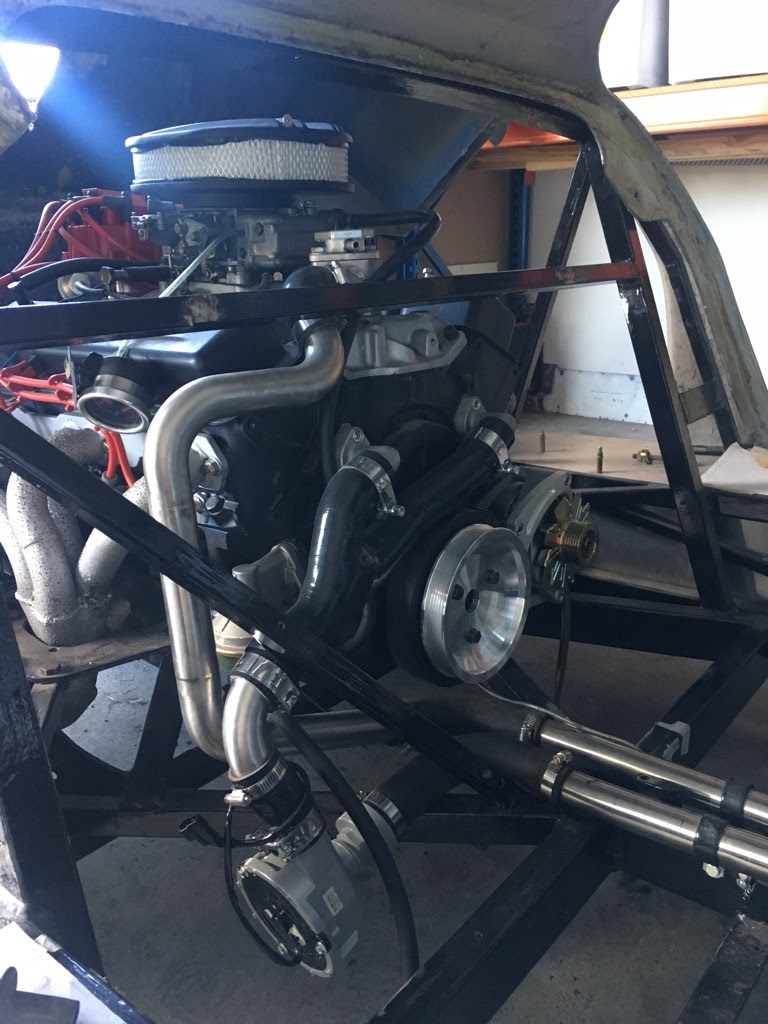
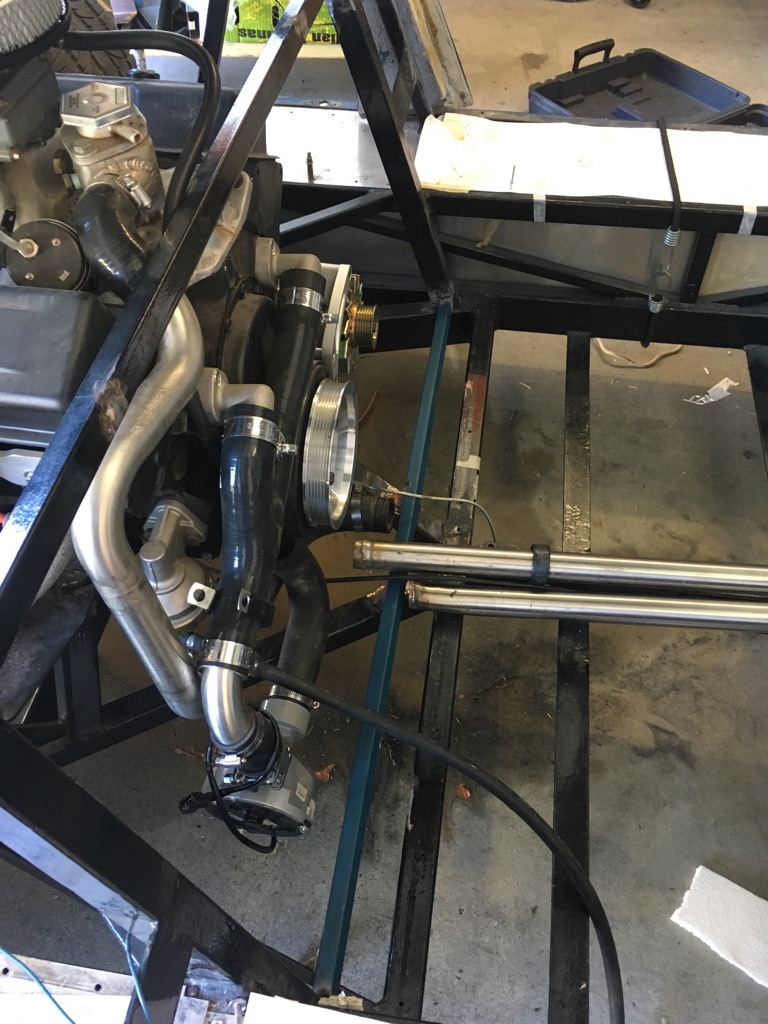
After a bit of thought, we soon decided that we were not happy with the new frame. It eats up far too much of the limited cabin space. Our solution was to install an electric water pump and relocate the alternator to the lower right hand side. We've also decided that we will be installing an electric compressor for the air conditioning up the front.

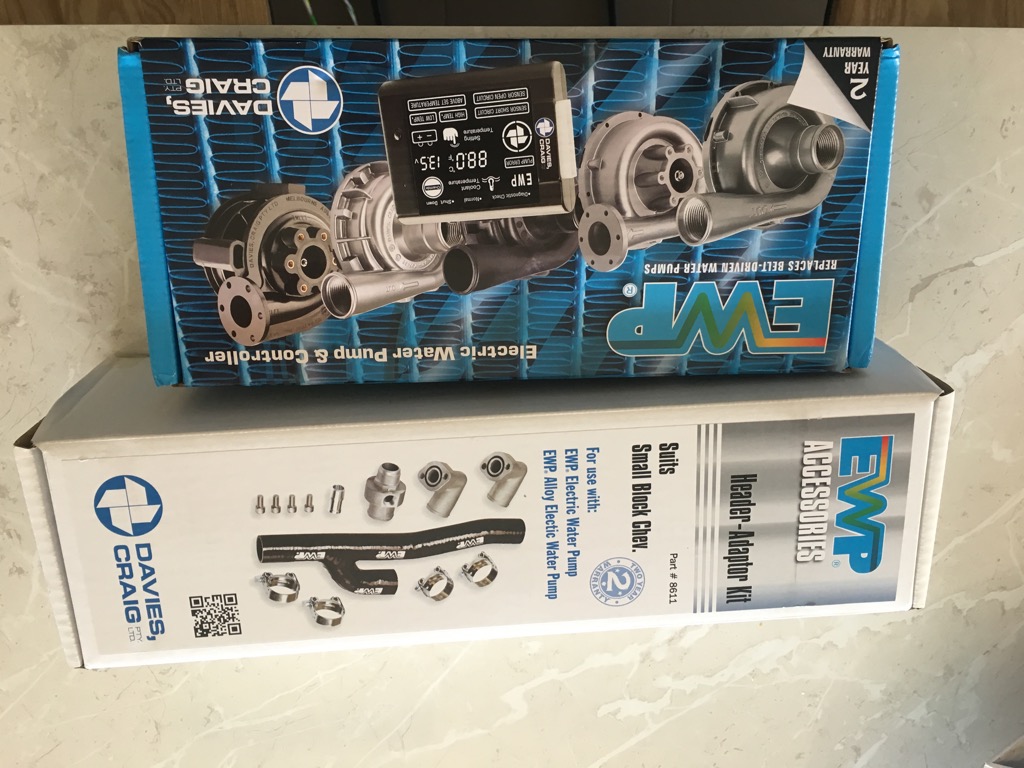
Within a week, I had this Davies Craig EWP-150 with SBC relocation kit on my door step.

IMG_6605.jpg


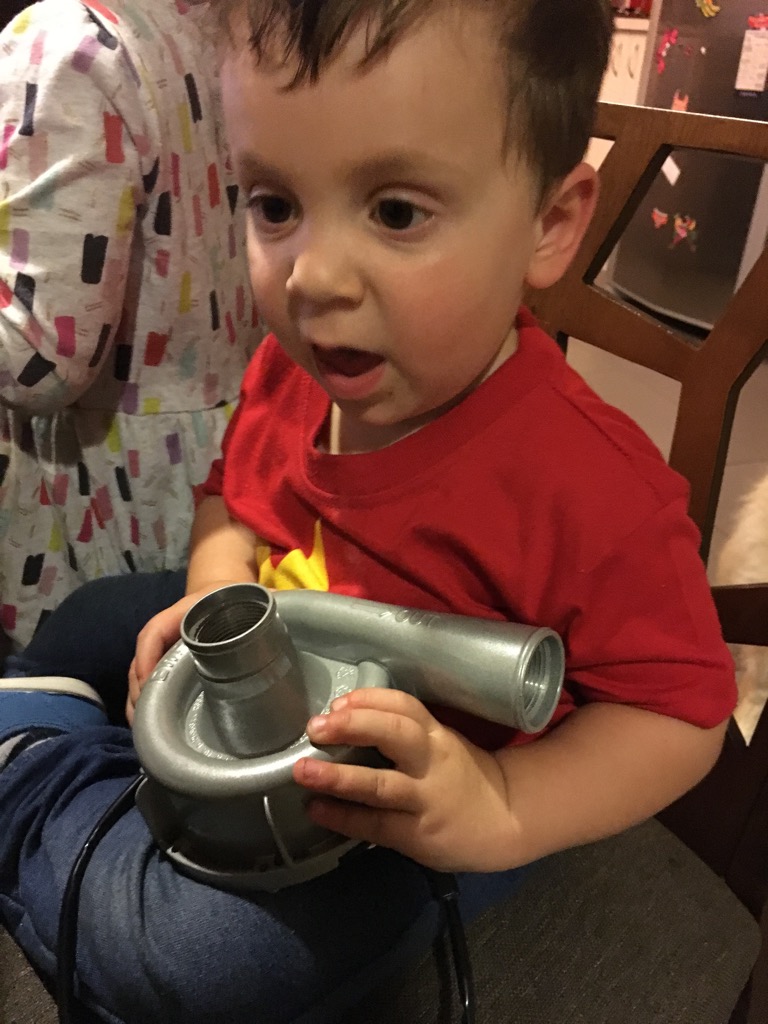
Julian approves...

IMG_6601.jpg


So on the next weekend, I removed the old mechanical pump with some help from an offsider. Believe it or not, she was only a few weeks old when we started the 350 for the first time. She's now 4...

IMG_6612.jpg


IMG_6614.jpg


There is plenty of room to install the new pump behind the driver's seat.

IMG_6617.jpg


IMG_6616.jpg


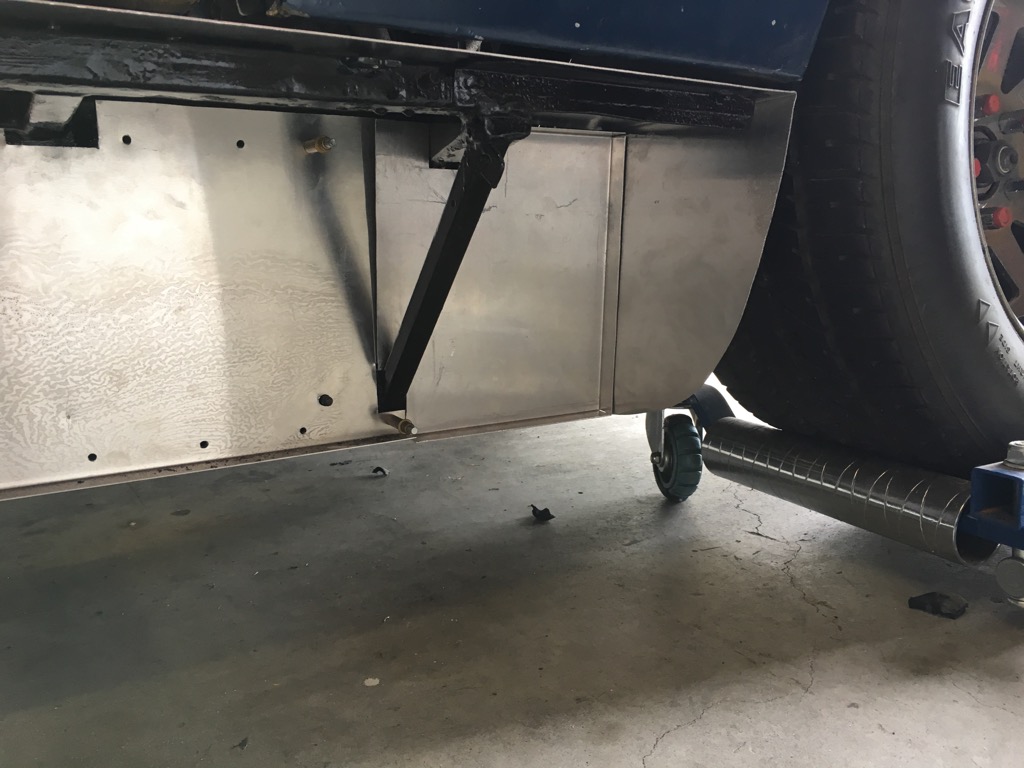
So on week 3, we got stuck into the remaining panelling. Tim did most of the work, while I finished off the damn fiddly passenger's side wheel arch.

IMG_6763.jpg


IMG_6766.jpg


IMG_6769.jpg


IMG_6768.jpg


I then started to look into the fuel fillers which I picked up a few years back. Originally this car had a fuel filler in the rear under the clamshell, but we will be installing them each side in front of the windscreen like they should be. We will need to cut out holes in the front body to fit the new fillers. I soon discovered that the front body has warped or its mounting points have moved a bit with the modifications we made to front end. We need to get this back into the correct position so that we cut holes in the right spot for the fuel fillers.

Last night, I ordered a pile of new goodies which are on their way to my door:
  • 140A alternator (required to power the air con compressor)
  • Alternator mounting bracket
  • Single crank pulley for ribbed belt (the old crank pulley is huge)
  • Engine air filter (finally)

Also, I picked up a handbrake mechanism from an R33 Nissan Skyline which should work well. Now that this has arrived, we can make up the centre tunnel and then get on with the rear firewall.

It's been a long time, but we are enjoying getting stuck into the GT40 again. We just need to keep the momentum rolling now.
 
OP
W

Willy81

Active member
Joined
Sep 20, 2013
Messages
31
January 2018

New Shiny Stuff

Just a pic to remind us how good these things look.

IMG_7334.JPG


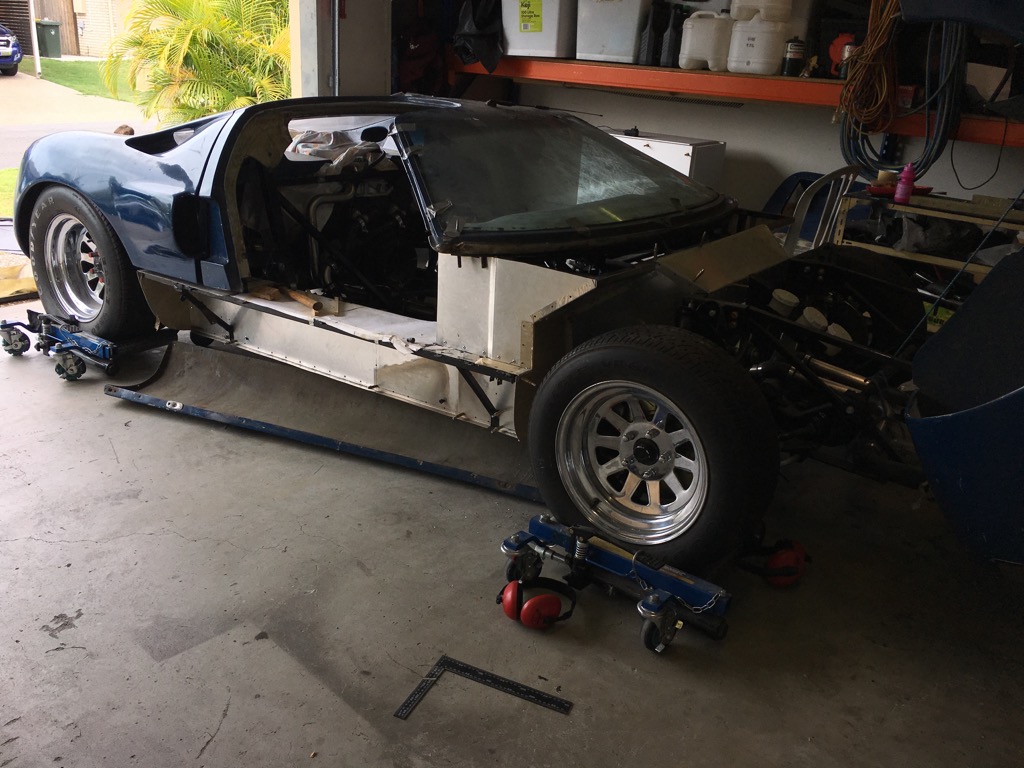
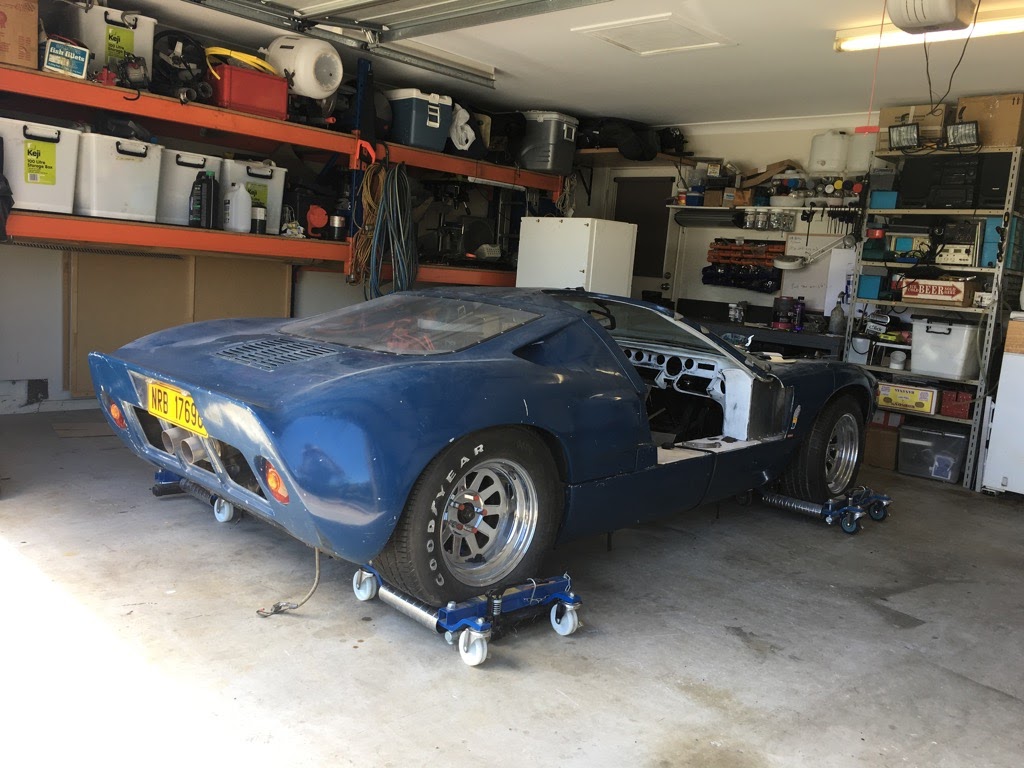
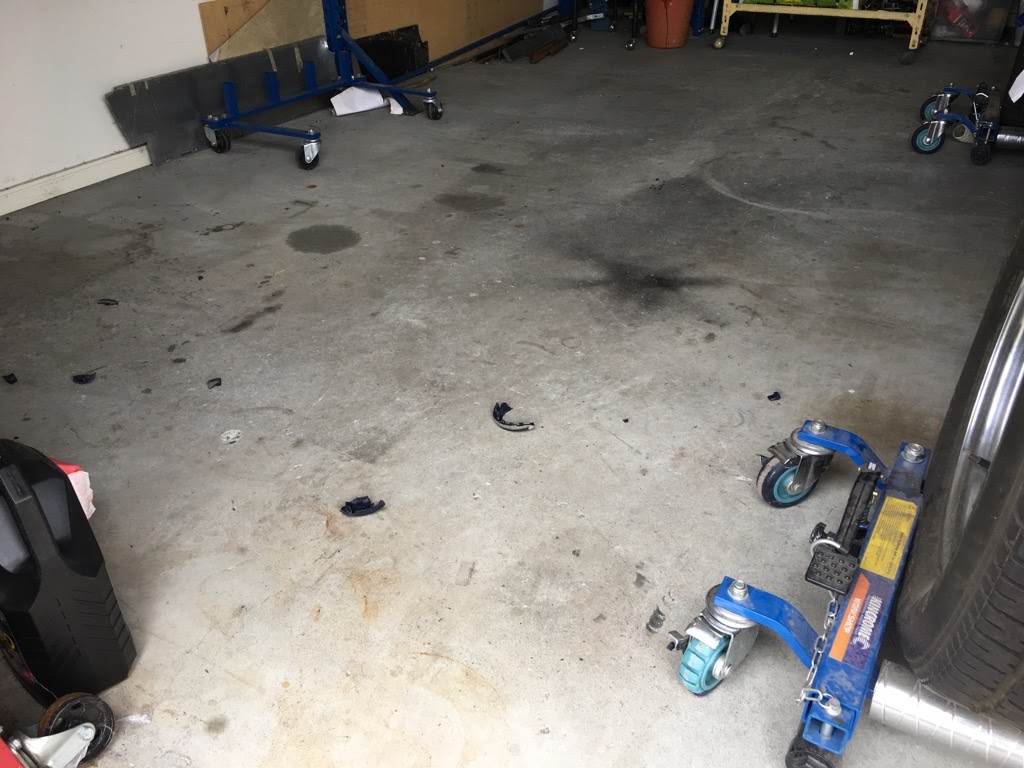
It's been a few months since the last update, but we've managed to have a couple of sessions in the garage. Keen eyes may notice different castor wheels under the rear. The old ones were disintegrating and I managed to source some nylon castors to bolt in. Very disappointed with the quality of these go-jacks. One day, I'll have a better system to get the car in and out from the under the shelf. Castor wheel carnage below...

IMG_6783.JPG


Anyway, enough ranting about the go-jacks. Since my last post, a few more goodies arrived.

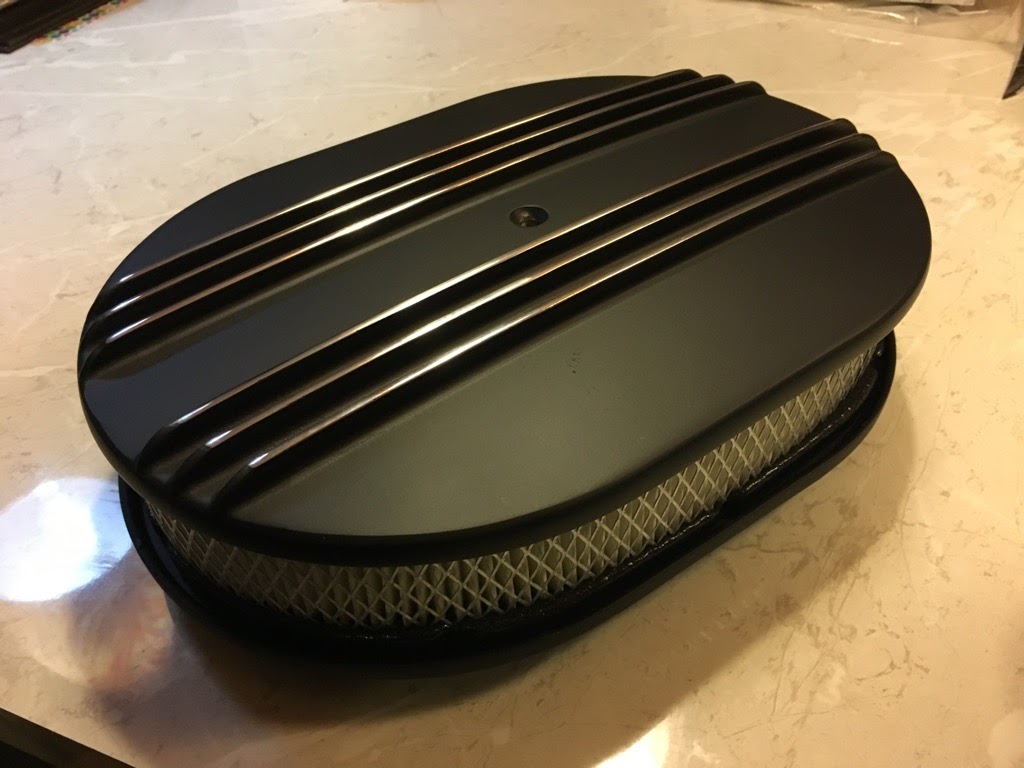
Air Filter

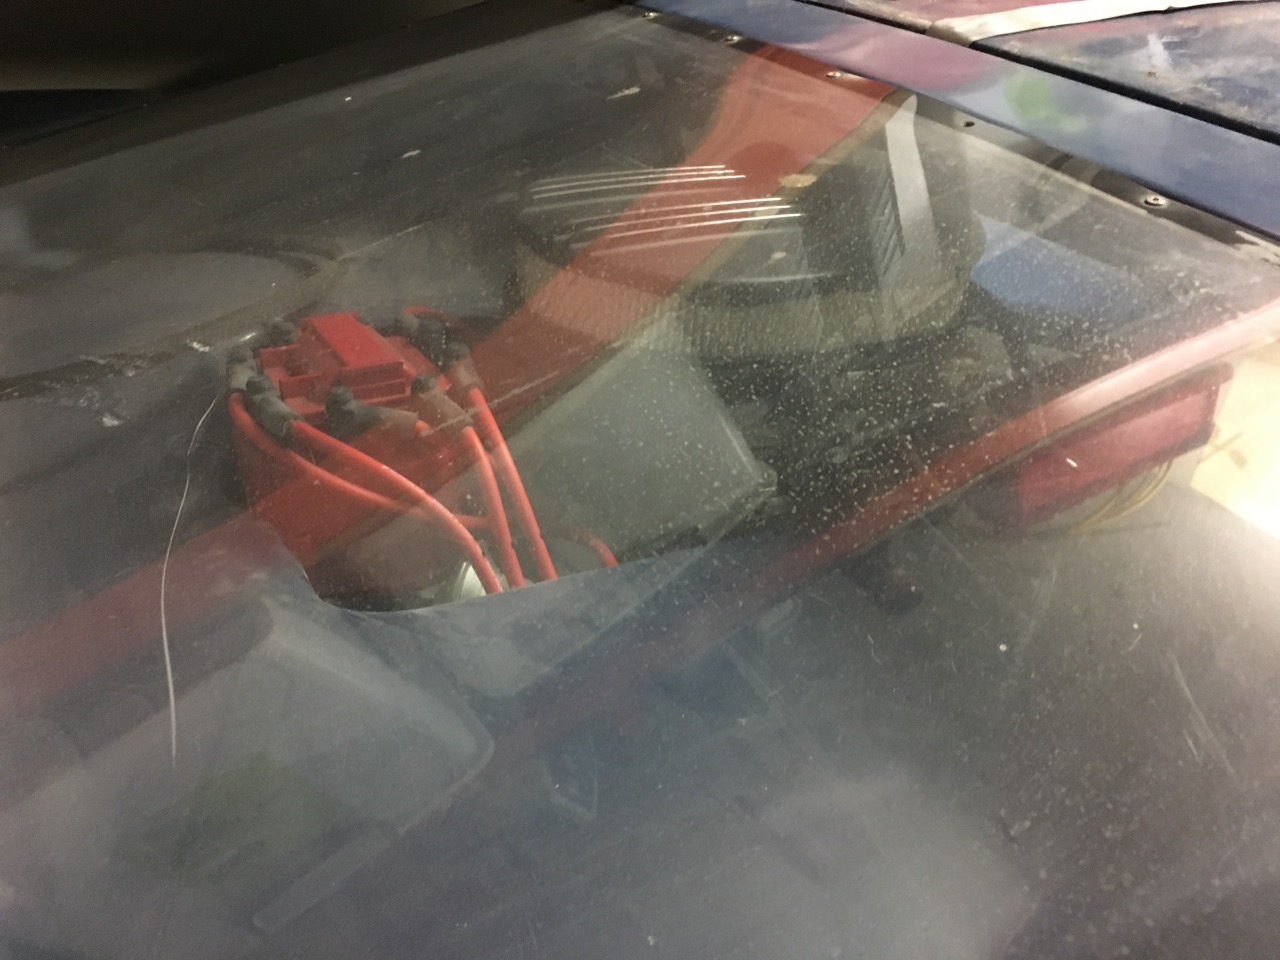
We finally have an air filter. I'm pretty happy with how it looks and it fits well inside the rear window.

IMG_6790.JPG

IMG_7142.JPG

IMG_6791.jpg


Alternator and Rear Firewall

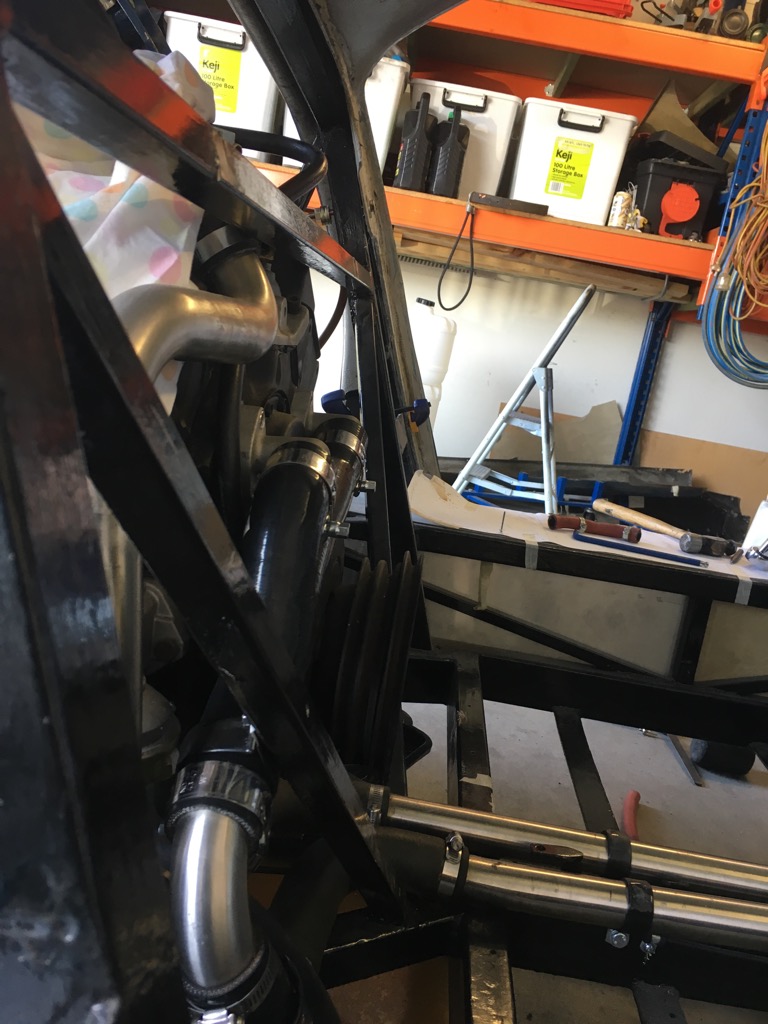
Next, the new alternator and crank pulley arrived. Unfortunately, nothing is truely "bolt on" with a kit car. Whilst the alternator attached to the engine easily, it fouled on the one of the rear angled bars. Out with the angle grinder... We made the decision to chop it out, because we've added a fair bit of extra bracing in the rear and all other GT40 kits I've seen do not have these bars.

IMG_7146.JPG


Here you can see the problem...

IMG_7148.JPG

IMG_7149.JPG


Last weekend, Tim and I managed to spend half a day in the garage. Tim got stuck into the rear bulkhead, while I worked on the fuel fillers. You can see Tim's chopped the second bar out and welded in a bar across the bottom to bolt the aluminium sheet to.

IMG_7339.jpg


Yesterday, I finished it off and removed one of the coolant lines to lengthen it.

IMG_7360.jpg


Fuel Caps

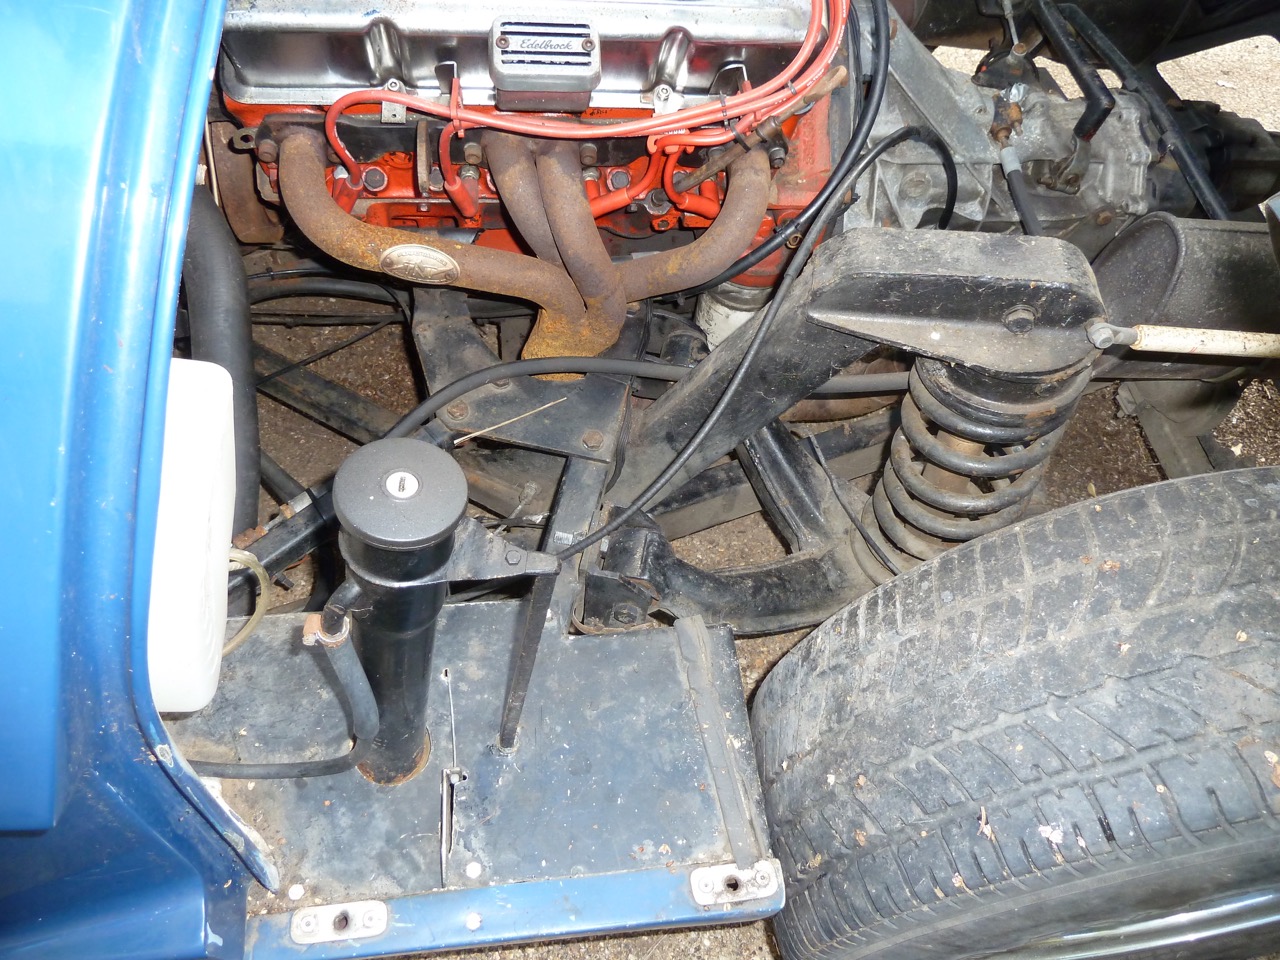
The original fuel filler for this car was under the rear clamshell near the hot exhaust. What could possibly go wrong...

P1010570.jpg


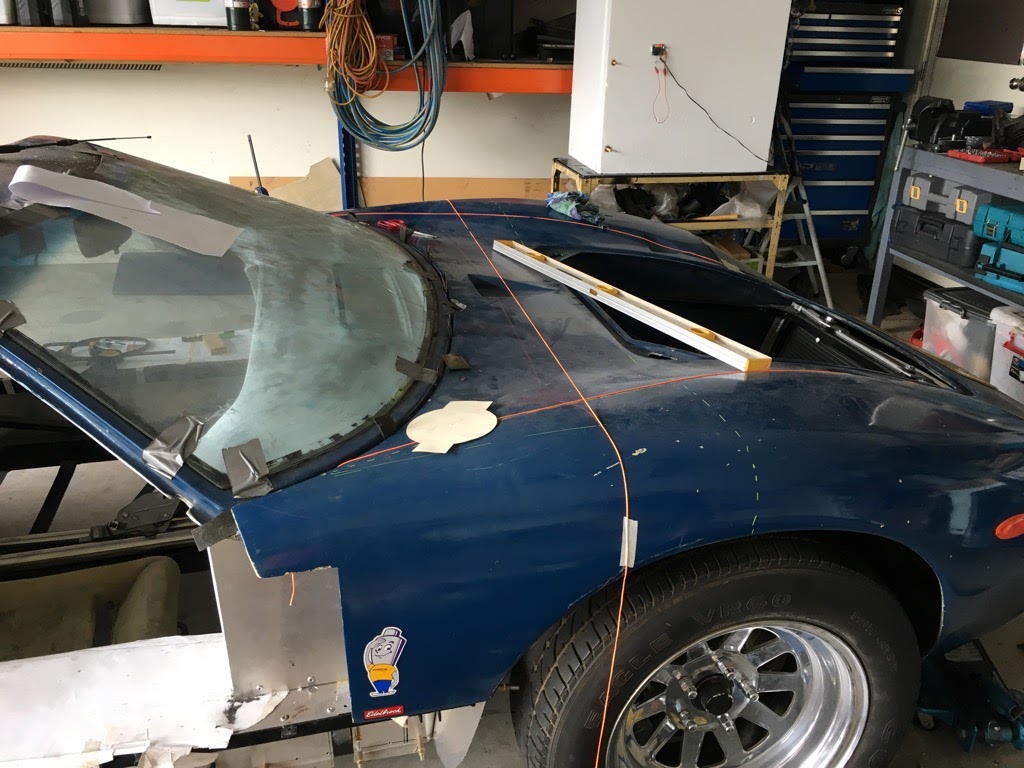
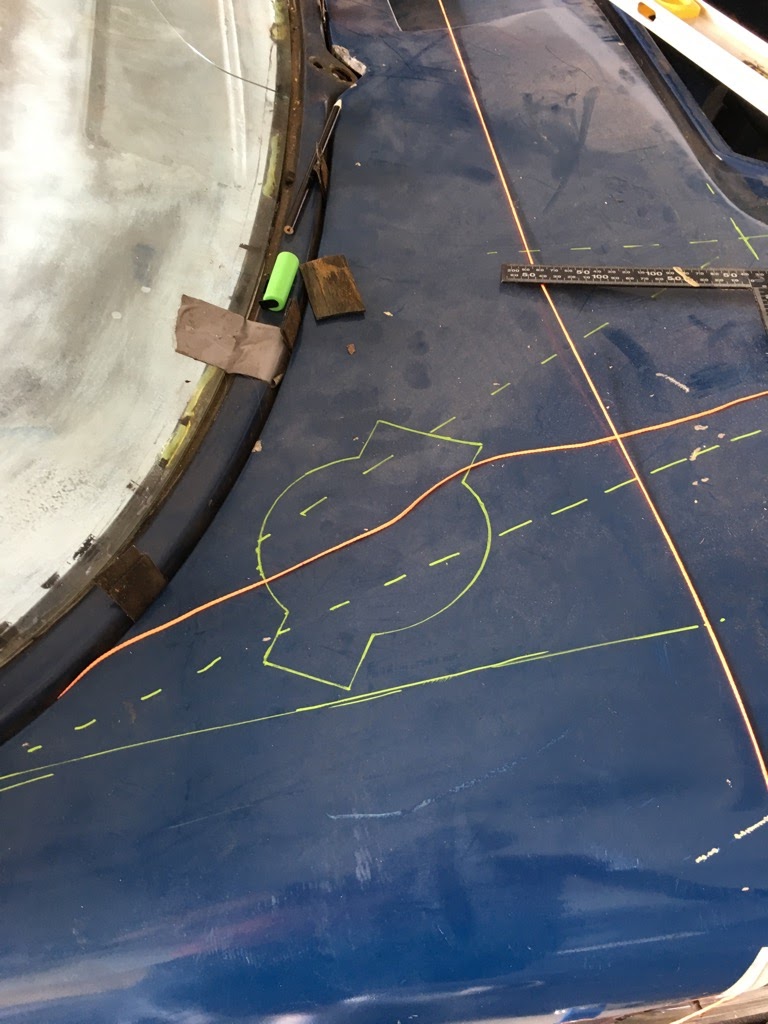
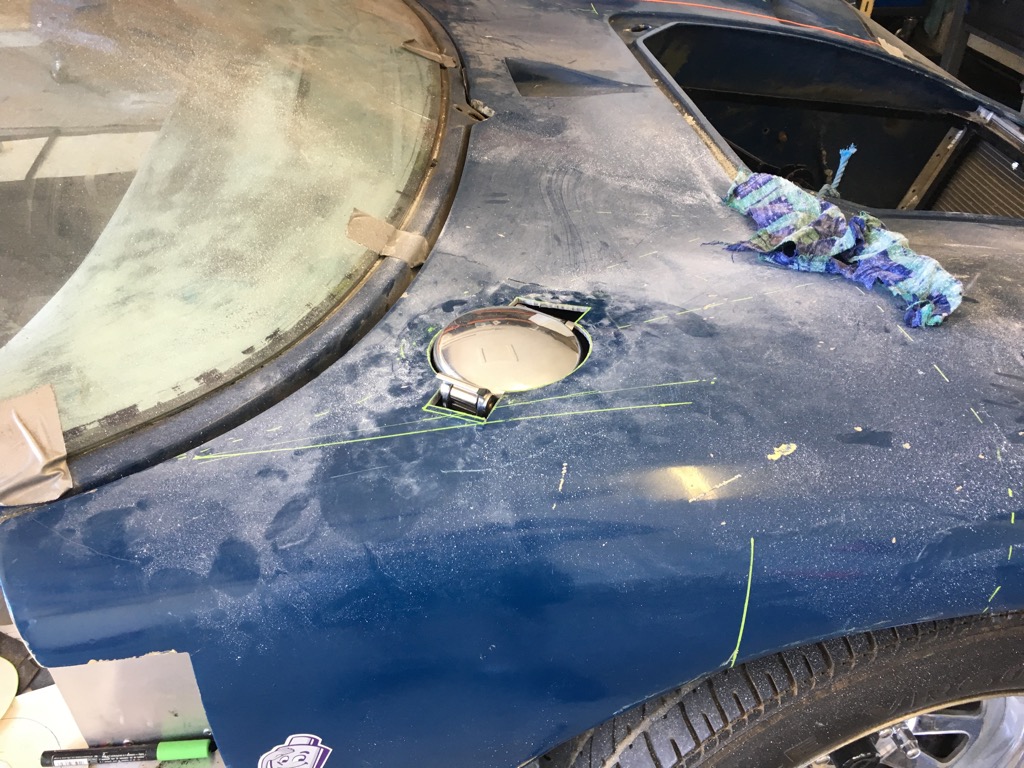
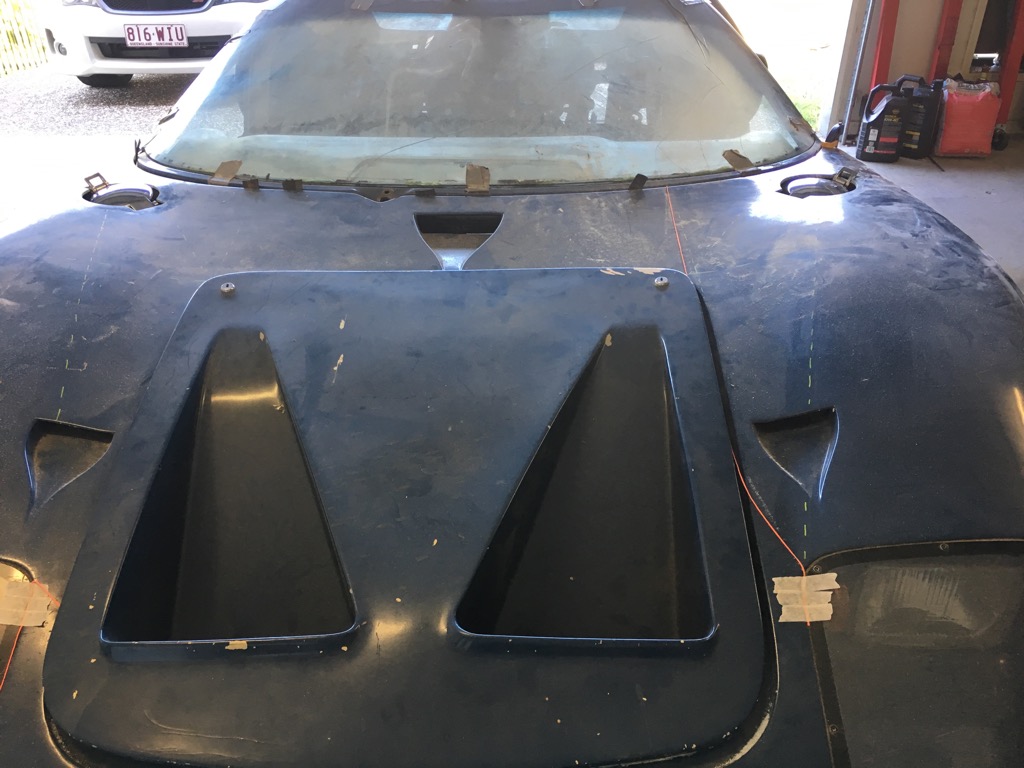
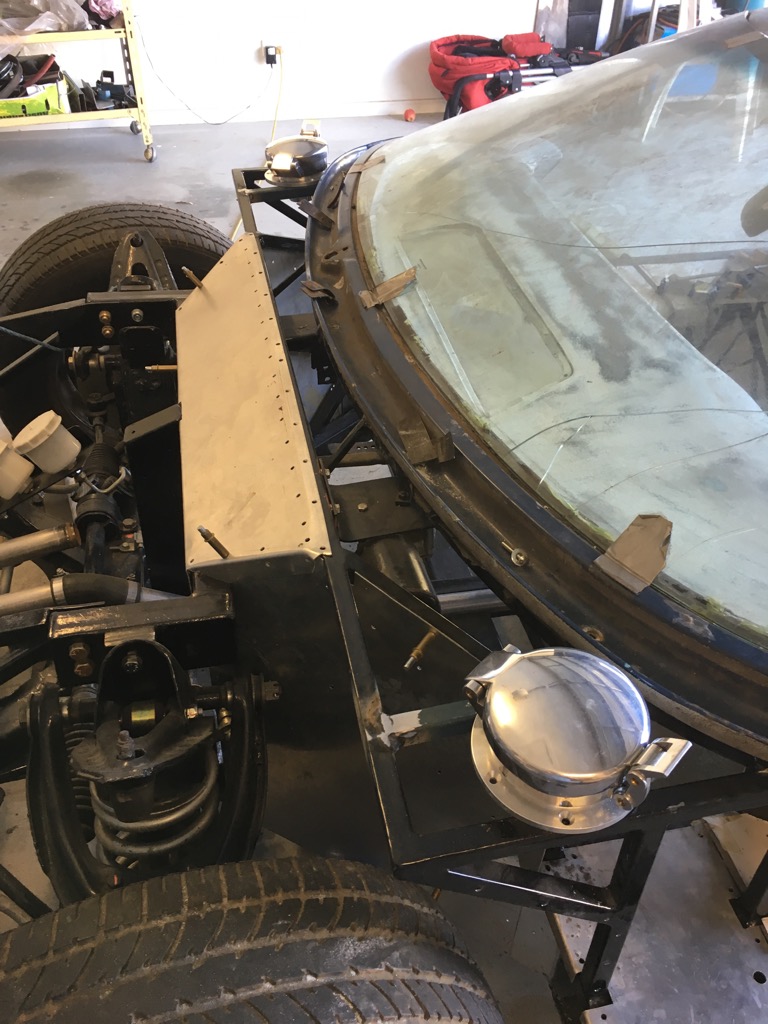
A couple of years ago, I picked up a nice set of polished aluminium fuel caps to go in front of the windscreen where they should be. I've been looking forward to putting these in. First up, we spent a fair bit of time drawing some marks on the body to make sure they're both symmetrical. I then cut out a template and set it up.

IMG_6784.JPG

IMG_6785.JPG


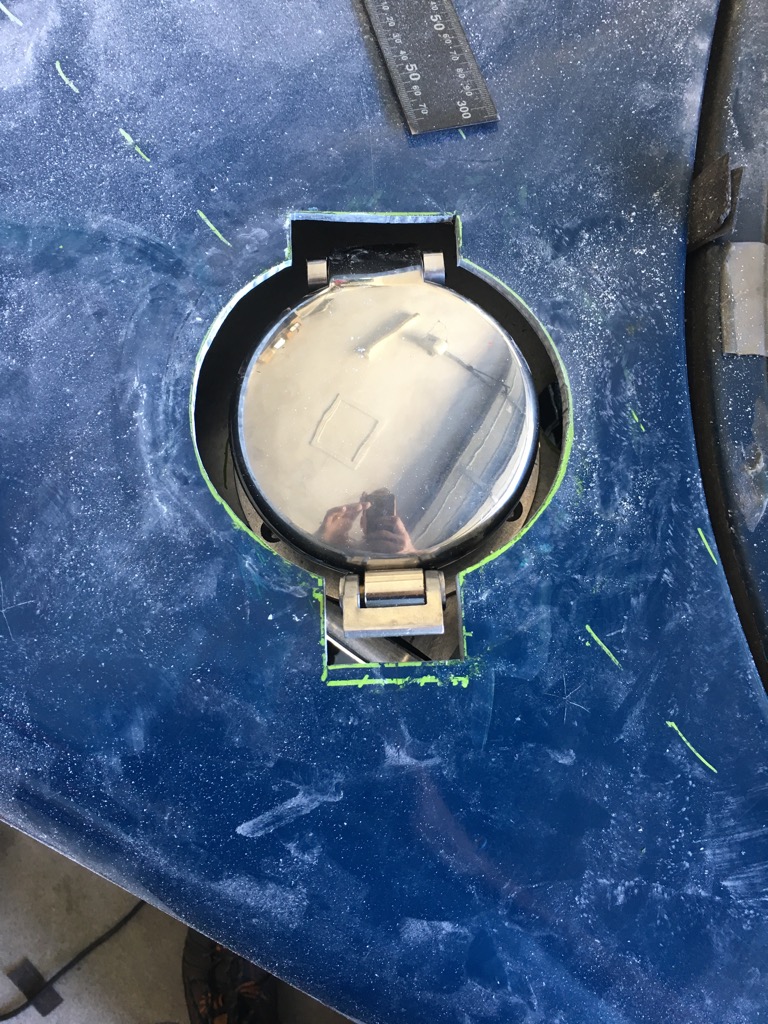
After a dead Dremel and more cutting, it was done. Here's a test fit. I wedged some spacers underneath to lift the fuel cap. Unfortunately, the flat panel that the fuel cap bolts to slopes downwards slightly on this car, so we will make up spacers to get the fuel fillers level and at the correct height.

IMG_7338.jpg


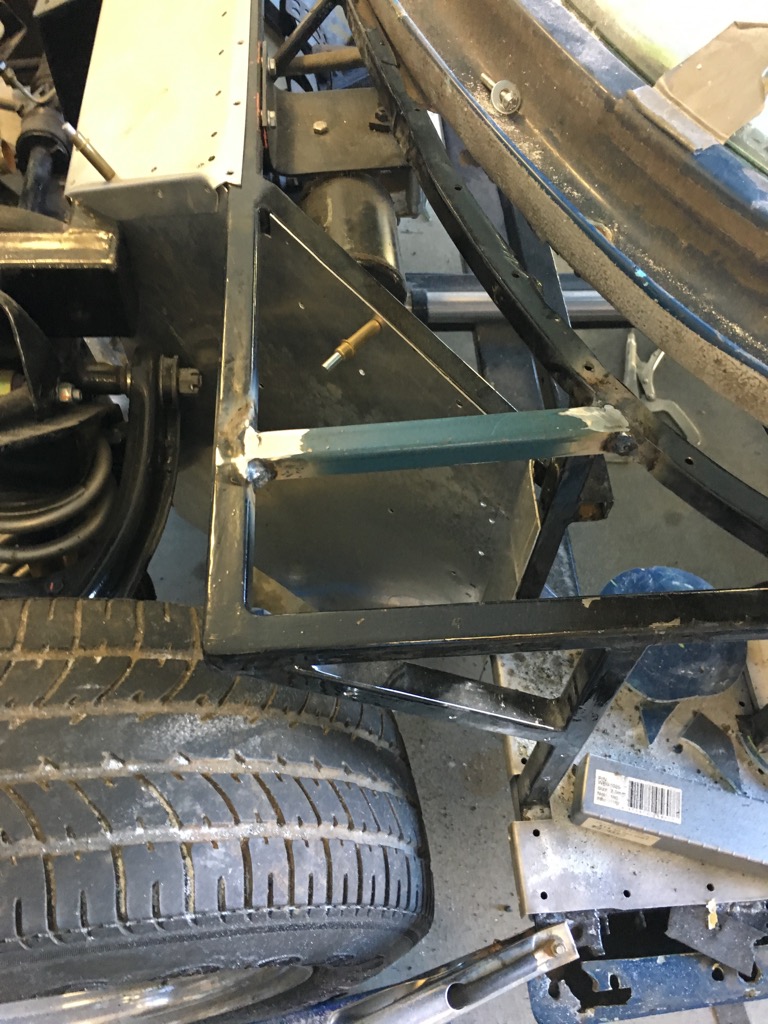
Yesterday, I did the passenger's side, welded in additional bars to bolt the fuel caps to and cut out a bit more clearance around them so that the front can hinge open without fouling on them. I'm pretty happy with the result. I'll bolt them in once the front end is in the correct position and the aluminium sheet is in.

IMG_7363.jpg

IMG_7362.jpg

IMG_7364.jpg

IMG_7369.jpg

IMG_7370.jpg
 
OP
W

Willy81

Active member
Joined
Sep 20, 2013
Messages
31
February 2018

Rear firewall supports and central tunnel

On the weekend I found some time to work on the GT40. My mate Raj came over to give me a hand. He is the man who originally found the car for me back in 2011 and it was great to catch up with him. Raj tells me that he still regularly sees Richard, the original owner of this car. This is great news. I'll have to catch up with him.

Anyway, here's what we got up to.... the rear firewall and central tunnel.

IMG_7452.jpg


IMG_7454.jpg


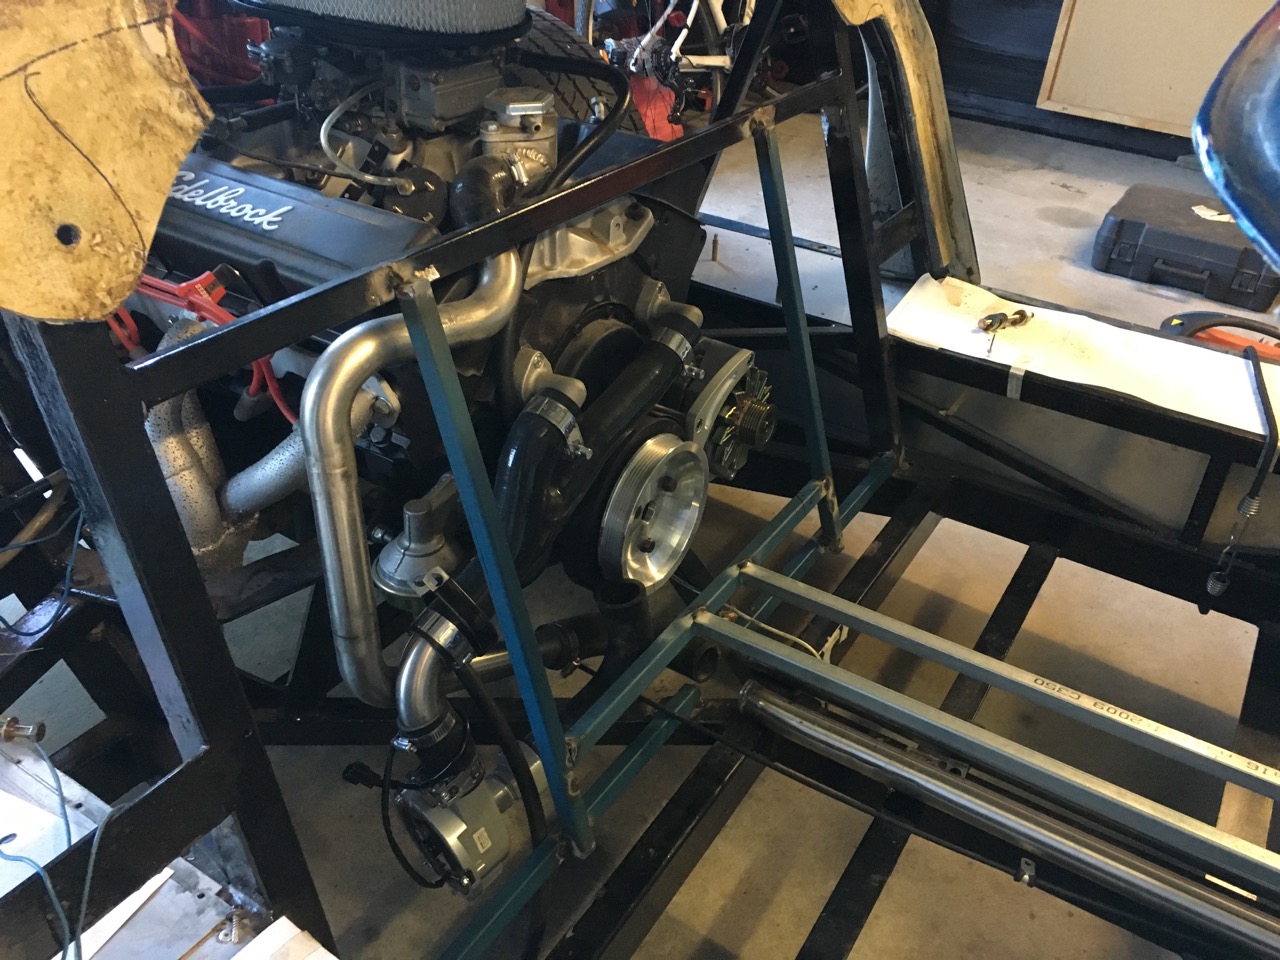
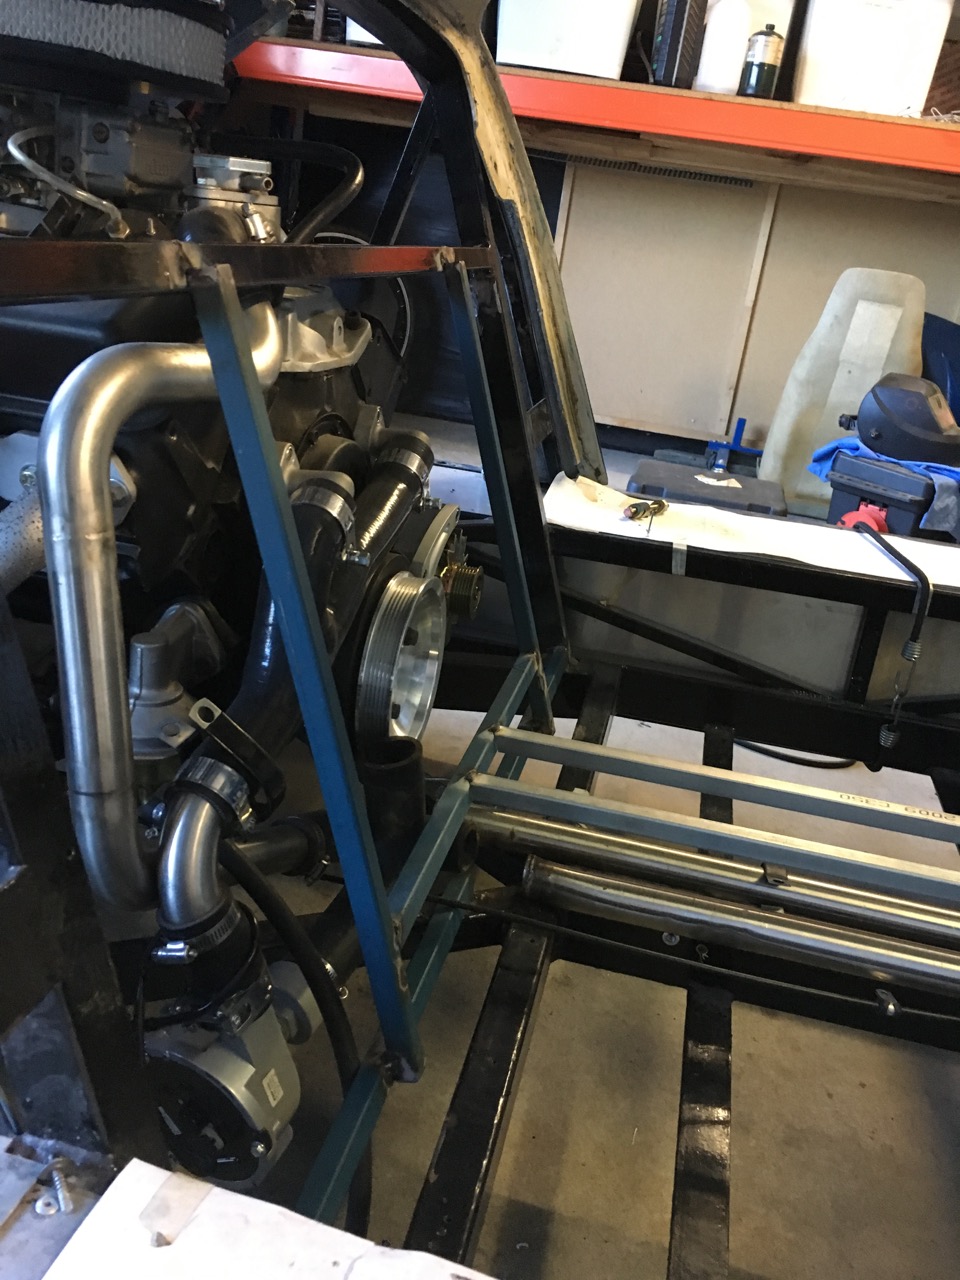
With the changes to the engine pulleys, water pump and alternator we only need a small raised section to allow clearance for the belts etc. Here you can see the blue steel we have added. The intention is that a removable panel will attach in the centre between the two blue bars. The remaining aluminium sheets will bolt to the black painted bars.

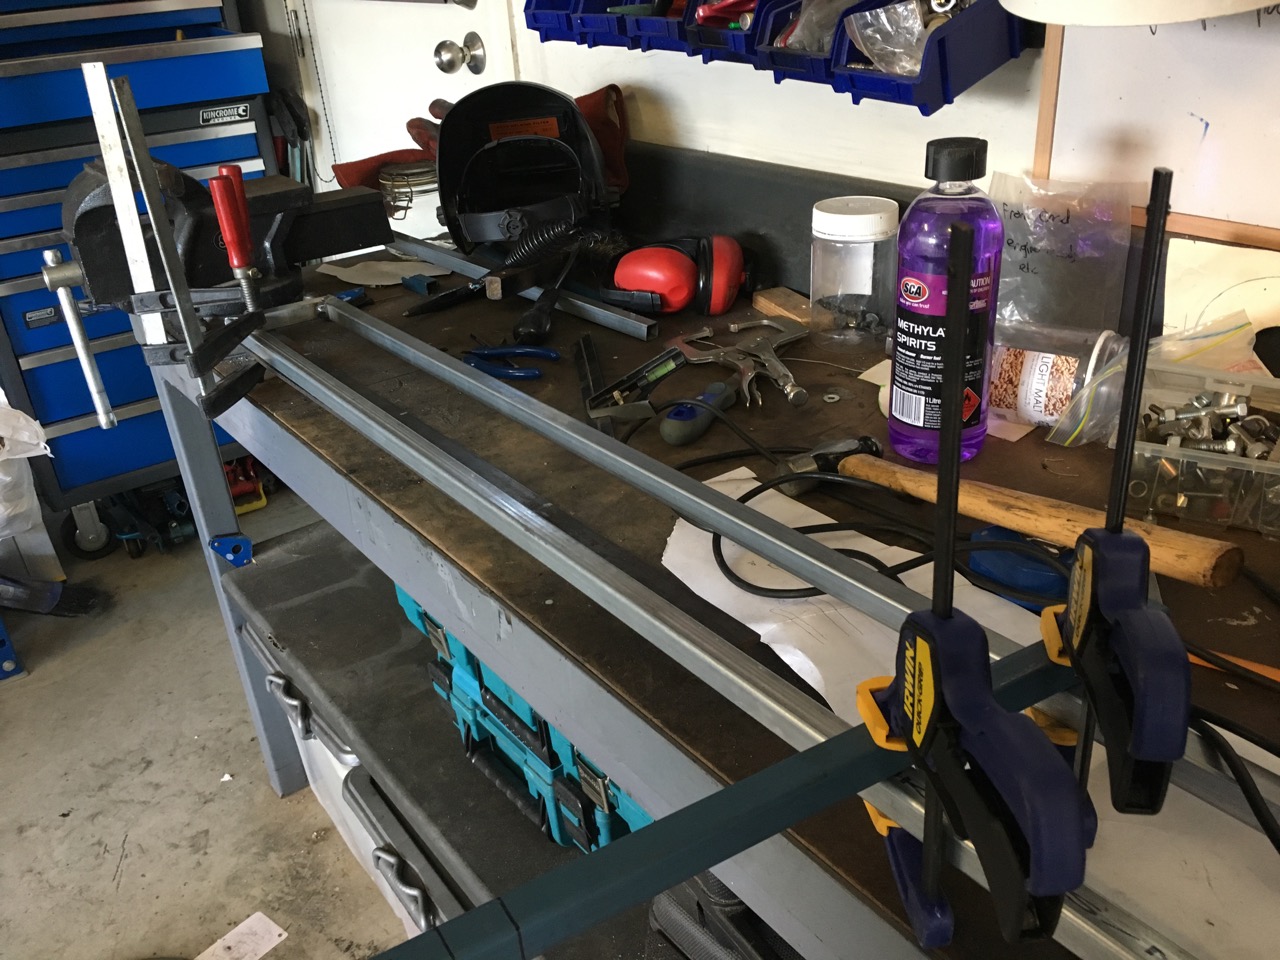
Since this needs to allow for a central tunnel, I fabricated the supports for the sheeting which will box in the coolant pipes and other services. Here are a few pics.

IMG_7449.jpg

IMG_7455.jpg

IMG_7457.jpg


All in all, I'm quite happy with the result. The next job will be to finish the welds, mount the handbrake and then fabricate the rear firewall. All in all, I'm pretty happy with how it's looking. It will be very nice when all the aluminium panel work is behind us.
 

anth

Well-known member
Joined
Jun 26, 2007
Messages
438
Location
Australia
I used to follow this build on PF back when I had more time for forum browsing, great to know that I can now keep up with the progress here on GJ!
 
To avoid these ads, REGISTER NOW!
OP
W

Willy81

Active member
Joined
Sep 20, 2013
Messages
31
Wow, it's been more than 3 years since I updated this blog. And unfortunately, that's because not a whole lots has happened...

But all is not lost. Let's rewind to 2019, where I last found a few days to work on it..

I started tackling the rear firewall. Started with CAD (cardboard aided design - for those of you who don't watch Project Binky).

64454894566__D580323D-019A-48B1-874B-2DE79C7B94E2.png

IMG_1064.png

Some cutting and bending (which involves coming up with creative ways of bending aluminium)

IMG_1069.png

IMG_1067.png

First side done..

IMG_1070.png

Onto the next side. Rinse and repeat.
CAD..
IMG_1073.png

And we're done. This looks simple enough, but takes ****** ages.

IMG_1074.png

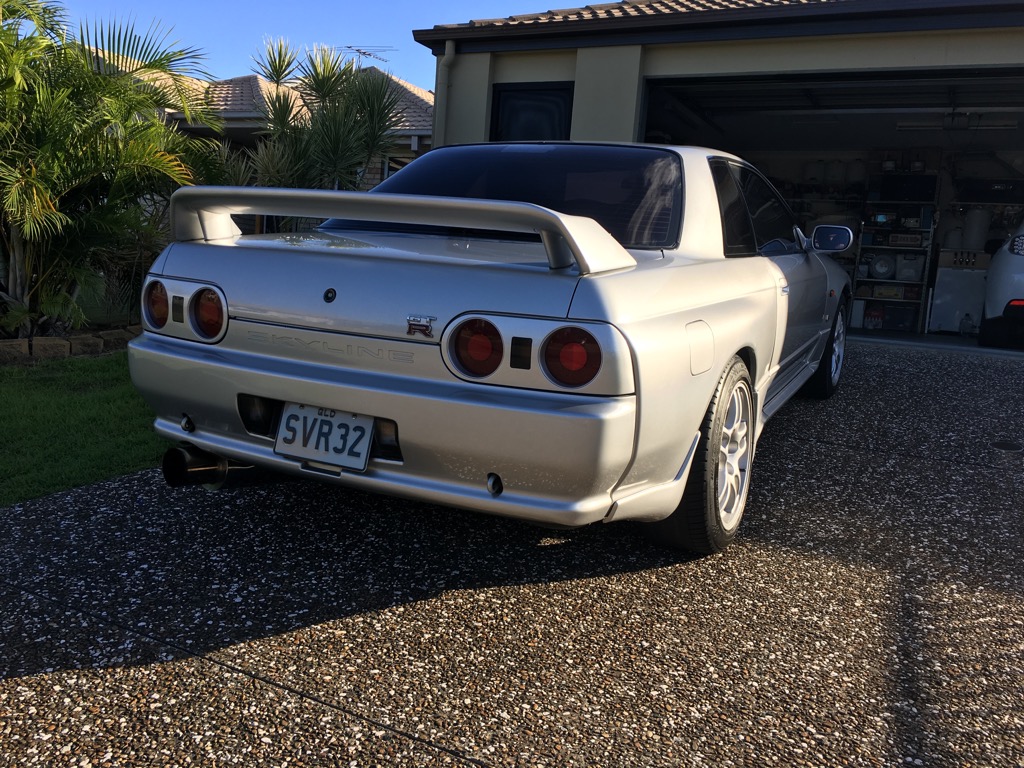
And that's where it sat for a few years! Yep, a few years crept past. Admittedly, I pretty much did a partial restoration on my GTR.
 
OP
W

Willy81

Active member
Joined
Sep 20, 2013
Messages
31
As mentioned in my last update, the car has pretty much been sat dormant while I've been busy with work and my GTR.

A couple of weeks ago, the stars aligned and I found some time to pull out the GT40. Here's how she was sitting... Yeah there's not much room next to the GTR.

IMG_4603.png

Anyway, so it took me about 30 mins to remember what I was working on and where the cardboard templates fitted. Haha

IMG_4575.png

Ah yes, that right. I need to make the top section of the firewall. CAD time...

IMG_4585.png

IMG_4584.png

IMG_4587.png

And cutting time

IMG_4594.png

IMG_4595.png

After much trimming and refitting, I was pretty happy with it.

IMG_4596.png

One thing that's been bugging me is how to attach the stainless to the fibreglass shell. The shell actually has some adjustment bolts up against the steel frame that adjust the alignment with the rear clamshell. So the fibreglass cabin and the aluminium panel need to be able to move. A trip to Clark Rubber found the solution. Perfect!

IMG_4582.png

In the meantime, I managed to source a new glass panel from Roaring Forties. I had a good chat with Robert Logan who runs the company. What a good bloke. He packaged it up perfectly and send it to me quickly.

IMG_4612.png

A comparison of new and old..

IMG_4614.png

Back to the engine

A couple of weeks ago, my mates Jason and Tai came over with the goal of running the engine again. It hasn't run for 3-4 years since we removed the mechanical water pump and installed the EWP. Jason and Tai are pretty ****** good with wiring looms and in no time, they knocked up a test loom with a Deutsch connector so I can quickly plug in the EWP controller and start the engine when needed.

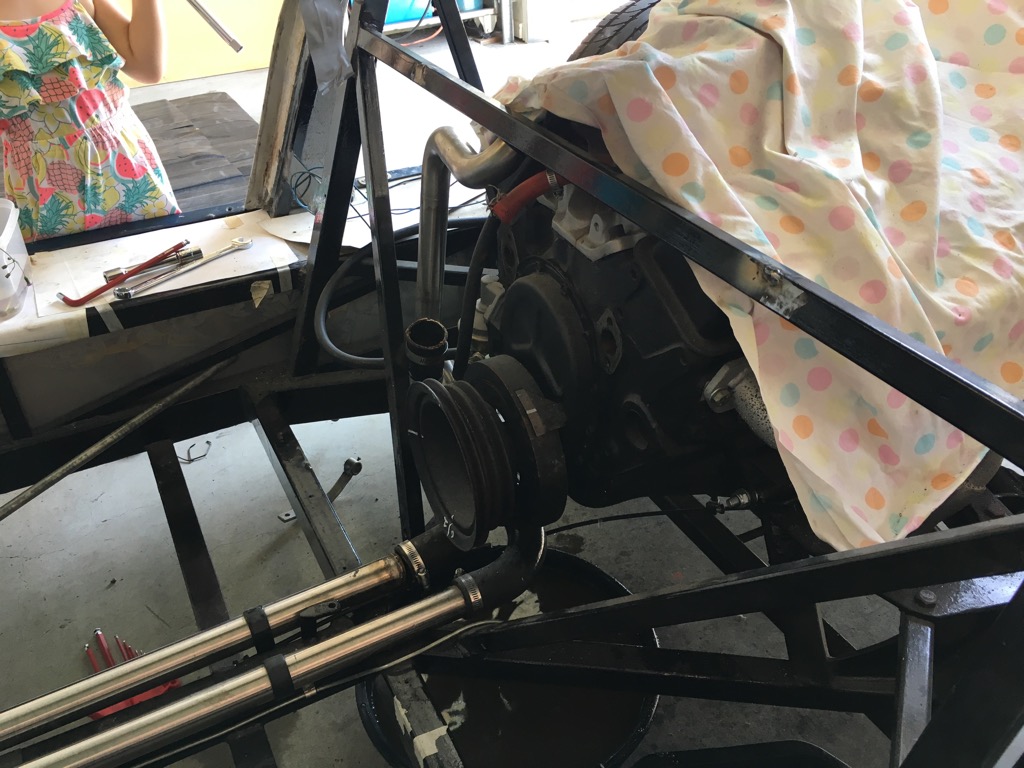
While they did the wiring, I reinstalled the EWP and piping with Dad. Then after much messing around (and a new battery), she started again! So good to have it running again. There were a few coolant leaks to fix and we ran it up to 95 degrees. We need to source thermo fans at some point soon.

Phone cameras never do engine sounds justice.


So what's next?

Now that we are finally working on it again, I hope to keep momentum going. First up will be finishing that rear firewall and then I'll probably continue making more panels around the insides and the pedals (that will be a fun one).
 

Geoff289

Well-known member
Joined
Nov 10, 2013
Messages
1,260
Location
Melbourne, Australia
Good to see you back. I remember reading your thread way back when and being impressed with the storage solution for the 40. However, I just noticed you have a chev in it. As a died in the wool Ford man I'm not sure that's allowed, but I'll follow the rest of the build with interest anway.
 
OP
W

Willy81

Active member
Joined
Sep 20, 2013
Messages
31
Haha, the chev always causes a stir amongst Ford guys. It's the engine that came with the car. The previous owner originally had a Ford 289 I think and wanted a 350 for some reason. Our current plan is to get this thing on the road (which will be a challenge) and spend the minimal amount on it. Once we get through that hurdle, we will look at other engine options ;)
 
OP
W

Willy81

Active member
Joined
Sep 20, 2013
Messages
31
So this post is only about 5 years late. A lot has happened in that time, including moving house, building a shed, etc. I'll post about that later, but let's get you up to date circa 2023.

Since the last post, I finished off the rear firewall

SJ5q4BpozXsCOZJ-NWCsxy-AxdM9dEn93Q9sEAiBnhkNd8N5hk.jpg

SJ5q4BpozXsCOZJ-NWCsxy-AxdM9dEn93Q9sEAiBnhkNd8N5hk.jpg

xa6oM9_0SwlQ0FEWhLNxYNMc_xrnh-r826gHJzGmfZwstsYNpw.jpg

xa6oM9_0SwlQ0FEWhLNxYNMc_xrnh-r826gHJzGmfZwstsYNpw.jpg

9d7a-w_g2LbtNTk13MYzYwe5bA7nibbs5GQ2R7F2rtNJAWQ3EY.jpg

After that, I turned my attention to the front of the car..

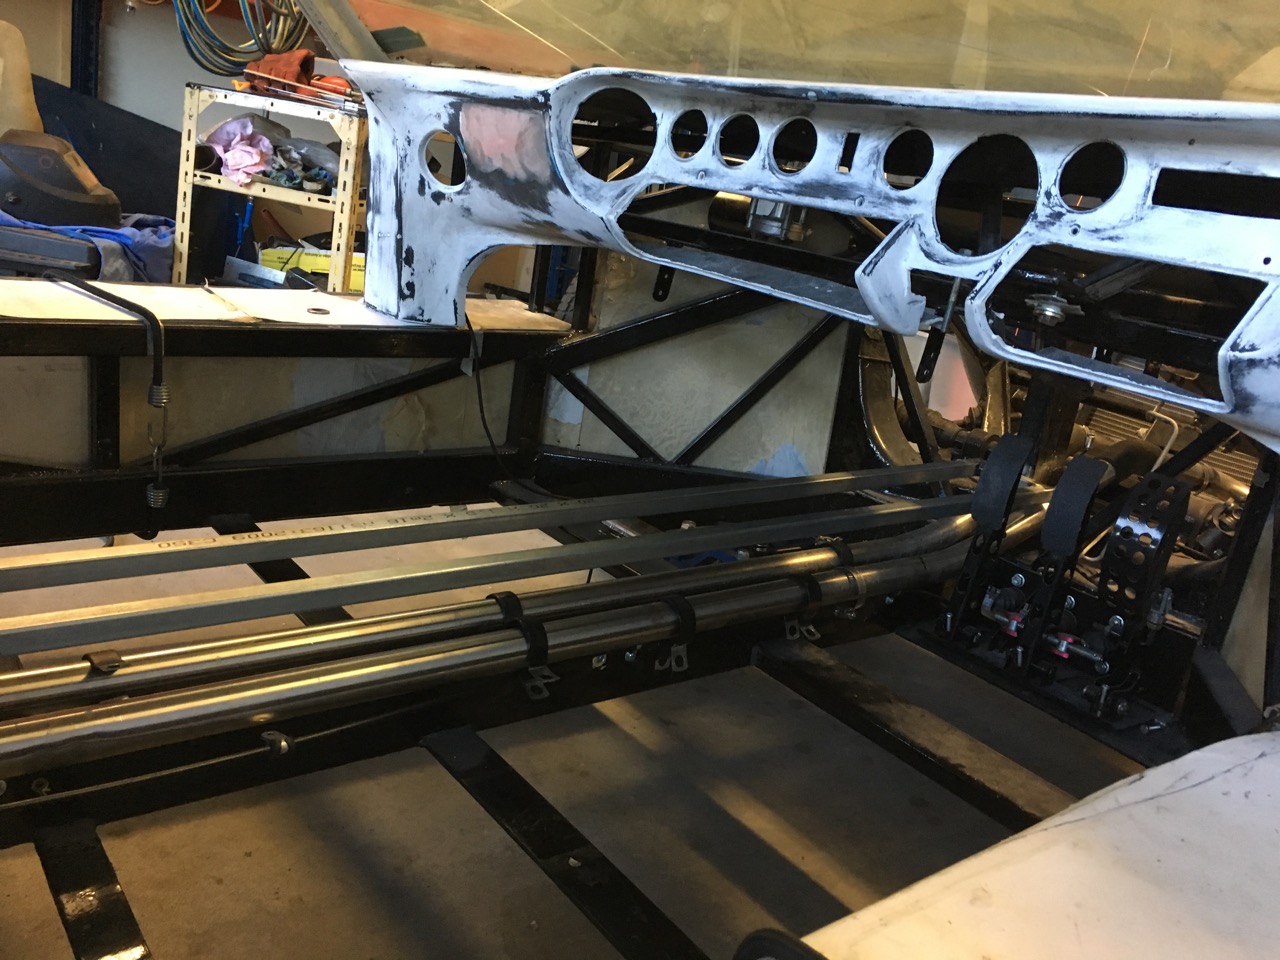
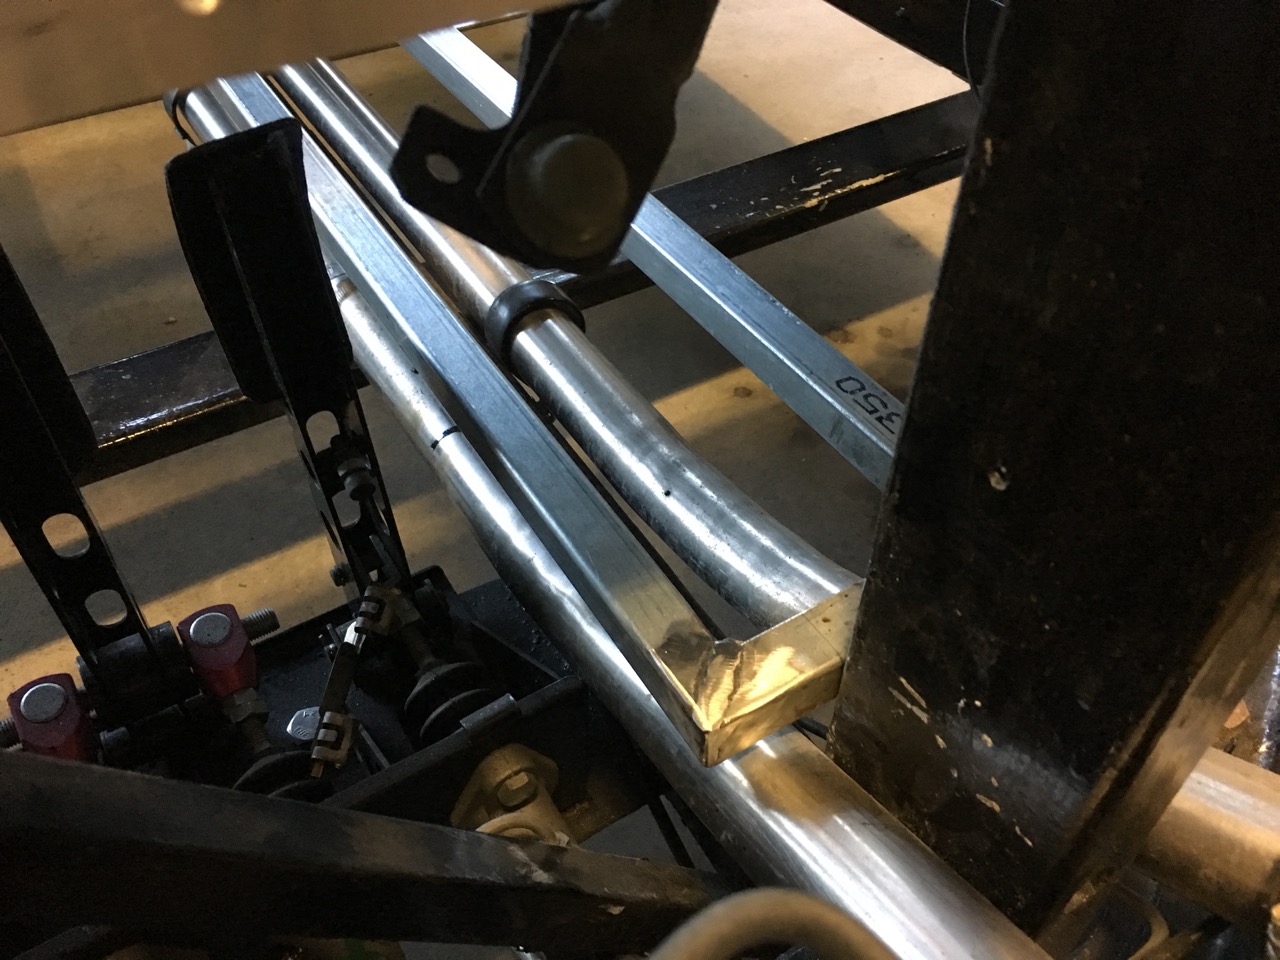
Many years ago, we switched to floor-mounted pedals. The downside to this is that the KCC chassis is quite narrow in the front and has a cross beam right where the master cylinders want to be, which pushes the pedals towards the driver.

MdvSWKEdXnRnbGhFBrz43w3QesMhYUhReiAcsZDjSTWnsCWEnQ.jpg

So I setup the seat to my driving position and quickly realised it's far from ideal. The steering wheel is a long way in front (nearly straight arms) and the seat is just 100mm off the rear firewall. To give this some context, I am only 160cm tall (5'4")!

KfARlRJAhoqmPDygD6dFx5hAVbUgETQZIvzr4be8kD-CI_pAiI.jpg

This means that pretty much anyone taller than me (aka most of the population) will not be able to drive this car. So we looked at how to move the pedals forwards. We even considered lifting them..

79kwfcKm9zK6Bguro85OCiuHjrfCBvyIR-fQfefWrz_q_LyjWA.jpg

Ultimately, we decided that these pedals are just not going to work and so we sourced some top hanging pedals out of the UK.

OJnW-Fxq_6khYZS9301EDE-mZFuLOogRTmunsJGZJrPLh1vDlM.jpg

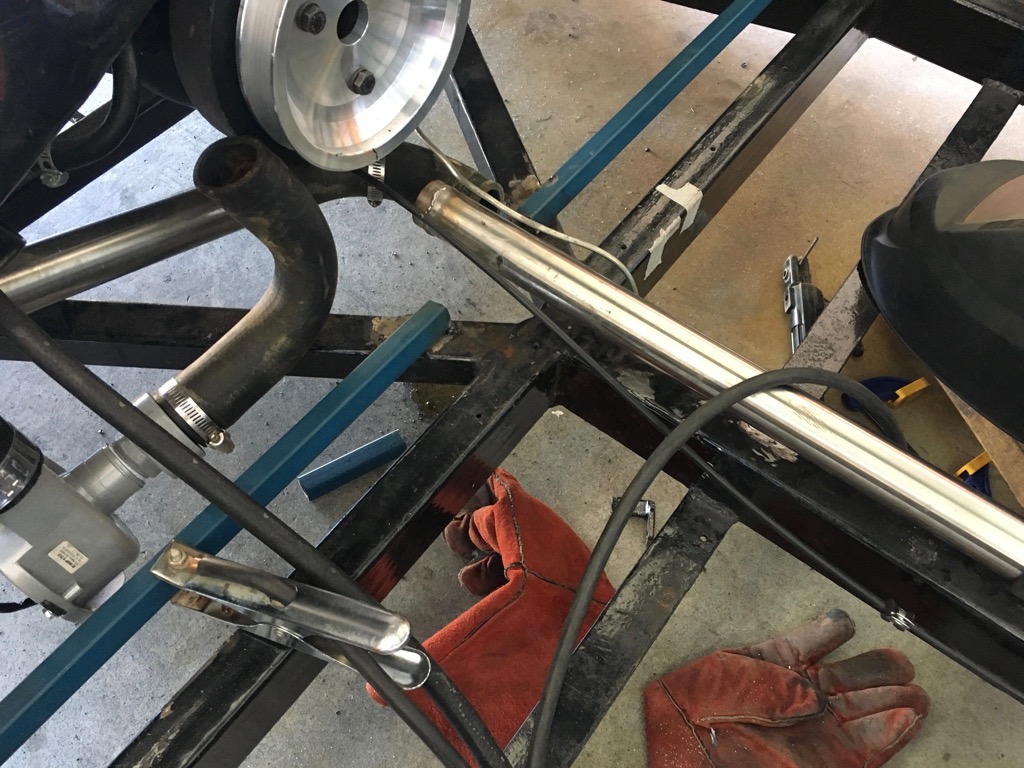
What also became apparent is that the plan of running coolant lines down the centre of the car really doesn't leave enough foot room around the pedals. I was beginning to think of running the coolant lines down the side and it was around this time, I ran into Tony Browne's post on gt40s.com which shows the amazing work he did with a similar KVA chassis.

ficgrg1fVspfcNIuvDQ6PVS_Di2LZLXUvFAeGLZvjQ_ysa2UNE.jpg

And so this sparked a whole re-think. We weren't really very happy with the front of our car as it was. It was pretty rough and the radiator rubbed on the body.

TLa1L3dJJtZPpB1Z_llg3fA6hIv9QHN99QUiveljY4RLo1TQK0.jpg

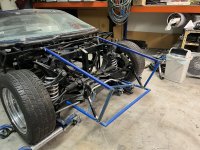
Therefore, we decided it was time to chop it off and start again on the front end. This time I went for side mounting of the radiator, similar to most other GT40 chassis. I also aimed to allow the K-frame to be removed (sideways) if required.

wn7Awcf3nqR8YLAPMUzfOnPnCjOoHPWor1dK40bkyiaS6v188c.jpg

P7jrL3cf8aoWMKOklLMHIBIBZazT1MaB-xIHm_F5FkxkEqkCY4.jpg

zWMFY5YIotgAFGRJQU7XJA2B3WMBZFfRW0CQhjpgaaCDexvlLk.jpg

lxoPLHuyNM9tiLJaxwIZPM6LHJRCdBFdXlJUDF65IbHaB53faQ.jpg

z0PFGkgn-lODMp2IAuI-tuf2V_3RBZK1tW0ra6jPDQ_CAte_e4.jpg

RONZxdC_ROSKVZAR-ARlWwZ7z2JNKghXAYyuDJZy7U_N7iTVN4.jpg

Once at this stage, I thought about how to mount the front body work again. After flicking through the GT40 forums, I came up with a few aims for the new mounts:

It had to be adjustable in all axes. GT40 bodies are notorious for being tricky to align in the final build stages.

It had to be hingeable for maintenance

It had to be removable

After a bit of thinking and some 3D CAD, I came up with the following mount. With slotted holes, it would allow for adjustments in 3 dimensions.

OwOPiQMxJ5Yw_J-H7yoo0277YccLu6UZpmJAn0ZVngHVe8NZAw.jpg

70fV9Z9vYvug189maToNek1l5wc2h3YBbGMgRs96Y1gV9eTwDY.jpg

r1nFwkuKzDfplhYEkEzJBb8ktOkRvm5tqS443dvBXU05yNhutA.jpg

XuLVdxJ52YsnUcp-3DB-cTzeM9p47GFh-MIyJzthg6juhUSnm8.jpg

It was around this time that we decided to buy a new house in the bush with a lot more space. I quickly knocked up these mounts so I could move the car.

1EzGG6R4jOsy5WXqt2Osx92oT1QV6sq-fb6uy24CfU1EBGPRKE.jpg

_nA26CFHRNnuEv_T_Nizph156Qy5J4NKZNWCb0icC2xDYUicp0.jpg

Once I finally mounted it all up and did the final fitment, I found that I had setup the mounts too far out. They wouldn't fit! So annoying.

QNIfp9nECWDjDydv5eO8U1Gz2NIp82ZW8OzHZZXyAhOvrOv4-g.jpg

At this point, the garage was packed, the move was imminent and so a rope was thrown over the front end and we moved to the new place.

The new place only had a shallow 3 bay shed for our 3 cars and all my tools. Step 1 would be to build a new shed. I thought it would take about 3 months. I was very wrong...
 
To avoid these ads, REGISTER NOW!
Top Bottom