It's amazing how much more storage you can get by just adding another 4" in depth by making the doors into shelves.
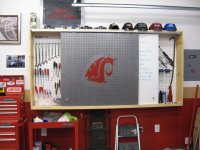
Or at the very least, using pegboard on the cabinet doors.


It's amazing how much more storage you can get by just adding another 4" in depth by making the doors into shelves.
Or at the very least, using pegboard on the cabinet doors.

I'm really thinking about putting pegboard into the doors of my nut and bolt cabinet. I already have everything including the pegboard. Right now I'm just using sheetrock screws in there to hang stuff on.
") I'm not sure how much more my checking account can take, but there's only one way to find out!
I'm not sure how much more my checking account can take, but there's only one way to find out!


My shop has 12' walls, so the top 4' was "wasted space". Bought 4 boxes of wire shelving from Costco and built custom brackets with 1" square tubing and flat bar.
Kewl idea - so you cut the tube uprights from the shelving units, and used those as the "locating pins" in your shelf brackets? I'm not sure if it's the flash or what - but it's hard to see what the "round pegs" are on the horizontal portion of your brackets.
I've been thinking about overhead storage allot lately - but will need more distance off the wall - those brackets are giving me all kinds of ideas.
Nice work!
I have a pole barn, so I'm limited on support between posts. I'd have to put some lumber horizontal between posts to lag these type of brackets into.
I picked up the same welder - syncro 200 - recently, still getting used to it, but I sure like the precision of the TIG, over the "caulking with metal" approach of MIG.
I hear ya on the TIG; I'm still learning it so most job's start off TIG and switch to MIG after the 6th tungsten regrind...
I built a 32'x48' pole barn to store stuff in so I could finish my shop interior. The pole spacing is 8', so I built brackets to lag bolt to the 6x6 poles out of angle iron and flat bar, and made shelves with full sheets of plywood. So there's 64' of 4' deep shelves... I'll take some pictures when I get a few moments.
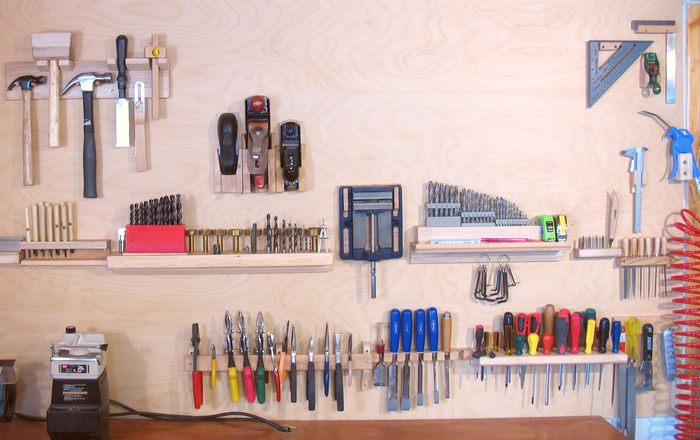
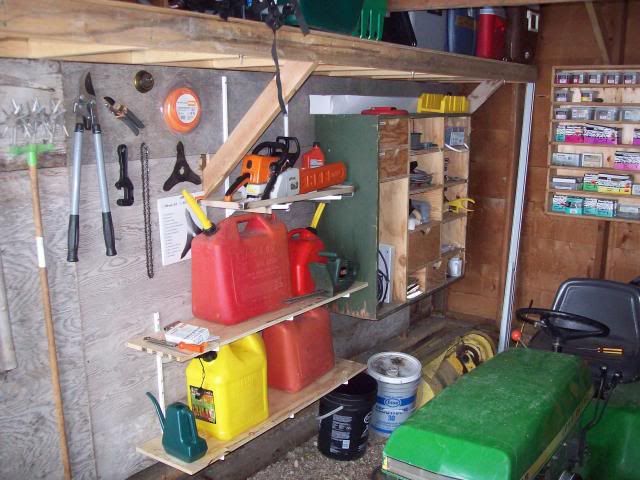
I guess this may classify for this thread...I have a small closet in the shop that just collected my garden tools (until I talk the wife into a shed). So I saw plans for a freestanding garden tool rack and thought heck I will just build one inside the closet. So I did. Cost FREE with scraps laying around. Lets see, its made of some MDF, some OSB, so cherry cabinet pieces, some 1x2 scrap, and trim nails
Trim nailed some scrap trim to the walls

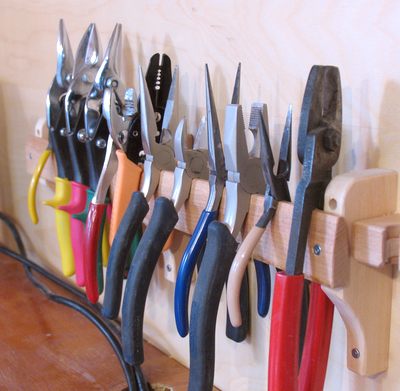
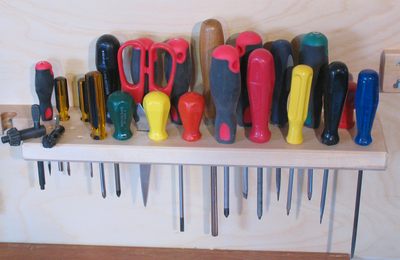
Cut the boards to fit, clamped together, drilled all the holes

Added some tools

The long slot on the right I am just going to use for some pvc and small pipe I have laying around. Ignore the cabinets there, they are just sitting on the floor, need to hang them in the shop

My shop has 12' walls, so the top 4' was "wasted space". Bought 4 boxes of wire shelving from Costco and built custom brackets with 1" square tubing and flat bar.


Great ideas all. My best idea is pretty simple, wire shelves with tubs for storage, works great. Of course, they need to be color coordinated


I made it about half way through this thread, and I didn't see the old screw the lid of a jar under a cabinet to hang the jar. Somebody out there is still doing this surely.

I made it about half way through this thread, and I didn't see the old screw the lid of a jar under a cabinet to hang the jar. Somebody out there is still doing this surely.
Those bottles tied to the wall?
Whats is the problem? They are capped.
osha requires the bottles to be capped and chained when not in use. must be for a good reason......
Osha requires lots of **** that doesn't apply to personal use. My bottles aren't chained, but I can guarantee you that nobody is going to get hurt because of it because noone outside of me has access to them.
.....and as an added bonus, your nuts will smell like a mexican on a Monday.
Grinder Bill - you've got a beatiful metal shop there. Been doing it a long time I'll bet. Do you build bikes just for yourself or is it business?

OSHA has a lot of rules that were pulled out of someones *** and have no reason to exist.