THE OFFICE ROUGH ELECTRICAL IS IN…
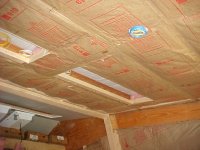
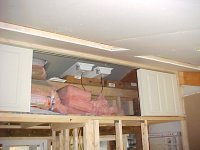
Well, most of it anyway. I still need to run the wires for the stairway 3-way light circuit. I took a lot of pictures to document where wires route, but I won’t bore everyone with all the details. I used armor-clad wire routing from the main panel to junction box up in the office. From there, Romex routes to all the individual switch and receptacle boxes since they will be buried behind the drywall. So far, I used about 150 feet of armor-clad and 250 feet of Romex. I used the blue plastic boxes and they seem to work fine. Where I needed 2 and 3-gang boxes, I opted for the heavy duty type as they feel much sturdier when hanging out from the studs.
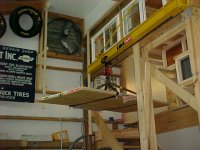
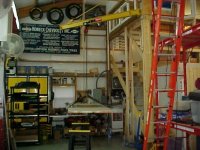
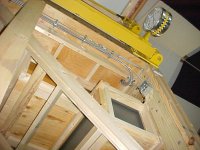
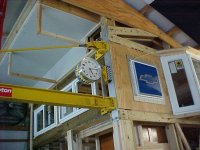
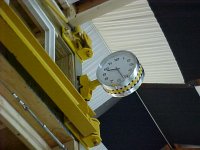
I have a number of different circuits running to the office area including one 15A for receptacles, one 15A for lighting, and one dedicated 15A for a small window air conditioner. The attic lighting will connect to the main office lighting circuit so that they cannot be on without having the office lights on. This should keep me from leaving them on inadvertently. A special 15A circuit is included to power the timers by the main panel and it will have battery backup power so I don’t have to reset the timer clocks every time I loose power for a few minutes. From this timer circuit, I will power the blue Bowtie signs and other “night lights” around the shop. Lastly, there’s another 15A circuit routing up to the crane to power the future electric hoist. I may need to change this to 220V as most heavy duty hoists I’m seeing are at least that voltage. I also ran some speaker wires in the wall for some recessed speakers across the room – much easier to do now then later. I didn’t run cable TV or phone lines yet because I‘m leaving an access hole up into the office and can route that stuff later if I need it.
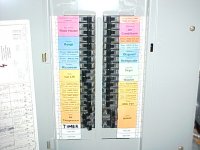
As you can see, my main panel is getting pretty full so I may need to combine a few other circuits with low loads on them. The good thing is I already have breakers for the car lift, air compressor, and welder, so I am covered for the near future, anyway.
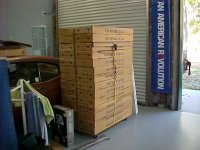
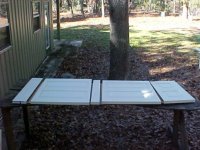
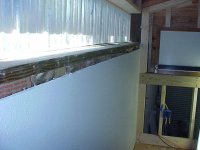
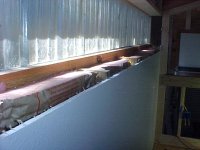
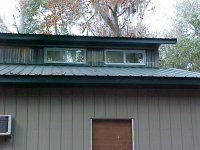
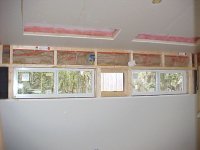
My window order arrived this weekend so I will now be able to finish the framing in the office. These windows will replace translucent fiberglass external wall panels and give me a nice view of the lake. Then its drywall hanging time again.

 I didnt know that, sorry.
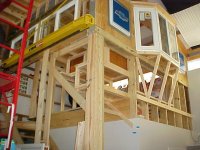

 Now you're just showing off!!!! Very nice!