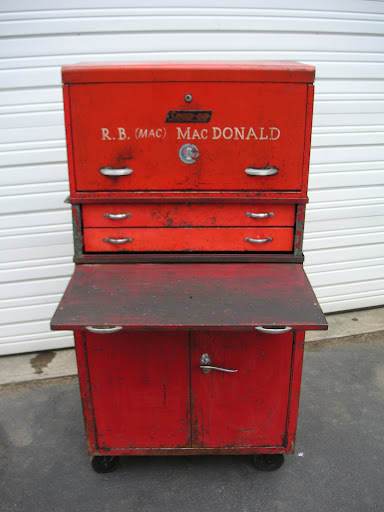
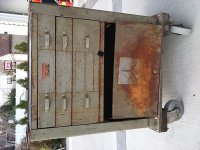
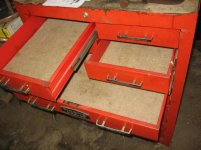
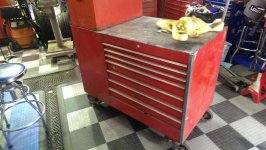
So I picked up the chest, here are better pics. I'm good on vises but a complete NOOB about these chests; therefore, I'd like to ask this august body, what I should do with this one.
The Good: very nice original finish, very good shape for its age, LOTS of original intact hardware, great drawers, working locks when the lid is shut
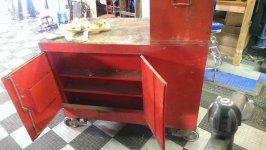
The Bad: missing trim, missing front lock, old repairs in the top,
The verdict: Do I do a complete strip, sand and refinish or just clean up this finish with 0000 steel wool and a little wax? Completely strip off all hardware and re-polish to bright finish or just steel wool what is there and wax? What color for drawer liners and do I go with felt or what is there now which is blue velvet (prob not original)? Any idea as to who sells locks for this? I looked on a couple of sites but this lock is a double latch design.
I really would like your opinions. Thanks in advance
I assume you bought it because of its looks. It will never look this way again in your lifetime if you strip it. Considering how intact it is, I think it would be a crime against humanity to strip that finish. It takes decades for finish to creep and mottle and darken like that. And I would be damn careful cleaning it. Don't use hot water. I would see what a dry paper towel would do first. If that wasn't enough to satisfy, I might move up to a paper towel lightly sprayed with distilled water. Don't get it wet. The blush ring was likely caused by water that was forced into the finish by heat. Saw a freshly delivered pizza box do this to a table top. Not the pizza, mind you - that would have been worse - just the warm moisture from the cardboard. There seems to be dozen or more remedies on the net, but what I think has to happen is to find a solvent for that finish, and expose the blush to the solvent without softening the finish. Multiple light passes with a clean lint free cloth that barely kiss the surface, like a bolter maneuver on an aircraft carrier. I saw this on Furniture on the Mend, though their website does not seem to reference it, maybe because of the health hazards of breathing and handling solvents. They have some other suggestions.
As an alternative to using any water in cleaning, you might try rubbing it with a clean cloth and a dab of linseed oil. Don't do it if the air is too cool or humid for the oil to cure afterward. And don't leave paper or cloth that has linseed oil on it laying around. They can spontaneously combust, and the drying additives in the oil make that even more likely. Soak them in water and dispose of them properly. Rub the oil off the wood as much as you can. You never want it to be thick because it will turn to gum and never cure prolerly.
This may loosen dirt. It will deepen the tone of the wood, especially any places where the finish is worn through, so think about if that's what you want - to accentuate the appearance of age. I don't quite understand the aesthetic of removing all traces of age from antiques. But if it's what you like, polishing brass is one way to do it quick. I don't care for crusty green. But I do try lo leave as much coppery brown as I can. I use a little linseed oil on a toothbrush - not brass cleaner. Bright brass is just going to darken again anyway, and you are removing metal every time you polish it.
The piece looks more like something a talented cabinetmaker made for his own tools, than a factory box to me. It could be a lacquer finish, but shellac would be my first guess. Check a small inconspicuous spot with solvent alcohol on a q-tip. If it dissolves, it's shellac. Pretty easy stuff to use, once you learn how. Don't learn on this piece. Get some scap wood and experiment. Then touch up spots where the finish is badly scratched or missing. I would NOT give the whole piece a coat, tempting as it may be.


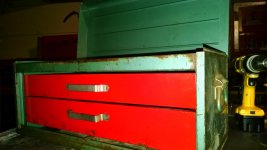


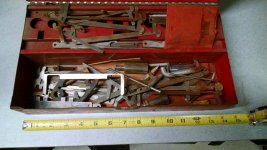
 In my shop
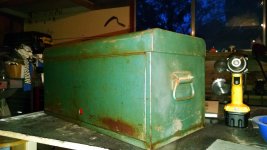