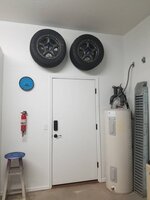
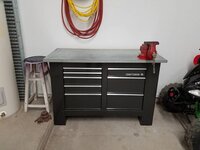
Last shot of garage/workshop setup; Time to move tools and workbench to the new shop building.

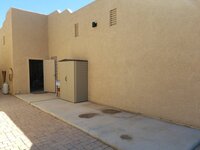
One of my goals was to get rid of the 2 outdoor storage sheds and re-organize things in my wheeled storage cabinet that now lives in the shop. The idea is to have all the tools in the shop, and lesser used materials in the garage.
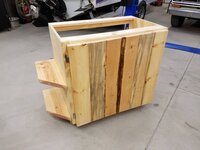
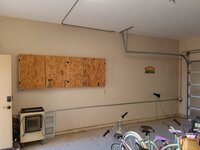
To do so I needed more cabinets so I added to my existing system, starting on the right side. next is another 4 foot on the left. I have a fair amount of left over lumber and OSB, so only cost is MDF for doors.
I attempted to keep them modular and maintainable, which worked out fairly well. I was able to remove the end piece without damage, and moved the vertical 2x4s over a 1/2 2x4 width to support another set of shelves.


Additional doors. 0.500" MDF isn't ideal material for this application, as it warps with moisture (paint) but I continued with it anyway to keep things consistent and simple. Some bracing on the inside of the doors would help however I have lived with them up to this point. I went ahead and made the 2nd pair of doors for the other side while I was at it.


")