OP
zmotorsports
ALLIANCE MEMBER
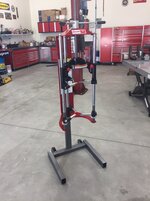
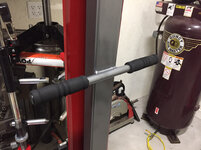
This morning I finished up the cart for my Branick 7600 strut spring compressor.
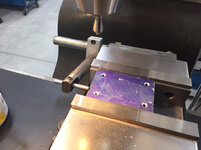
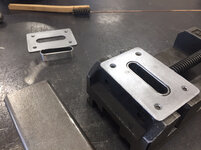
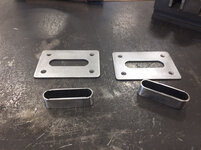
Started by making a template for the wheel mounting tabs.

Then drilled the tabs.

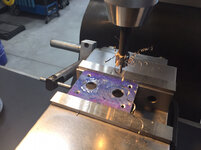
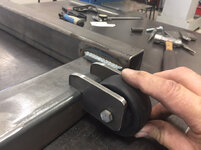
I’m not sure if I’ve shown these before or not. Several years ago when I bought my new drill press I machined these pins that slide into the grooves of the table. One is merely to prevent the vise or work from spinning if the bit catches and the other mounts to the bottom of a vise grip style clamp. I built two of these for two separate clamps as they are much more convenient than the large wing nut that they came with for use on my last drill press. These merely slide into the groove and when clamped they offset and lock into the groove.


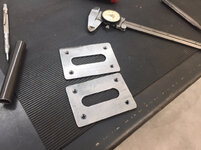
Wheel mounting tabs ground and ready to separate and deburr for welding.


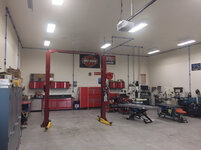
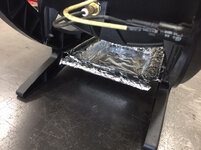
Deciding on a location.

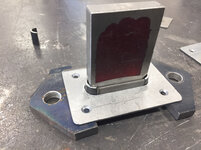
Base and vertical post joined.

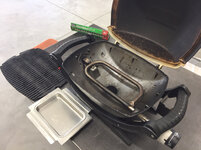
Fabrication completed.

Wiped down with wax & grease remover and prepped for paint.

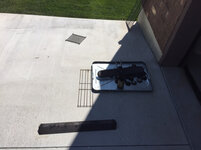
Painted and wheels installed.


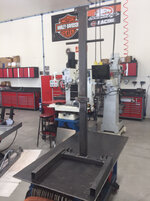
Spring compressor bolted to cart.


All that is remaining is to pick up a pair of bicycle hand grips and glue them on.
Thanks for looking.
Started by making a template for the wheel mounting tabs.
Then drilled the tabs.
I’m not sure if I’ve shown these before or not. Several years ago when I bought my new drill press I machined these pins that slide into the grooves of the table. One is merely to prevent the vise or work from spinning if the bit catches and the other mounts to the bottom of a vise grip style clamp. I built two of these for two separate clamps as they are much more convenient than the large wing nut that they came with for use on my last drill press. These merely slide into the groove and when clamped they offset and lock into the groove.
Wheel mounting tabs ground and ready to separate and deburr for welding.
Deciding on a location.
Base and vertical post joined.
Fabrication completed.
Wiped down with wax & grease remover and prepped for paint.
Painted and wheels installed.
Spring compressor bolted to cart.
All that is remaining is to pick up a pair of bicycle hand grips and glue them on.
Thanks for looking.
Attachments
-
 2fec7d603e230f5217776c45520ce6c0.jpg713 KB · Views: 0
 -
 a5d1b2ec4714dfc378ed545874723a1c.jpg727 KB · Views: 0
 -
 023736ff02be76424277f39e21c155f2.jpg686.9 KB · Views: 0
 -
 a0c6a85161bc0dc193858396339fb246.jpg601.2 KB · Views: 0
 -
 f8f04d5f40a38a7afed5d8b53640d592.jpg659.1 KB · Views: 0
 -
 8c6dcc2bcd3a008d29d28379b35c787f.jpg802.2 KB · Views: 0
 -
 f2ea933079ef96290893a6c06f110833.jpg693.8 KB · Views: 0
 -
 dd5651306b63d433a9403ed48e82bb9e.jpg787 KB · Views: 0
 -
 9a5c33b531a1f5bf3f6e8c67b7d486bf.jpg670.7 KB · Views: 0
 -
 d921e1848617250aa52d6211063d6dc6.jpg709.4 KB · Views: 0
 -
 cbbc7c31bd918f0d8f045dbdd0b84fb0.jpg665.9 KB · Views: 0
 -
 855ea5532421bf2b461f387729bd27ce.jpg691.1 KB · Views: 0
 -
 e7057a64afedd099118de7fd6e6f8566.jpg699.2 KB · Views: 0
 -
 95c6123d90d9b08d709a7a5c0a302c9f.jpg709.4 KB · Views: 0
Last edited: