Dugan.....as far as the motor, I'm no help there, but as far as adjusting the gib......have fun. And you are correct, they will not set flush. There are different types of adjustments for the gibs. One type may have a screw at each end, you loosen one screw to tighten the other screw and visa versa.
Another type may have just one screw and the gib will have a slot where the screw head rides. You then adjust this back and forth until you get the right setting.
Depending on how well the mill was made, how much the mill was used, and how much preventative maintenance was done on the mill, you will either have an easy time of getting it adjusted, or it will just be a real ***** kitty to gt adjusted.
Almost any mill that has any age on it will have wear on it in an area of maybe 6" each way of center, give or take. That is because that area of around 12" (6" right & 6" left) combined is the normal table travel. Sometimes the table gets used in the full range of travel, but that is only on certain occasions. The rest of the time it is just in and out, left and right, using only a few inches of travel. So when adjusting your gib, you may hit that sweet spot where everything feels just as nice as can be, but when you move the table the full range of travel, the further you go, the tighter the table will become in both directions. So then you have to try to find a sweet spot again that lets you have use of the full length of travel without having too much play.
You will want to set up an indicator and run your table in the "X" axis, all the way to the left (or to the right). Then set the indicator so it is zeroed in on the back side of the table at the end that is towards the center of the mill head, then run the table all of the way in other direction ("X") and see if there is any variation. You don't want any more than .001-.003. And that will be good for that type of mill with that kind of age on it.
If you find that the table is way off, then something got drastically bent when dropped. About the only thing that would cause the table to run out would be a bent leadscrew and a real bad gib. Or it could possibly have damaged dovetails, but I would find that highly unusual. Chances are it would be a bad gib. I do have an extra copy of Home Shop Machinist that shows how to scrape in the ways of a table. Not something I would want to attempt, but if you are fearless, you can do it. And it is something that MAY have to be done to reduce any drastic play in the mill. But before doing that, it would also entail having a brand new gib installed. One thing you may want to do is get some fine sandpaper, some double sided tape, and a perfectly flat surface. Tape the sheet of sandpaper down and work the gib until the two sides that run against the dovetail are perfectly flat. You may want to do this anyways before even trying to adjust the gibs.
Along with adjusting the gibs, you will want to try and get out as much backlash as you can. On an older mill, .005-.010 backlash is acceptable. Your backlash, if you are not familiar with the term is for example.....you turn the handwheel clockwise for a few revolutions. Now you turn the wheel counterclockwise, and the freeplay between where you stopped, and to where the table engages again, is your backlash. It is the freeplay in between stopping, changing direction, and engaging again. Sometimes it can be adjusted out, but if there is a lot of backlash, then it may take a new leadscrew and nut in the table where the leadscrew rides through. As I stated before about adjusting the gib, and a table only getting mostly used in a certain distance, the leadscrew nut and leadscrew will also get worn. Just imagine 50 years of running a bolt through a nut back and forth thousands, if not hundreds of thousands times.
As far as scraping in a table and the ways, you can usually tell how much use or abuse the mill has had by the looks of the ways. Normally there is a pattern on the areas, and when worn, that pattern is missing, or you will see deep gouges. Depending again, on how well you get things adjusted, will also determine if things need to be scraped in, new gibs, and so on. I can send you the spare magazines I have about scraping in. I have never done it, and hopefully won't ever have to, although I have seen it done on a number of occasions. I'm not certain, but I believe A_Pmech has done it, and may have had a tutorial on it. But either way, you are welcome to the magazines.
I know that you said you had put grease on the gears, and/or the leadscrews. I know that Bridgeports have an oiling system. I don't know about a Rockwell. You want to make sure that you use what is called out. A lot of times, oil is used over grease because the dirt and chips will not stick to the oiled parts like it would to a greased part. If you haven't done so yet, if I were you, I would pull the table off, and clean everything thoroughly, then reassemble and adjust. I don't know whether you are done cleaning it or not, but if the motor isn't mounted back up, and you are still cleaning it, don't be afraid to take a power washer or steam Jennie to it, and get it as clean as you can. Then while things are apart, give it a nice new coat of paint.
Once you have things all clean and painted, the gibs adjusted and so on, that mill should last you for a very long while. I worked at Rockwell back in '78-'80 as a Setup Man and Group Leader, and we manufactured a lot of those mills, drill presses, lathes, and so on. Rockwell made some really nice and well built smaller machines.
Good luck with things, and be sure to keep us up to date with pics and processes that you are going through to get it back in shape.

One other thing I forgot to mention when it comes to cleaning.....if you look at the screw for raising the table...the hole that is in the knee of the mill (the area the screw is going into) that area is a haven for hidden chips and such. If you just happen to take an airhose to that area to blow the chips out, make sure you have safety glasses on, as it can hold quite a bit of trash in there. I have the area circled in the picture.


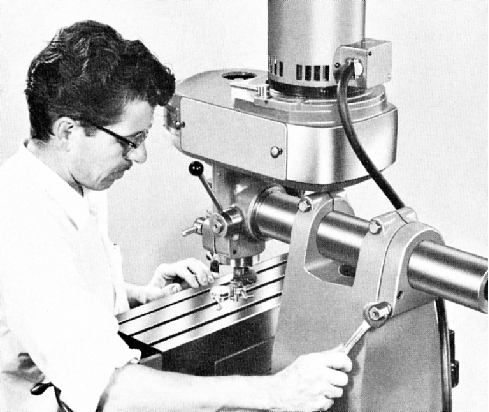


 Looks like a "hold my beer" moment...


