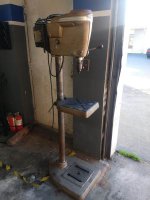
Re: The Classic Craftsman 100/150 Drill Press
Good news!
101.03662 would be the model number. If you haven't discovered it already, you can find an manuals and photos on that vintage machines website.
On repainted machines, especially those that were not dismantled prior to re-painting, you can usually find remnants of original paint. In your case, with a flashlight, you may be able to look inside the pulley guard from the rear.
You could also remove the chrome spindle guard from the top and remove the pulley guard. There's just the one bolt in front. You'll need to lower the quill to the bottom to clear the guard from the spindle. The newer paint may make it somewhat difficult to pull the guard off. Nice clean original paint should be seen where the guard is wrapped around the front of the head frame casting.
Original paint is likely blue or gray.


SUCCESS!!!!
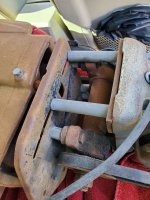
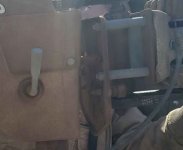
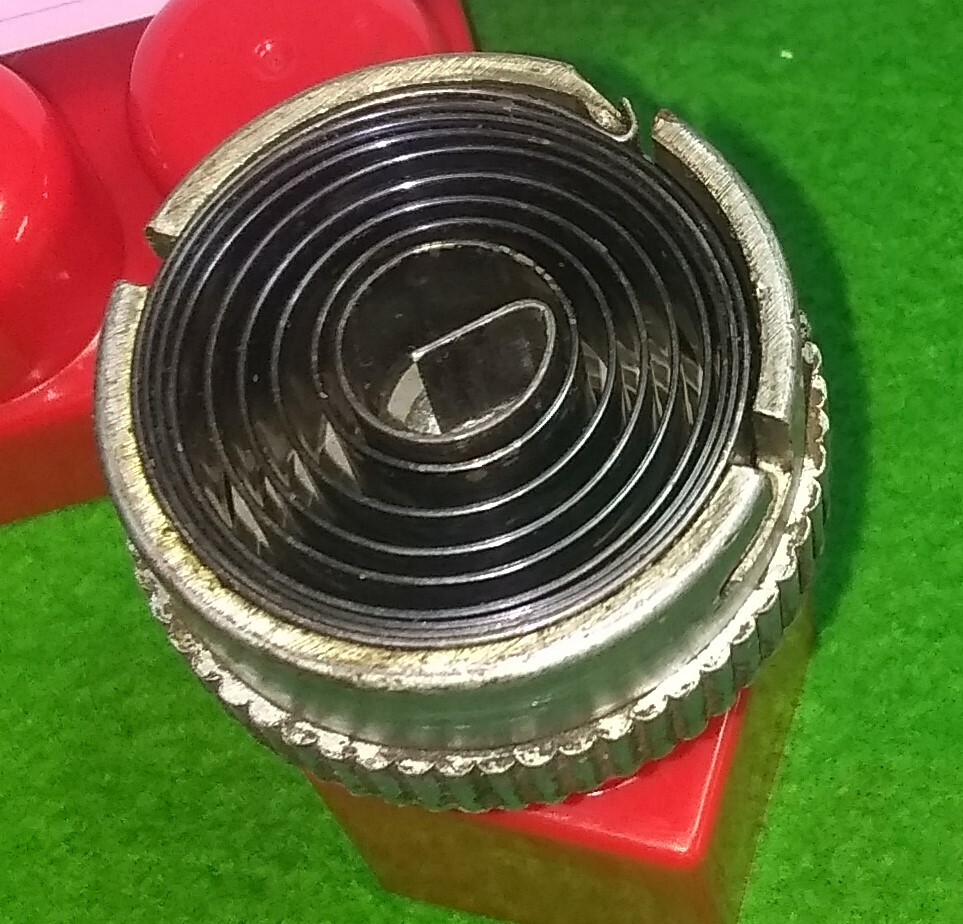
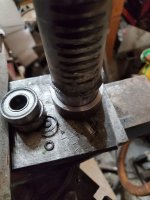
I chipped away enough paint around the pawl nut to get some WD40 into the pawl. I was just barely able to pull the pawl knob to tighten the spring up. I removed the bumper and will install an oring on the quill. Once I sprayed some WD40 down the spline shaft at the top of the head, MAN did that loosen things up. Feels brand new now (feels like 1938). Back to drilling holes.
Thanks for your help & guidance. If I get a break in the action, I may just restore it.
Two questions:
1: I found the serial number 101-03662. Could this number verify year of mfg?
2: Any idea what the original color was????
Good news!
101.03662 would be the model number. If you haven't discovered it already, you can find an manuals and photos on that vintage machines website.
On repainted machines, especially those that were not dismantled prior to re-painting, you can usually find remnants of original paint. In your case, with a flashlight, you may be able to look inside the pulley guard from the rear.
You could also remove the chrome spindle guard from the top and remove the pulley guard. There's just the one bolt in front. You'll need to lower the quill to the bottom to clear the guard from the spindle. The newer paint may make it somewhat difficult to pull the guard off. Nice clean original paint should be seen where the guard is wrapped around the front of the head frame casting.
Original paint is likely blue or gray.


Last edited: