pontifex4
Well-known member
Even though I've been lurking here for some time, I'm only now finally starting a build thread for the project my father and I took on last fall: A 24x24x9' wood shop for him and a 20x29x12' car shop for me at our family farm in Eastern Ontario, Canada. We have designed and built everything, with frequent help from a few good friends. We are certainly not builders, but we're proud of what we've accomplished!
I'm really excited to get some Garage Journal feedback on the project, as I have really come to respect the members here in the time I've spent reading through similar threads.
As you'll see, we're a lot farther ahead on the wood shop, which is proving to be an excellent (if cluttered) building for my father's retirement hobby of losing and rediscovering tools. He now actually spends most of his time as a fine cabinet maker. At age 30, I'm finally learning how to work on cars, which is the motivation behind my shop design.
We had originally intended to build one, larger structure to house both his wood working tools and my car stuff, but it didn't seem as neat a solution as two buildings.
The specifics:
Wood Shop
Metal Shop
I look forward to hearing what you think!
I'm really excited to get some Garage Journal feedback on the project, as I have really come to respect the members here in the time I've spent reading through similar threads.
As you'll see, we're a lot farther ahead on the wood shop, which is proving to be an excellent (if cluttered) building for my father's retirement hobby of losing and rediscovering tools. He now actually spends most of his time as a fine cabinet maker. At age 30, I'm finally learning how to work on cars, which is the motivation behind my shop design.
We had originally intended to build one, larger structure to house both his wood working tools and my car stuff, but it didn't seem as neat a solution as two buildings.
The specifics:
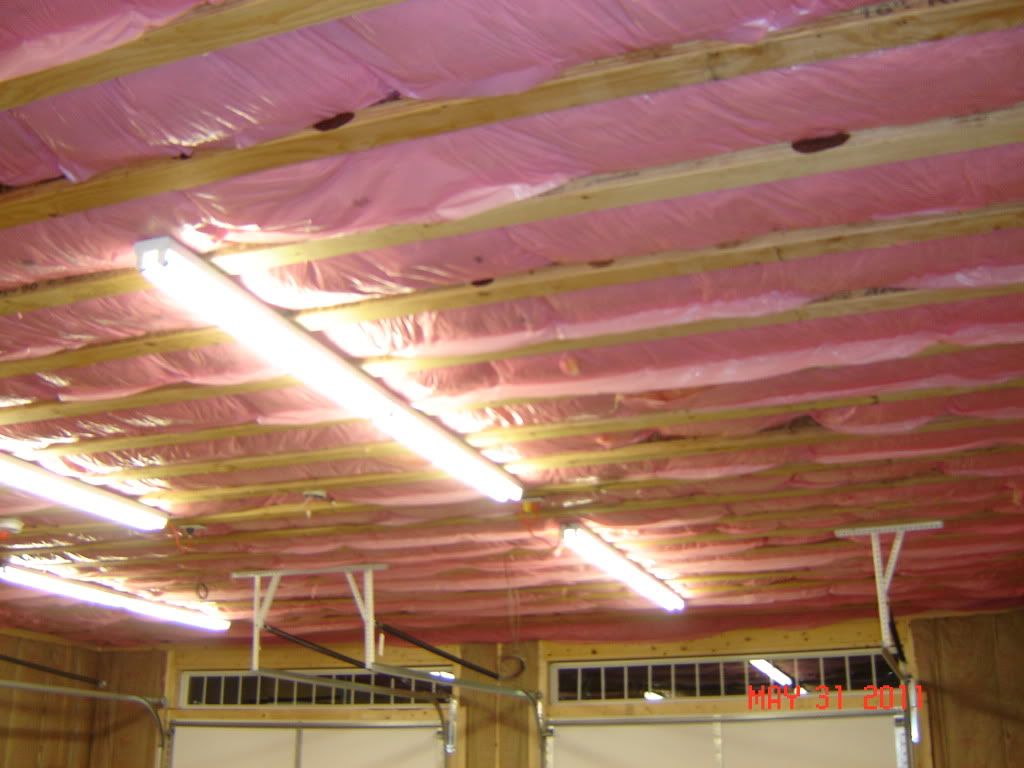
Wood Shop
- 24x24' with a 9' ceiling
- 8/12 roof (trusses)
- Fully insulated, wrapped and heated with a wood stove
Metal Shop
- 20x29' with a 12' 4" ceiling
- 5/12 roof (trusses)
- 4.5" thick 3600psi concrete pad with mesh and rebar, 7" thick in two places for a two post lift
- Fully insulated, wrapped and heated (likely by propane, but we're not there yet)
I look forward to hearing what you think!
Last edited: