

jesse72
Well-known member
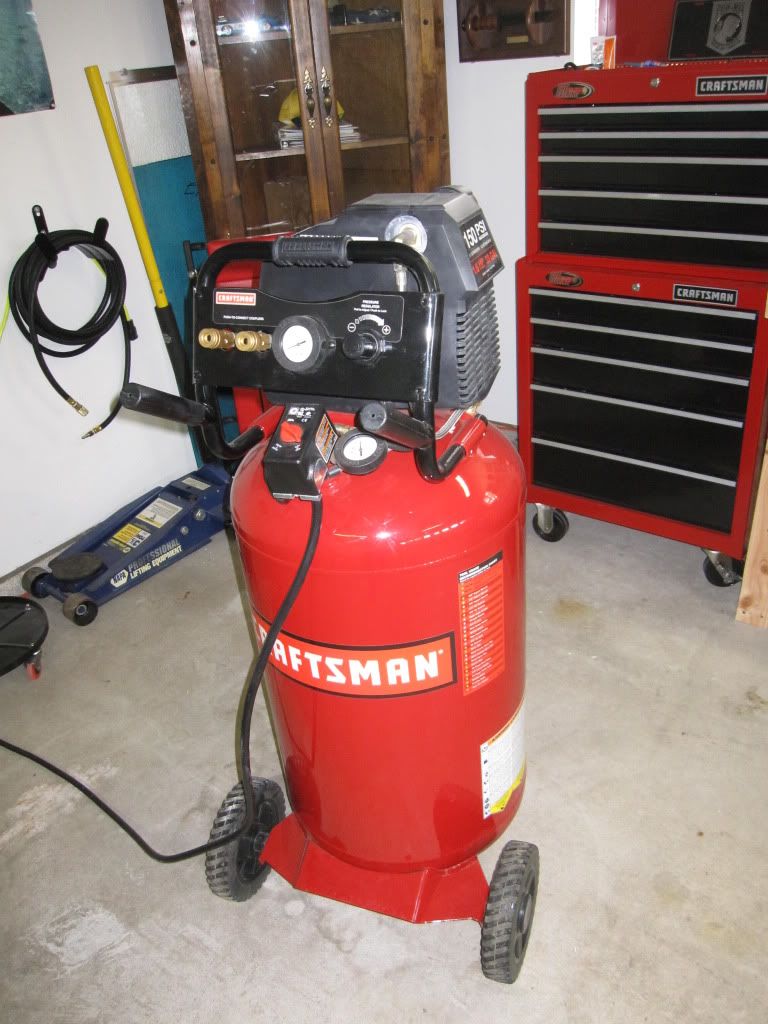
I thought I would share this with everyone. I just did this today but have been wanting to and researching is for a while. I hate that the a/c came with a small drain valve that was impossible to get to without tipping the a/c over. Why would they even sell it like this? Anyways, I found on google this way to make a longer ball valve drain. This is the website that I referanced:
http://www.hammerzone.com/archives/workshop/compressor/drain/ball_valve.htm
First I moved the a/c away from the wall and unplugged it, then drained the air. A little water came out but its been about a week or so since I started using it.


Then I removed the old small usless plug/drain that craftsman installed at the factory...

Once that was out I laid out my new parts and began assembly. This is my first time doing any plumbing like this so I hope that I used the right of thread lock! Here is my parts list:
-Ball Valve, ¼" NPT
-¼" *******, 2", 6", 6"
-1/4" dual female connector
-¼" Street Elbow
-¼" 90º Elbow
-Pipe Thread Compound

I didnt use the small cresent wrench though but the a vice was handy but not necessary


I hope that was the right way to do the thread compound. I cant think of another way! haha

I made the mistake of putting the 90 degree street elbow on before putting it on the air compressor. So that came off and I installed it on the a/c alone. This is because with the wheels and stand you cannot spin the whole tube on at once.


And thats all she wrote. It was easy to to and only took about 20 mins. If you see something I did wrong, feel free to say so on the thread so that I can fix it and also so if someone is using this as a referance then they know the right way.
I know this will make me want to drain the water alot more just because its not such a pain in the ****. So al little work now, and maybe it'll save the compressor later! Thanks guys, enjoy

http://www.hammerzone.com/archives/workshop/compressor/drain/ball_valve.htm
First I moved the a/c away from the wall and unplugged it, then drained the air. A little water came out but its been about a week or so since I started using it.
Then I removed the old small usless plug/drain that craftsman installed at the factory...
Once that was out I laid out my new parts and began assembly. This is my first time doing any plumbing like this so I hope that I used the right of thread lock! Here is my parts list:
-Ball Valve, ¼" NPT
-¼" *******, 2", 6", 6"
-1/4" dual female connector
-¼" Street Elbow
-¼" 90º Elbow
-Pipe Thread Compound
I didnt use the small cresent wrench though but the a vice was handy but not necessary
I hope that was the right way to do the thread compound. I cant think of another way! haha
I made the mistake of putting the 90 degree street elbow on before putting it on the air compressor. So that came off and I installed it on the a/c alone. This is because with the wheels and stand you cannot spin the whole tube on at once.
And thats all she wrote. It was easy to to and only took about 20 mins. If you see something I did wrong, feel free to say so on the thread so that I can fix it and also so if someone is using this as a referance then they know the right way.
I know this will make me want to drain the water alot more just because its not such a pain in the ****. So al little work now, and maybe it'll save the compressor later! Thanks guys, enjoy
")


