mxhonda
Well-known member
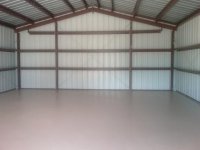
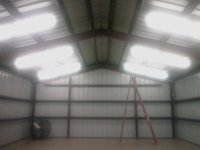
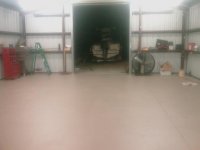
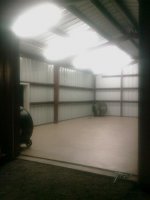
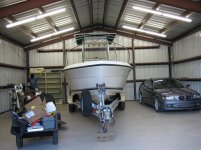
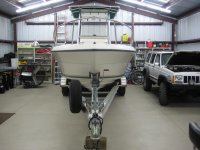
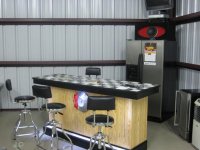
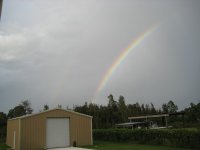
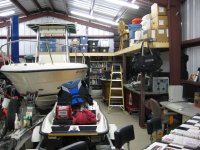
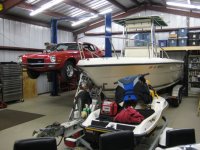
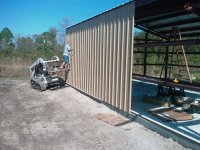
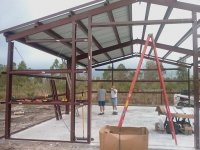
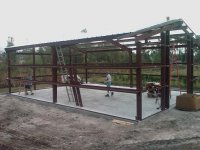
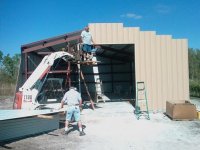
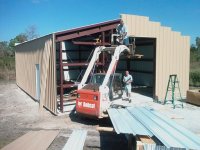
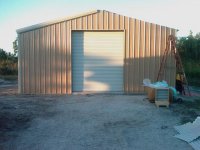
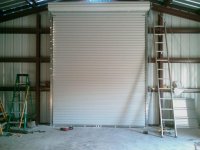
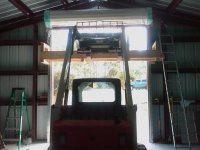
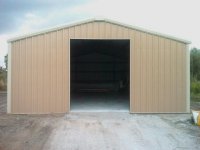
30x40x12 Steel Building in South Florida
Hello all!
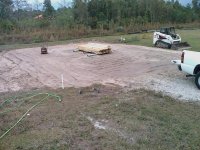
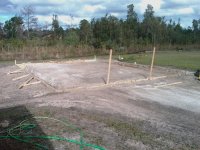
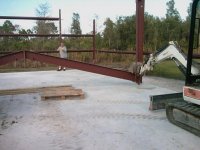
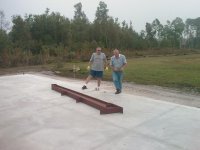
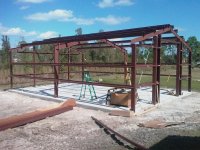
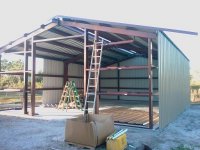
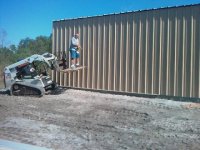
Here it is, the start of my 30x40x12 garage. Things have been moving very quickly from my building order date of 12/4/07. Engineered drawings took 2 weeks, permit only took a week, 1st inspection passed today, and the concrete will be poured 1/11/08. I am building it myself (with the help of friends). The building is scheduled for delivery 1/24/08.
Some of the specs are:
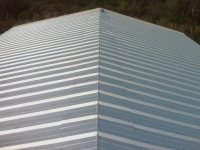
3:12 pitch roof, 140mph wind load, 10wx12h rollup door, and 3' access door.
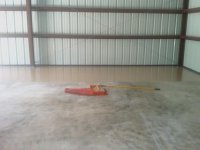
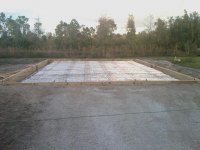
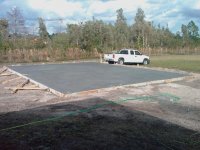
It is going to be anchored to a monolithic slab with a 18"x24" footing. The fill compacted nicely to a 97% density and was termite treated per local code...even for an all steel building!
I purchased it from Bennett Buildings, a local distributor for Vulcan Steel Structures, that I found on Craigslist of all places.
My cost breakdown so far will be well under 20k for the entire project.
Building and Accessories $11,660 incl tax and delivery
Permit $300.00
Fill $500.00
Forms and hardware $400.00
Steel and hardware $750.00
Termite treatment $240.00
Soil Density test $200.00
Concrete Pour and Finish $4,100.00
Equipment Rental and Fuel $200.00
Total to date $18,350.00 or about $15 per sq/ft
2/18/2008 UPDATE
Floor Acrylic Silicone Sealer $320.00
Lighting and Electric $580.00
4 more loads of fill $440.00
Total to Date $19,690.00
Hello all!
Here it is, the start of my 30x40x12 garage. Things have been moving very quickly from my building order date of 12/4/07. Engineered drawings took 2 weeks, permit only took a week, 1st inspection passed today, and the concrete will be poured 1/11/08. I am building it myself (with the help of friends). The building is scheduled for delivery 1/24/08.
Some of the specs are:
3:12 pitch roof, 140mph wind load, 10wx12h rollup door, and 3' access door.
It is going to be anchored to a monolithic slab with a 18"x24" footing. The fill compacted nicely to a 97% density and was termite treated per local code...even for an all steel building!
I purchased it from Bennett Buildings, a local distributor for Vulcan Steel Structures, that I found on Craigslist of all places.
My cost breakdown so far will be well under 20k for the entire project.
Building and Accessories $11,660 incl tax and delivery
Permit $300.00
Fill $500.00
Forms and hardware $400.00
Steel and hardware $750.00
Termite treatment $240.00
Soil Density test $200.00
Concrete Pour and Finish $4,100.00
Equipment Rental and Fuel $200.00
Total to date $18,350.00 or about $15 per sq/ft
2/18/2008 UPDATE
Floor Acrylic Silicone Sealer $320.00
Lighting and Electric $580.00
4 more loads of fill $440.00
Total to Date $19,690.00
Attachments
Last edited:


")