
Rockuf8
Well-known member
So after living with my ugly, cold dirty garage for 14 years, I finally got around to fixing it up. I've had various threads inquiring about options for insulation, how to fix a sagging ceiling, which tool boxes to get..etc the info here has been invaluable and I appreciate everyone's input and expertise. I wanted to create a build thread for the garage renovation and I'll update as progress is made.
After solving the sagging issue with the installation of a 16' 4"x10" lam beam, tearing off old drywall, insulation the walls, insulating and adding a plywood floor to the garage attic, it's time to move onto the more enjoyable phase of the reno, the new garage door, mudding and taping, lighting then finally painting and assembly of the toolboxes, tool bench and hanging cabinets.
Here are some before shots
Sagging Ceiling fix


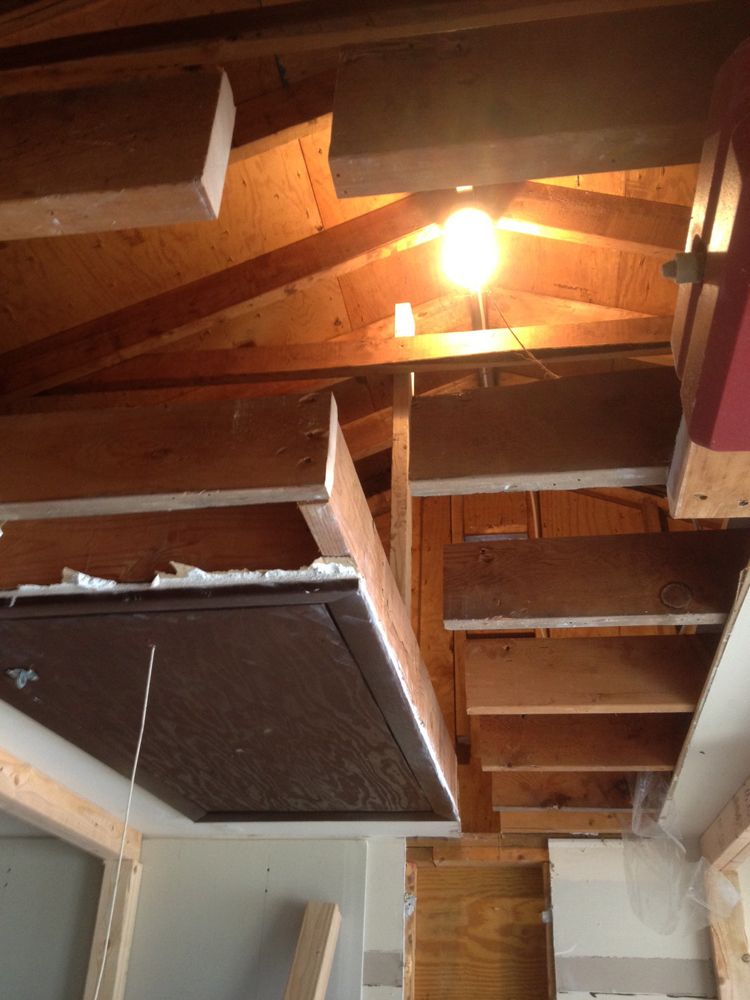

Old drywall

Removed

Insulated

Some after of the attic with rafter vents added behind the batt insulation


Old Garage door, 7' door for a 6' 9" opening

Insulation and new drywall added, all wires of the LM 3800 hidden behind drywall


Previous homeowners homemade rear track supports

After solving the sagging issue with the installation of a 16' 4"x10" lam beam, tearing off old drywall, insulation the walls, insulating and adding a plywood floor to the garage attic, it's time to move onto the more enjoyable phase of the reno, the new garage door, mudding and taping, lighting then finally painting and assembly of the toolboxes, tool bench and hanging cabinets.
Here are some before shots
Sagging Ceiling fix
Old drywall
Removed
Insulated
Some after of the attic with rafter vents added behind the batt insulation
Old Garage door, 7' door for a 6' 9" opening
Insulation and new drywall added, all wires of the LM 3800 hidden behind drywall
Previous homeowners homemade rear track supports
Last edited:


") look forward to seeing where you go with your canvas .....andy
look forward to seeing where you go with your canvas .....andy


