

1-3-2-4
Active member
First of all, I'd like to thank Fred at Alpha Garage for answering all my questions and providing great customer service! Now, on to the pictures:
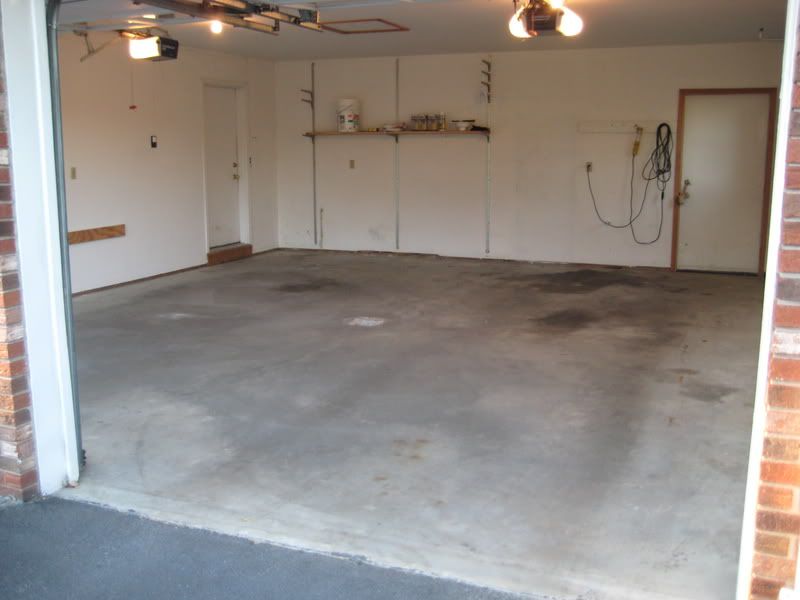
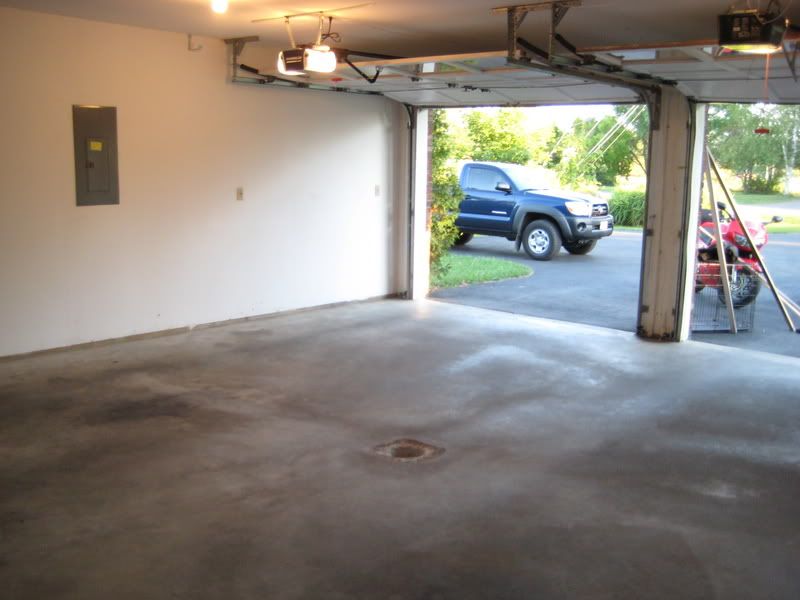
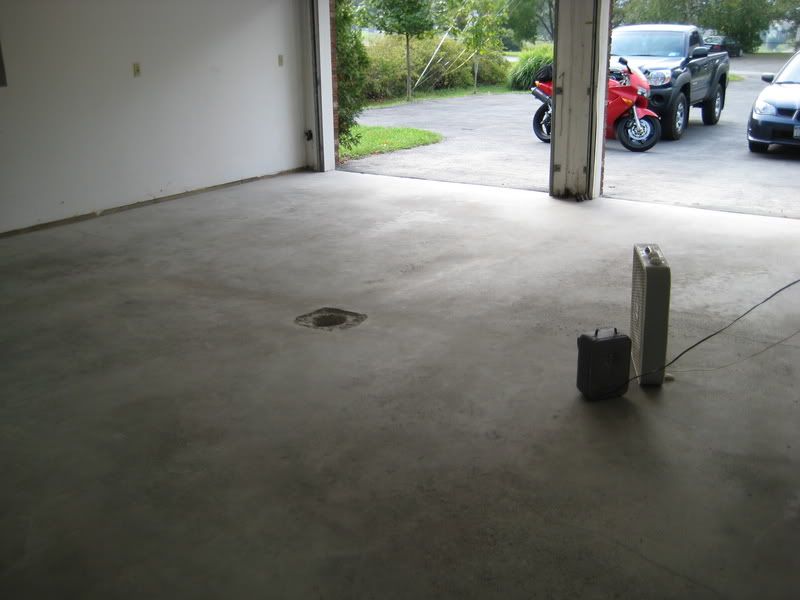
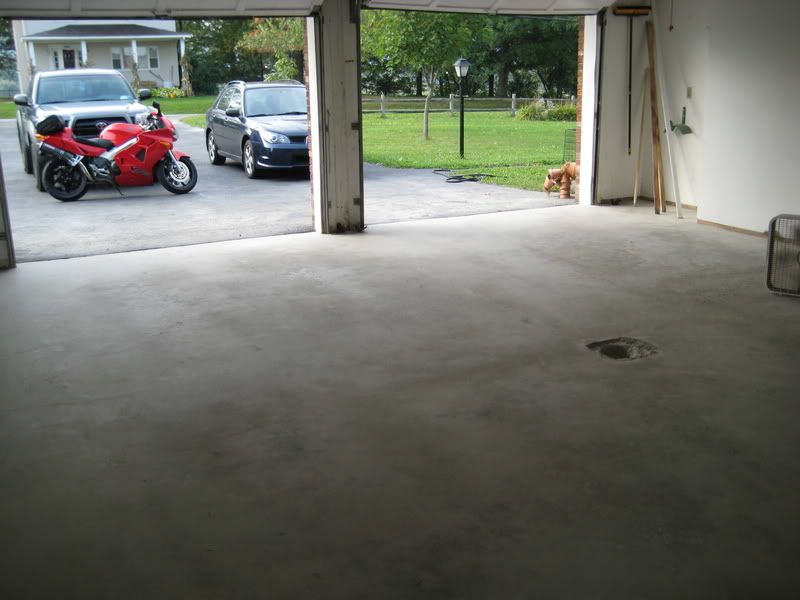
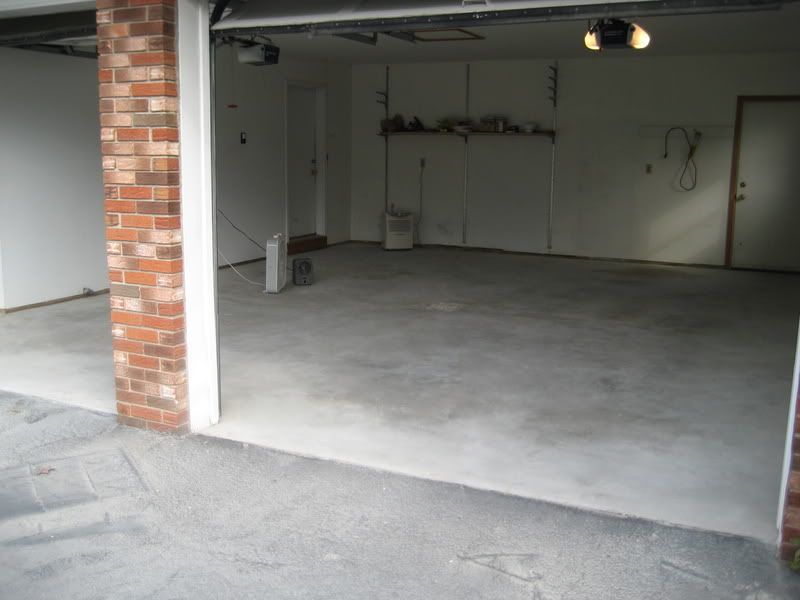
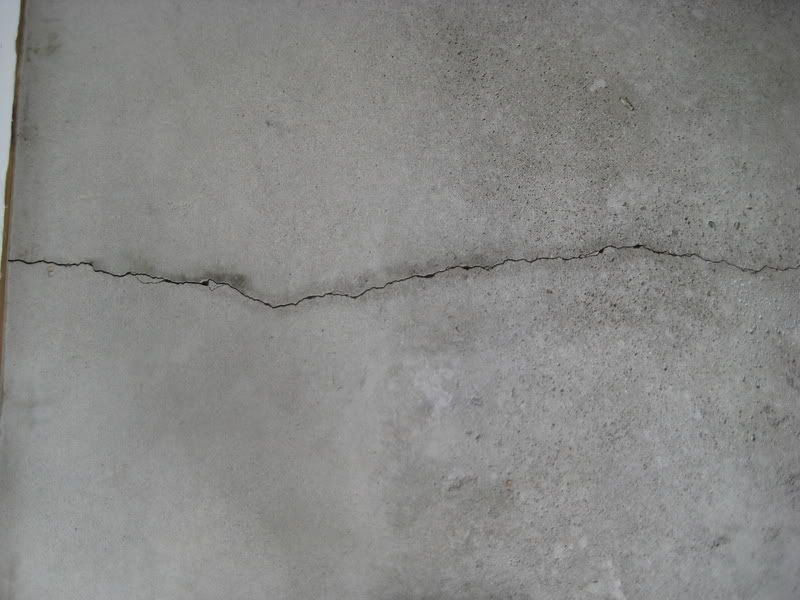
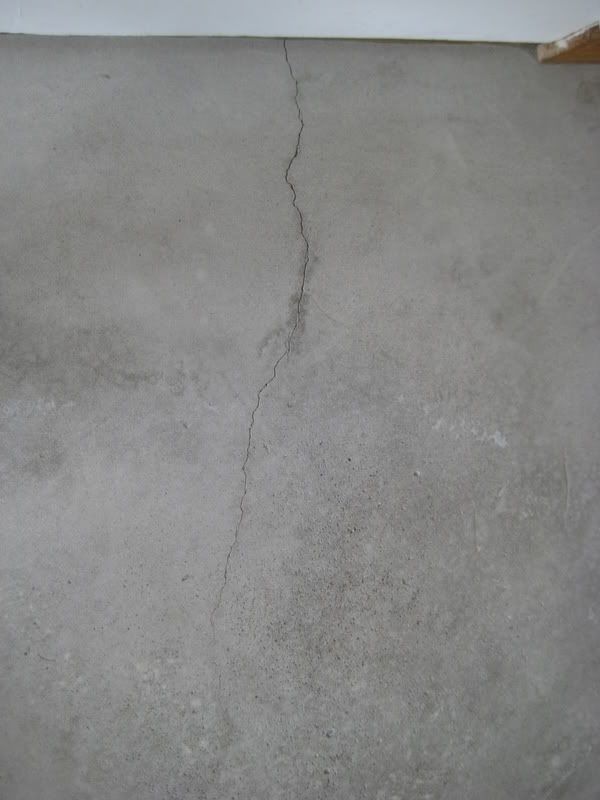
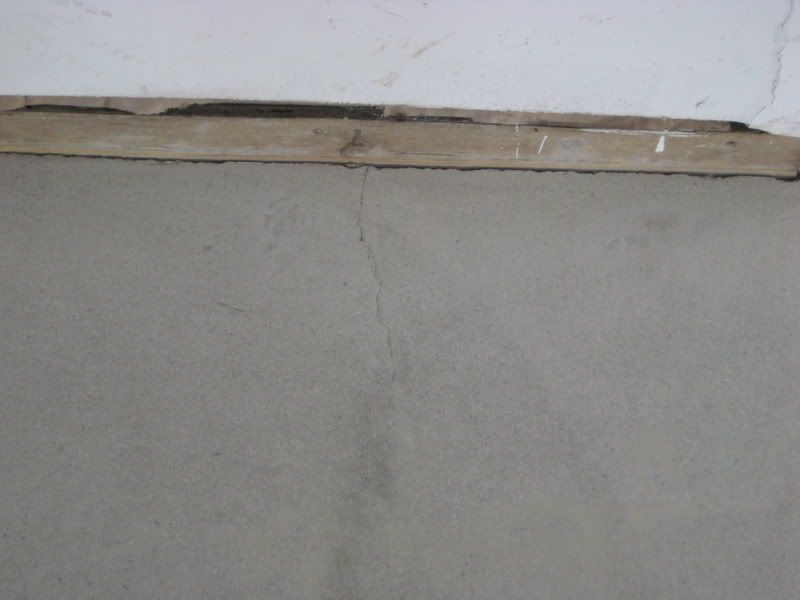
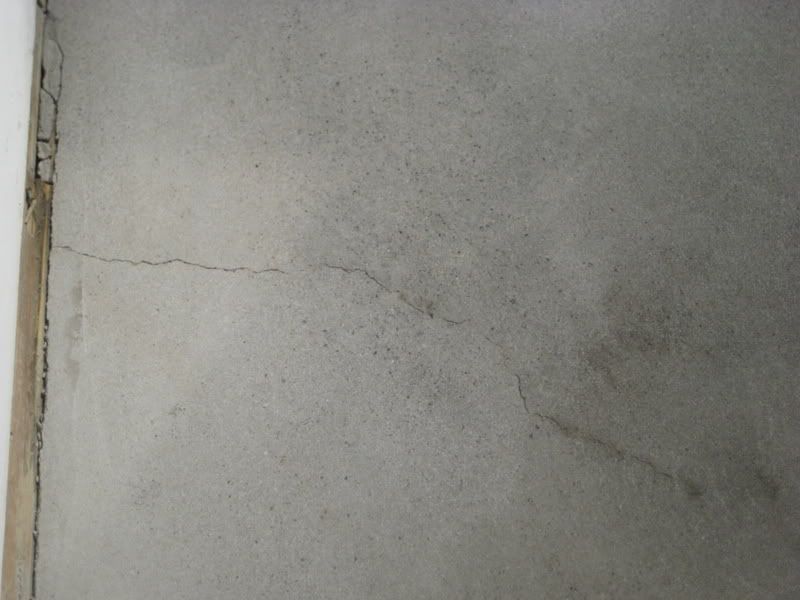
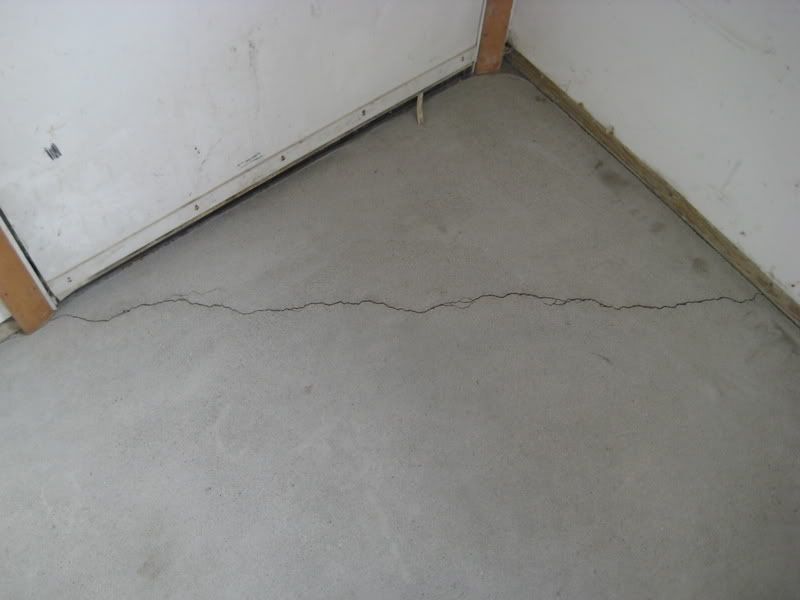
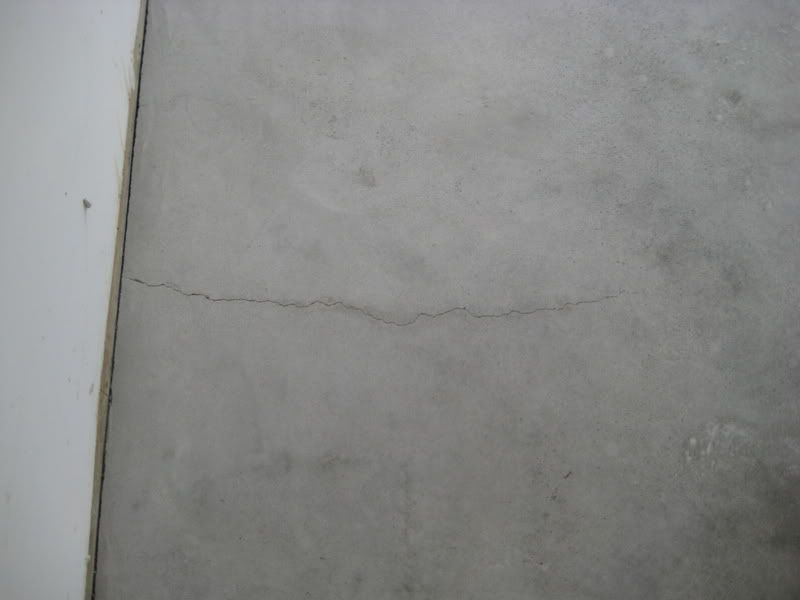
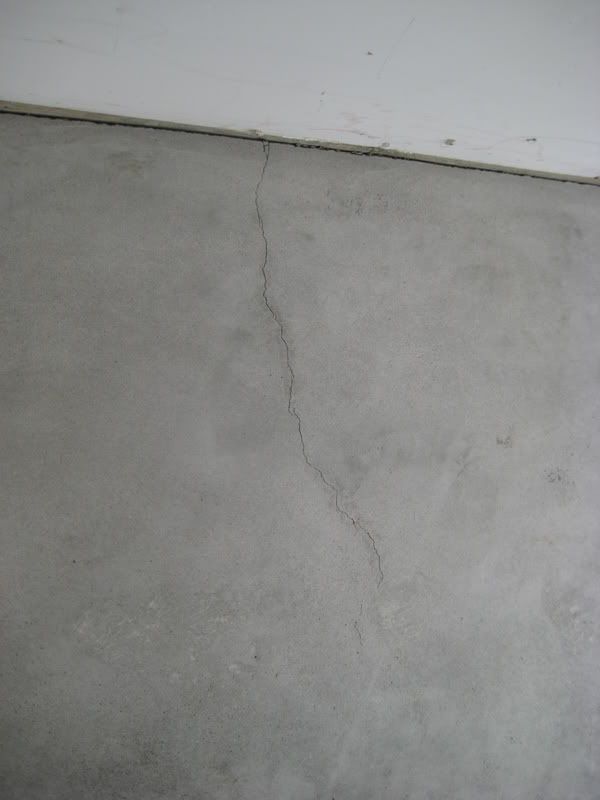
Before pictures:

Out with the old, in with the new:
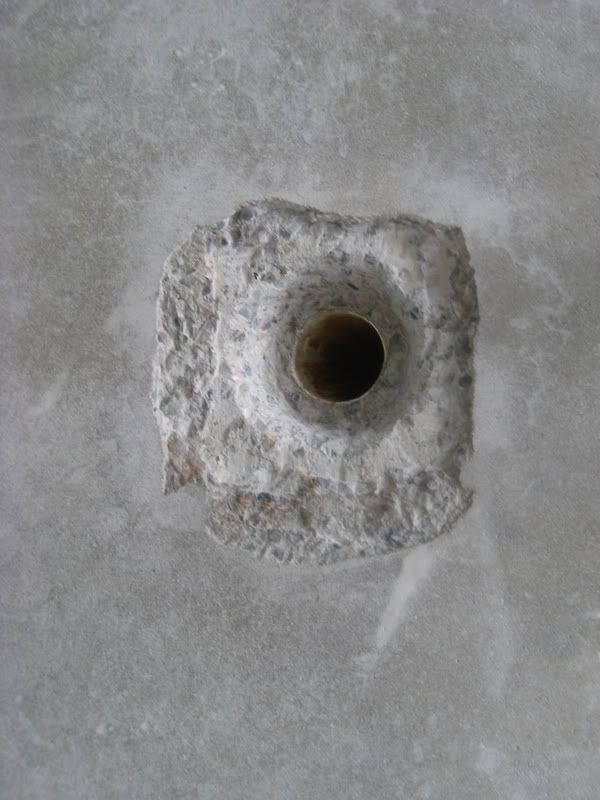
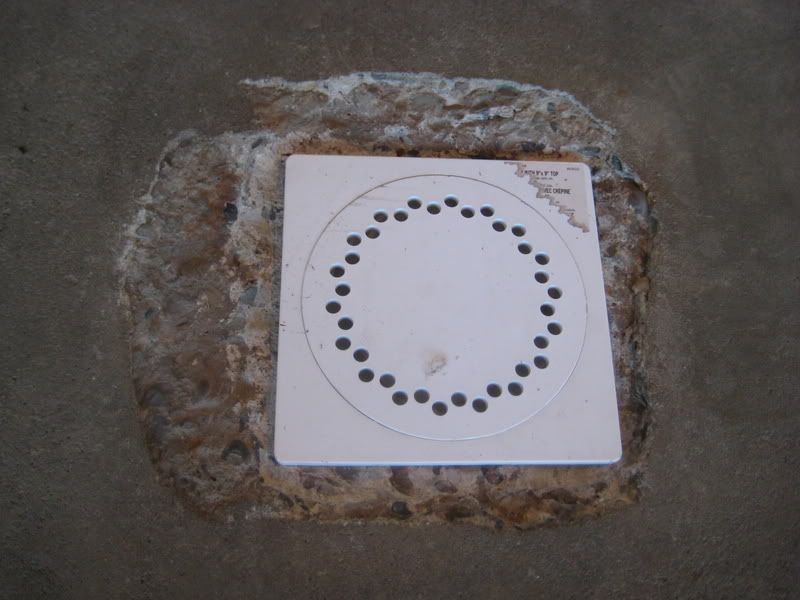
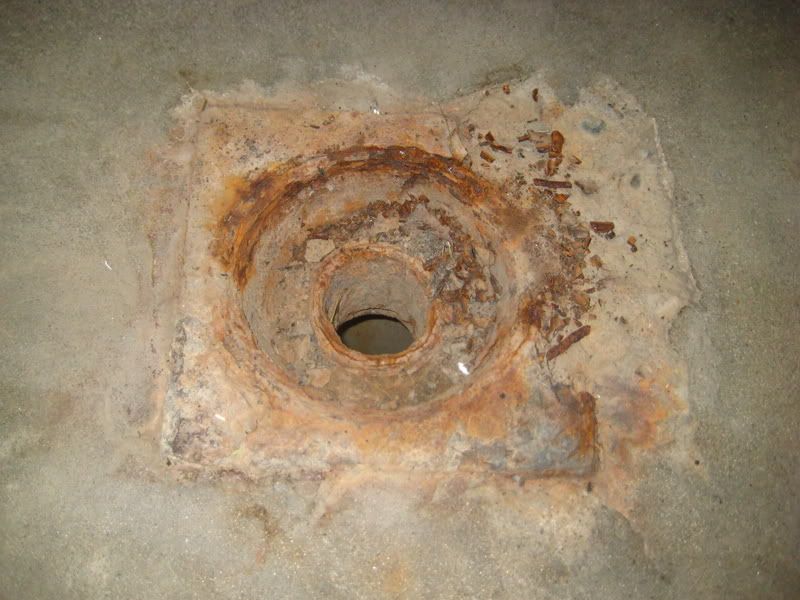
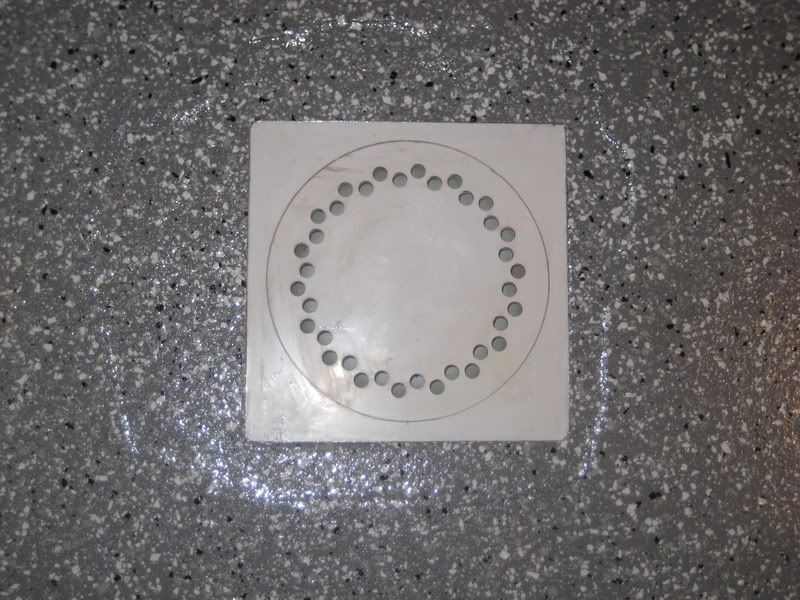
The drain was patched in with Rustoleum 100% solids epoxy patch (not shown here, sorry)
Washed
Ground
Cracks I filled with the Rustoleum epoxy (before pics)

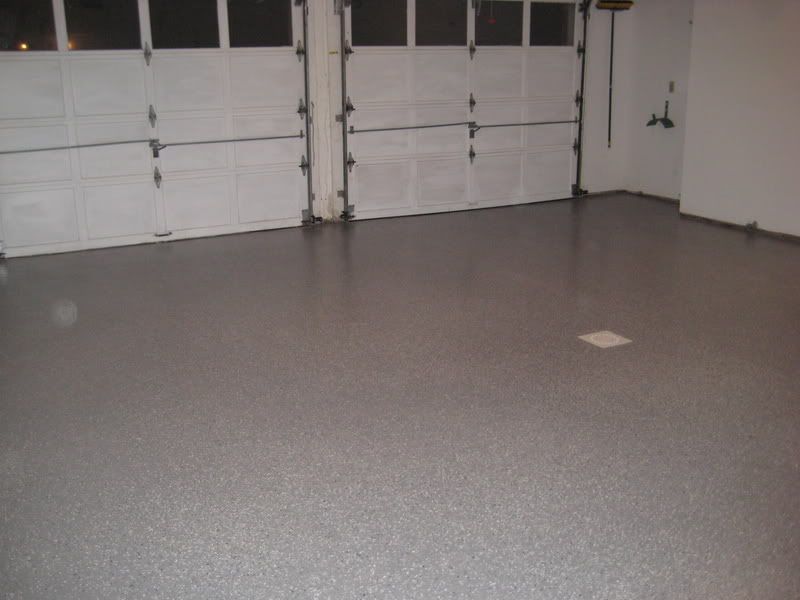
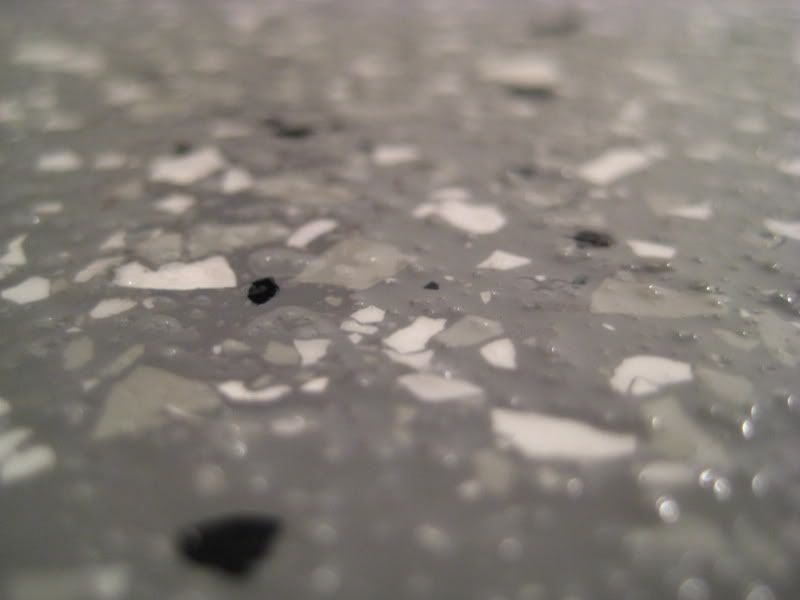
Finished
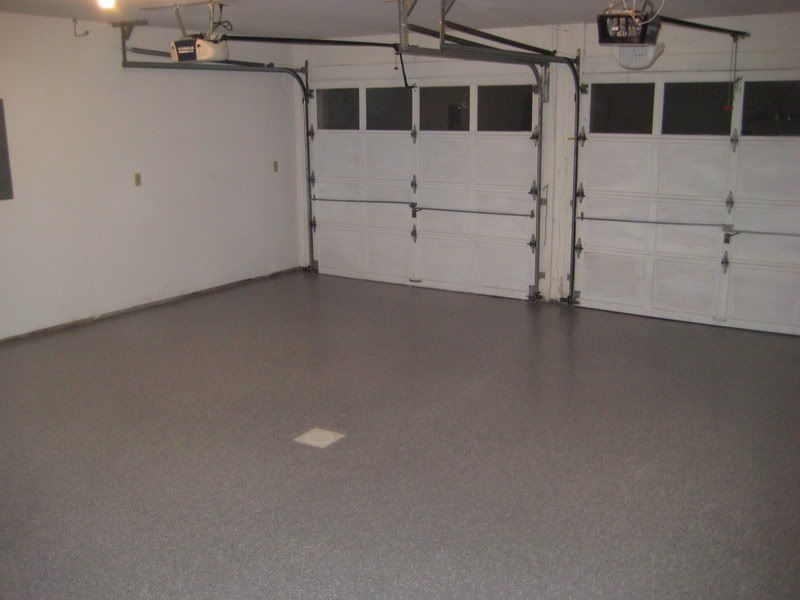

I'm very pleased so far, but it is early. I'll need to let it cure for a few days before I drive on it. It's ok though, because I now have to paint the walls and ceiling to match the motif
540 ft2, about 20 hours labor not counting cure time. If you're going to with Wolverine, I'd recommend buying more Bondtite (primer and clear coats) since I found this to be difficult to spread evenly. I had extra Liquatile (the gray), so that went on nice a smooth and cured to a smooth finish. Also, buy a spiked roller just in case. My primer coat had some bubbles, but they were hidden by the next two layers. So far
Before pictures:
Out with the old, in with the new:
The drain was patched in with Rustoleum 100% solids epoxy patch (not shown here, sorry)
Washed
Ground
Cracks I filled with the Rustoleum epoxy (before pics)
Finished
I'm very pleased so far, but it is early. I'll need to let it cure for a few days before I drive on it. It's ok though, because I now have to paint the walls and ceiling to match the motif
540 ft2, about 20 hours labor not counting cure time. If you're going to with Wolverine, I'd recommend buying more Bondtite (primer and clear coats) since I found this to be difficult to spread evenly. I had extra Liquatile (the gray), so that went on nice a smooth and cured to a smooth finish. Also, buy a spiked roller just in case. My primer coat had some bubbles, but they were hidden by the next two layers. So far
