To avoid these ads, REGISTER NOW!

3 cars in a 2 car garage

Willy81

Active member
Joined
Sep 20, 2013
Messages
30
Hi All,

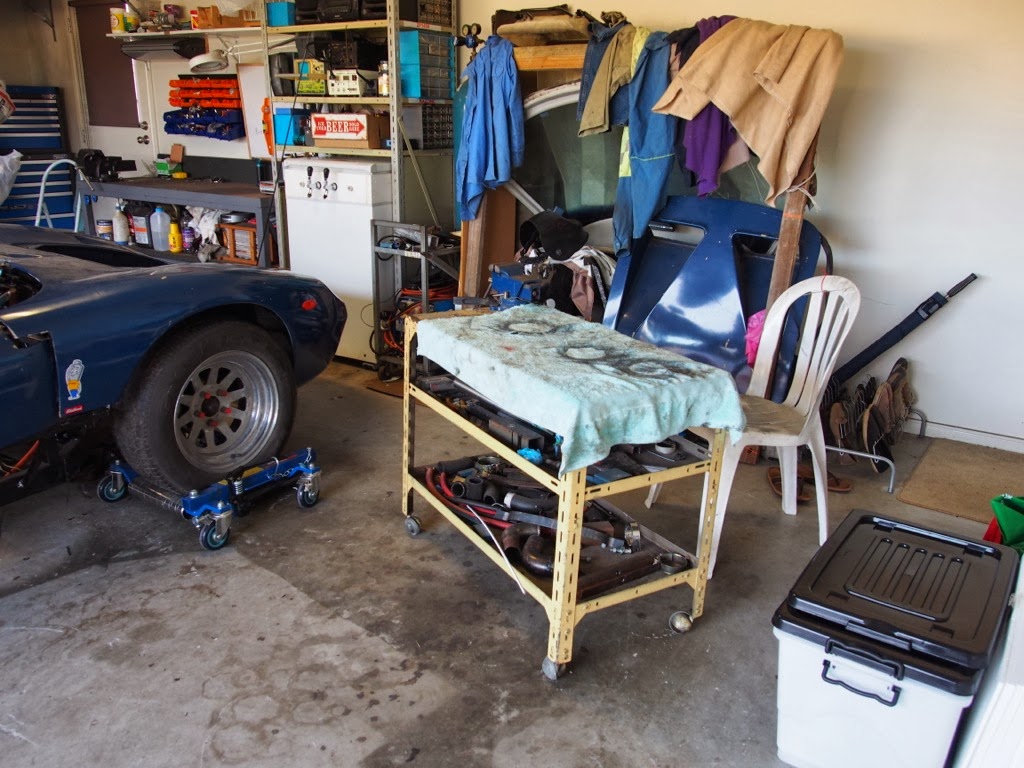
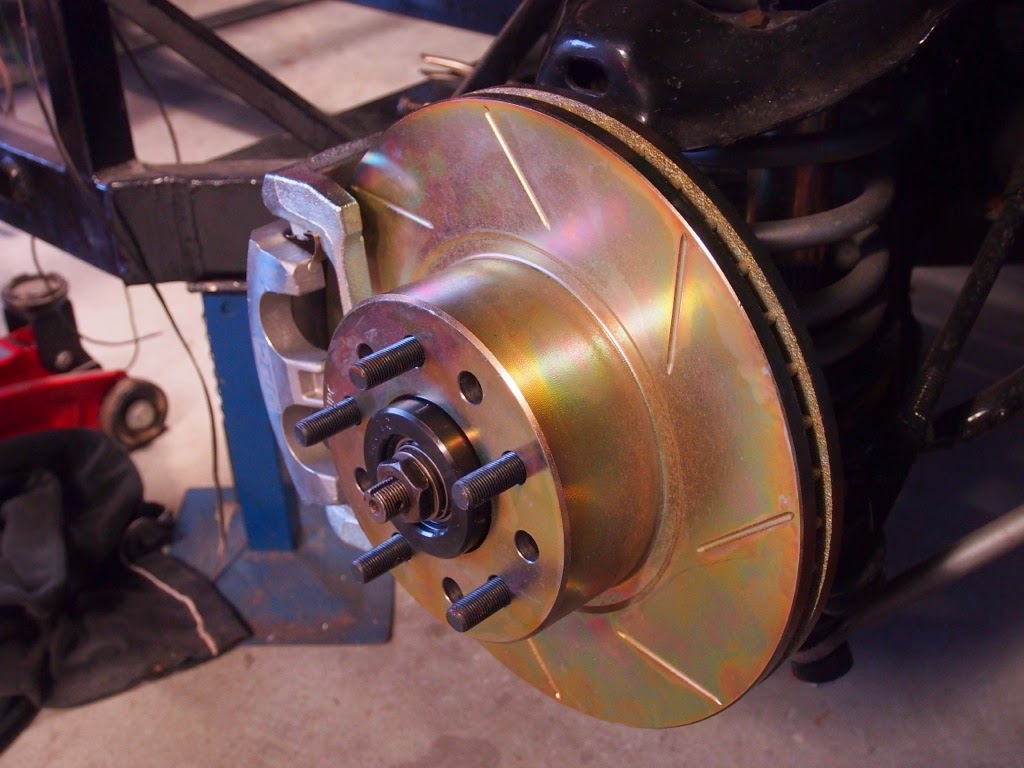
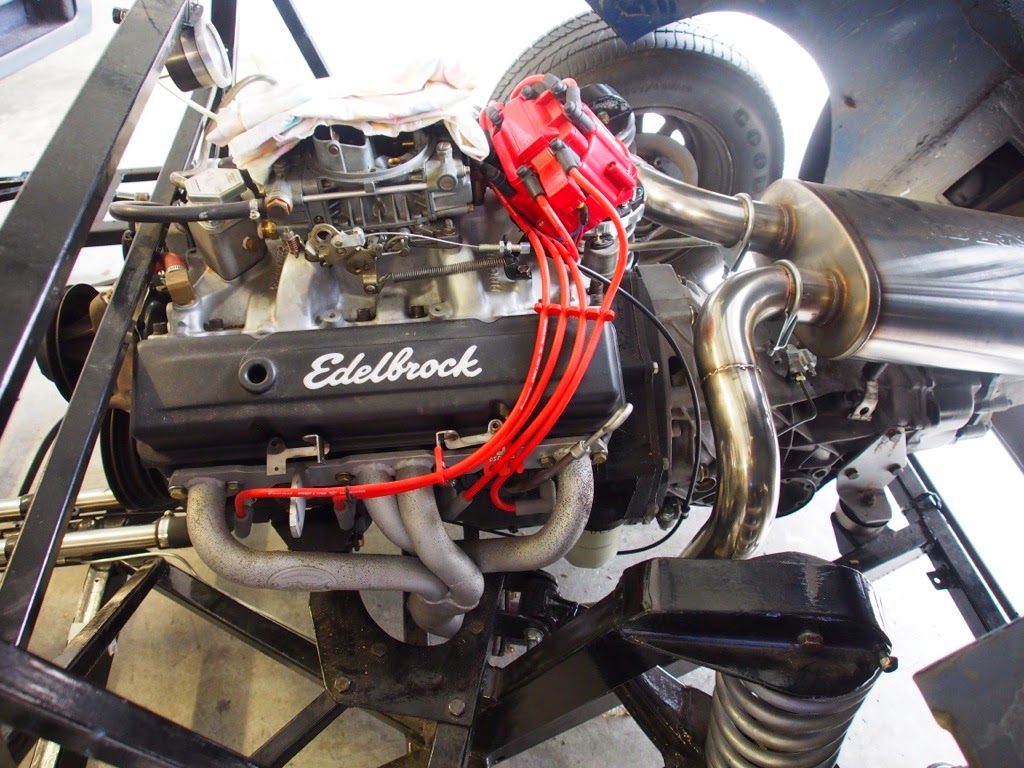
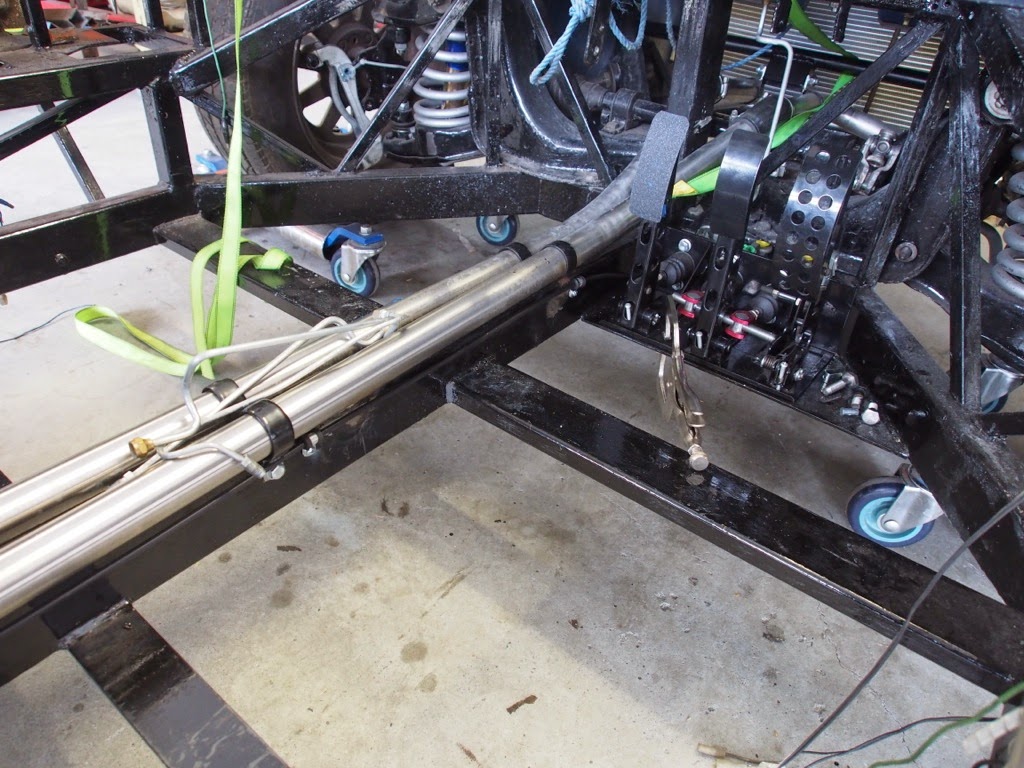
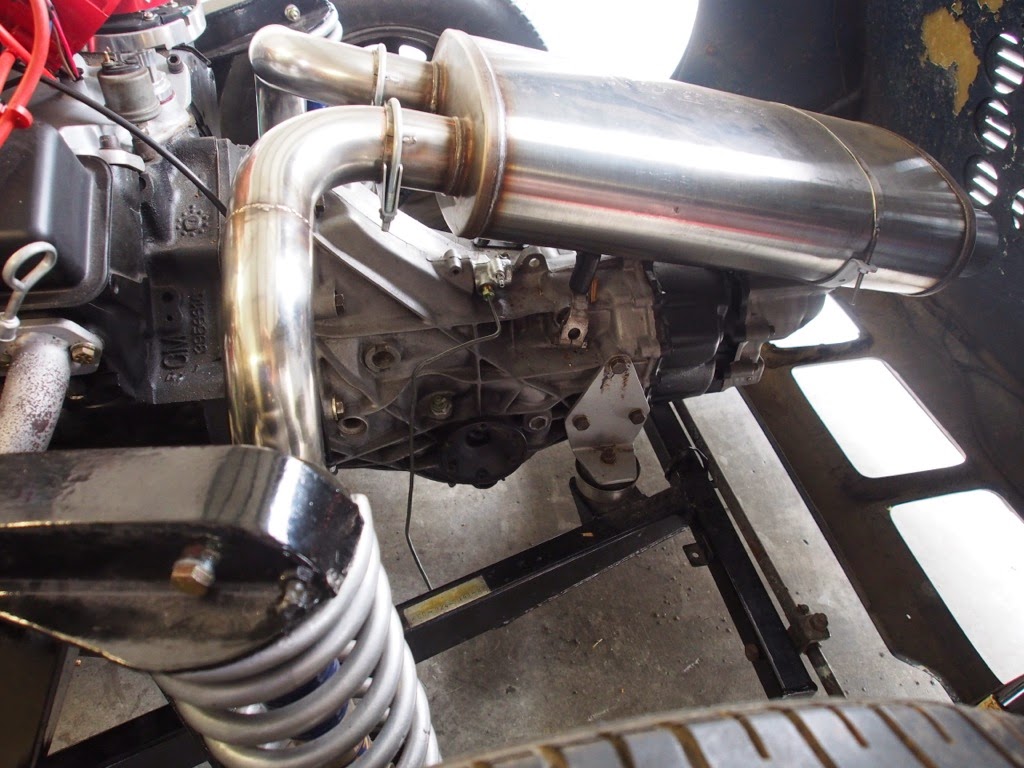
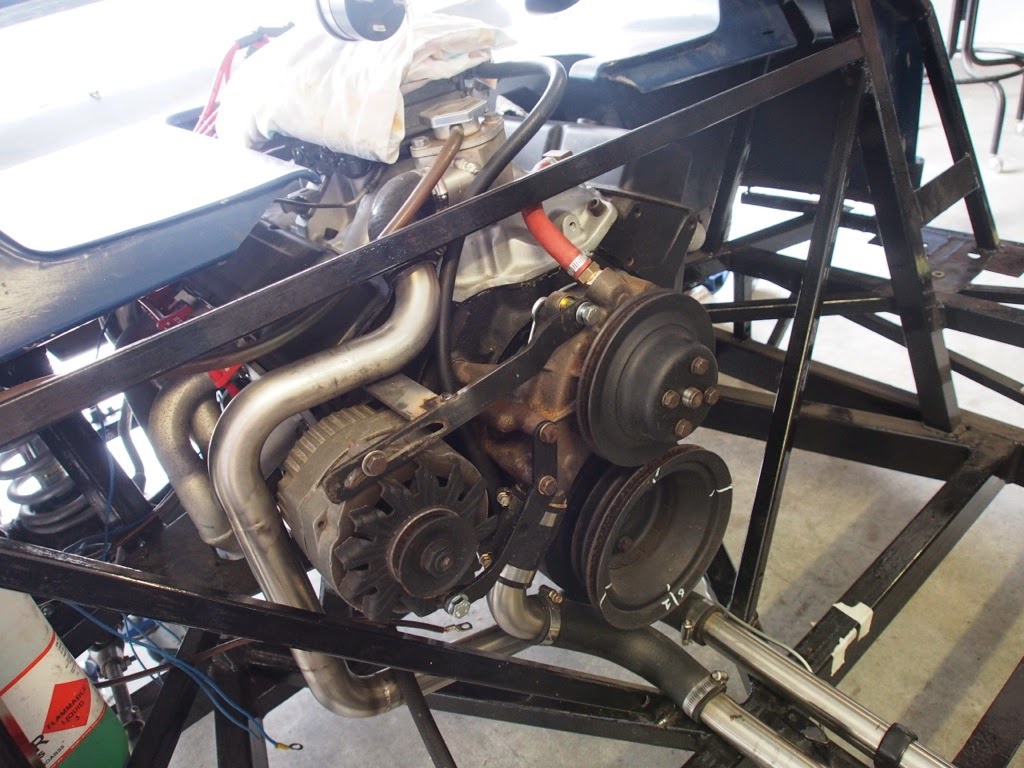
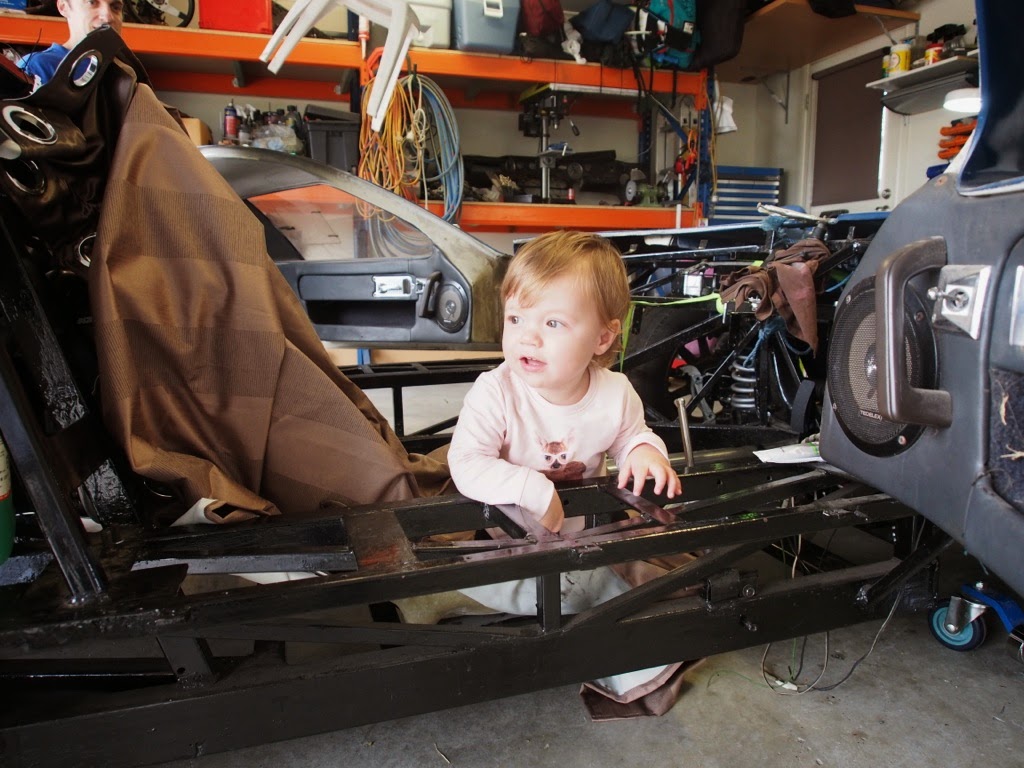
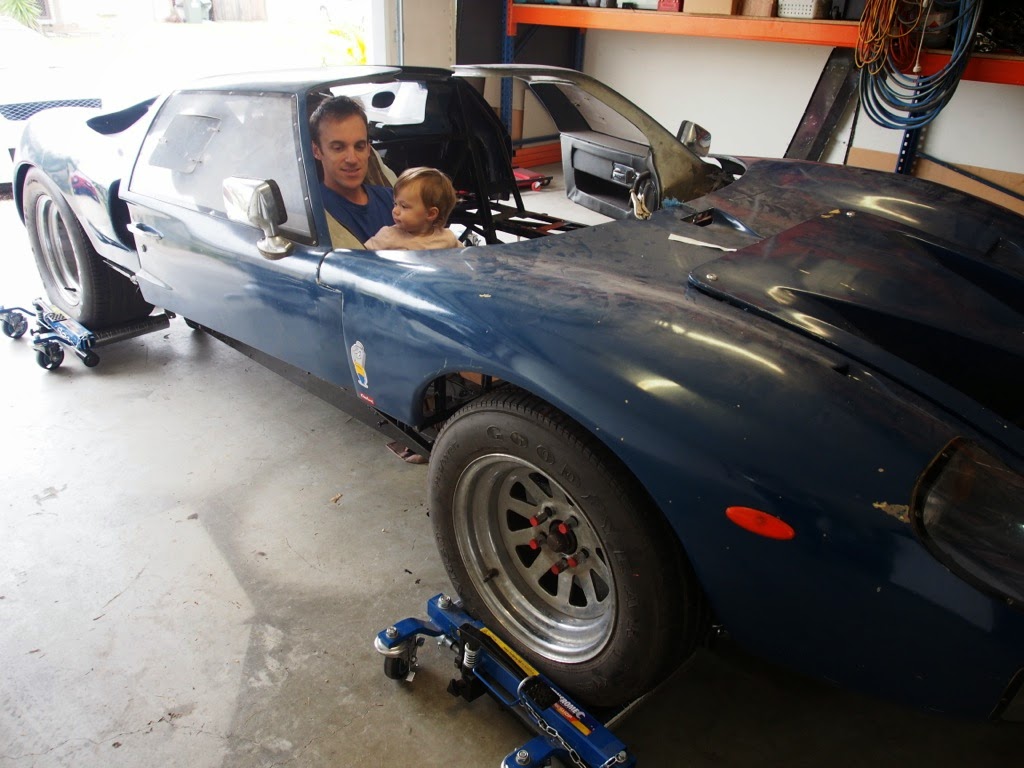
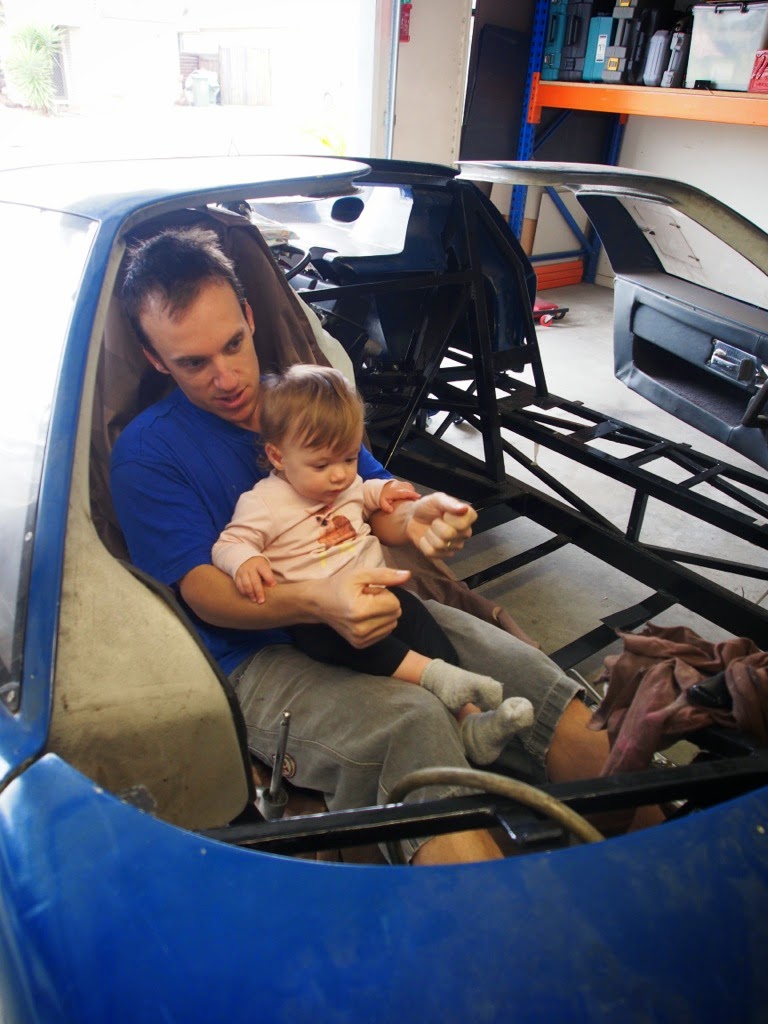
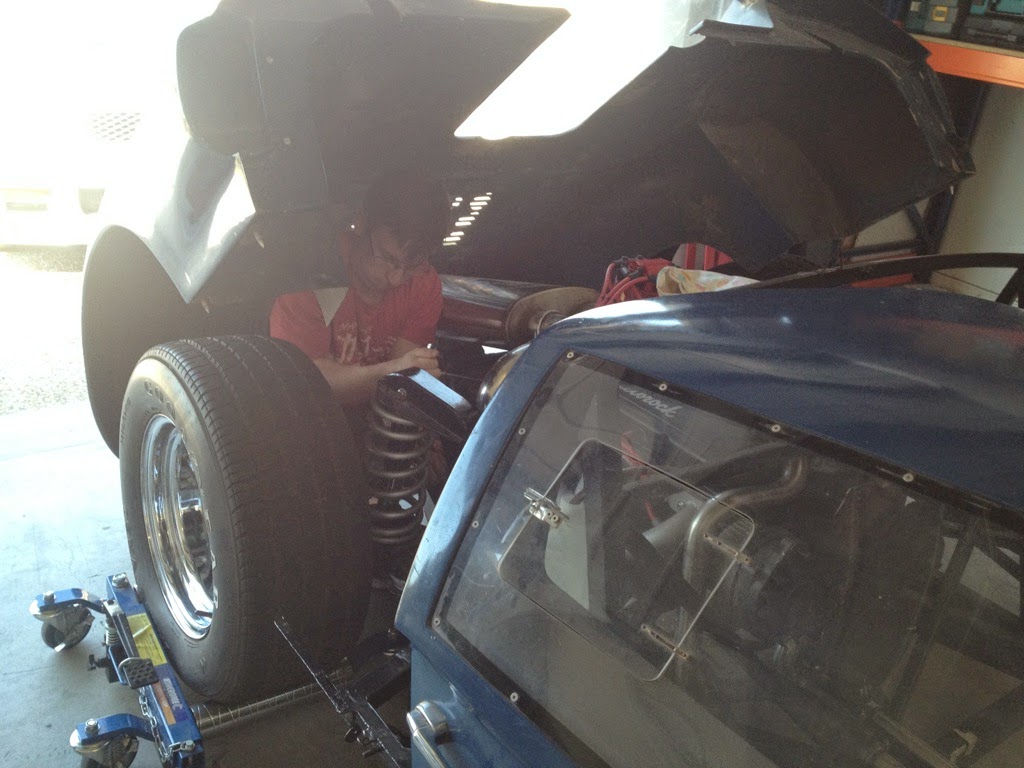
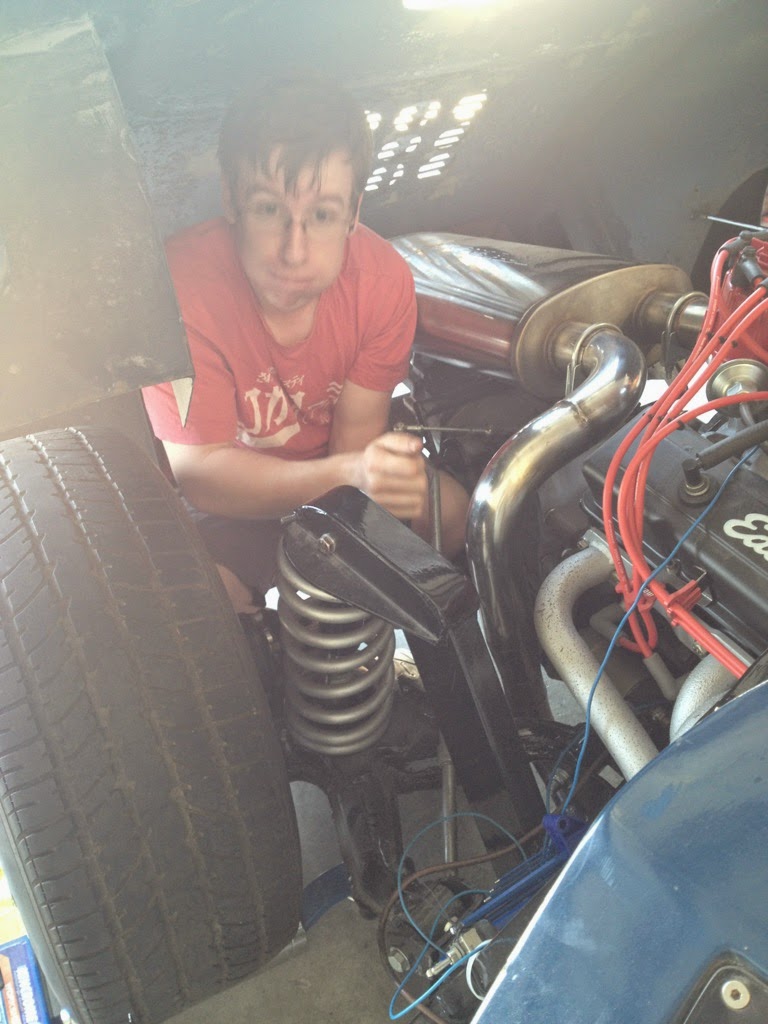
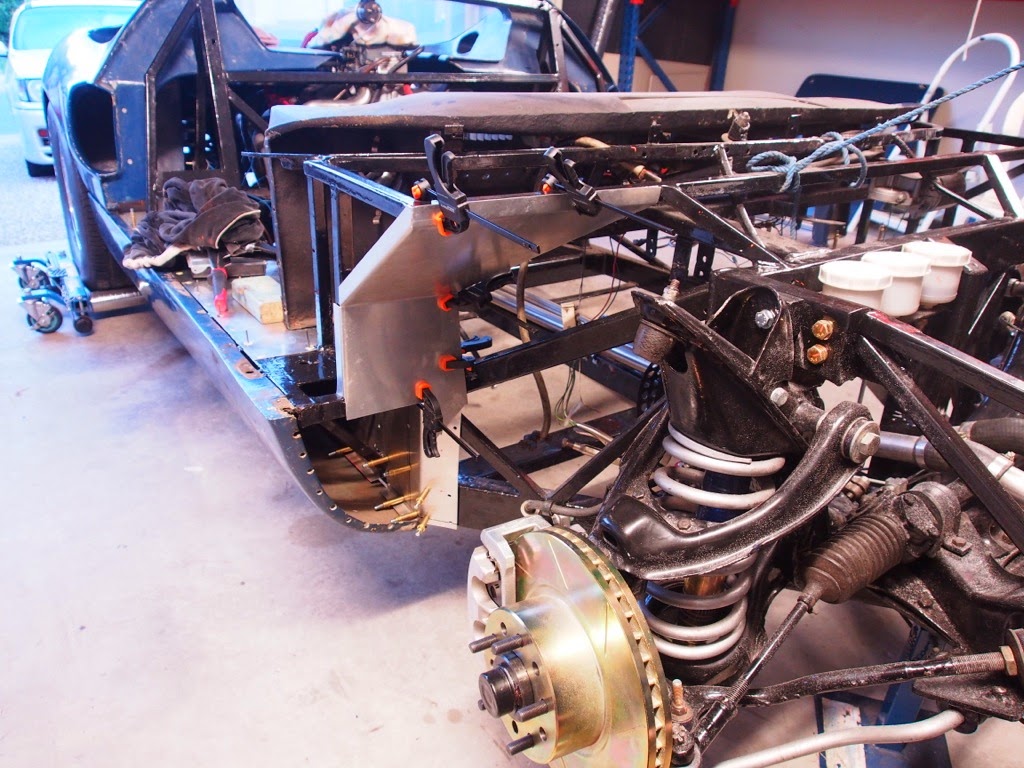
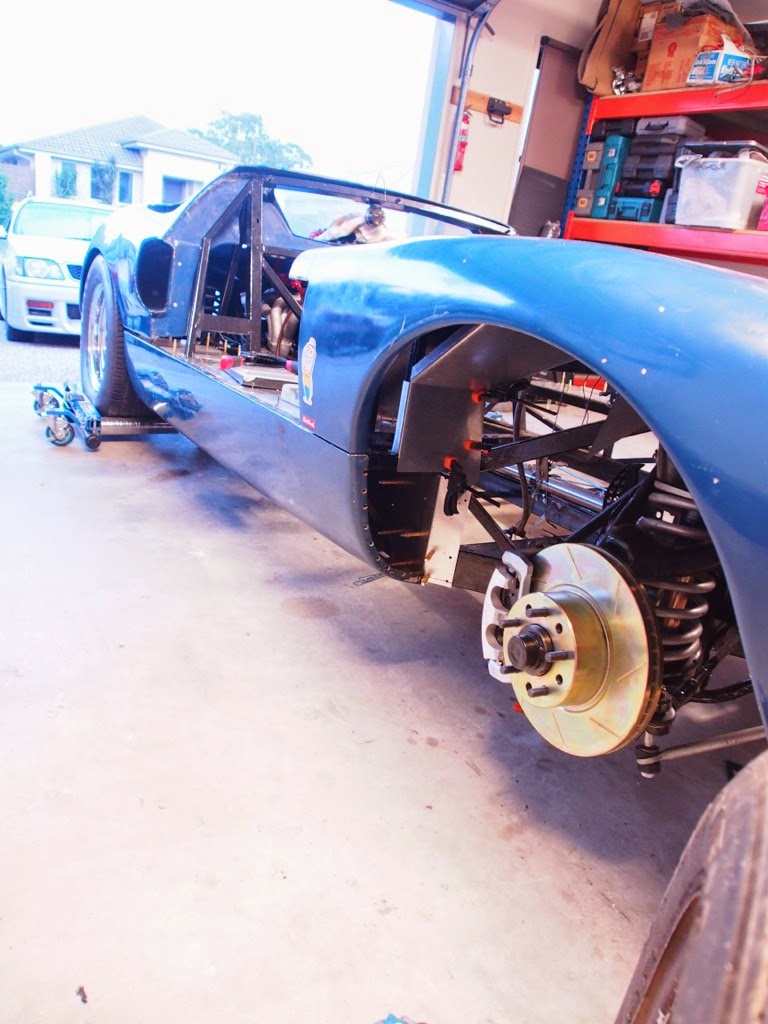
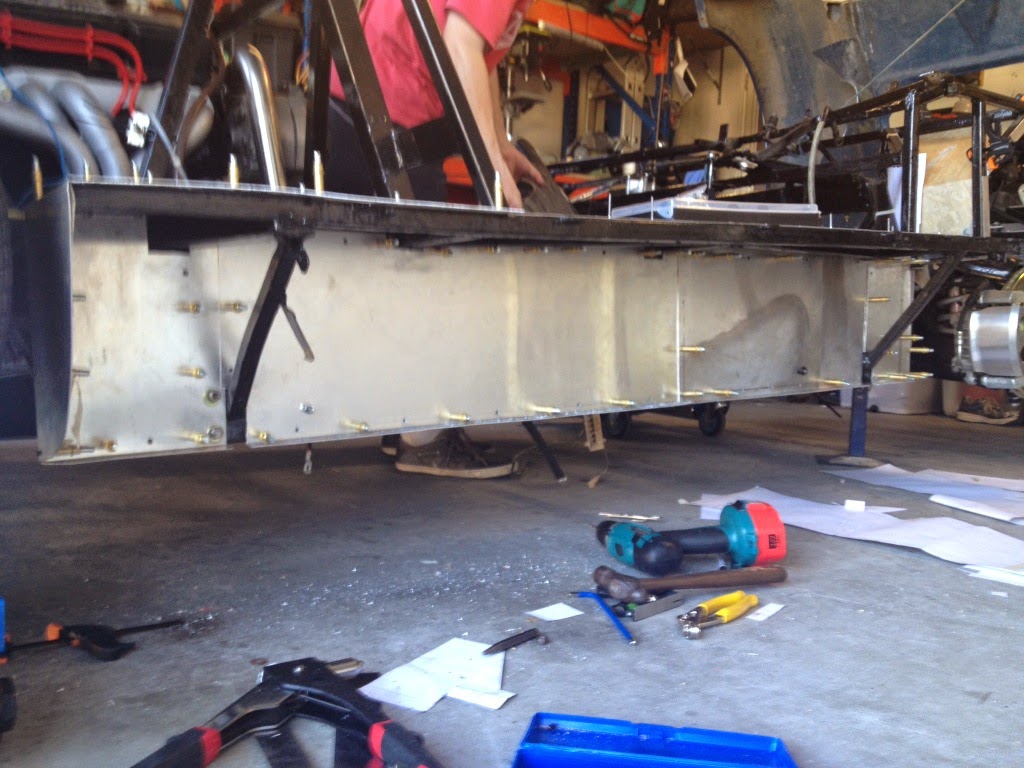
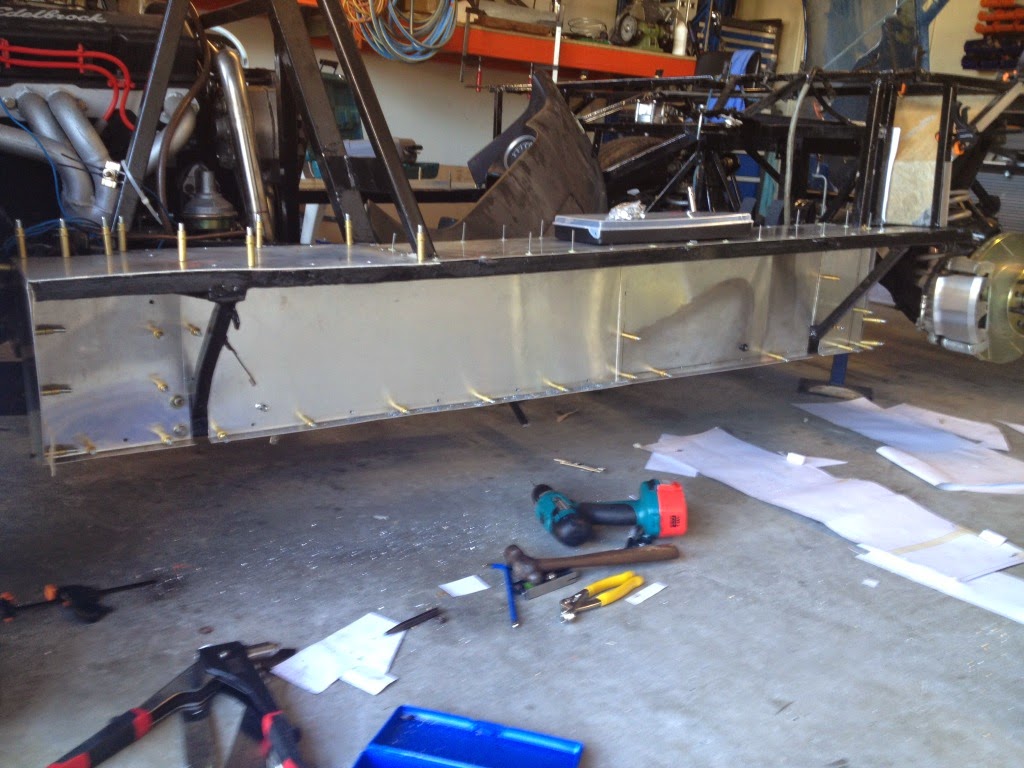
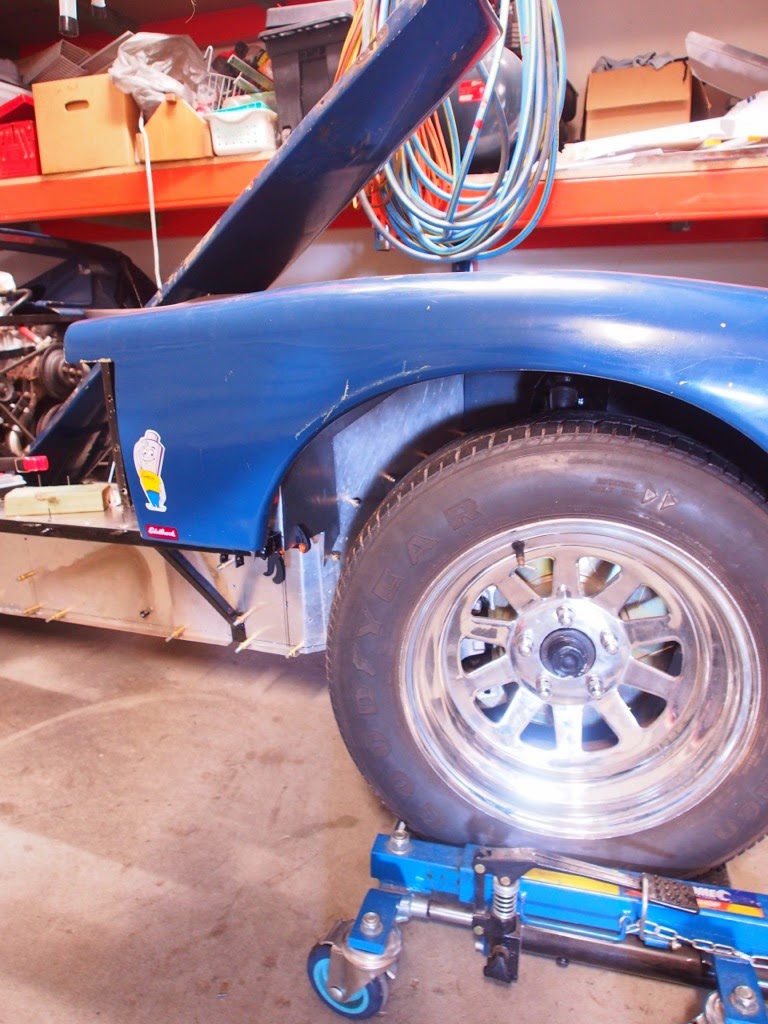
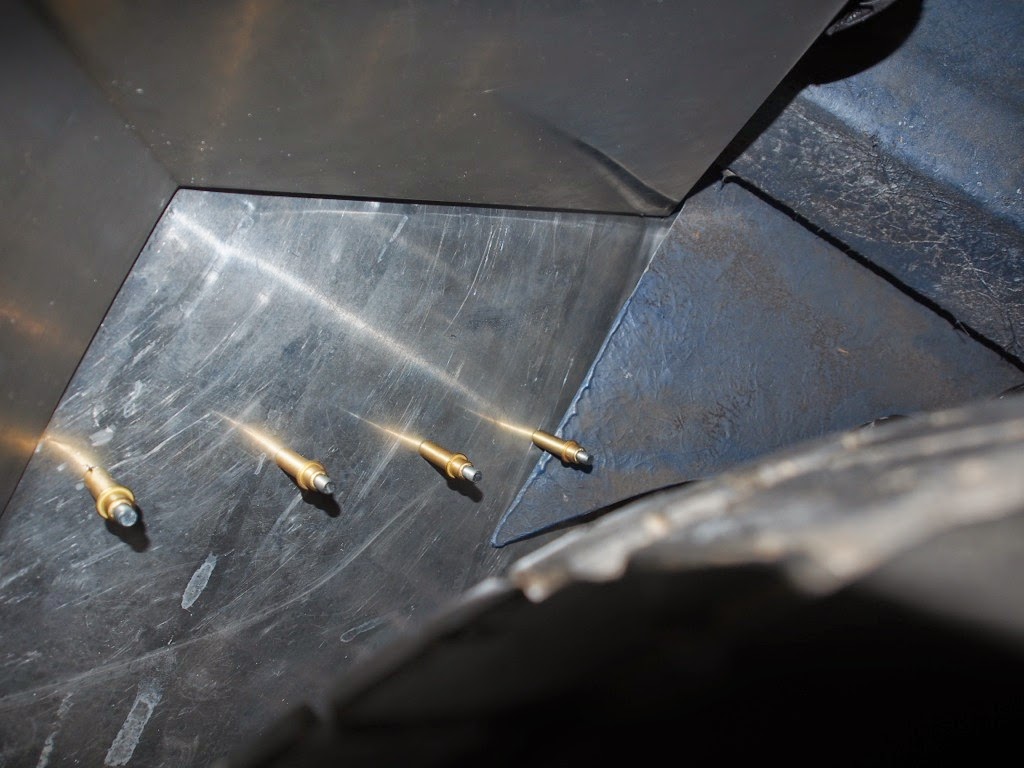
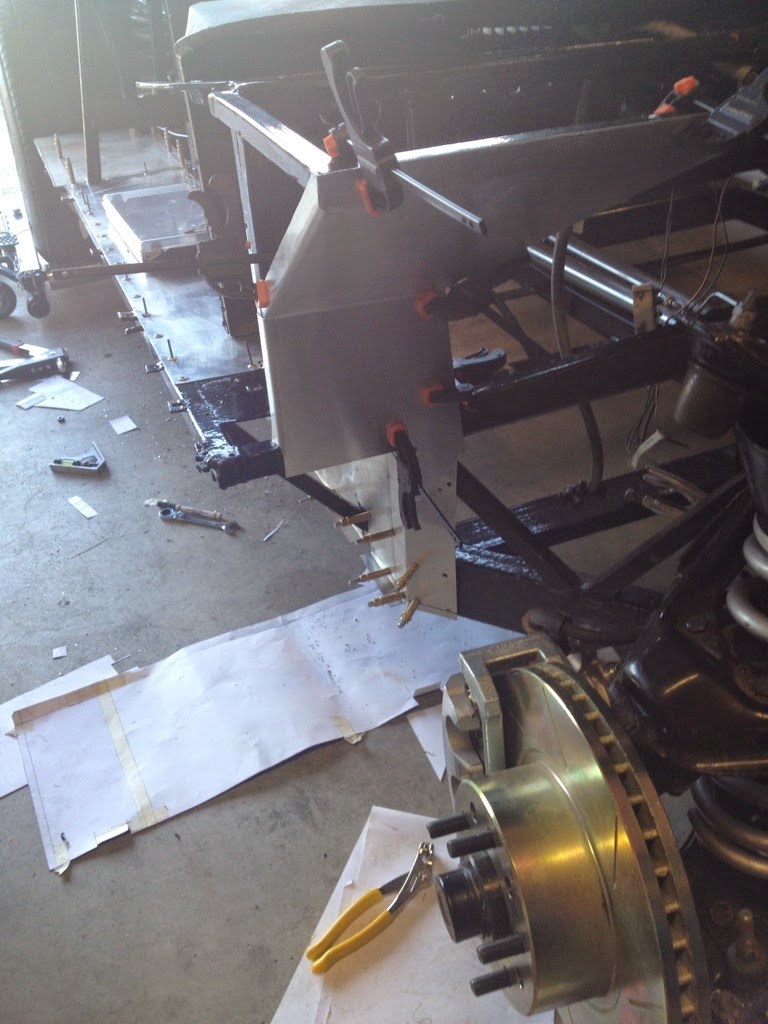
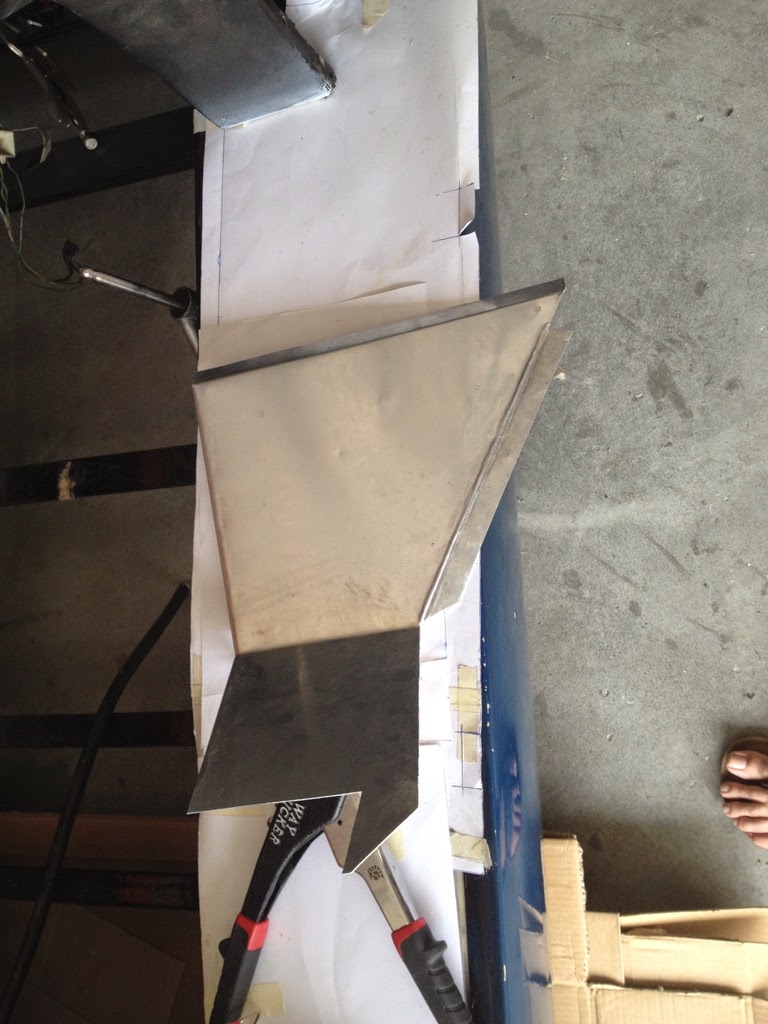
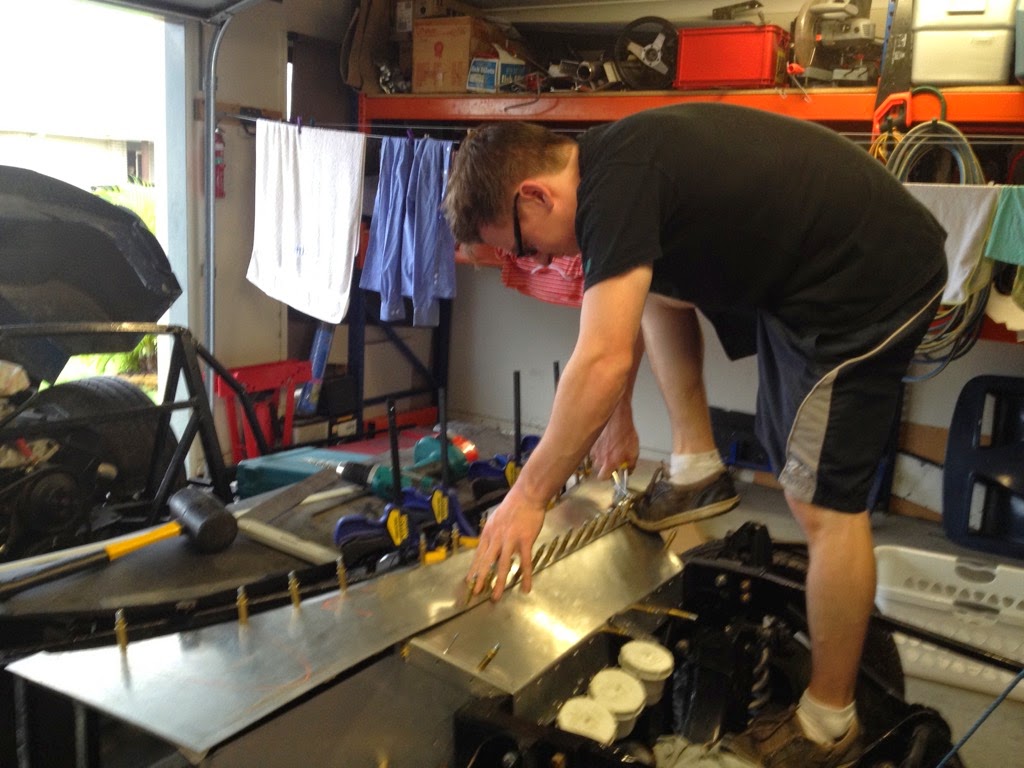
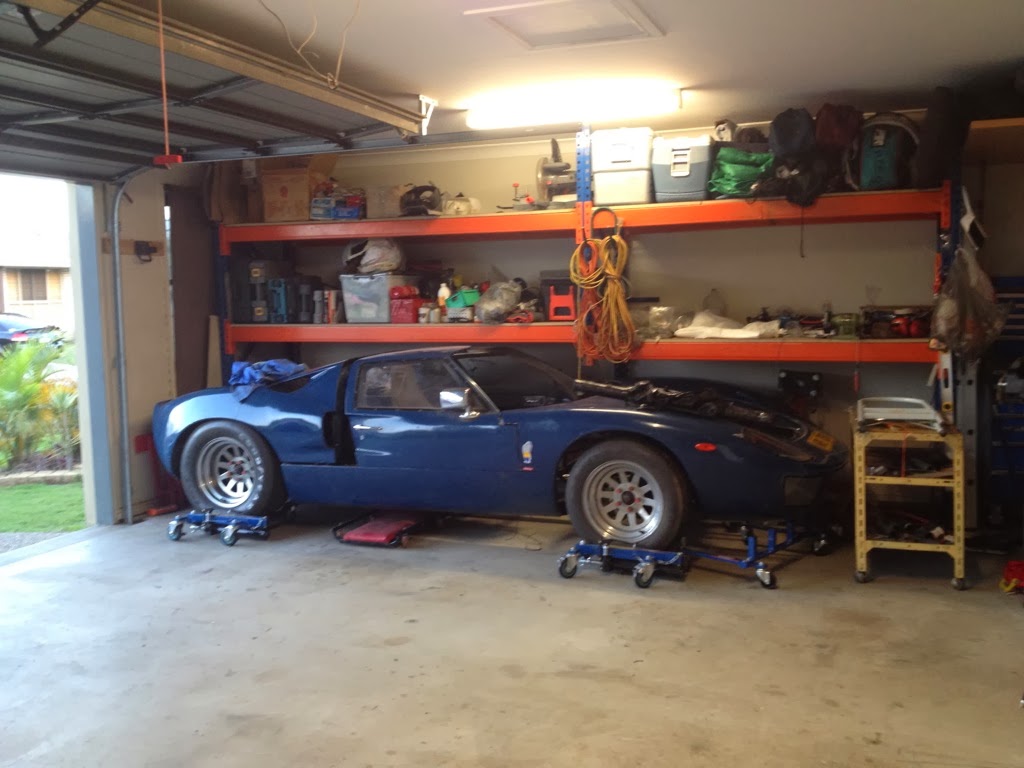
I've been lurking here for a while and love the ideas presented in this forum. I thought I'd post some pictures of my garage. I'm in Brisbane, Australia and have a 2 car garage with an extra 1.5m on the side (making a 6m x 7.5m size). This was the best thing we did when we designed our house. We have a small block, so a shed was never going to be an option. For the past 2.5 years, we've been restoring an old GT40 replica. In recent times, my wife had a baby and was getting sick of her car sitting out in the Summer heat. My solution..... Put the GT40 on go-jacks, build a large shelving system down the side of the garage and wheel the GT40 underneath.

Here are some pics from my blog (http://gt40project.blogspot.com)
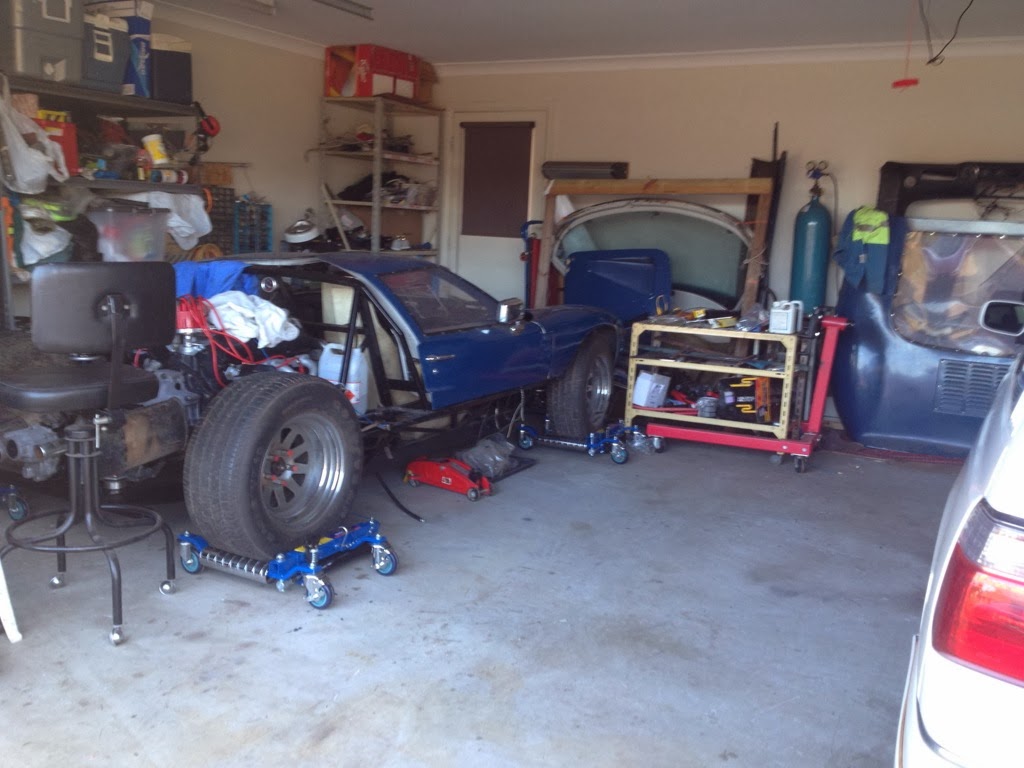
Before:
IMG_1430.jpg


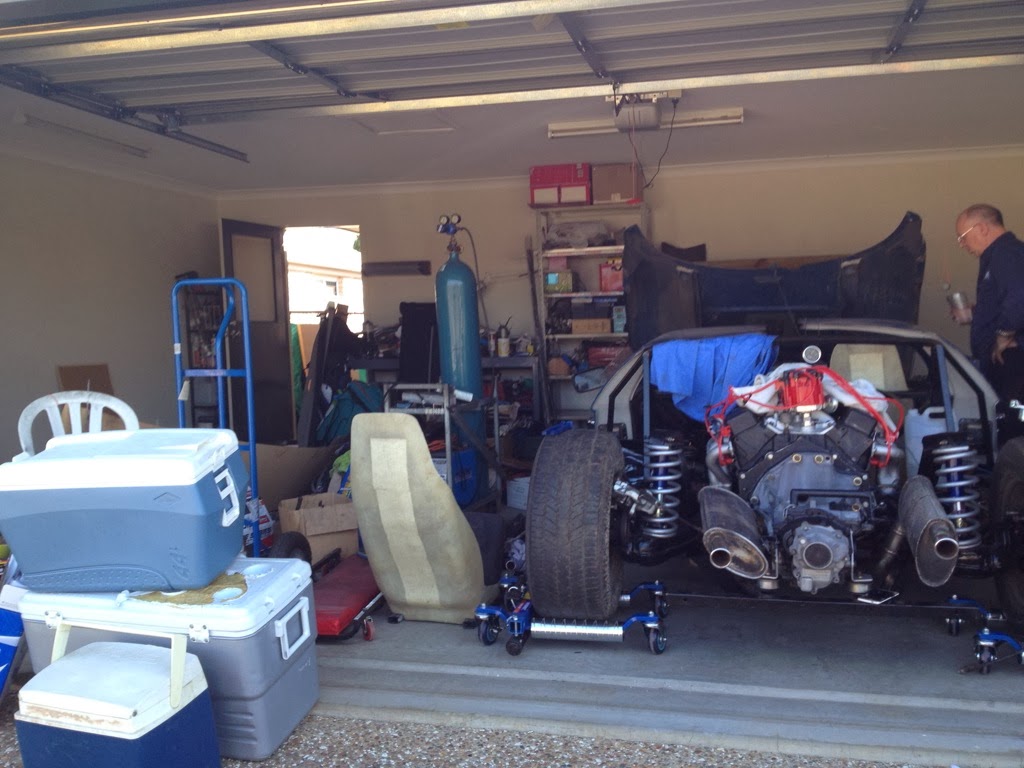
Pull everything off the shelves"
IMG_1437.jpg


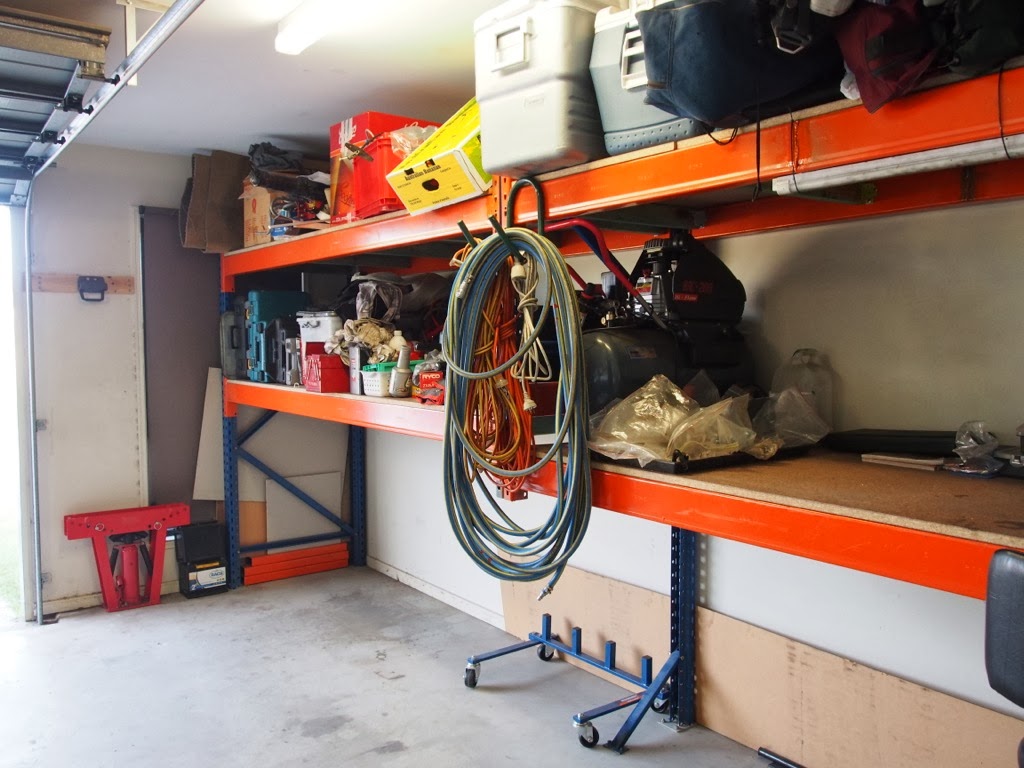
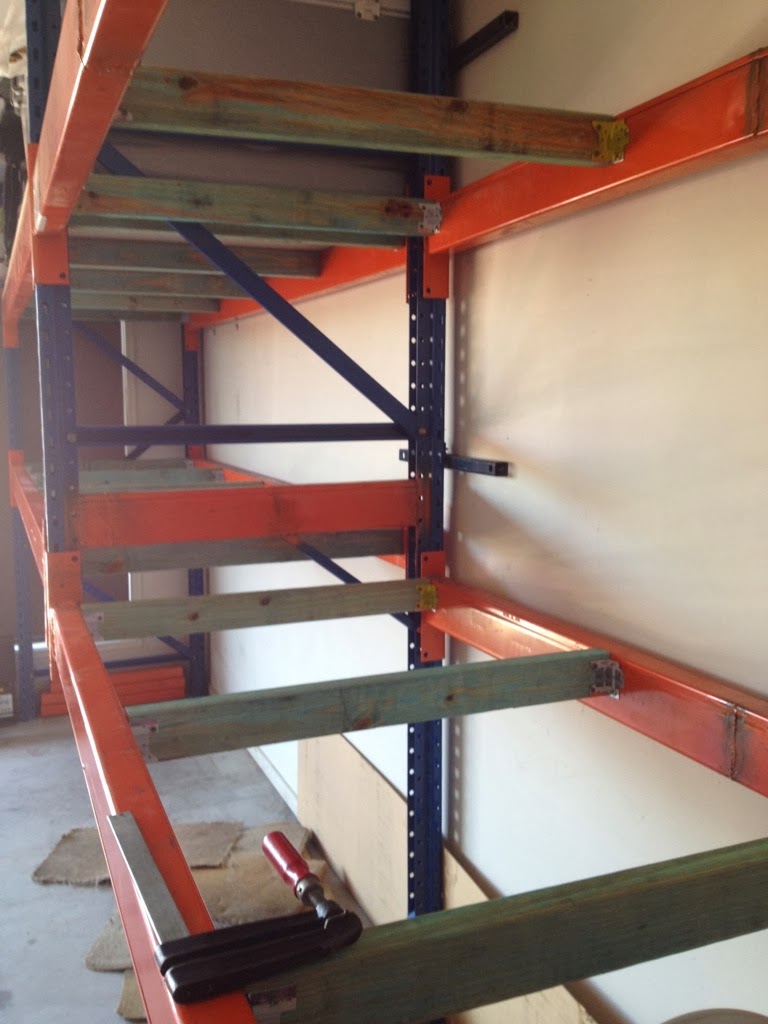
I picked up some old warehouse racking. Notice the centre leg has been cut off and the back post braced to the wall.

IMG_1470.jpg


IMG_1471.JPG


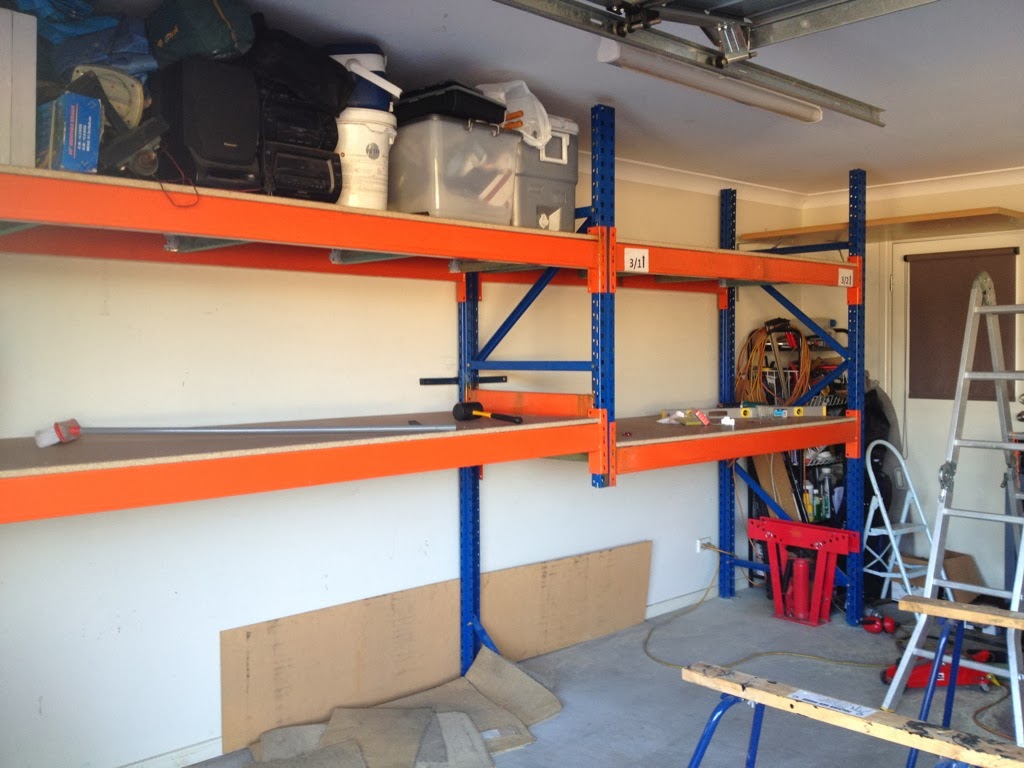
Here's how it fits now..

IMG_1524.jpg


In my past life, I was a fan on home brewing and recently spotted a chest freezer & keg setup pop up in the neighbourhood at a good price. I asked the wife about this and she jokingly said "If you can fit it in the freezer, you can buy it". Hehehehe. Sounds like a challenge :)

IMG_1506.jpg


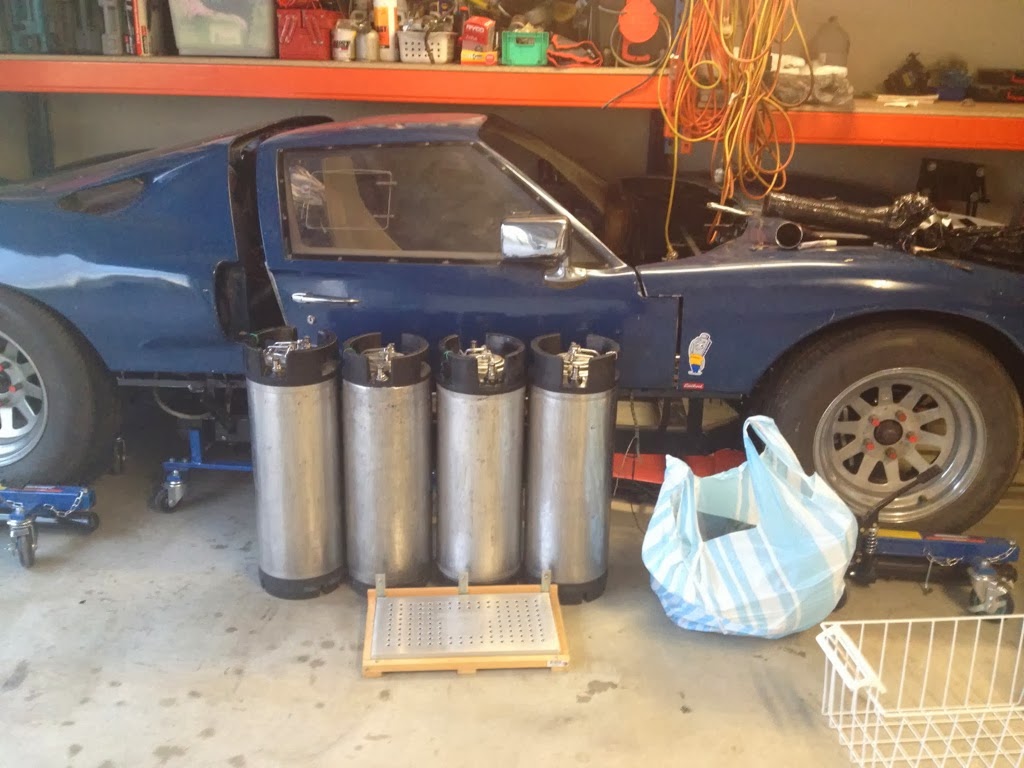
It's a squeeze, but it fits :)

IMG_1526.jpg


PC070037.JPG


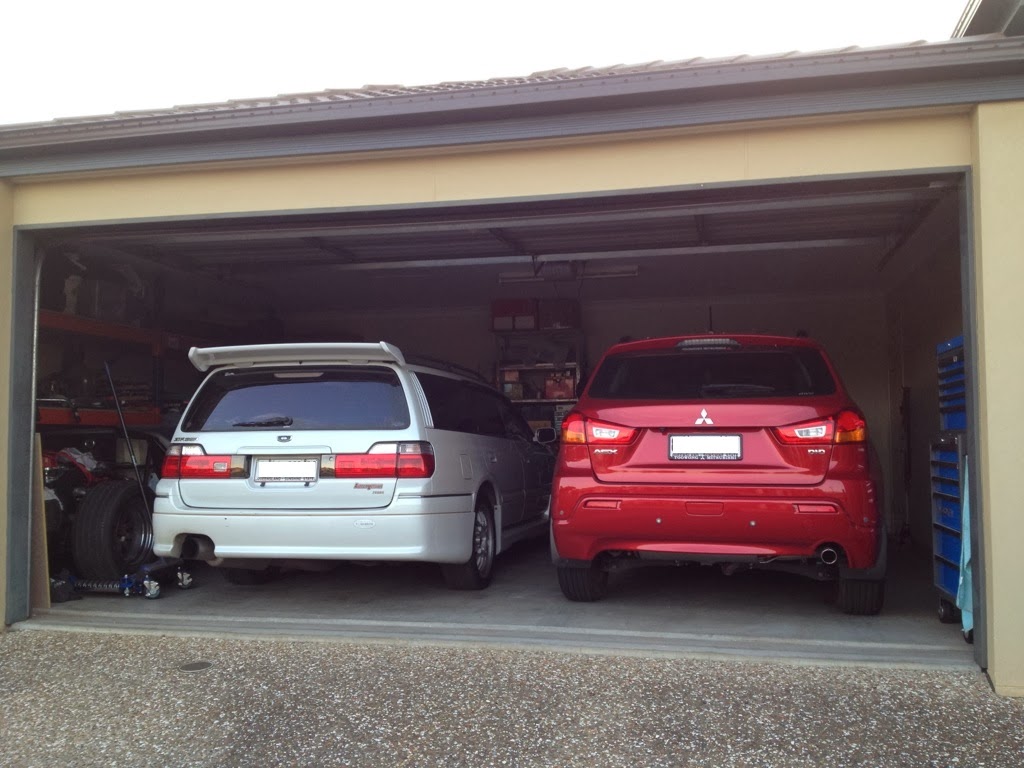
Job done: All cars in.

IMG_1477.jpg


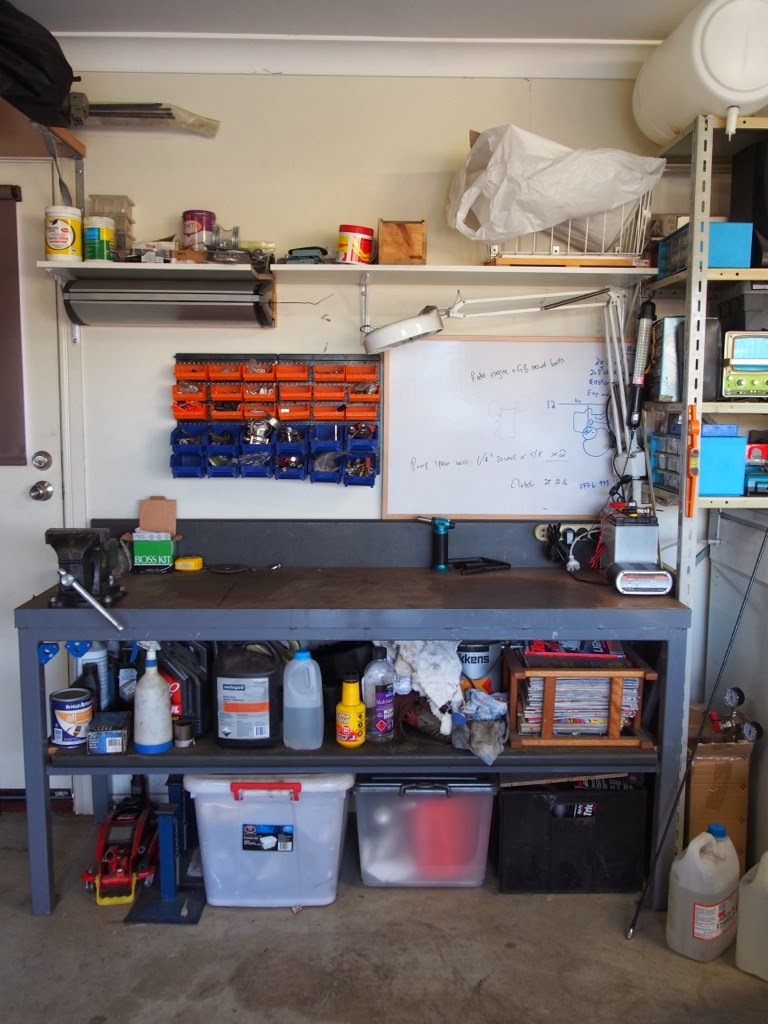
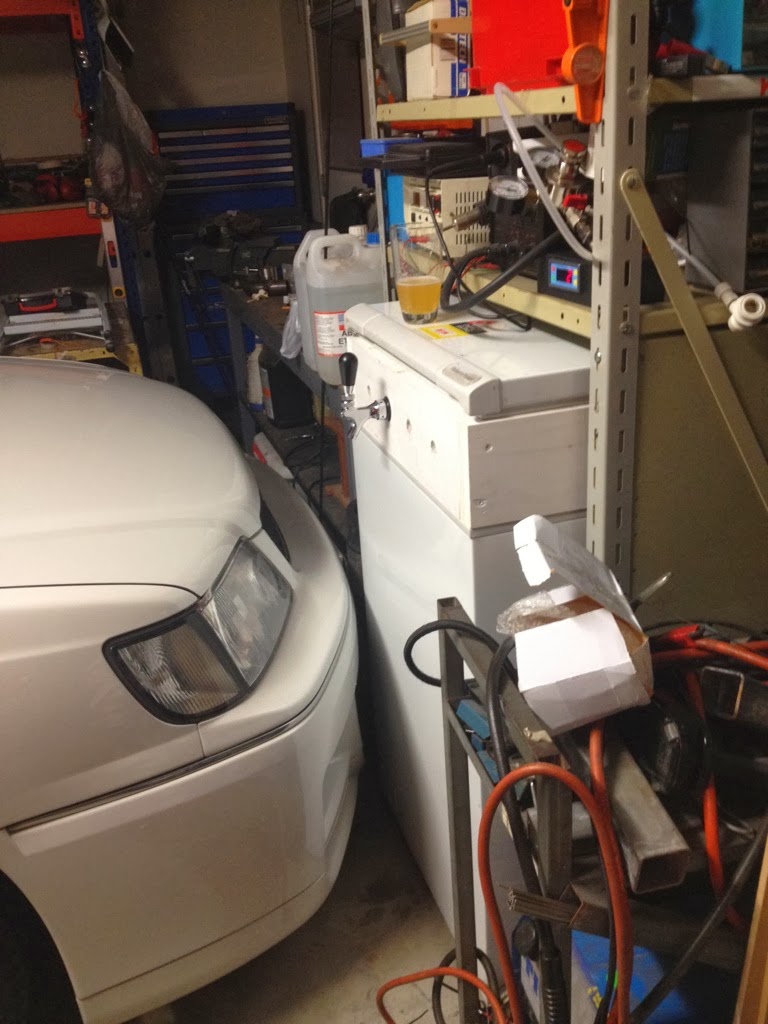
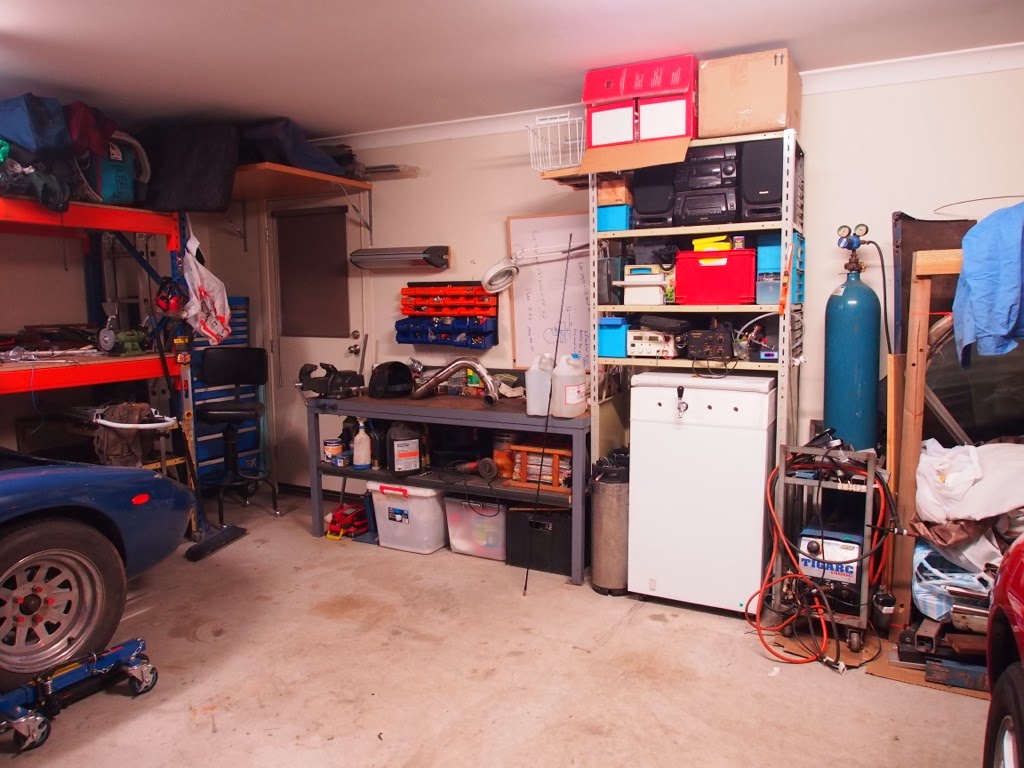
I really should run around the garage with a better camera to show you all the full setup. So I've got the orange racking with ample storage space. You'll notice the shelf that's over the front of the car is a bit lower, so it can be used as a work space if required. Then I've got a shelf over the top of the back door holding long things like golf clubs. Below this shelf (and behind the back door) is a Kingcrome toolbox that holds most of my tools. Then we've got a main workbench along the back wall. I made this one myself a few years back. Recently I installed a shelf above this to hold screws, etc. Next to the bench, I have an old metal shelf with the beer fridge underneath. The beer fridge is an old chest freezer with a temperature controller wired up. It's on wheels, so I can slide it out from the under the shelf when I need access to the kegs. Next to the fridge is currently the roof of the GT40. Eventually this will go back on the car and give me a heap of more room.

So it's all still a bit messy at the moment. There will be more reorganising and no doubt more tools to come :)
 
To avoid these ads, REGISTER NOW!

c615586

Active member
Joined
May 28, 2012
Messages
44
Location
Columbus, OH
I consider myself a pretty good car spotter, but I can't place the model of the Mitsubishi on the right hand side of the garage by the GT40. What is it?
 
OP
W

Willy81

Active member
Joined
Sep 20, 2013
Messages
30
Hi c615586, Did you figure out the white station wagon on the left? That one has most people baffled. The red Mitsubishi is an ASX. It's a common car in Australia. I think it's called RVR or Outlander Sport in some countries.
 

Jc_401

Member
Joined
Nov 4, 2013
Messages
20
Location
Dural, NSW, Australia
Hi c615586, Did you figure out the white station wagon on the left? That one has most people baffled. The red Mitsubishi is an ASX. It's a common car in Australia. I think it's called RVR or Outlander Sport in some countries.

i suspect that might be a mighty Nissan Stagia?
 

GRN96WS6

Well-known member
Joined
Dec 23, 2012
Messages
2,221
Location
SOMD
It doesn't look too comfortable to try to exit either of the cars with all three in the garage to me. It might be the angle of the pictures but I doubt it.
 

dubber

Well-known member
Joined
Dec 31, 2012
Messages
5,326
Location
Canada's Capital
I consider myself a pretty good car spotter, but I can't place the model of the Mitsubishi on the right hand side of the garage by the GT40. What is it?

Did you mean the left side?

Great job flexing your creativity muscle to get everything to fit. Man that is tight!
 
OP
W

Willy81

Active member
Joined
Sep 20, 2013
Messages
30
It doesn't look too comfortable to try to exit either of the cars with all three in the garage to me. It might be the angle of the pictures but I doubt it.

It is a bit tight. I park the white car all the way to left and the red car a fair way to the right. This allows us to open the back door of the red car nearly fully open so we can get the baby in and out. It's not too bad. The only doors you can't get to are the left doors on the white car. Remember this is Australia, so it's right hand drive. So not too much of a problem.
 
OP
W

Willy81

Active member
Joined
Sep 20, 2013
Messages
30
A ha! Thanks. I've got some googling to do.

Hahaha. That's the first time it's been called a Mitsubishi. It's been called a Volvo many times. These were only released in Japan I believe. Mine was a grey import that I picked up about 6 years ago. Mine is the Autech 260RS version which is fairly rare. It was released from the dealer with all the R33 Skyline GTR running gear. So twin turbo, 2.6L straight six, manual gearbox, AWD, Brembo brakes. It's a fun car that also practical. Has served us well. :)
 

YoungMedic

Well-known member
Joined
Jul 10, 2012
Messages
170
Location
Florida
Love how you tucked the GT into the shelf. Like putting it away in a premade styrofoam package

:beer:
 
OP
W

Willy81

Active member
Joined
Sep 20, 2013
Messages
30
Love how you tucked the GT into the shelf. Like putting it away in a premade styrofoam package

:beer:

I wish the shelves were made of styrofoam. One of the main issues with this setup is getting the thing in and out without hitting the shelves. Right now, it doesn't matter too much because the car will be repainted, but eventually it'll be a different story. The problem is getting the wheels of the go-jacks to swivel so that you can then wheel it where you want it. When you're doing this by yourself, it takes quite a bit of effort. At the moment it's made easier by having access to chassis bars to grab, but one the body is on, it'll be a whole lot harder. I've been having thoughts about putting in some guides for the wheels and potentially using some sort of winch system to get it in and out without damaging the paint.
 

Fred W B

Well-known member
Joined
Nov 5, 2010
Messages
101
Location
Port Elizabeth South Africa
My wife and I daily drivers also park in a narrow double, I put my car in backwards with the non driver side close to the wall so both drivers doors open into the centre.

Cheers

Fred W B
 
OP
W

Willy81

Active member
Joined
Sep 20, 2013
Messages
30
I just noticed that the cars are fairly close in the last photo. Since that photo was taken, the blue toolbox has been moved to the back of the garage which allows the red car to be parked further to the right. I'll have to take another pic.
 

dubber

Well-known member
Joined
Dec 31, 2012
Messages
5,326
Location
Canada's Capital
I just noticed that the cars are fairly close in the last photo. Since that photo was taken, the blue toolbox has been moved to the back of the garage which allows the red car to be parked further to the right. I'll have to take another pic.

Good idea, that was going to be my suggestion.
 

Wingnut65

Well-known member
Joined
Apr 21, 2010
Messages
3,170
Location
Tampa Bay, FL
Just goes to show that with a little creative thinking and extra storage space can be found. That and a little grease to squeeze the GT on to its shelf!

Nice work on making the most of your garage. :thumbup: And, nice fridge!

You do need to make the GT easy to get in and out of storage or you won't be willing to go through the effort to pull it out to work on it. I like the idea of a pulley. Possibly one pulley bolted to the floor against the left wall and an eye bold on the floor at the right wall. Use a come-a-long hand ratchet winch hooked to the eye bolt and the other end to whichever side of the car frame you want to pull it towards. Let the winch do all the heavy moving.

And I like the blog. Can't wait to see the GT running down the street!
 
To avoid these ads, REGISTER NOW!
OP
W

Willy81

Active member
Joined
Sep 20, 2013
Messages
30
Thanks for your comments Jeff. We've had the same idea with the winch bolted to a floor eye-bolt. I had the same thought that the car must be easy enough to get out otherwise it'll just sit under the shelf with a flat battery. My other idea, which is probably completely nuts is to motorise a couple of the go-jacks :)
 
OP
W

Willy81

Active member
Joined
Sep 20, 2013
Messages
30
The fridge you mean? To be honest, I picked the whole setup off a guy who was moving overseas. So it's a chest freezer with a wooden collar sitting on top. This allows me to fit 4 kegs inside (due to the hump in the floor for the compressor). It now has 2 taps on the front. I really should stop being tight and buy the other 2. I've mounted the freezer on wheels, so I can wheel it out from under the shelf when I need to get access to the contents.
 
OP
W

Willy81

Active member
Joined
Sep 20, 2013
Messages
30
I thought I'd take a few more pics of the garage for you guys

This little trolley has been absolute gold. My wife picked it up from her old work. They were going to throw it out. Now it holds a lot of scrap offcuts and is perfect doing odd jobs on, welding on or for putting tools on.

P2080247.JPG


The shelves had another clean-up. Still a work in progress.

P2080249.JPG


I installed a new shelf above the bench to hold random stuff. It worked out well.

P2080251.jpg
 

metalhead140

Well-known member
Joined
Jan 15, 2013
Messages
1,456
Location
NSW, Australia
Sounds good, though I can't see the pictures for some reason (must be blocked here). Jealous of you having a GT40 (replica or not) though, even if I can't see it!
 
OP
W

Willy81

Active member
Joined
Sep 20, 2013
Messages
30
A bit of news on the GT40 blog (http://gt40project.blogspot.com).

New brakes!
Good news. An upgrade kit has arrived for the front brakes. Tim and I spent a fair bit of time a few months back trying to get BA Falcon PBR callipers to fit. We tried a few discs and mocked up a calliper mountain. We had something that looked like it would work with modified VT Commodore discs. It was super-tight in the 15" wheels. Just when we were about to order parts and start to design calliper mounting plates, we stumbled across this kit on ebay at a good price. It's for a Ford Cortina. For the amount of messing around we'd have to do to DIY this, we jumped on this auction.

Brake%2BKit.jpg


The seller (free plug for upc.online) was excellent and agreed to drill the hubs and discs in 5 x 112mm PCD (to suit current wheels) and 5 x 114.3mm PCD to open up more wheel options in the future. The kit arrived this week and looks like fantastic quality. I just did a quick test-fit this afternoon and it fits perfectly (except the wheel studs are different thread).

IMG_2037.jpg

IMG_2039.jpg

IMG_2041.jpg

IMG_2042.jpg


Damn happy with the result.

P1010040.JPG

P1010041.JPG


They make the wheels look even more ****, but certainly fill the 15 inches well.

P1010034.JPG

P1010045.jpg


Other than this, work has been fairly slow over the past few months, but we have managed to finish a few jobs. First up, the throttle cable is done. We decided to run it under the engine as this keeps it away from the exhaust and gives a nice radius bend.

P1010010.JPG

P1010014.JPG


Secondly, the clutch slave cylinder has been fitted and works. Tim bled it himself using the yellow strap in the picture above. Haha

P1010011.JPG


Thirdly, I've knocked up a bracing for the alternator mounting bracket. There was far too much flex in it before, so I've braced it back to a bolt on the head. It still needs tidying up and painting.

P1010015.JPG

P1010017.JPG

P1010018.JPG


During one of my stints in the garage, I couldn't help but introduce Bianca to the GT40. Gotta start em young...

P1010021.JPG

P1010030.JPG

P1010025.jpg
 

tuner4life

Well-known member
Joined
Aug 24, 2011
Messages
266
Location
Indiana
Tetris! Great job with packing the cars in there, and neat GT40!


A couple years ago, I stored 4 cars in my 2/3 car garage for the winter.. It was definitely a squeeze. The Saab 900 was the last car in and I had to get in/out through the hatch.

 
OP
W

Willy81

Active member
Joined
Sep 20, 2013
Messages
30
That's hilarious Jason. Impressive fit there!

Here's an update from my blog:

More Panelling Progress

I thought I would share some more pics of the panelling process. In the hunt for pictures, I found these gems. Tim tightening the driveshaft bolts a few weeks back. Sometimes it pays to be a short ****.

IMG_2198.JPG


IMG_2199.JPG


So on with the panelling. Tim and I managed to have a good session on the car on New Years Day. Here are some pics of the process.

First up, we make the panel out of card. This takes ages for a complicated panel.

IMG_2320.jpg


Next we transfer the template on to the aluminium. We've started using ballpoint pen on the Aluminium. Generally it works pretty well. It gives a nice thin line, but can be a little bit tricky to spot when cutting out the panel.

IMG_2321.JPG


IMG_2322.JPG


Next we cut out with a jigsaw. We've glued some vinyl to the underside of the jigsaw to stop it scratching the aluminium. We also use a bit of WD40 to help it slide.

IMG_0264_2.jpg


After that it's off to the bending brake. We have an 800mm one. I keep forgetting to take pics. This complex panel wouldn't fit for this bend, so I had to make a DIY bending brake.

IMG_0265_2.jpg


IMG_0266_2.jpg


In the end it worked out pretty well.

P1010271.JPG


P1010272.JPG


However, there's one problem... We never realised this would leave a very large gap between the panel and body shell.

P1010274.jpg


P1010275.jpg


Previously the front of the car looked like this. There was no inner guard at all! The road grime would have flicked straight into the front of the door. That would explain why the doors are so dirty in that region. I guess this is one the many downsides of an old GT40 kit.

P1020351.JPG


The photo below shows a modern kit. This one in particular is a GT Forte (thanks to Andrew on the GT40 forum).

2014-12-30%2B17.43.35%2Bcopy.jpg


Notice the outer edge of this wheel arch panel extends further outwards than ours. I still haven't figured out if these panels seal against the hinged body on a modern kit or if there is always a gap. We'll have to give some thought about how we fix this gap on ours. I guess we have the options of extending the steel work further and making new panels, making an extra aluminium panel that extends into this region or fibreglassing a guard into the body work. You'll see what I mean about this in the pictures below.

Anyway, moving on... Here are some more pics of Tim's work on Thursday. He's finished off all the driver's side panels.

IMG_0269_2.jpg


IMG_0271_2.jpg


IMG_0270_2.jpg


On Friday, Tim spent another day working on the car (unfortunately I had to work). Tim tackled the large panel in the wheel arch (behind the one shown above). Unfortunately Tim packed the car away before I could take photos. Here are a couple I squeezed through the wheel arch.

P1020283.JPG


P1020285.JPG


I'm pretty happy with how this has worked out....

P1020287.JPG


The blue piece is attached to the hinged body work. On our KCC kit car, the body panels have inner wheel guards already fabricated in fibreglass. This is what you can see in blue above. The bonus of this is that you don't need to encase the whole front end in Aluminium. The blue fibreglass in the picture above was trimmed back quickly when we did the steel work. I'm quite happy with how this has mated up to the aluminium panel. It'll need a bit more tidying at a later date, but it's a good start. One option would be to do something similar for the panel behind the front wheel.

Anyway, that's enough from me.

Thanks for reading.
 

metalhead140

Well-known member
Joined
Jan 15, 2013
Messages
1,456
Location
NSW, Australia
Very cool! I like it, keep us posted. Do you have a good Aussie source for the clecos? They've been on my want list for quite a while.
 
OP
W

Willy81

Active member
Joined
Sep 20, 2013
Messages
30
I got my Clecos from Summit Racing in the US. Since then I found a local aviation supplier who does them at a good price. We don't have a huge number of them, but I think we have enough to get it done.
 

stikman56

Well-known member
Joined
Jun 12, 2014
Messages
3,127
It can be done. In our last house, I put 4 in a 2-car. The truck in the avatar was sideways in the back, '40 Ford coupe pushed up against the wall on one side. My Ranger against the wall on the other side, the Wife's ****** wagon in the middle. Garage was 25 feet deep. ****** and Ranger were both new so I wanted them inside. I had to park them though,was a bit inconvienent
 
OP
W

Willy81

Active member
Joined
Sep 20, 2013
Messages
30
More Panelling

Things have been a bit slower lately, but Tim and I have managed to slip in a few hours here and there. Tim knocked up this panel.

IMG_2351.jpg


You may remember from the last update that I had been battling with this panel in the wheel arch. I ended up trying to 'adjust' a fold which completely stuffed it up. It's time for a second attempt. I'm calling this panel the ***** Panel.

IMG_2331.jpg


IMG_2358.jpg


After frustration with the ***** Panel I decided to cut the panel beneath the windscreen. Tim did the tedious job of drilling and fitted it. We're pretty happy with how this one has turned out. The bar beneath the windscreen is not horizontal. The inside is higher than the outside and we were concerned whether we could make the one look good. With some careful hammering and lots of drilling, it's turned out pretty good. I'll have to take some more photos next time. Here's a couple of Tim at work.

IMG_2389.jpg


IMG_2390.jpg


Back to the ***** Panel... I gave it a bit more thought and decided I wanted to build in the end cap of the side pod. It requires a few extra angles and makes the panel even more complex, but will incorporate with the side pod panels better. This is as far as I got today on it. I'm pretty happy with the result.

IMG_2395.jpg


IMG_2393.jpg


Jeez, it's a ***** of a panel. I'll have to do one on the other side, too..

IMG_2398.jpg


IMG_2397.jpg


Fun times...
 
To avoid these ads, REGISTER NOW!
Top Bottom