To avoid these ads, REGISTER NOW!

Above 1200 Sq/FT Zeph's Quasi WWII Era Shop

Wokspaces above 1200 squarefeet.

zepher11

Well-known member
Joined
Jan 4, 2015
Messages
1,493
Location
Northern, Northern CalifornIA
Well, it would have been helpful had I found this great site a year or so ago. Fortunately, I did discovered it a few months ago during some searches for general garage information.

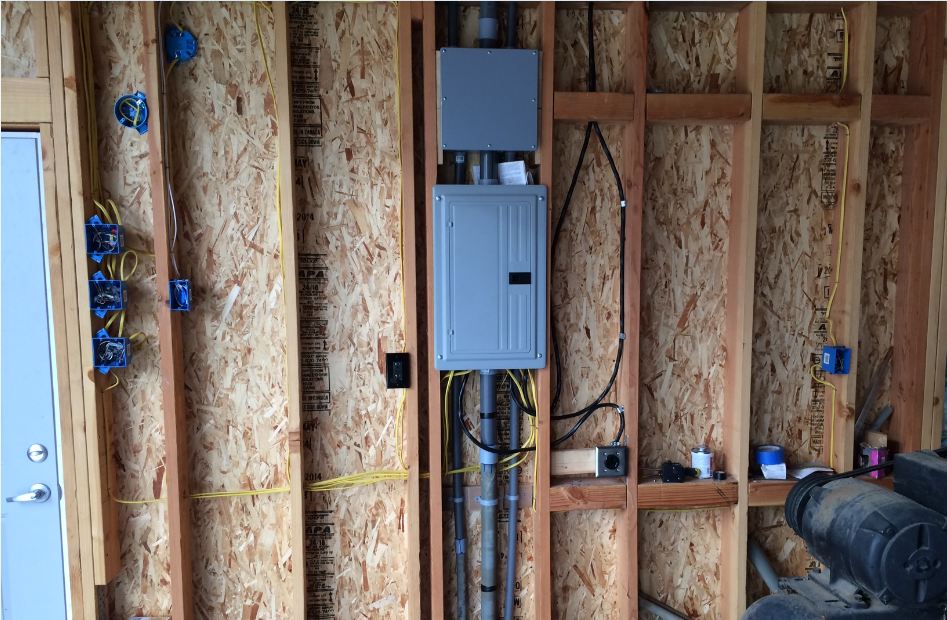
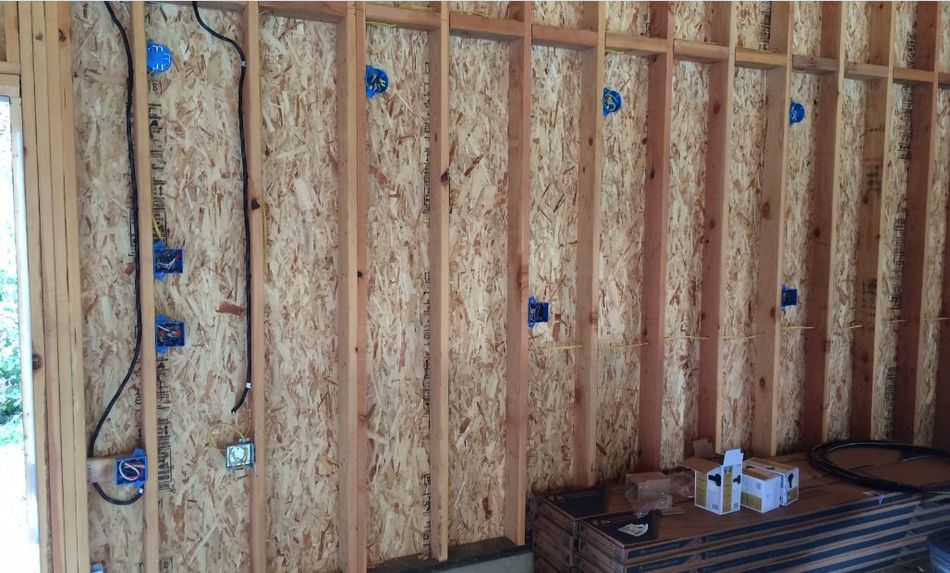
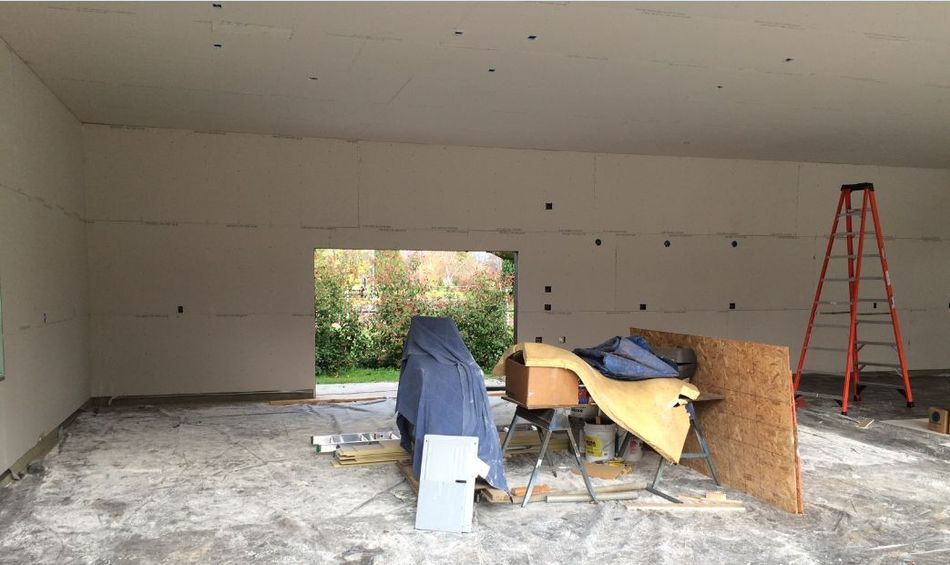
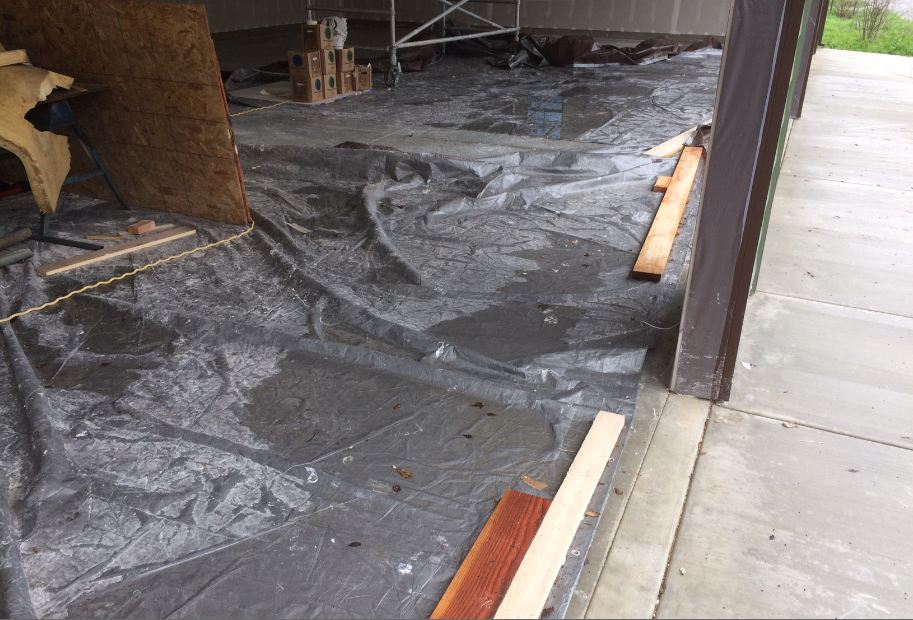
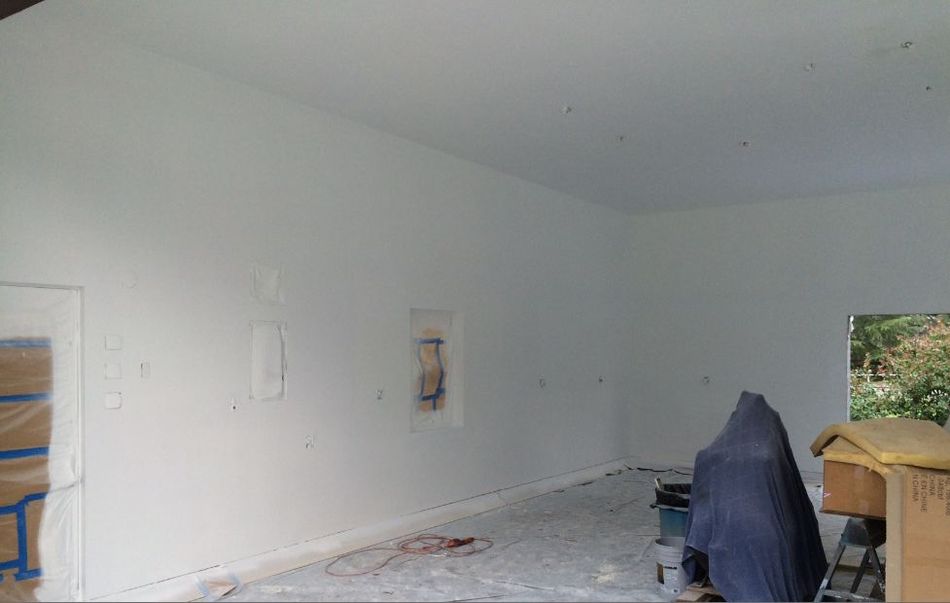
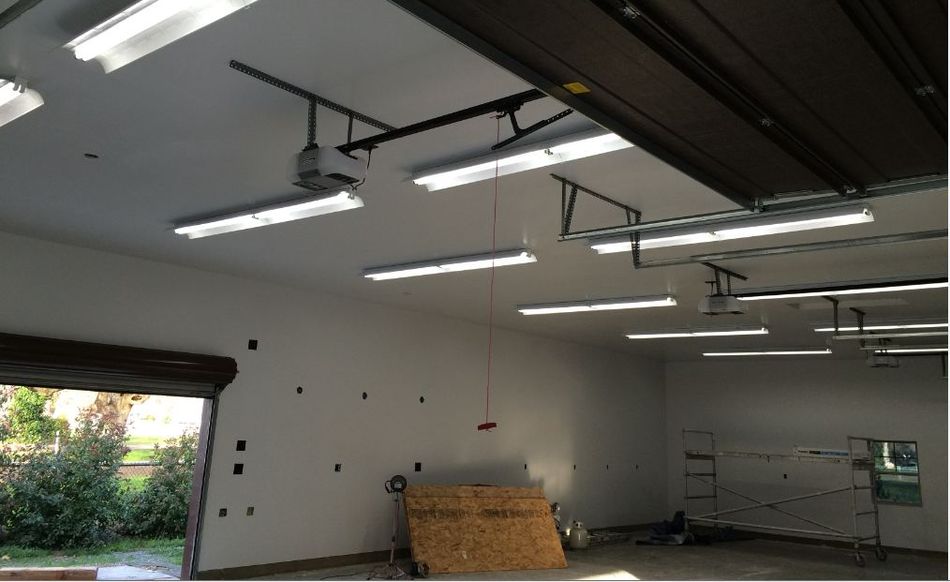
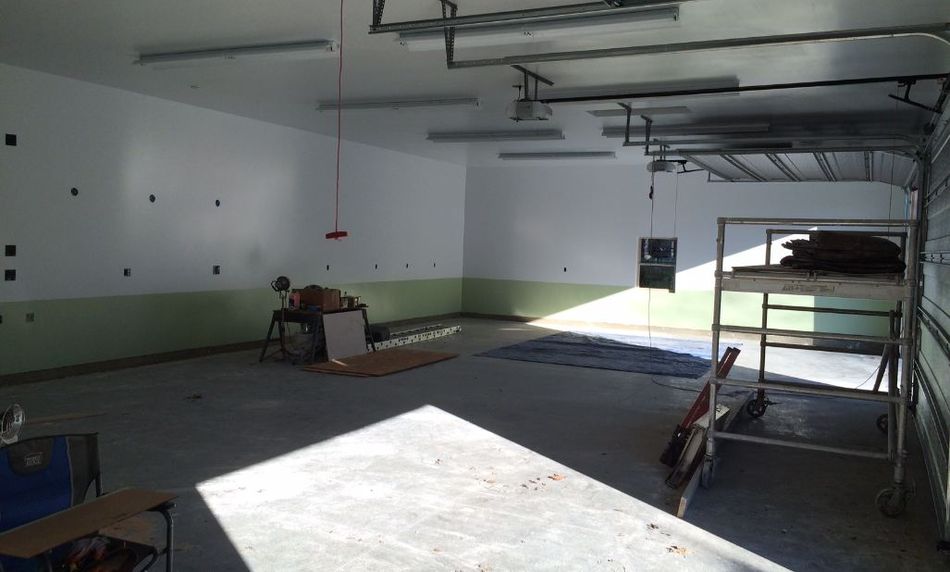
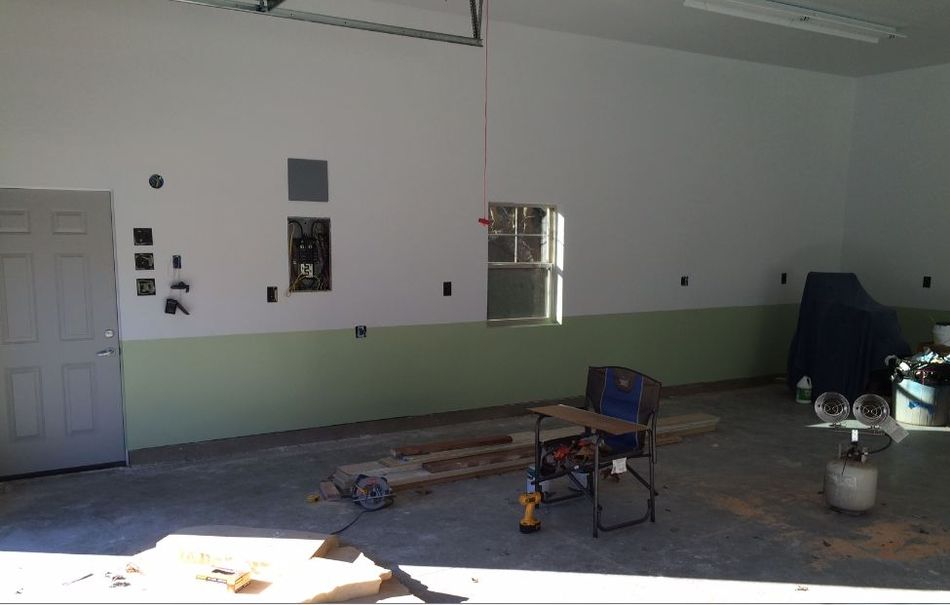
Anyway, happy to have found this site and thought I would jump in by posting construction photos of my garage in chronological order. I am just wrapping up my dream garage project, so it'll take me a few days to get organized and post some of the photos.

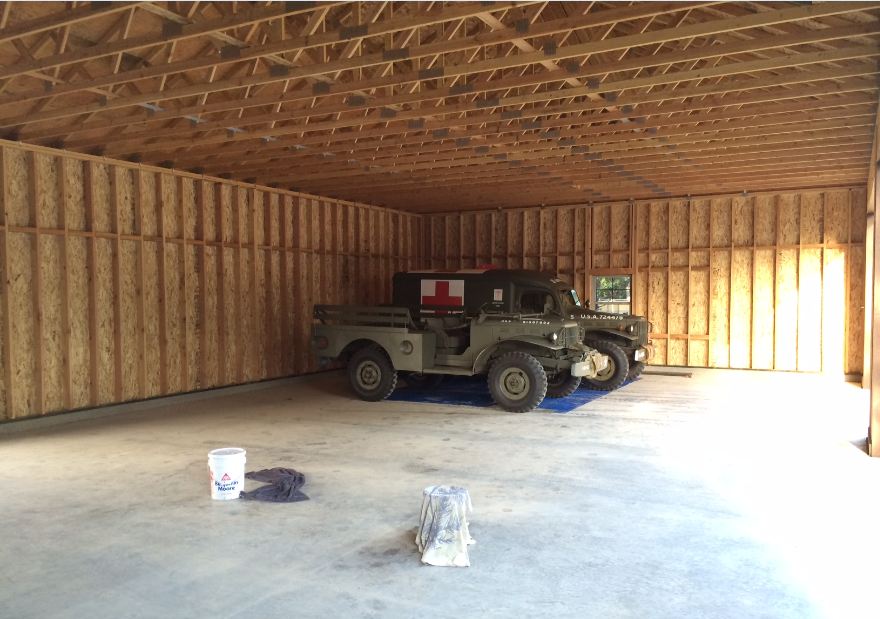
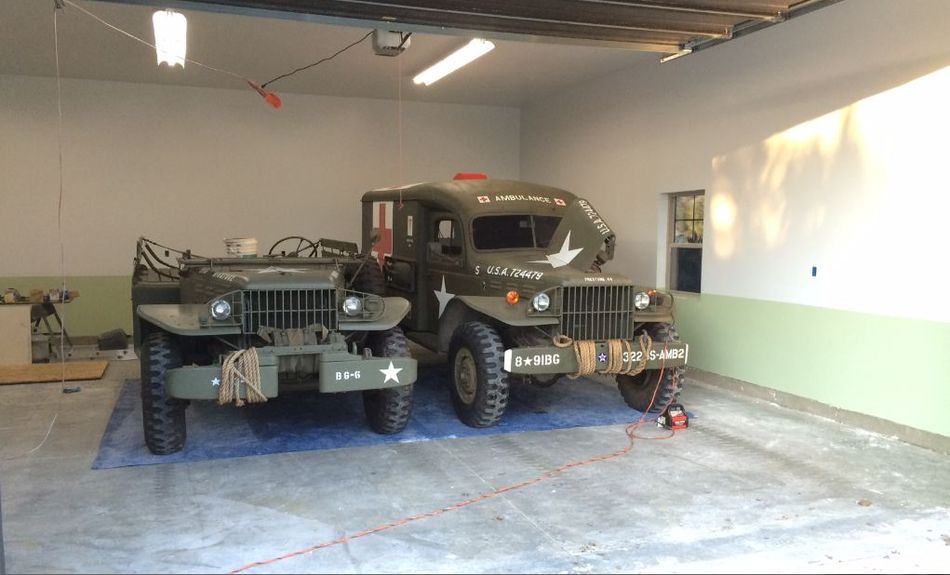
A little background on me. I raced automobiles for many years, but have now transitioned into my longtime passion which is US WWII history. I started collecting artifacts here and there and then started restoring vehicles on the weekends. I have posted the progression of my garage on some of the military forums, but it is probably more appropriate here.

Bear with me as I get used to posting photos here and figuring out how the forum works.

Initially, I just wanted a bigger garage after having worked out of my attached two car garage all these years. It seems that all the new garages I see being built around here are metal, so I figured that was the way to go. Well, after researching metal vs. stick built and getting quotes for both, I elected to go stick built. I am fortunate that my neighbors across the street are concrete contractors, and the husband of a women that works with me owns a large framing company. That helped in the decision in which way to go.

Initially, I wanted the garage out behind the house, but my wife said that if it was she would never see me again. Therefore, I had to squeeze it into the front yard...which leaves room for an even bigger building someday in the back...:

Garage_8-13-2014.jpg


Garage_8-14-2014_03.JPG


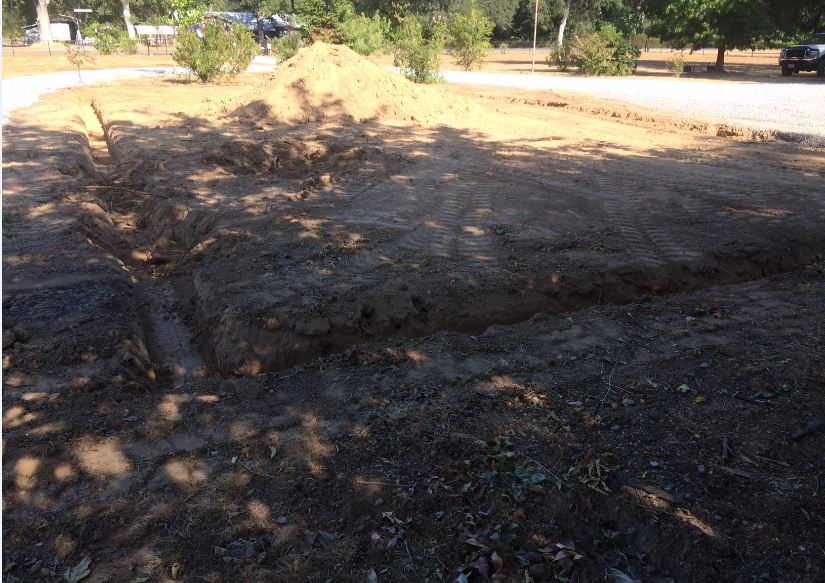
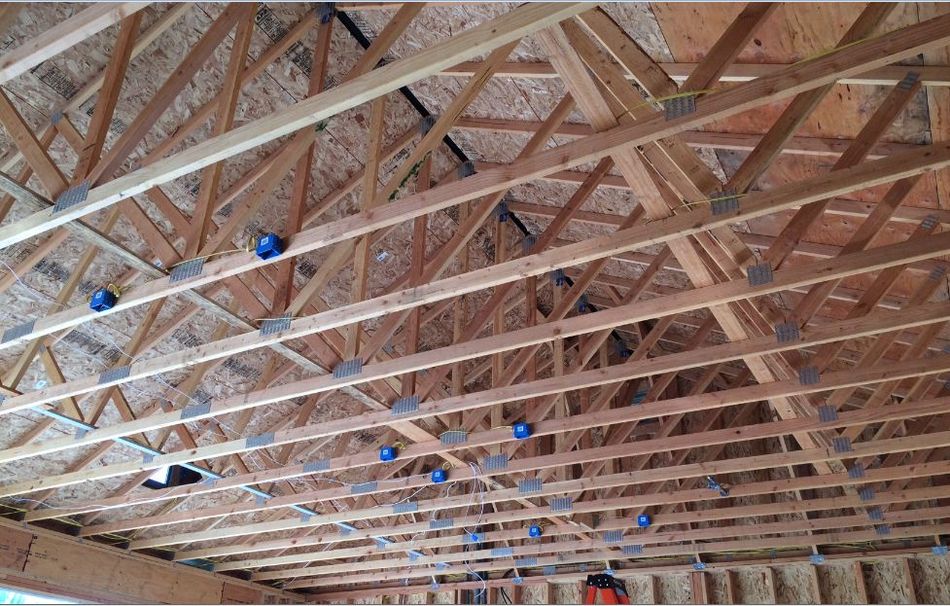
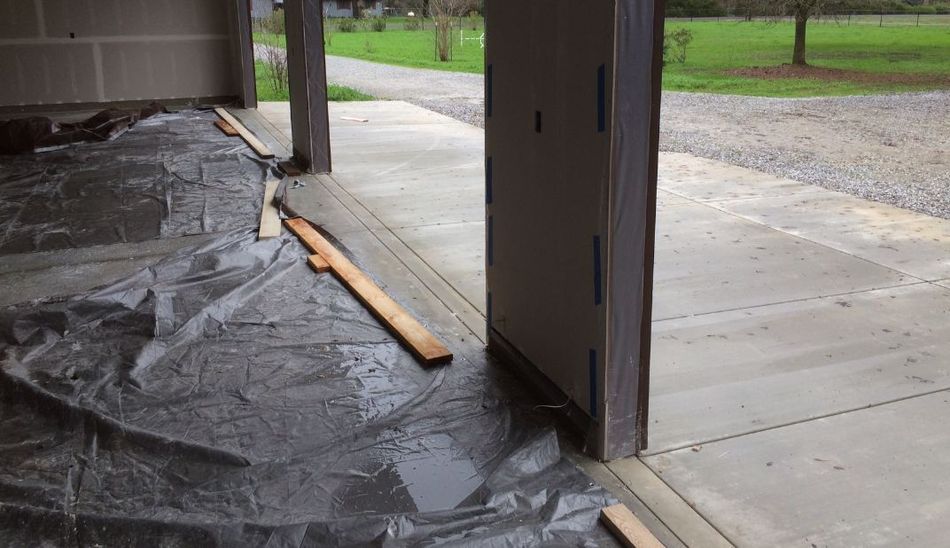
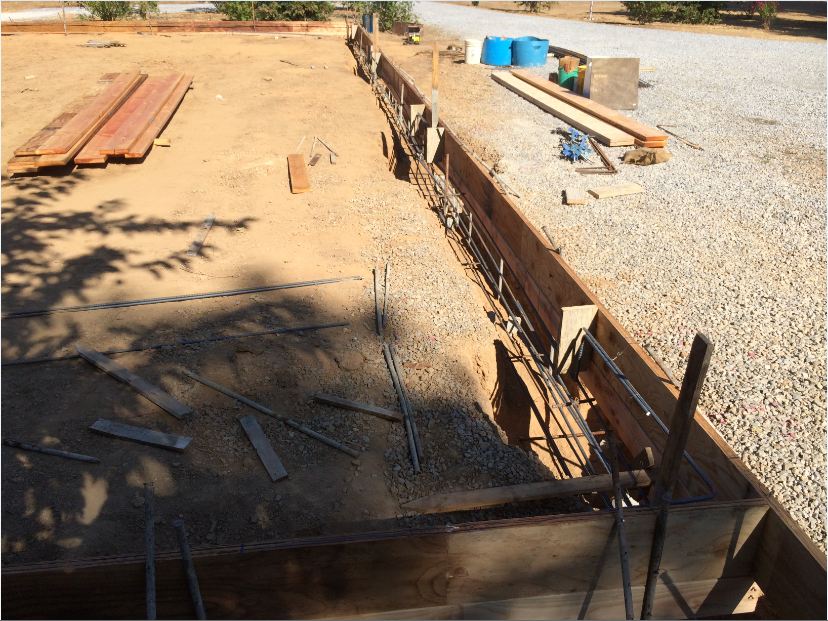
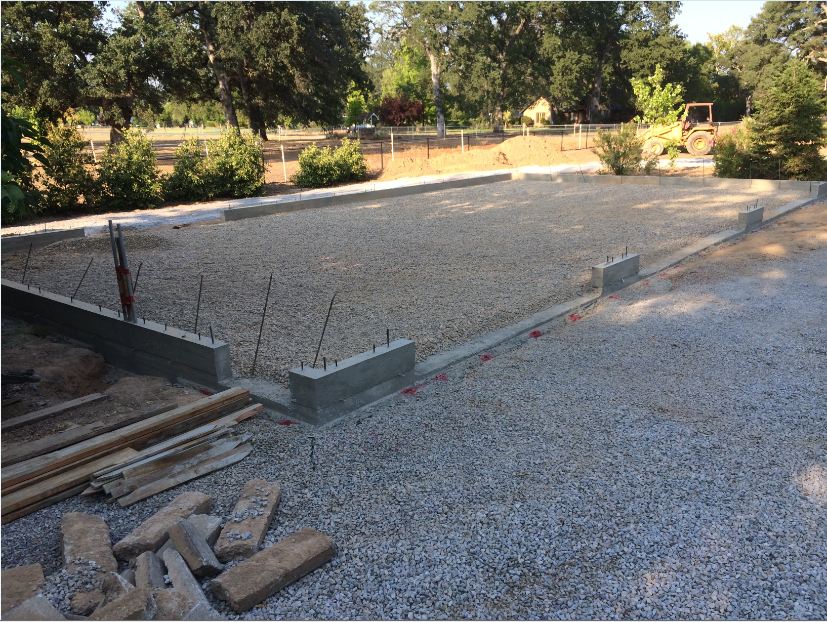
I elected to have a 6" stem wall all the way around. I figured that if I wanted to hose it out, I didn't want the sill plate sitting right on the foundation. I don't know why, but I just did. Lots of rebar in this concrete slab and footings. I live in California, so this building must withstand the equivalent of two direct nuclear strikes at the same time and not waver:

Garage_8-18-2014_04.JPG


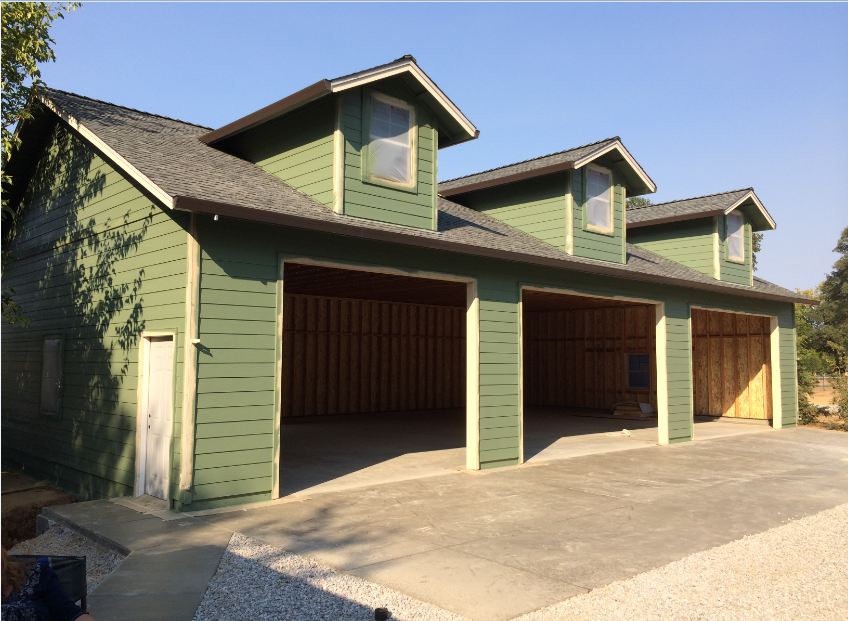
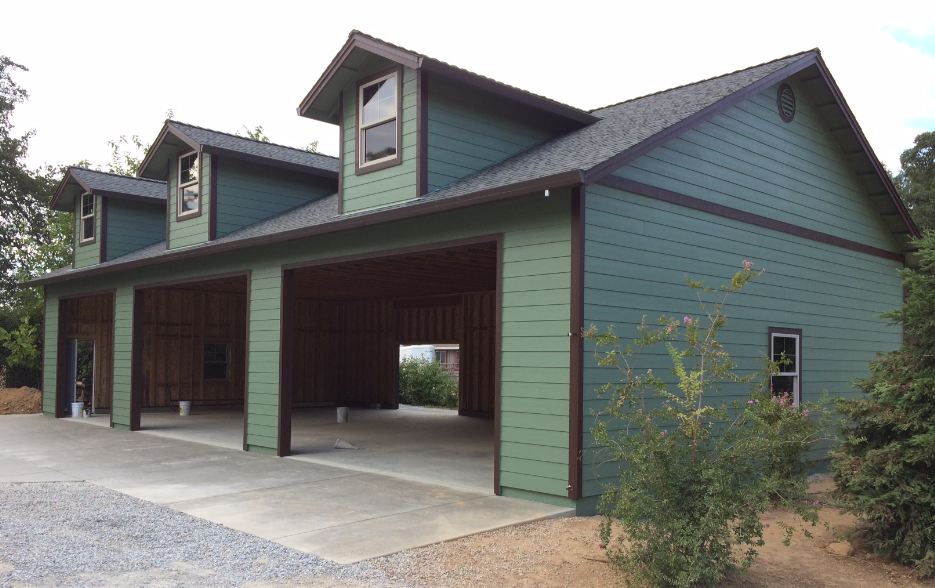
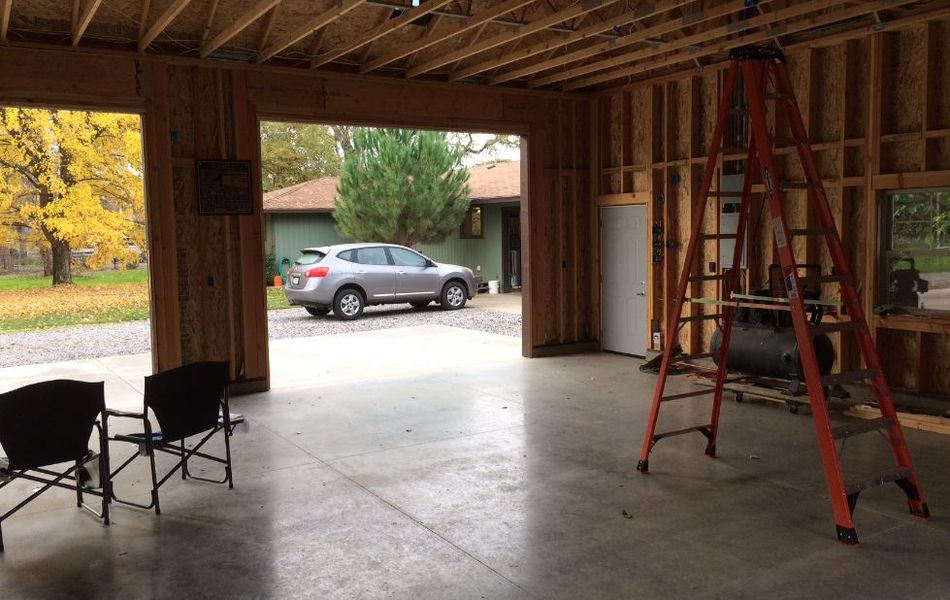
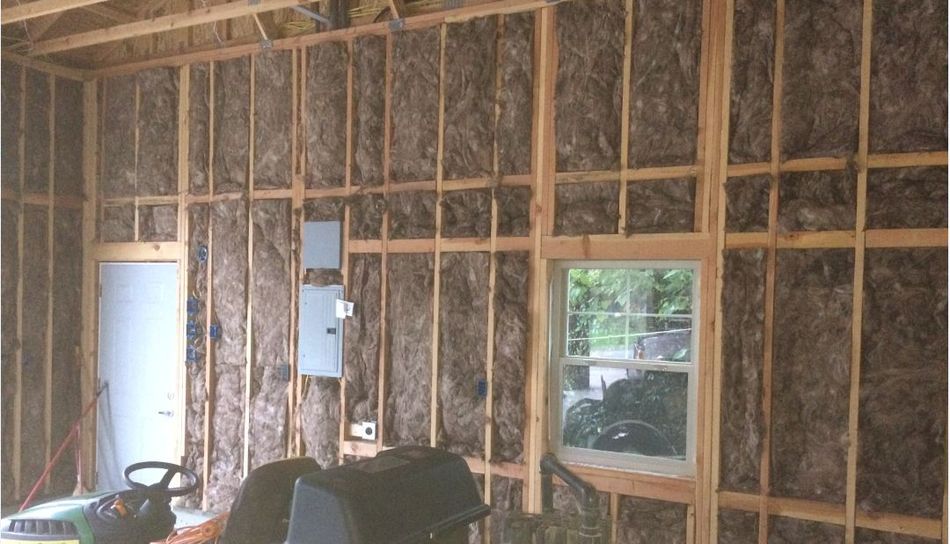
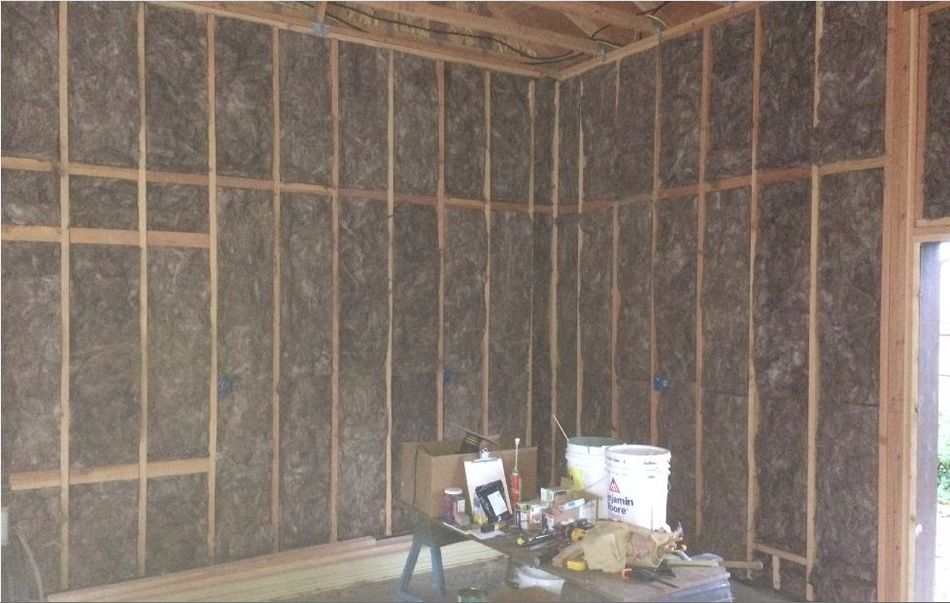
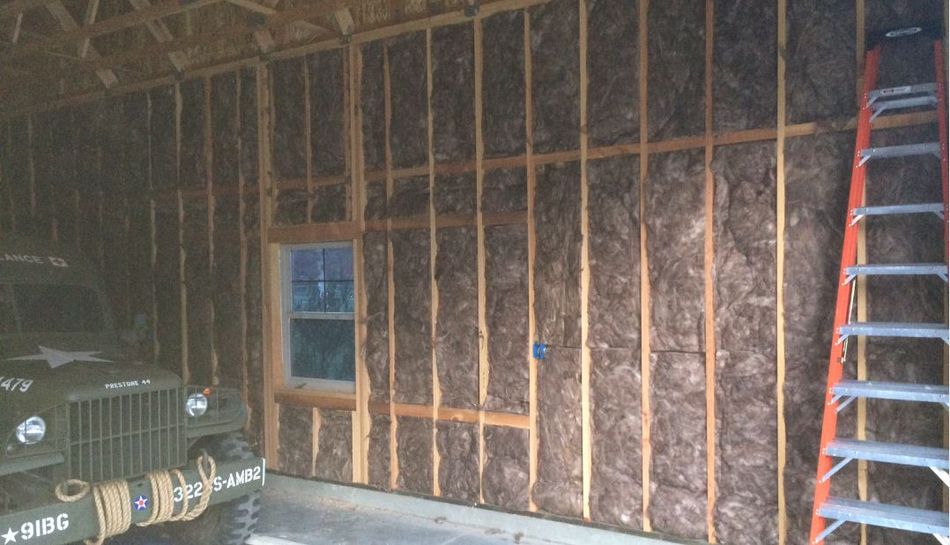
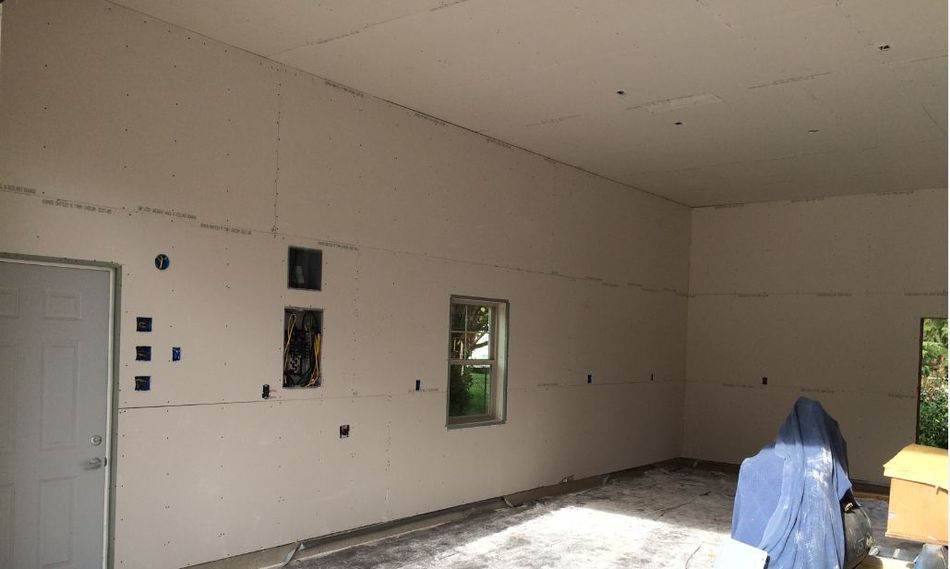
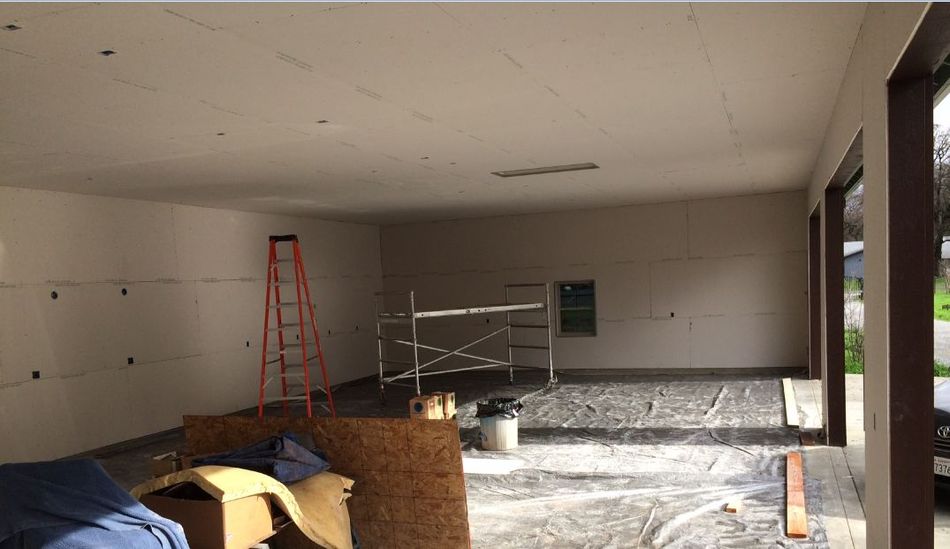
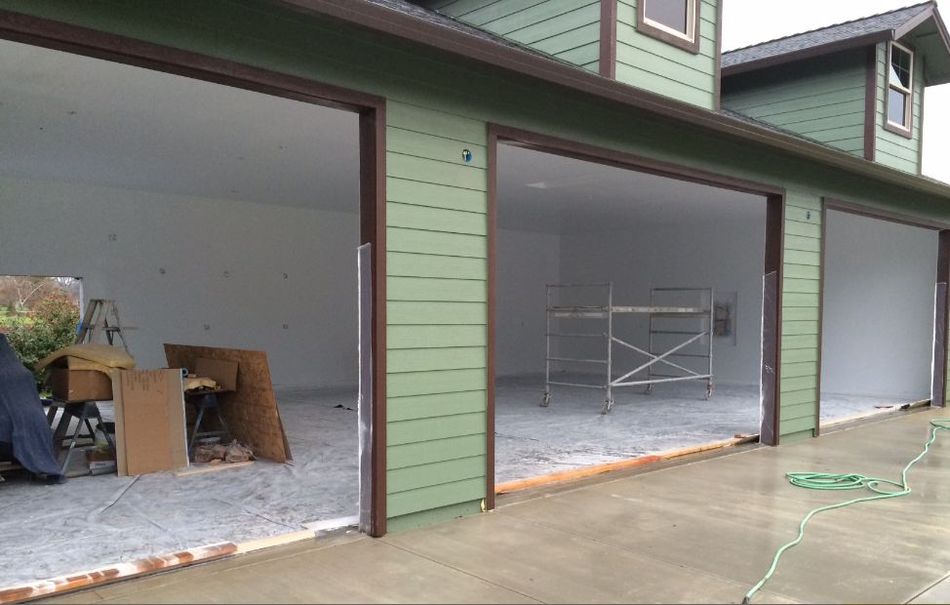
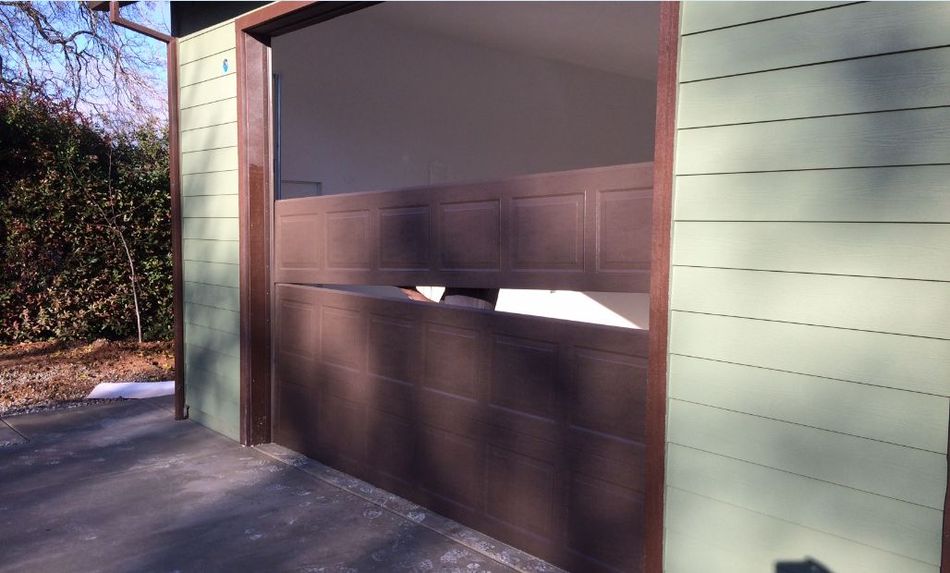
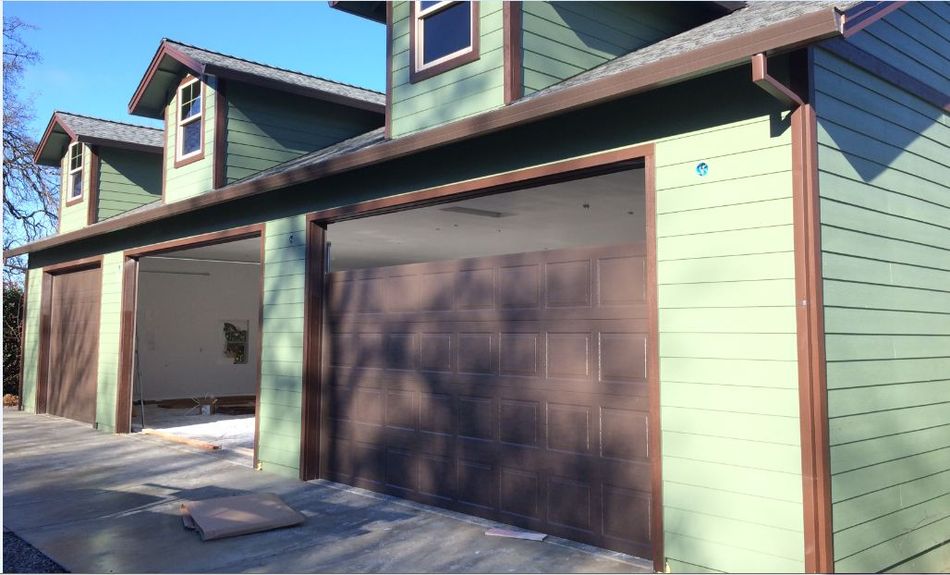
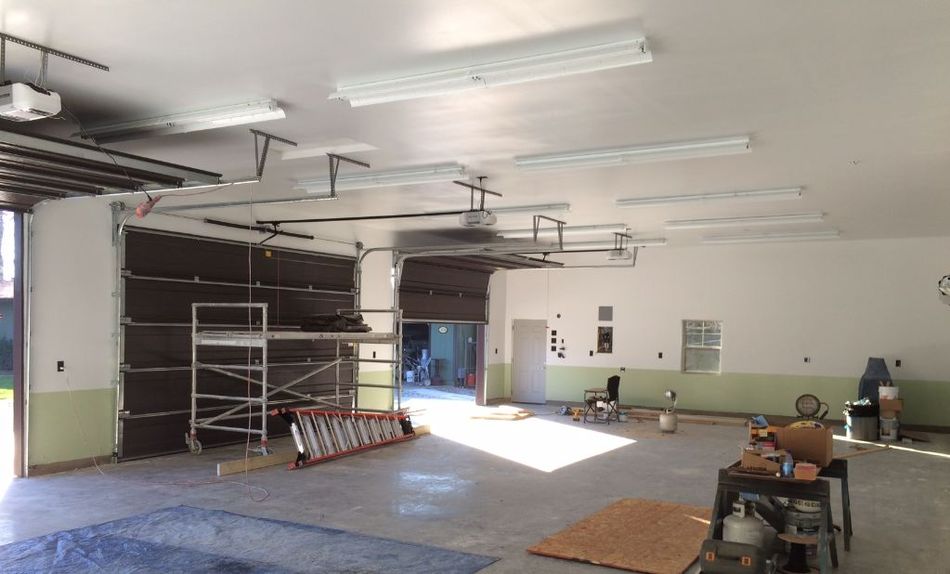
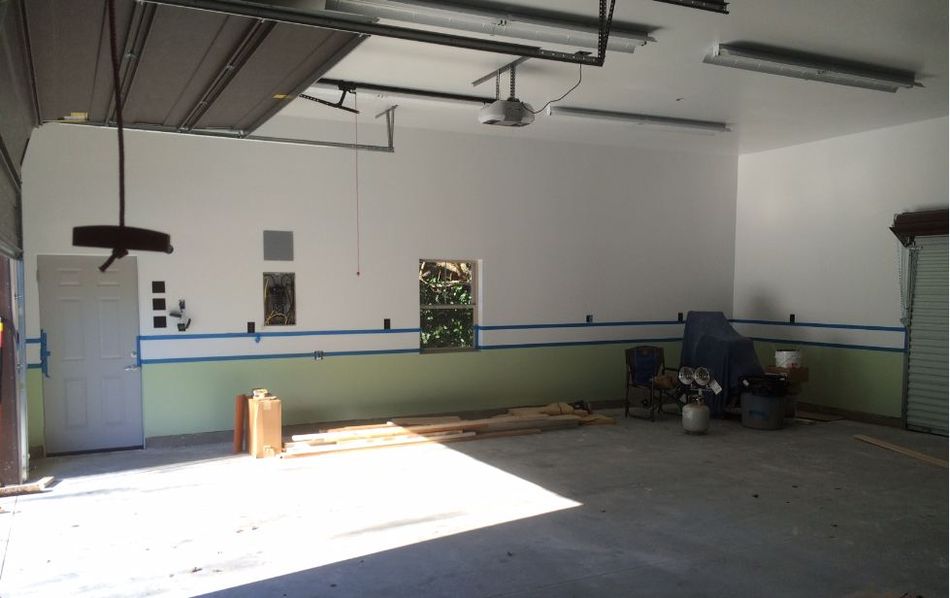
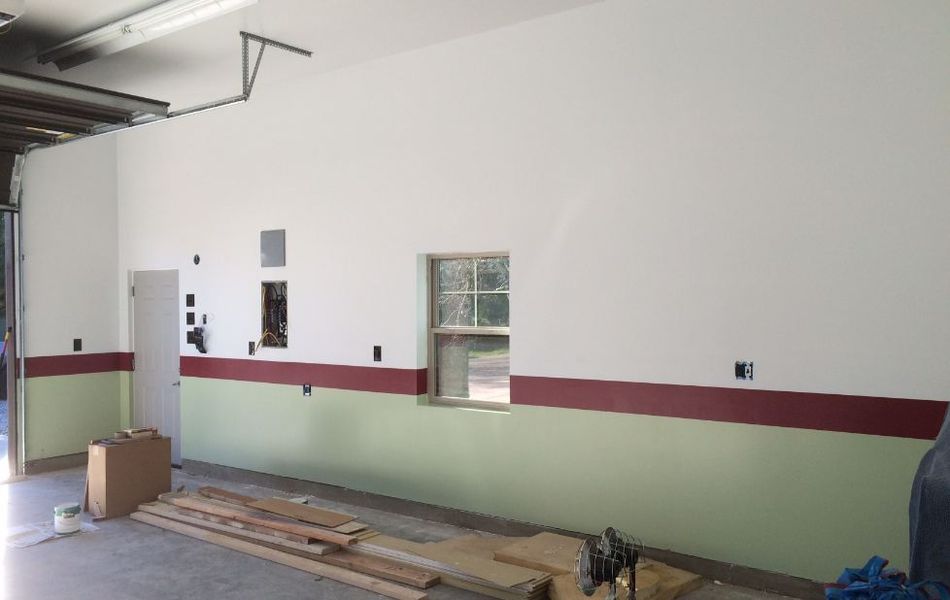
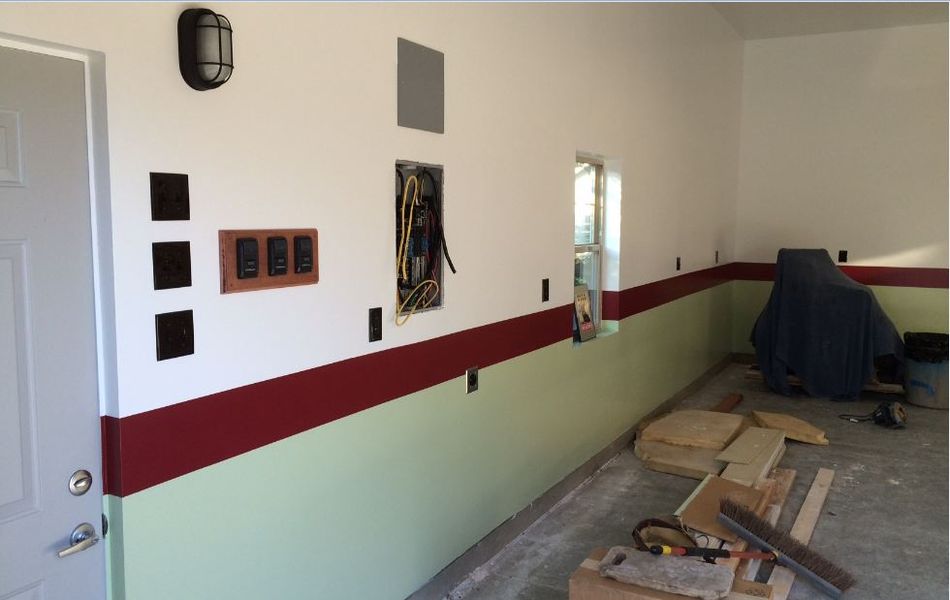
My layout is 32' x 60' with two small windows on each side. Two 16' x 10', one 12' x 10' and one 10' x 7' garage doors. The small rear door is to help with ventilation as it gets hot here...110 plus in the summer. It will also allow me to keep an eye on the neighbors:

Garage_8-20-2014_01.JPG


Well, that is all I have in me for tonight. I'll post more photos soon. Looking forward to reading all the great threads here.

Regards,

Zeph
 
To avoid these ads, REGISTER NOW!

ADSR

Well-known member
Joined
Jan 12, 2013
Messages
10,713
Great start! Looks like a nice piece of flat land you have.

Welcome buddy!
 

Lippyp

Well-known member
Joined
Jun 26, 2006
Messages
6,720
Location
Shropshire, UK
That sounds really interesting as I am also a WWII militaria collector and have a huge amount of books on the subject. Prize item is some Nazi Kriegsgefangene currency from a German POW camp, found in a flea market in France.

My garage is also going to be finished like a WWII Military workshop, partly inspired by my love of all things WWII and also by the war surplus parts store shelving I have. Also the lean-to building behind my garage has steel windows salvaged from on of the many defunct WWII era airbases around us here in Shropshire.
 

Bob Hall

Well-known member
Joined
Dec 28, 2011
Messages
171
Location
Parkersburg WV
Looking forward to seeing your shop! I also collect and use tools and machines from that era. I think you'll find a lot of folks with a similar interest in the "Greatest Generation".
 
OP
Z

zepher11

Well-known member
Joined
Jan 4, 2015
Messages
1,493
Location
Northern, Northern CalifornIA
Wow, I didn't realize how much traffic is on this forum. I almost couldn't find my post from yesterday! lol

I appreciate the warm welcome everyone. Phil, that is sooo awesome that you have some windows and such from some WWII air bases. I try to concentrate on WWII Army Air Corp. I have a relative that was a pilot in the 91st Bomb Group. He was shot down over occupied France, but after a few weeks was able to evade with the help of the French Resistance. I just spoke to him yesterday as it was his 93rd birthday!

Here are some more photos of the progress on my garage:

Garage_8-22-2014_01.jpg

Some of the troops waiting to get in:

Garage_8-23-2014_01.jpg

Some of the pots I put in the concrete for frame repair or other future projects:

Garage_8-23-2014_05.jpg

Garage_8-23-2014_06.jpg

This is early in the morning in August as it was going to be around 110 degrees:

Garage_8-25-2014_01.jpg

Garage_8-25-2014_07.jpg

Lumber arrived:

Garage_8-26-2014_01.jpg

First day with the lumber:

Garage_8-27-2014_01.jpg

Here is one of the pots in place. The slab was saw cut in basically 10' x 11' sections:

Garage_8-27-2014_05.jpg

Garage_8-27-2014_06.jpg

Trusses going up. I ended up going with a 6:12 pitch. I also designed a couple of dormers to give it what I thought was a vintage look. I had to balance my WWII passion with the garage being out front and my wife...:

Garage_8-29-2014_01.jpg

Garage_8-29-2014_03.jpg

A whole lotta wood in this thing!

Garage_8-30-2014_01.jpg

With dormers:

Garage_9-3-2014_01.jpg

I opted for a 12' high ceiling:

Garage_9-3-2014_02.jpg

All enclosed:

Garage_9-3-2014_03.jpg

I'll post some more photos in the next few days.

Zeph
 
OP
Z

zepher11

Well-known member
Joined
Jan 4, 2015
Messages
1,493
Location
Northern, Northern CalifornIA
Okay, here are some more progress photos. I debated with myself on siding, and finally decided on hardie board lap siding. It was about $4,000 more, but I figured that since it was basically concrete what the heck. Won't need to worry about it rotting out anytime soon.

Siding day:

Garage_9-4-2014_01.jpg

Backside:

Garage_9-4-2014_02.jpg

My wife and my little girl Gracie checking out the height of the window. Head removed upon request:

Garage_9-5-2014_02.jpg

Agonized over metal or composite roofing. I was soooo close to going with the metal and at the last minute chose to go with composite. I am so happy that I did. I see metal roofs now and they remind me of a dental office:

Garage_9-5-2014_04.jpg

Bam, it is coming together! Not exactly the WWII motor pool I was originally shooting for, but close in my opinion...which may be biased as I designed it and had it engineered. In California, if it isn't engineered, there must be interior sheer walls sticking into the interior of the garage. I really didn't want that!

Garage_9-10-2014_01.jpg

Garage_9-10-2014_02.jpg

Next I had to trench in the power and figure out an apron. I didn't want drainage issues, so I worked it so that I wouldn't have any. I already knew where the drainage issues were, which were basically where the garage was going. That is why I had the slab built extra high....about 12" above grade overall.

Garage_9-18-2014_01.jpg

Garage_9-18-2014_02.jpg

I had to scratch in this for my two Vizslas, George and Gracie:

Garage_9-19-2014_01.jpg

The apron came out great:

Garage_9-19-2014_02.jpg

Garage_9-19-2014_03.jpg

Garage_9-19-2014_04.jpg

Garage_9-19-2014_05.jpg

Garage_9-19-2014_06.jpg

Garage_9-19-2014_07.jpg

Time for paint:

Garage_9-20-2014_02.jpg

I'll get more posted shortly.

Zeph
 

Dmar836

Well-known member
Joined
Apr 7, 2008
Messages
53
Location
Kansas City
Wow. That's an impressive build. I collect USAAF as well but no vehicles. Still takes up it's own room.
Dave
KC
 

Lippyp

Well-known member
Joined
Jun 26, 2006
Messages
6,720
Location
Shropshire, UK
Looking great, can't wait to see what you have got planned for the interior. We are surrounded by old air bases, here in Shropshire we were far enough away from anywhere significant for them to be mostly training bases for bomber crews, little chnce of bumping into a german fighter. We recently took our Beaver scout colony for a guided trip around one that is still used as a light airfield, this was RAF Sleap and was a Lancaster training base. The original control tower is still there and still in use, no hangars just concrete dispersal pans. Im trying to think of them all:

Sleap (light aircraft only)
Tilstock (gone apart from a few derelict remains)
Rednall (Unused but still listed as an emergency field)
Shawbury (still an active military airfield and home to the UK Military Central Helicopter Flying School)
High Ercall

All these are within a few miles of us along with a few others, a full list is here http://shropshirehistory.com/military/airfields.htm

Lots of "surplus" stuff appears in farm buildings around here, it was either sold off when they closed them down or possibly "removed" at some point. The house across the field from us has two WWII era Nissen huts in their garden.

Here are some google earth shots of the stuff around us that you might find interesting. Several of them were used by US forces including Wem Camp which was when it was built the first and largest US ammunition dump in the UK, many of the large quonset hut style buildings are still in use as it now an industrial park. many of the surviving hangars around the areas many airfields have also been put over to commercial use. In fact over Christmas we went for a walk in the grounds of a big stately home called Attingham park, part of our route took us through what is left of Atcham airfield, just some old concrete roads, hut bases and the big concrete pipe type air raid shelters left really.

Childs Ercall


Ternhill


Tilstock


RAF Shawbury (still active duty base)


Rednall


Wem Camp


Sleap


Atcham


vonhef

Well-known member
Joined
Apr 4, 2011
Messages
454
Location
Southern, Ok
Great looking place. Although I don't collect, have since childhood also enjoyed WW2 history including the equipment used.
Thanks for sharing!
 
To avoid these ads, REGISTER NOW!
OP
Z

zepher11

Well-known member
Joined
Jan 4, 2015
Messages
1,493
Location
Northern, Northern CalifornIA
Looking great, can't wait to see what you have got planned for the interior. We are surrounded by old air bases, here in Shropshire we were far enough away from anywhere significant for them to be mostly training bases for bomber crews, little chnce of bumping into a german fighter. We recently took our Beaver scout colony for a guided trip around one that is still used as a light airfield, this was RAF Sleap and was a Lancaster training base. The original control tower is still there and still in use, no hangars just concrete dispersal pans. Im trying to think of them all:

Sleap (light aircraft only)
Tilstock (gone apart from a few derelict remains)
Rednall (Unused but still listed as an emergency field)
Shawbury (still an active military airfield and home to the UK Military Central Helicopter Flying School)
High Ercall

All these are within a few miles of us along with a few others, a full list is here http://shropshirehistory.com/military/airfields.htm

Lots of "surplus" stuff appears in farm buildings around here, it was either sold off when they closed them down or possibly "removed" at some point. The house across the field from us has two WWII era Nissen huts in their garden.

Here are some google earth shots of the stuff around us that you might find interesting. Several of them were used by US forces including Wem Camp which was when it was built the first and largest US ammunition dump in the UK, many of the large quonset hut style buildings are still in use as it now an industrial park. many of the surviving hangars around the areas many airfields have also been put over to commercial use. In fact over Christmas we went for a walk in the grounds of a big stately home called Attingham park, part of our route took us through what is left of Atcham airfield, just some old concrete roads, hut bases and the big concrete pipe type air raid shelters left really..."

Wow! Lots of great history there. One of these days I need to get over there! I was close to taking a tour a couple of years ago, but it fell through at the last minute.

The different designs of the runway configurations are interesting to examine from air base to air base. I would love to poke around there for sure.

Great photos. Thanks!
 
OP
Z

zepher11

Well-known member
Joined
Jan 4, 2015
Messages
1,493
Location
Northern, Northern CalifornIA
And thank you everyone for the kind compliements!

awesome build!

but I have to ask, any pictures of the vizslas?

But of course. The Vizslas are like the kids now that the kids are out of the house. Only difference is that the kids were never treated this well!

Here are George, on the left, and Gracie out for a ride in the country:

Geo_and_Gracie_Motor_Home.jpg

Here's G & G at a dinner engagement. Note George's "Nose Art" hawaiian shirt:

Geo_and_Gracie_Party.jpg

Here's George hoping to play with his friend Mr. Squirrel. Mr. Squirrel chooses not to play:

George_01.jpg

Here's Gracie looking serious. Must be a ball nearby:

Gracie_03.jpg

Out at a local parade. George was taking a nap on the floor:

Gracie_Damboree_Parade.jpg
 
OP
Z

zepher11

Well-known member
Joined
Jan 4, 2015
Messages
1,493
Location
Northern, Northern CalifornIA
Some more progress work. Siding and trim paint to match the house. Our house has a 4:12 pitch hip roof all the way round. The goal is to one day rip the roof off the house and go with the same roof line as the new garage including dormers. At least that's the plan:

Garage_9-20-2014_03.JPG


Garage_9-21-2014_01.JPG


Garage_9-21-2014_02.JPG


At this point, I was tapped out and came to a bit of a stand still. I didn't have the funds to get the garage doors...but it had a roof on!

In the meantime, I ran the main power line into the house panel and into the sub panel in the garage. 100 amp service with room for 20 breakers. I used the size 14 wire throughout the garage with 20 amp breakers. Not having any assistance I ran all the wire myself, so it was up and down the ladder...a lot!

This was about the time I discovered that in the nanny state of California, one can only install tamper proof outlets. Someone had mentioned them to me and I had never heard of them. I checked my plans and found that the plan checker at the county circled in red an outlet on the plan and wrote Tamper Proof! I then took all my outlets that I had bought at Home Depot back. I asked the guy in the Electrical Dept. about tamper proof outlets and he looked at me like I had a third eye in my forehead. He had never heard of them. I told him that all their outlets were no longer allowed for new construction in California. Anyway, no one in the Western Hemisphere carried tamper proof outlets. I called everywhere with no luck, so I ended up ordering them from Amazon.

I also decided to tint my windows, so I took care of that. I have a nice scar form that project. lol

To help get the project going again, I searched for everything not tied down and went on a bit of a selling spree. I finally ordered the insulated garage doors which took two months to receive as I decided to go brown vs. white. White is the "in stock" color. I liked that the insulation was contained within and that the inside of the door as viewed from inside the garage looked basically like the outside view.

After all that, of course, I had time to check for fit and feel:

Garage_9-29-2014_01.JPG


As I progressed on the wiring...:

Garage_02.JPG


...I started thinking about sheet rock and insulation. I never considered that option before, but I started figuring now or never.

Garage_03.JPG


Garage_04.JPG


Electrical panel. The box above the panel is for two 1" conduits that I ran to the house for some future item like cable or phone as well as a 2" conduit for future power. I ran all three conduits up into the attic for future use. All the wiring I did came in from the bottom of the panel. The upper 2" conduit into the attic is unused:

Garage_05.JPG


Wiring where I believe I will have my bench. Lots of outlets as well as a ceiling fan above...and a fan in the bay I will be working in the most. I also put three wall lights above the bench. I want to find some old garage lights to put in here. I wired all the interior myself and found it a lot of work, but very satisfying. A fellow form work helped me pull the 4/0 wire and connect into the main panel at the house and the garage.

I also installed three 240 outlets and wired in a light near the exit door that will only be on when my compressor is on. If I leave it on, it always seems to go on at about 2 in the morning:

Garage_06.JPG


Should have more time to post some more tomorrow.

Regards,

Zeph
 

eRoD

Member
Joined
Aug 8, 2014
Messages
10
Location
Orlando, FL
But of course. The Vizslas are like the kids now that the kids are out of the house. Only difference is that the kids were never treated this well!

Here are George, on the left, and Gracie out for a ride in the country:

Geo_and_Gracie_Motor_Home.jpg


Here's G & G at a dinner engagement. Note George's "Nose Art" hawaiian shirt:

Geo_and_Gracie_Party.jpg


Here's George hoping to play with his friend Mr. Squirrel. Mr. Squirrel chooses not to play:

George_01.jpg


Here's Gracie looking serious. Must be a ball nearby:

Gracie_03.JPG


Out at a local parade. George was taking a nap on the floor:

Gracie_Damboree_Parade.JPG

Thanks for sharing! Great looking dogs!! Vizslas are by far my favorite breed. I just bought a house in the burbs on a 1/2 acre... Hopefully that'll be enough room. I'm eager to get one.
 
Last edited:

Orionrising

Well-known member
Joined
Nov 16, 2012
Messages
960
Location
Western Maine
you said you used 14 wiring which would be a no go on 20 amp circuits, but it looks yellow in the pictures which these days means 12ga which would be ok.

Surprised you could not find TR outlets, they are rather common these days.
 
OP
Z

zepher11

Well-known member
Joined
Jan 4, 2015
Messages
1,493
Location
Northern, Northern CalifornIA
Gret job on the outside, garage looks awesome.

Looking forward to seeing what you do on the interior.

Me too. lol Like everything, I wish I would have found this site earlier which would have helped me plan a lot better. However, I kept telling my self that I am coming from a 20' x 20' garage with one electrical outlet and one compressor outlet when I felt myself going over board. Just to be able to work on a project without moving everything out of the way to get started and then have to put it all back when done will be outstanding.

Here is my old garage wilst cleaning it out:

GPW_05.jpg


Here it is with everything perfectly back in place. It is amazing how much room a dismantled vehicle or two will take up! I have most everything with wheels on it for easy moving:

01GarageWC-52_zps5edf0f74.jpg


Thanks for sharing! Great looking dogs!! Vizslas are by far my favorite breed. I just bought a house in the burbs on a 1/2 acre... Hopefully that'll be enough room. I'm eager to get one.

1/2 acre may do it, but remember a Vizsla is a lifestyle not just a dog. I call them the Lamborghini of dogs. You may already know that.

Regards,
 

TractorJeff

Well-known member
Joined
Dec 8, 2013
Messages
3,309
Location
Elkhorn, WI
I see you said the walls went up in one day? How many people?
I like the Dormers and your thoughts on styling it WWII!
 
OP
Z

zepher11

Well-known member
Joined
Jan 4, 2015
Messages
1,493
Location
Northern, Northern CalifornIA
I can definately see the need for more space!

It really helped in the long run to convince my wife to let the project move forward. Especially, when I told her that she could park her car in there!

I see you said the walls went up in one day? How many people?
I like the Dormers and your thoughts on styling it WWII!

You know, I don't know how many on the crew. I went to work and came home and there it was. It was very liberating....it was nice to have an "in" with the framer.

I him-hawed on the dormers, but finally decided to add them. To me they represented the 40's. I had to order the five windows in the building...the two on the sides and the three on the dormers. All that were available locally were white vinyl framed. I just didn't want white, so I ordered single hung in a desert sand color...again to me 40's style. I think the subtle contrast turned fine. They may look a bit white framed in the photos, but there is a big difference when there looking at it in person.

Thanks!
 
OP
Z

zepher11

Well-known member
Joined
Jan 4, 2015
Messages
1,493
Location
Northern, Northern CalifornIA
Here are some more photos of the progress. This is a few weeks ago now. I had a week off over Christmas time and wore myself out getting things done. I think I mentioned that I wasn't going to insulate and sheet rock, but went for it.

Garage_07.JPG


Garage_08.JPG


I have three spots where I have 5/8" steel threaded rod sunk in the stem wall. Each have a large washer and nut to attach a hook. They are centrally located on the back wall to the center of each garage door opening. If I ever need to winch in a vehicle or need some added pulling power, in conjunctions with my chain pots, they are there. One can see them framed in with 2x6's in the next three photos:

Garage_10.JPG


Garage_09.JPG


Garage_11.JPG


Sheet rock time:

Garage_12.JPG


Garage_13.JPG


I was amazed at how high the ceiling appeared after the sheet rock was installed. I guess with no reference because of the exposed trusses, it all blended together:

Garage_14.JPG


Garage_15.JPG


Of course, the day the sheet rock was installed epic wind and rain began and lasted about three weeks! I wrapped visqueen around the edges to try and protect the sheet rock. Helped a little:

Garage_0011.JPG


Garage_002.JPG


The Saturday before Christmas, I shot 30 gallons of primer on the sheet rock. I only had it taped and mudded. I didn't have it textured....just left it smooth. I was in a rush to get the primer and paint on as the garage doors finally made it in and they were to be installed on Monday. I shot 15 gallons of semi-gloss white paint on Sunday:

garage_005.JPG


garage_006.JPG


The sheet rock guy left his scaffolding for me to use to paint and install the lights. I had 12 eight foot T8 fixtures to install by myself and this came in extremely handy. I could use my left hand, my right hand and my head. Too late for Christmas, but I want one:

garage_007.JPG


Lost in a sea of white:

garage_008.JPG


Felt good to have the pain done.
 
Last edited:
OP
Z

zepher11

Well-known member
Joined
Jan 4, 2015
Messages
1,493
Location
Northern, Northern CalifornIA
Whoohooo...the garage door are here the garage doors are here. Things are gonna start happening now!

garage_011.JPG


garage_010.JPG


garage_009.JPG


The garage door openers are Lift Master belt drive. After all that excitement, I immediately set about installing the lights. It took me the better part of a day to get them installed and wired up. It was satisfying when I finished wiring in the wall switches and everything worked! With the 48 T8 bulbs and white walls, it is like daylight in there. I wired four fixtures to each switch, so each bay has a bank of four fixtures:

garage_014.JPG


As soon as I finished installing all of the switches and outlets, I didn't waste any time and this past weekend started what I was hoping would be old school WWII motor pool painting on the inside:

garage_015.JPG


garage_016.JPG


garage_017.JPG


garage_018.JPG


I had to roll three coats of the green color. My arm is still falling asleep from that. Next step:

Garage_0001.JPG


Garage_0002.JPG


Garage_0003.JPG


Garage_0004.JPG


Garage_0005.JPG


The light is my compressor indicator light. It will turn red when the compressor is on. Hopefully, it will remind me that the compressor is on before I leave the garage:

Garage_0006.JPG
 
Last edited:

jvitez

Well-known member
Joined
Nov 30, 2009
Messages
2,429
Location
Big Sky Country, Canada
Beautiful build! That's a great size. Width in a garage is helpful, but depth is key when working on vehicles. Mine is only 24 ft deep, so 32 ft sounds fantastic. I love your colour scheme. It's warm, inviting, and catches the WWII period vibe beautifully. You've obviously thought a lot about each detail in your build. Well done!

I've got a few question if you don't mind.

Is your garage interior 12' tall in total, or is it 12' studs plus the 6 inch stem wall? Was this the max height your county allowed, or did you pick this height for a specific reason? Are you planning any type of lift?

Thirty gallons of primer and 15 gallons of semi-gloss? Yikes!!! How many coats did you do? By my calculations that's only 82 sq. ft. per gallon, so you must have done several coats? Or did you get the special black-hole edition of sheetrock? :lol:
 
To avoid these ads, REGISTER NOW!
Top Bottom