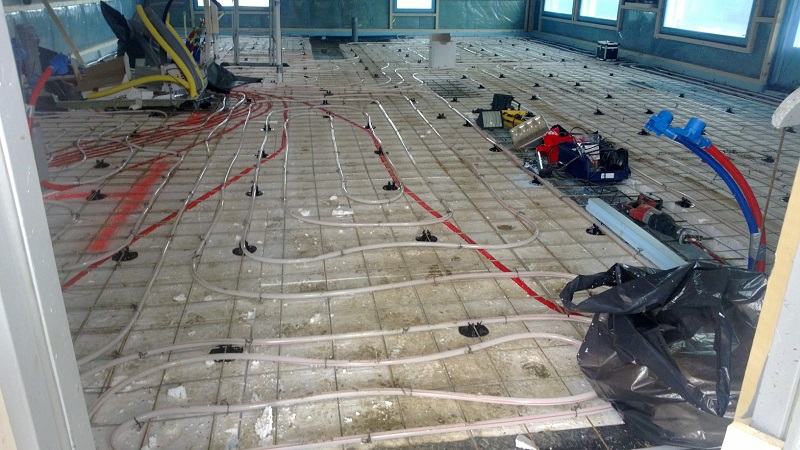
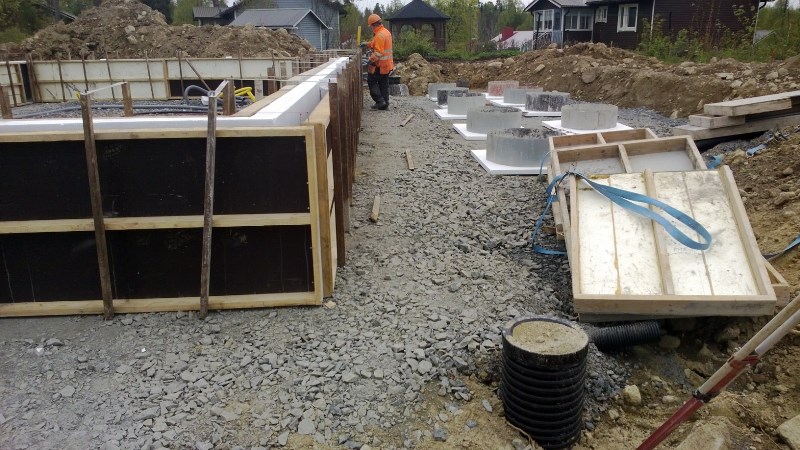
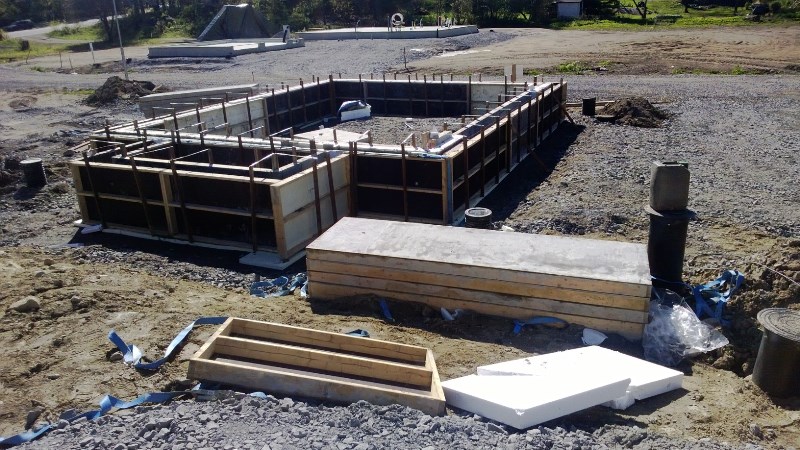
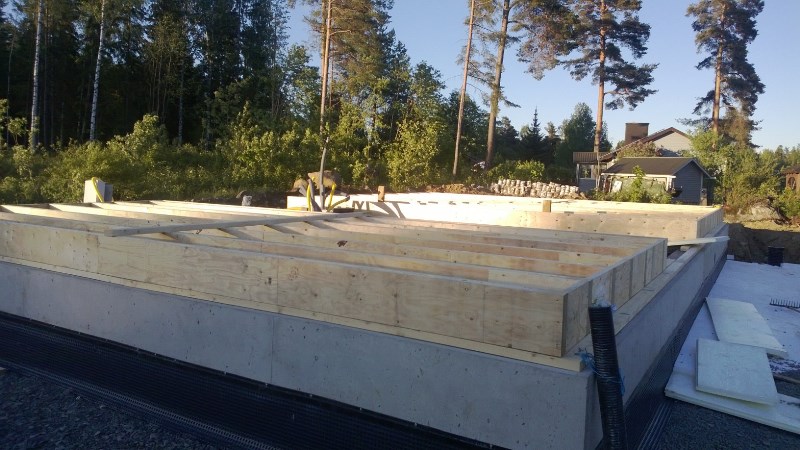
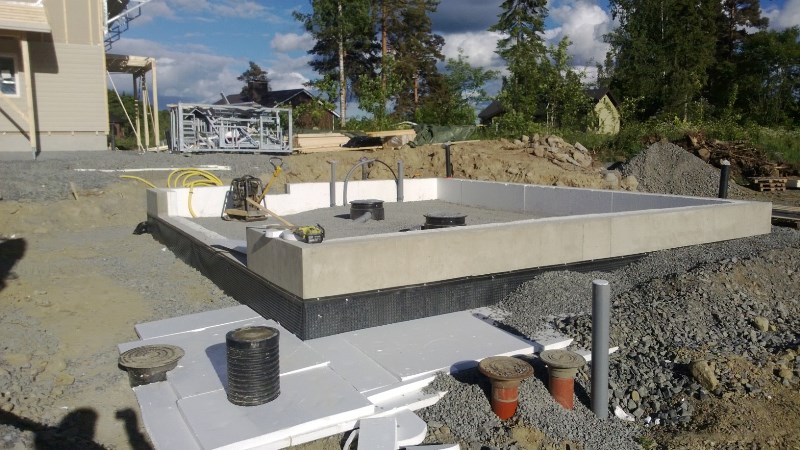
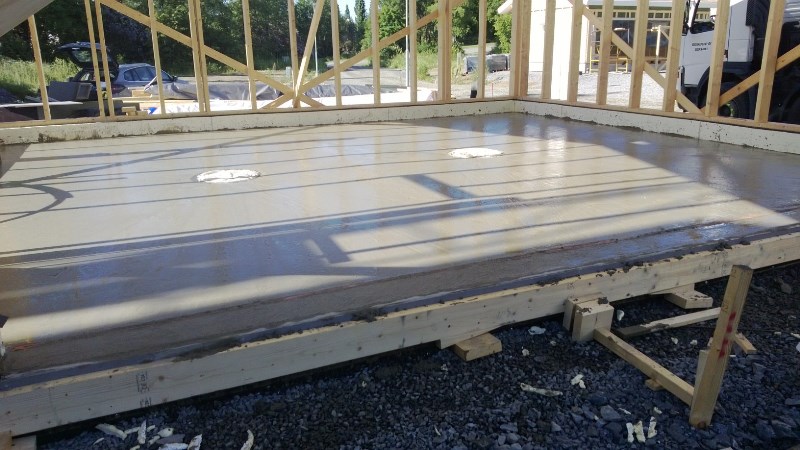
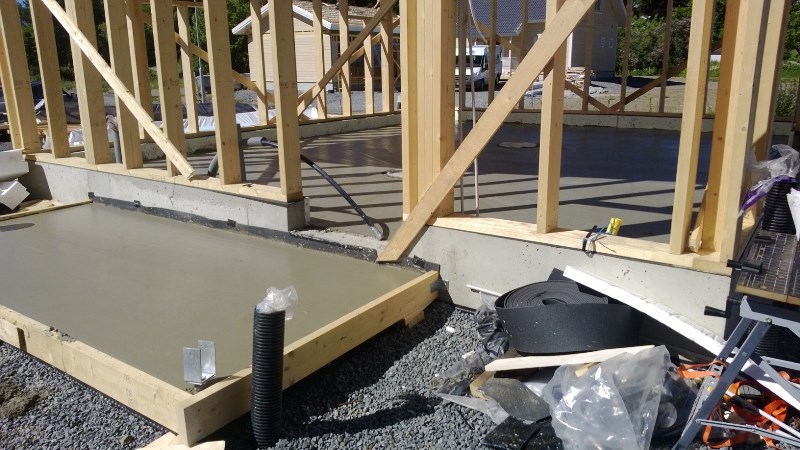
Finnish 2-car garage build, by-the-book: the floor is done!
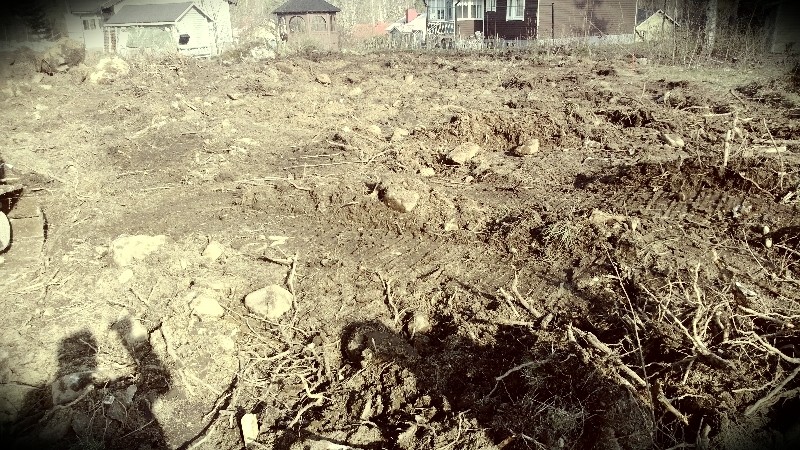
Hi! Finally closed the deal on a new house, which will be constructed during this year. As I am not doing anything except cleaning the construction site, I have left the garage as a project for this summer.
I'm located in the south of Finland, which means warm enough summer, but especially cold winters with temperatures down to -30C (-22F?). And I want the garage to be a half-warm / warm one.
And, due to my location (Finland/town center), this means
1) a small lot with a only a small garage allowed
2) loads of rules and regulations
=> Hence the title, within the rules, have a garage that is as big as possible, with every inch and space used.
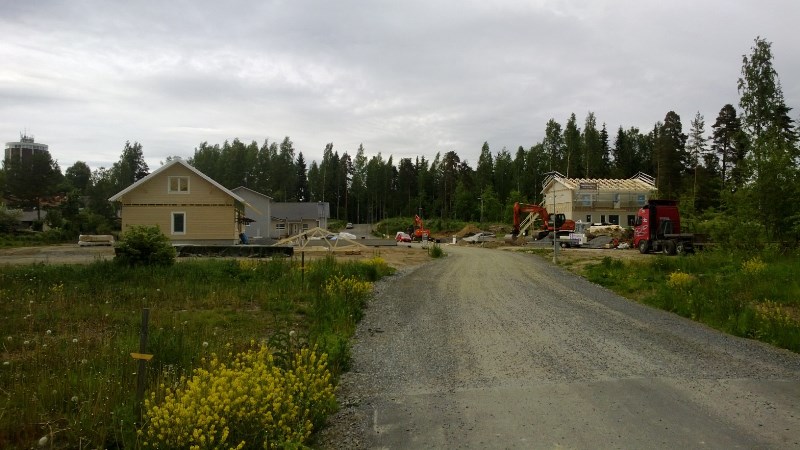
1) The lot,
- Size, a little over 1000m2 (~11 000sq ft?).
- Identical ones on the sides and other side of street.
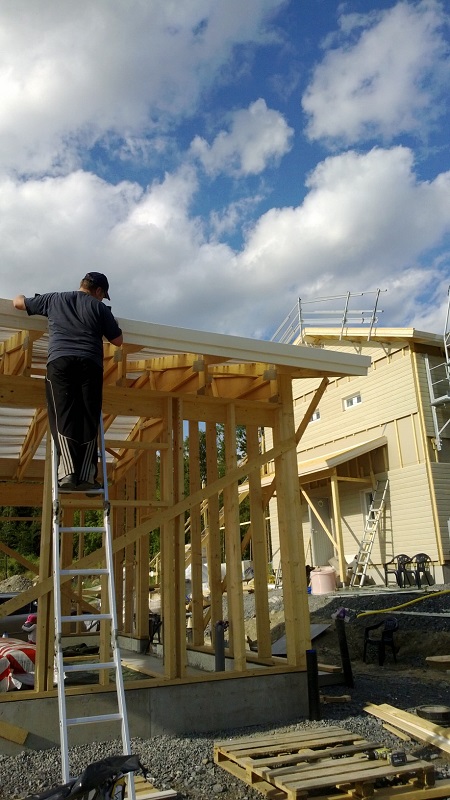
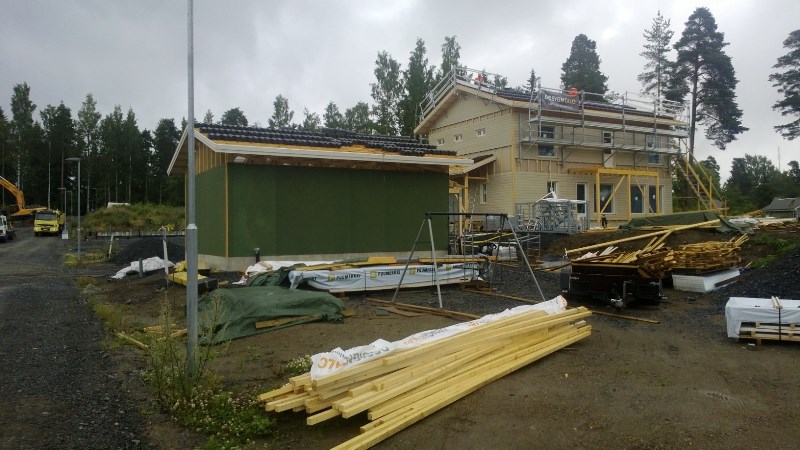
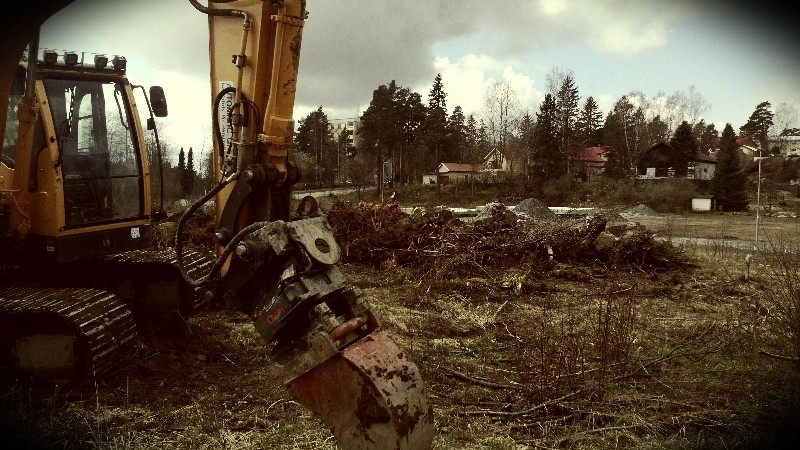
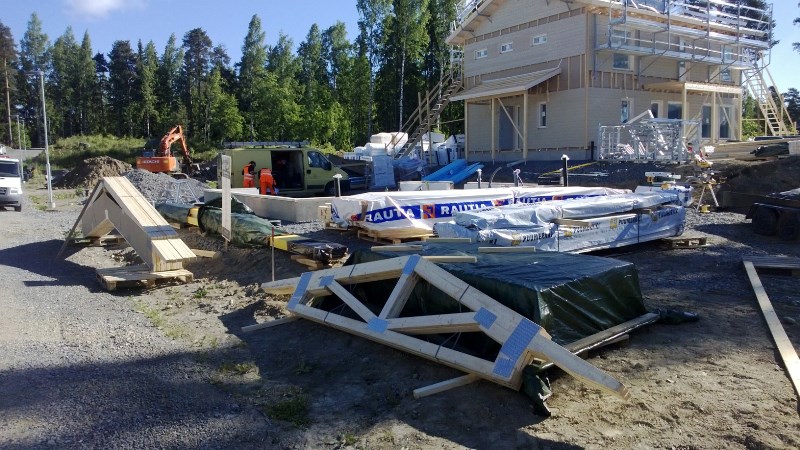
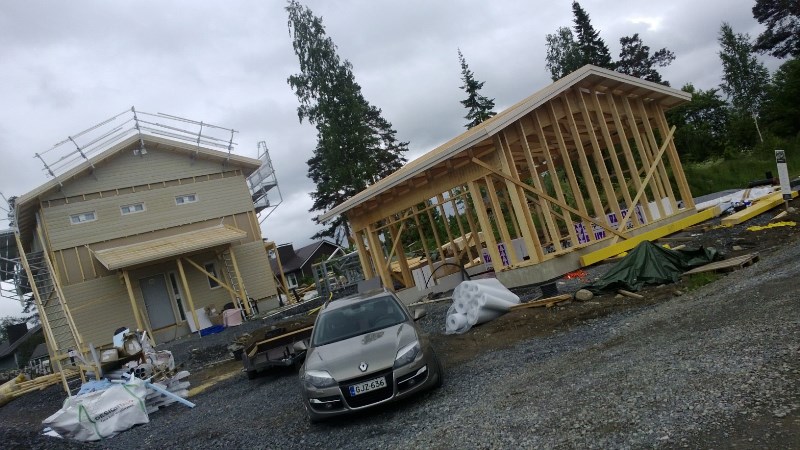
- The house will be on the small crest, and the garage down near the street.

So the garage will be in the right hand corner of this pic.

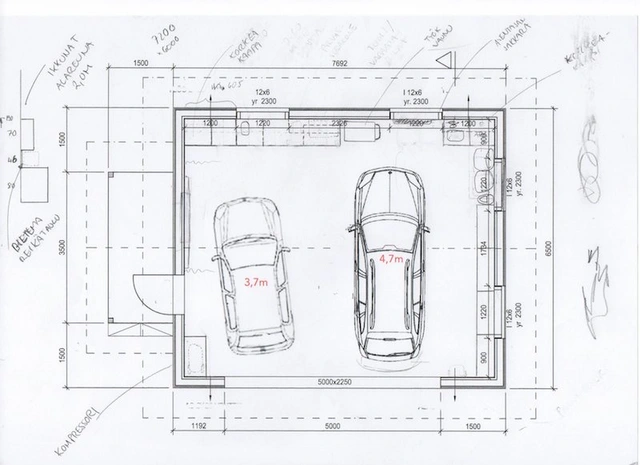
2) Rules/regulations.
- Max garage size 50m2 (~540 sq ft?)
- max height 4,5m
- max width 6,5m
- roof 1:2,5-1:3,5
- attic not allowed (because not practical!?)
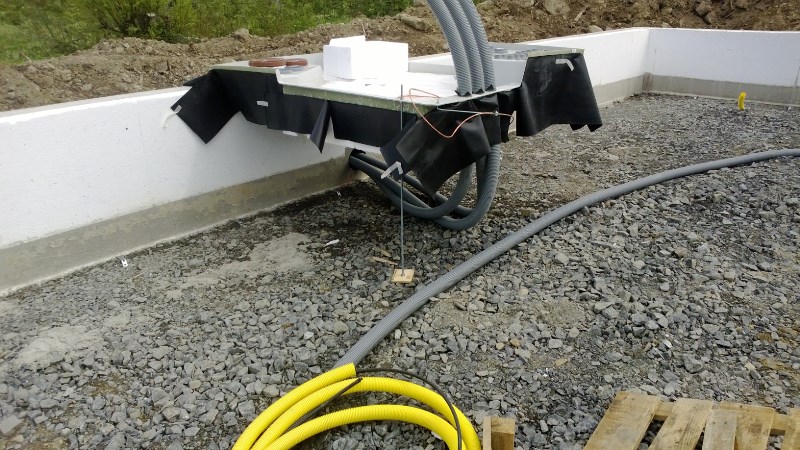
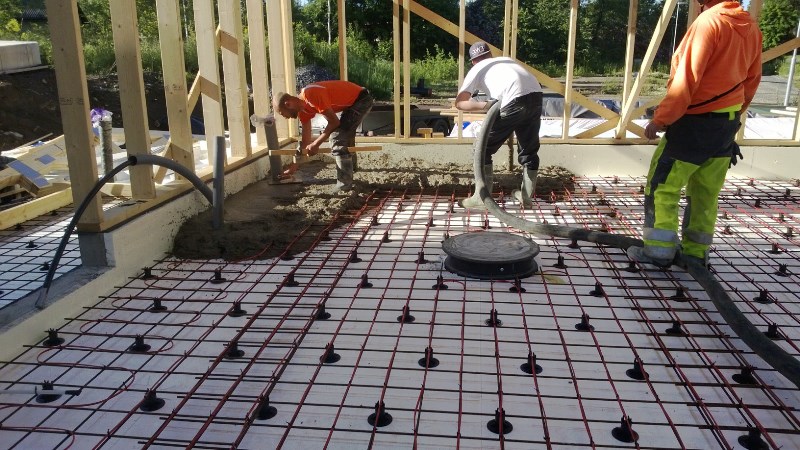
and ofcourse the normal construction rules here, so means a lot of insulation, everything needs to be done by certified persons (electrics, plumbing etc.).
Here's the current layot. The house is at the most top right on the lot as is allowed, and the garage is at the most bottom left (2m from road, 4m from neighbor border).

Hi! Finally closed the deal on a new house, which will be constructed during this year. As I am not doing anything except cleaning the construction site, I have left the garage as a project for this summer.
I'm located in the south of Finland, which means warm enough summer, but especially cold winters with temperatures down to -30C (-22F?). And I want the garage to be a half-warm / warm one.
And, due to my location (Finland/town center), this means
1) a small lot with a only a small garage allowed
2) loads of rules and regulations
=> Hence the title, within the rules, have a garage that is as big as possible, with every inch and space used.
1) The lot,
- Size, a little over 1000m2 (~11 000sq ft?).
- Identical ones on the sides and other side of street.
- The house will be on the small crest, and the garage down near the street.
So the garage will be in the right hand corner of this pic.
2) Rules/regulations.
- Max garage size 50m2 (~540 sq ft?)
- max height 4,5m
- max width 6,5m
- roof 1:2,5-1:3,5
- attic not allowed (because not practical!?)
and ofcourse the normal construction rules here, so means a lot of insulation, everything needs to be done by certified persons (electrics, plumbing etc.).
Here's the current layot. The house is at the most top right on the lot as is allowed, and the garage is at the most bottom left (2m from road, 4m from neighbor border).
Last edited:


") ), and is on the opposite side and not to the street.
), and is on the opposite side and not to the street.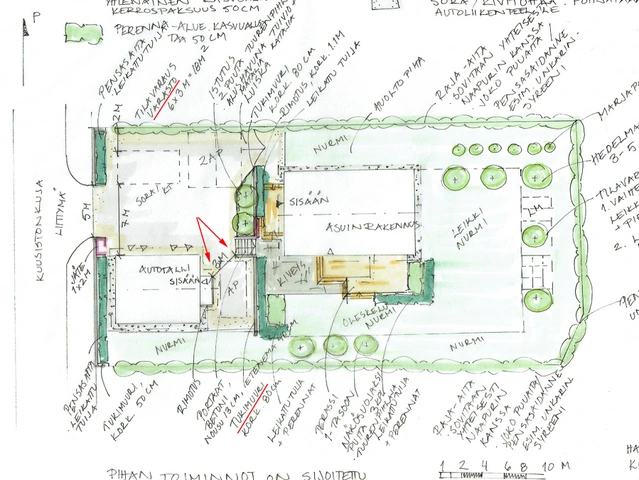


 Very interesting what you are doing over there, thanks for sharing and please keep us posted.