
dusterbd13
Well-known member
so, im apparently not that bright. or im a glutton for punishment. or both. regardless, there is definitely something wrong with me.
I have a thing for vintage tools. specifically late 40's-late 50's tools. they just do it for me.
my friends have started referring to my garage as "Crawford's home for wayward power tools". its not far off.
in October, a friend of mine was helping clear out the last barn of his departed grandfather. he couldn't bring himself to throw out the tools that none of the family wanted. he wanted them, but had no way to get them back home with him. so he showed up out of the blue to drop them off with me. I didn't even know he was in town.
the only tool he actually seemed to care about was his grandfather table saw. told me quite a few stories about him and his grandfather and that saw. he was a little teary eyed unloading it from the trailer.
now, im working in a 27x17 basement shop, that restores cars, does woodworking, fixes house stuff, etc. not a lot of spare space, especially when the 70 duster takes a full bay, and the other one is usually filled with something im building a wiring harness on. I have a 58 AMF dewalt radial arm that I also use for ripping, as its a truly superb radial arm. have not needed a table saw in years, and had no plans to get one. until this one shows up.
still didn't want it, but I hatched a plan to restore it and deliver it to his home. he has that many memories ******* with it, it deserves a place of honor in his shop.
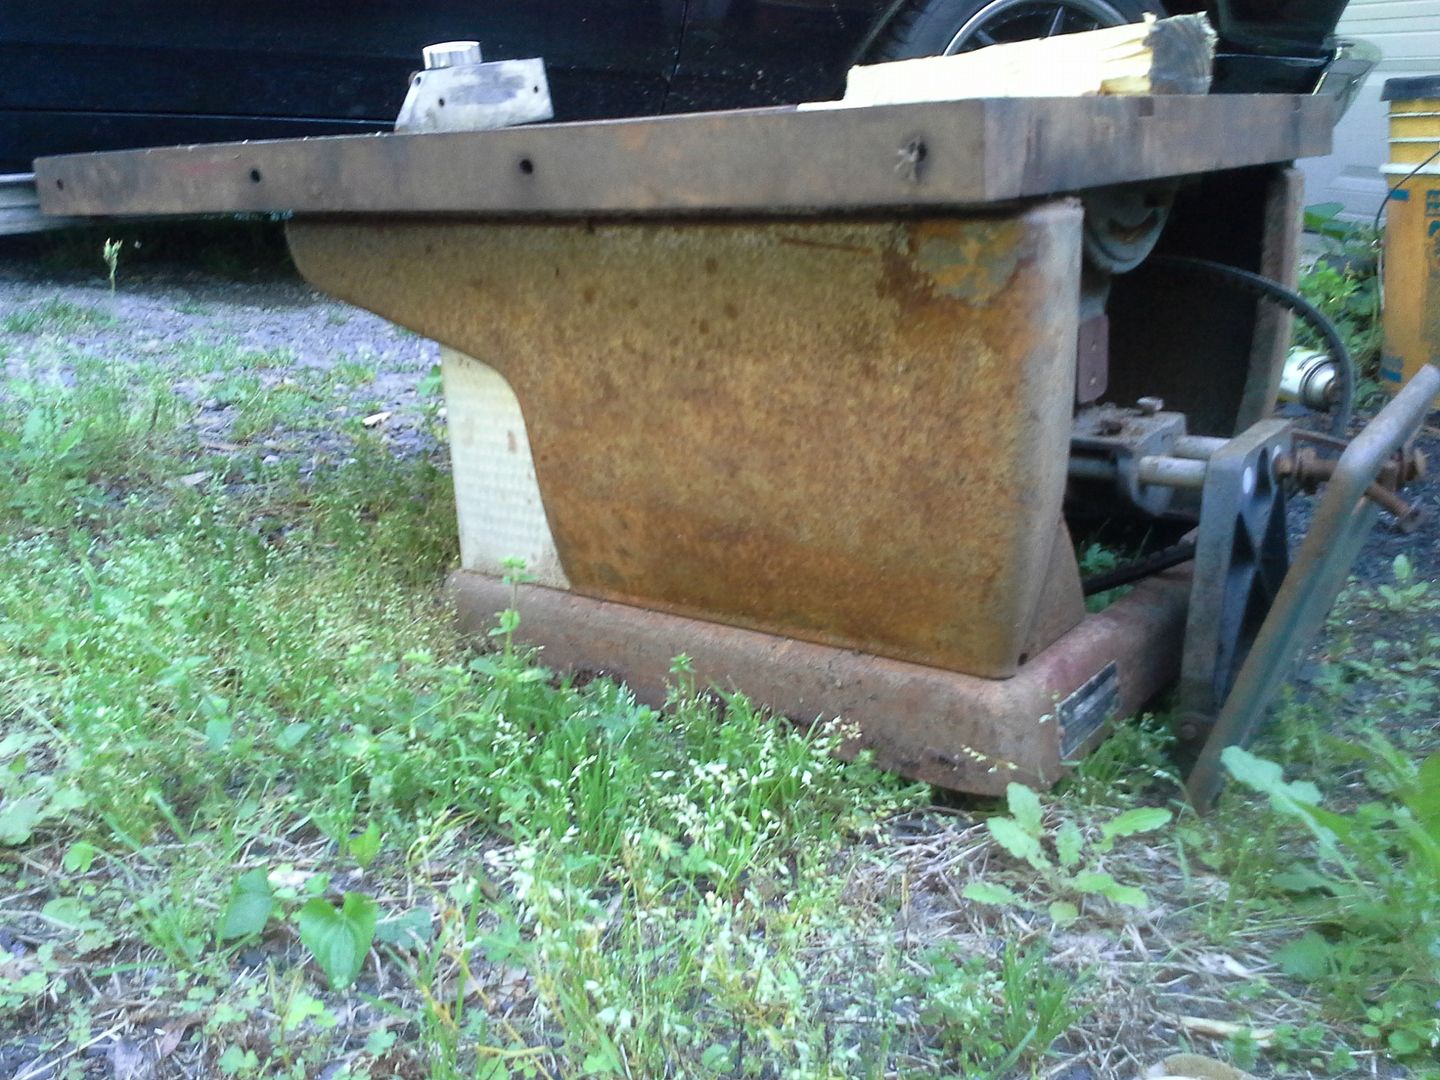
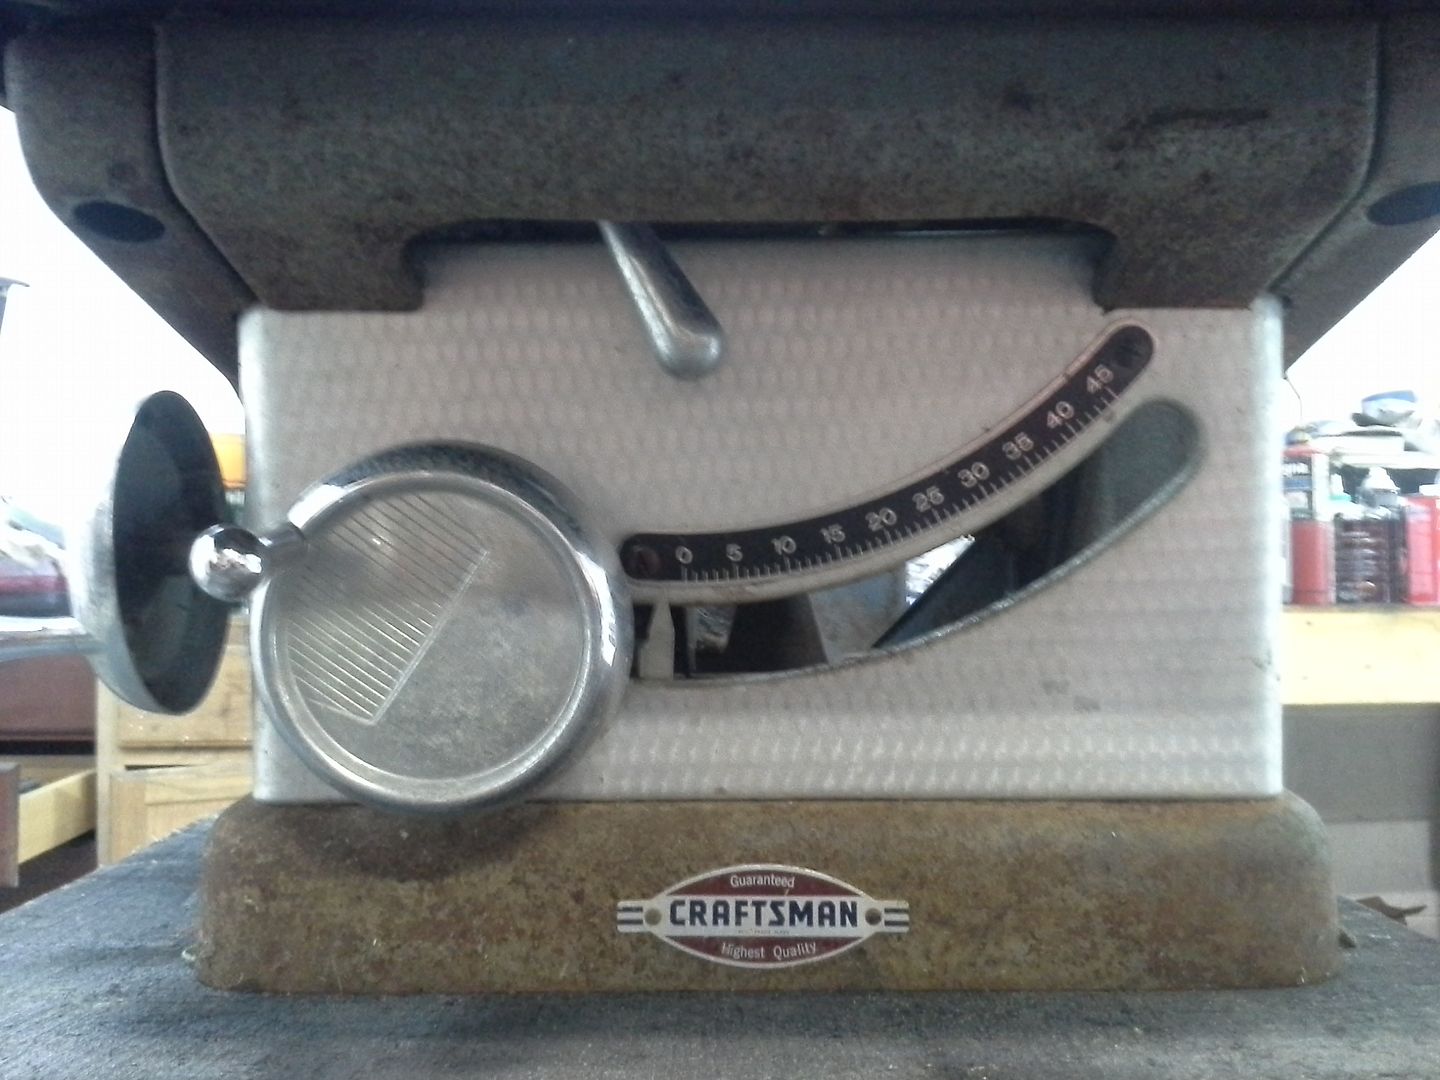
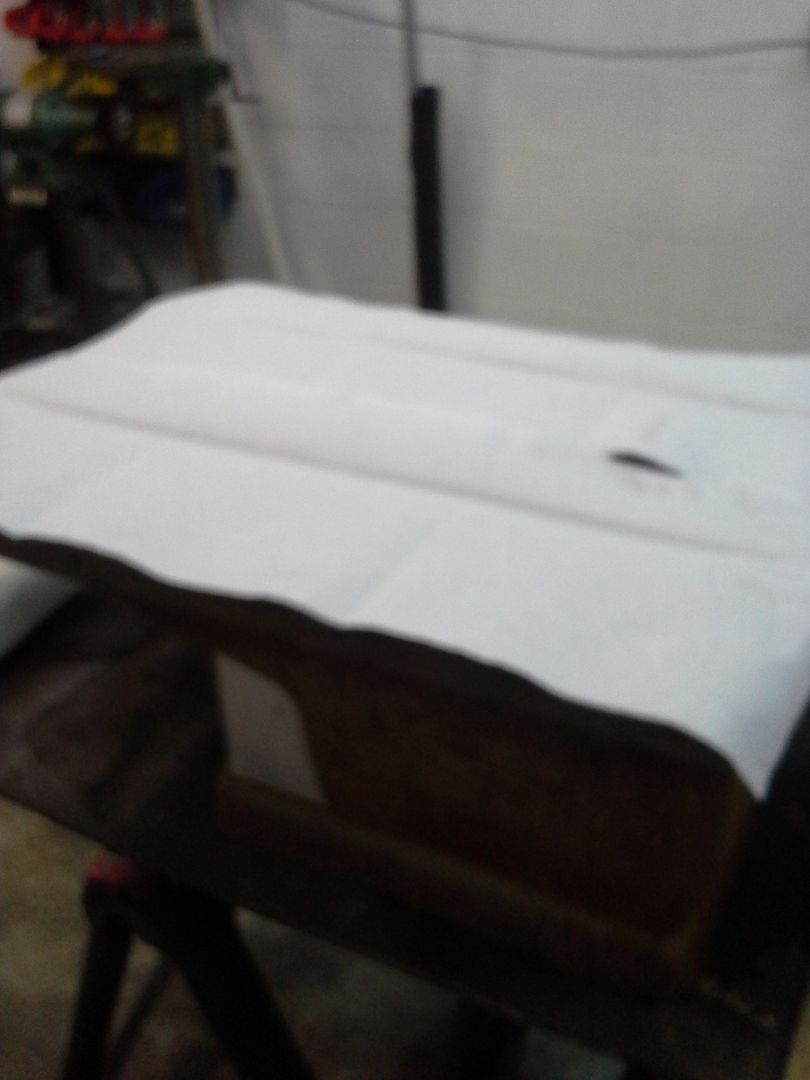
only problem is, the saw is TRASHED. multiple coats of paint on everything, top included. loaded with **** and debris, making adjustments and use very difficult. And someone equipped it with a different motor that trips breakers, and a 7 1/4 blade. this happened sometime after his grandfathers death. he speculated one of the cousins....
anyway, here's some pics of his saw.

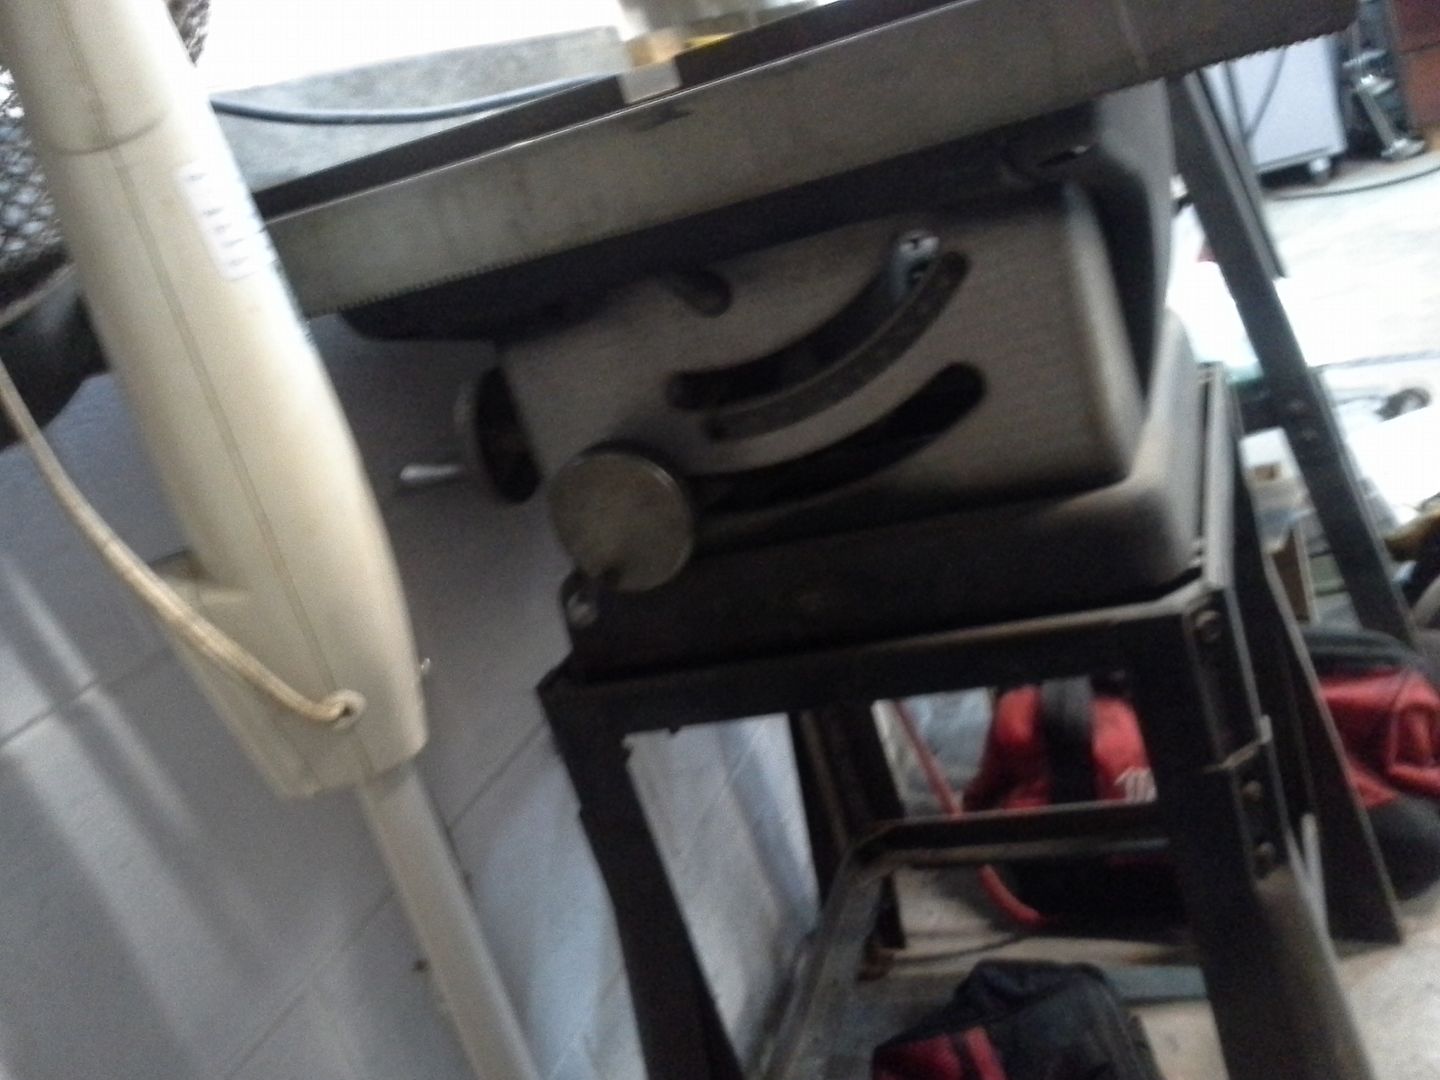
pretty rough, right?
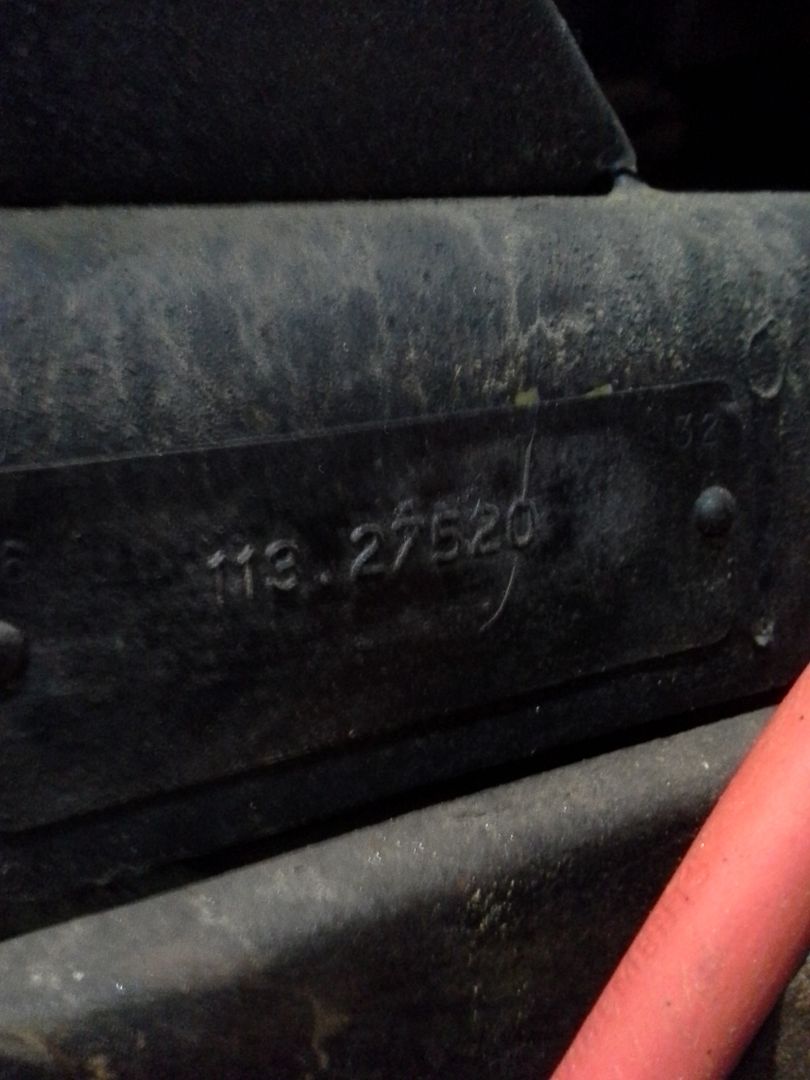
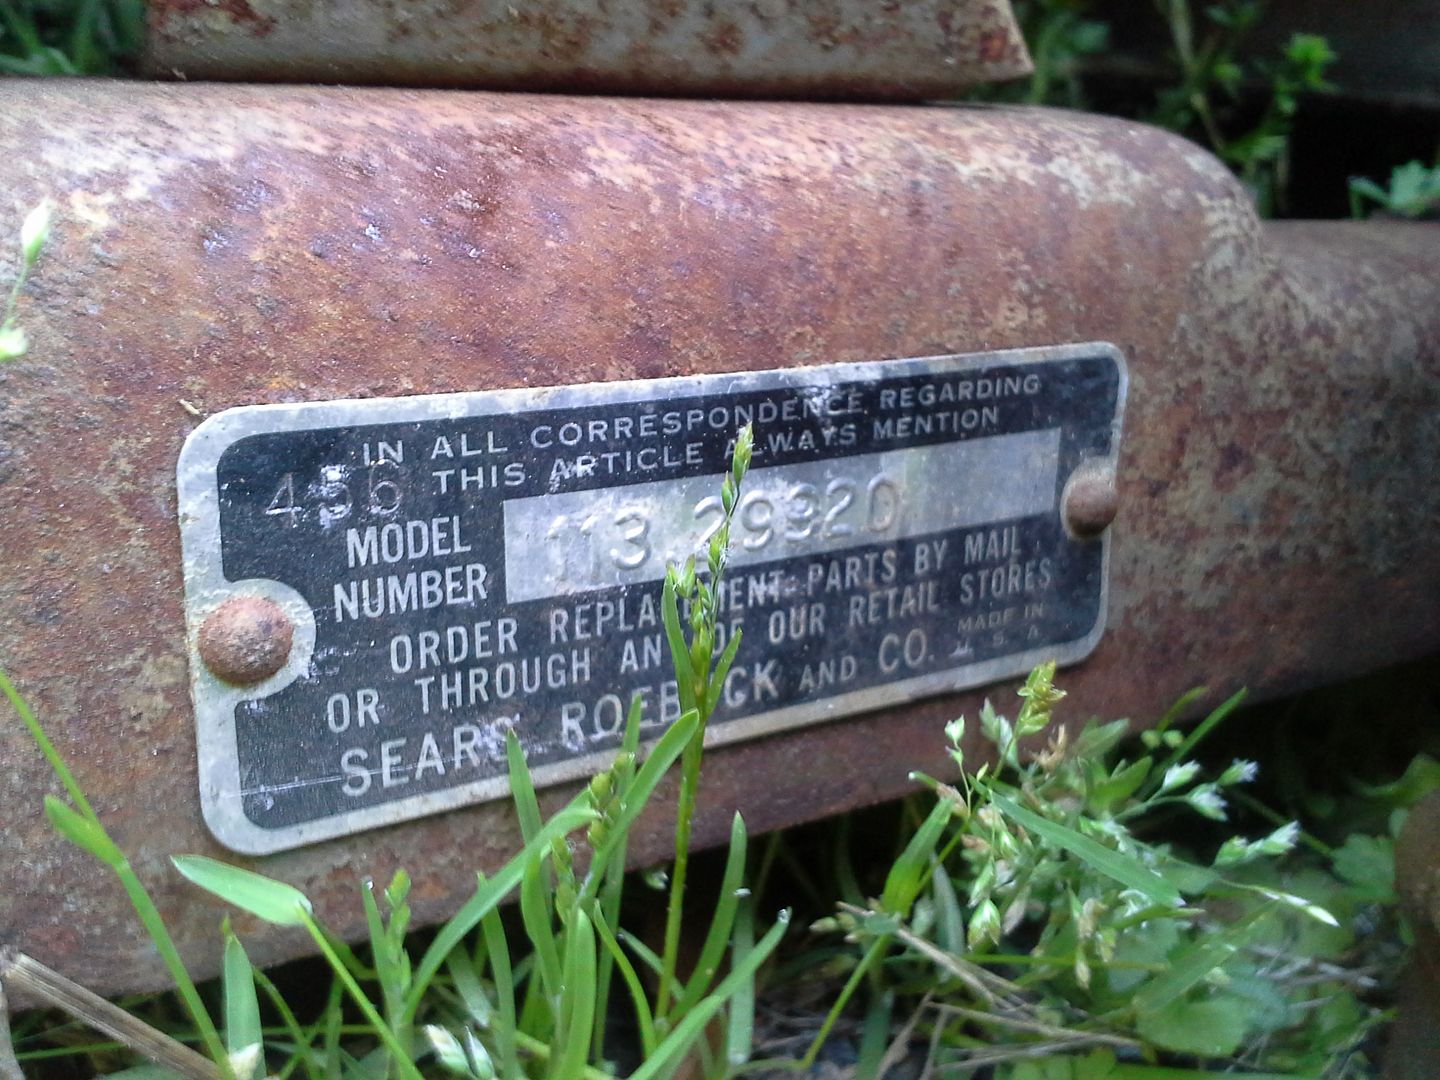
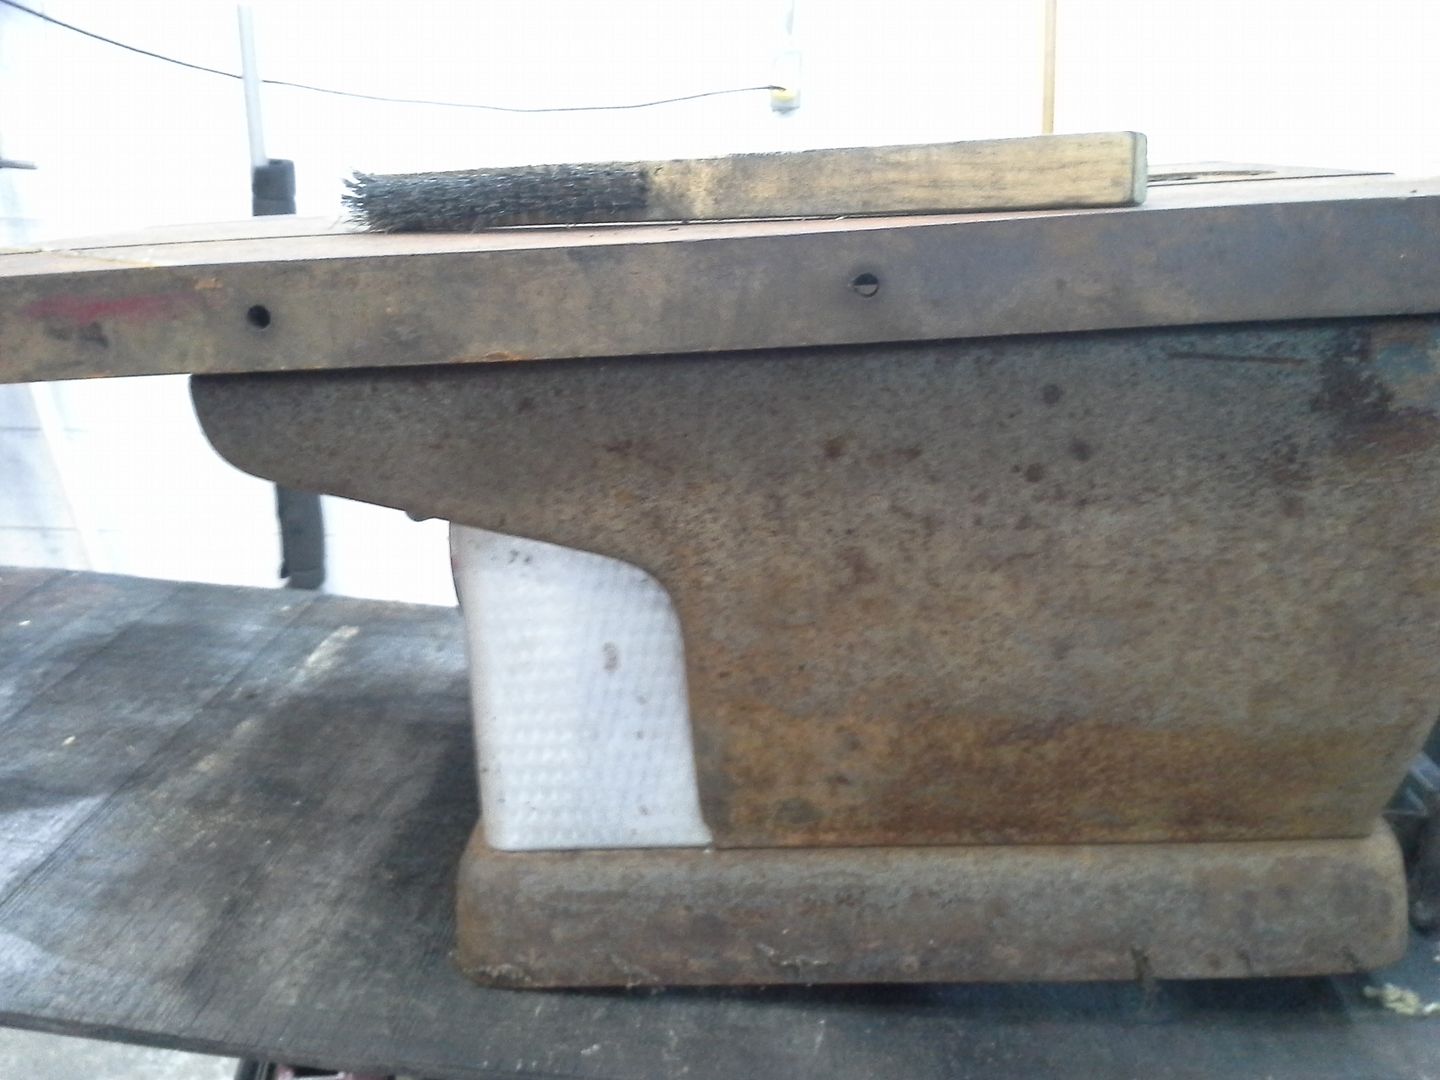
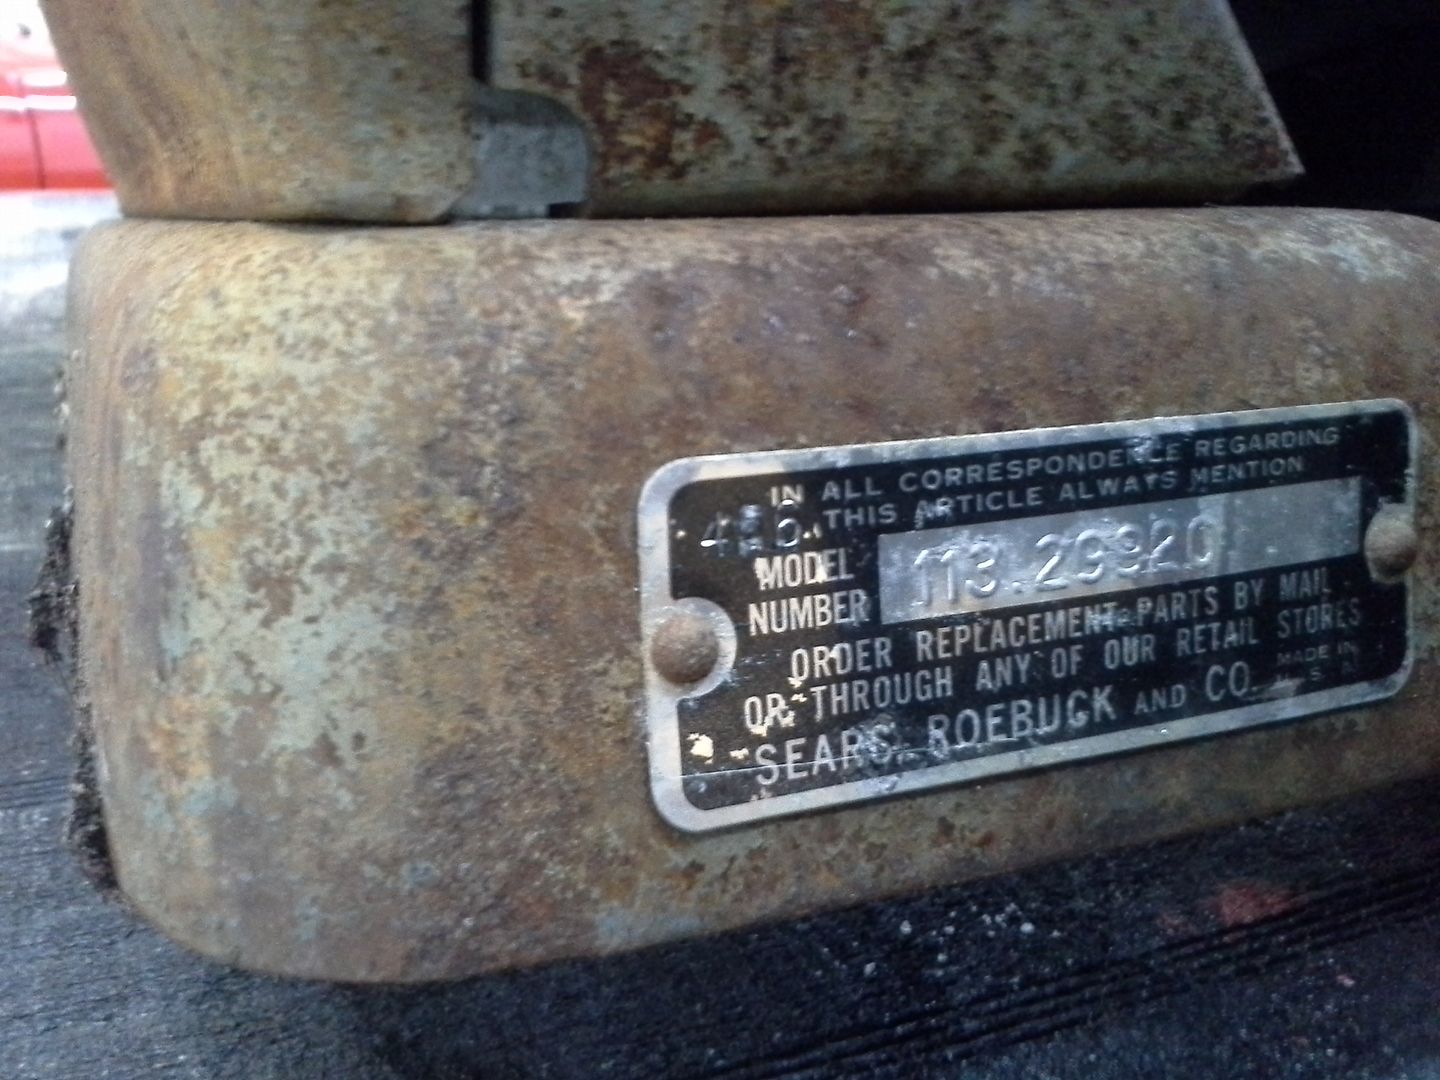
so in December, I was at a mower junkyard getting some pieces for my rider. came across a forlorn, crusty and rusty 113 just like his. with perfect aluminum pieces. for 20. so I bought it as a parts saw. only to find out it was in better shape than his.
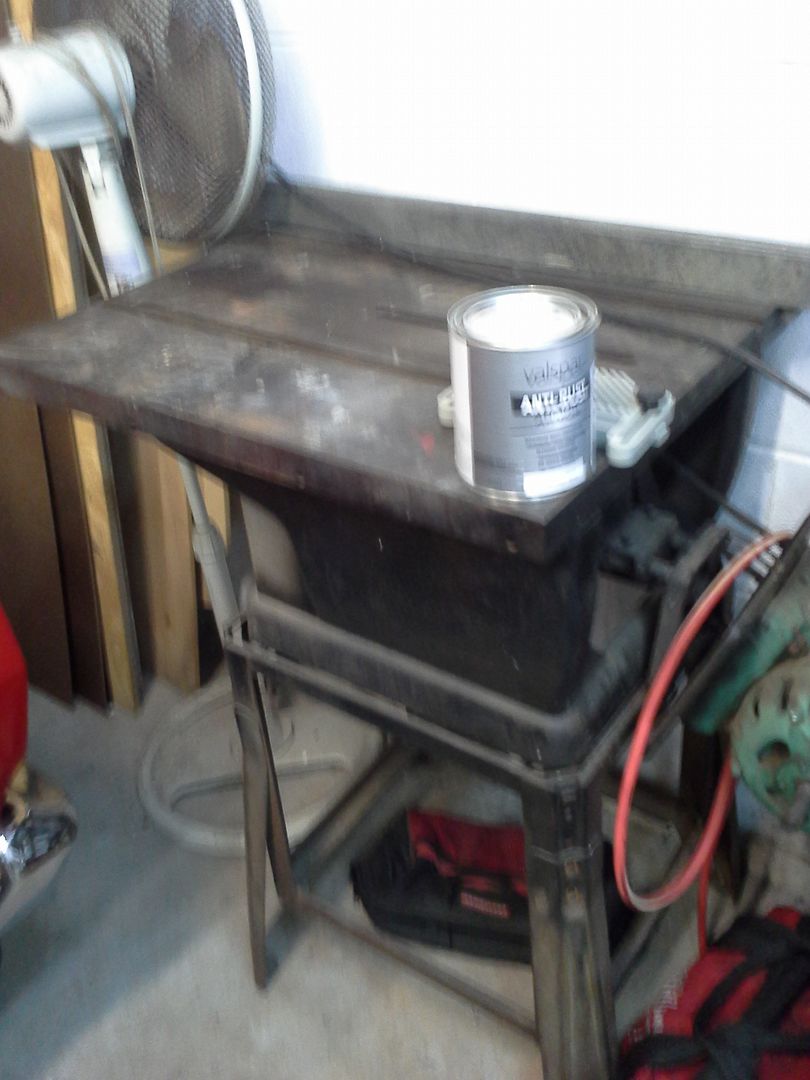
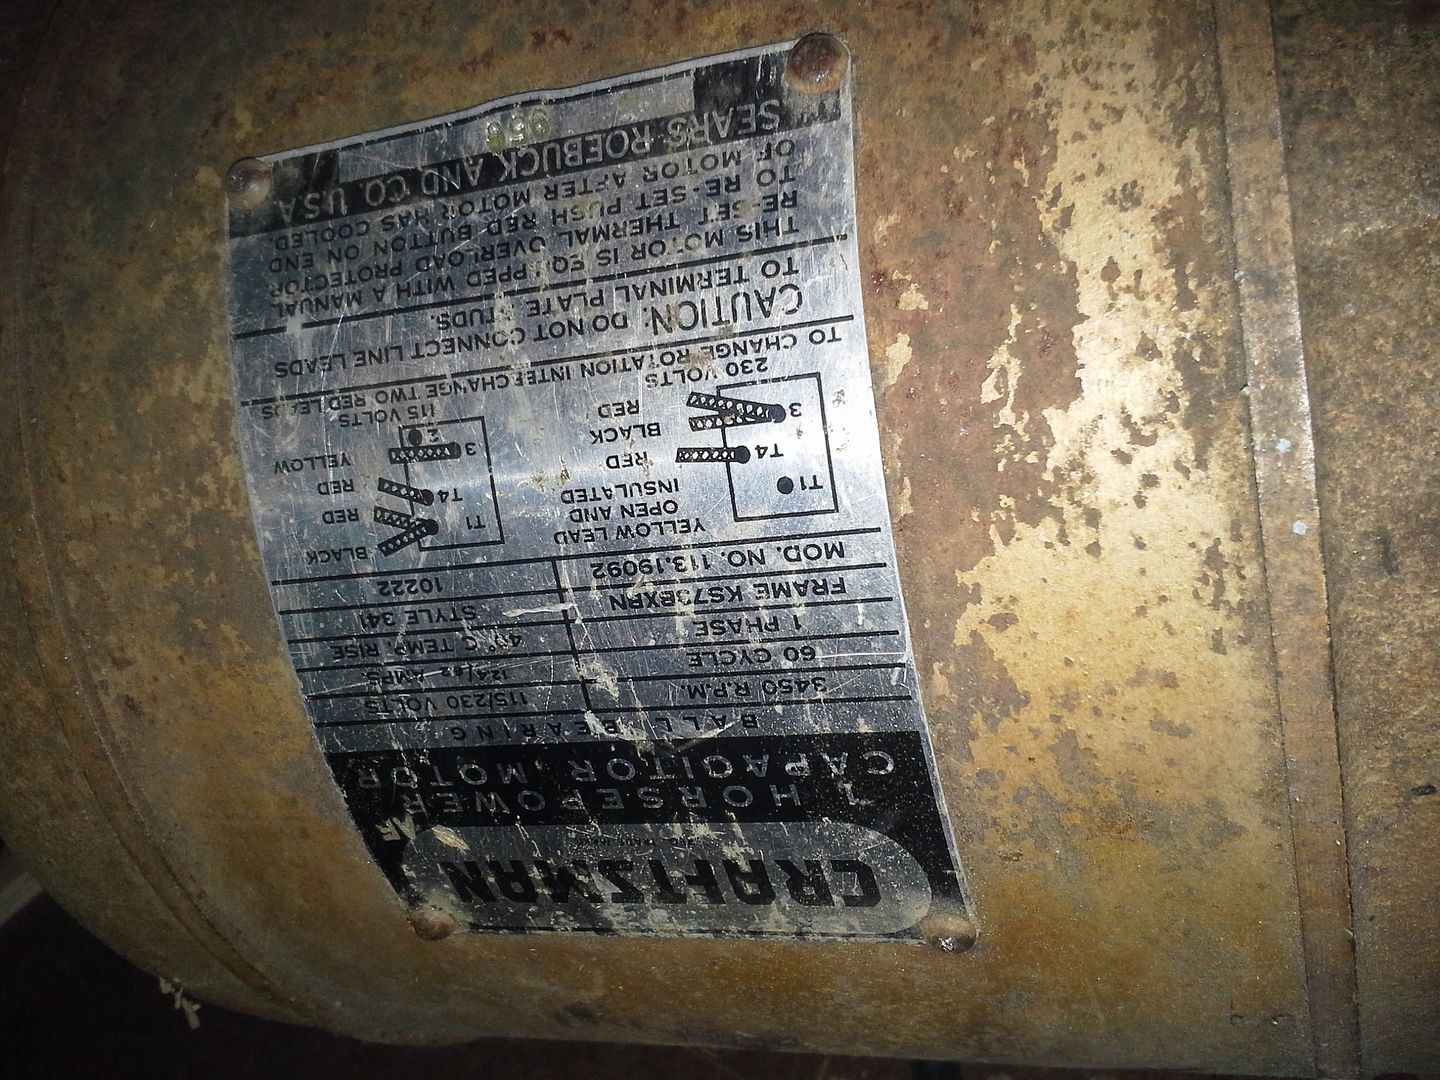
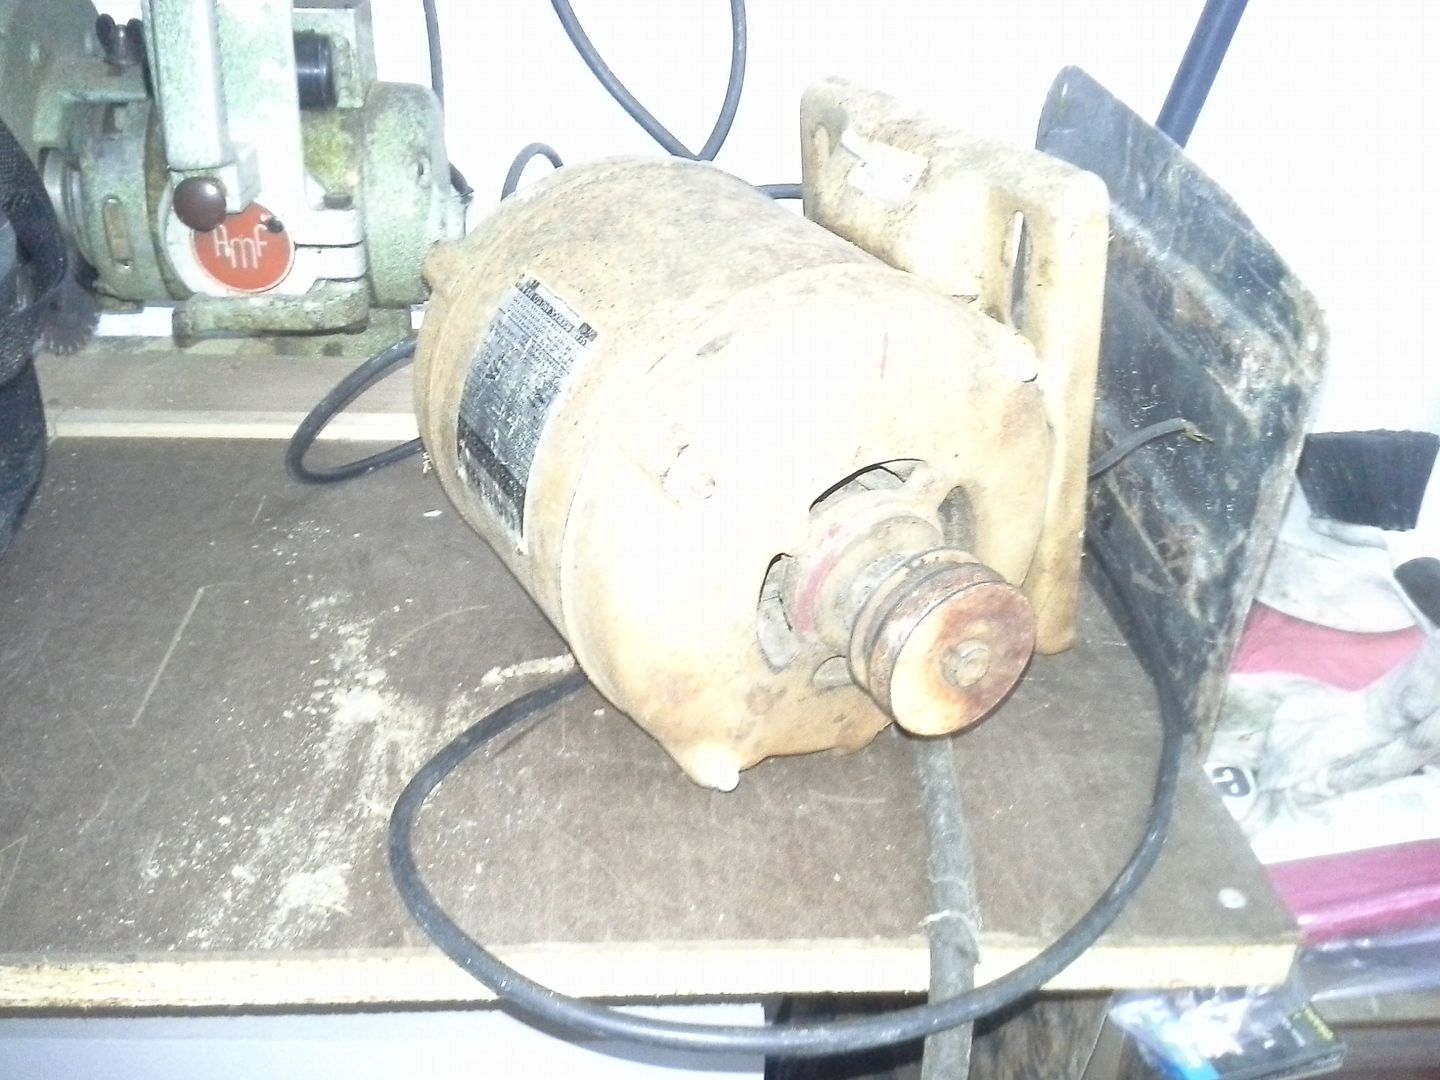
here's what 20 will buy you. this is after a lot of cleaning, replacing the cord and checking out the motor, and managing to un-seize the miter gauge with a BFH and liberal use of MAPP gas.
and this is where things go sideways.
I decided I like the idea of having a table saw, and figured out how I could make one the appropriate use of floor space. since I had two that could theoretically be brought back, why not just restore them both?
mine will be the former parts saw. going for a correct restoration (to a point. im going to mirror polish all the chrome and aluminum bits, as well as polish the top to as shiny as I can). his will be a much less correct restoration. pretty much restoring it to his childhood memories.
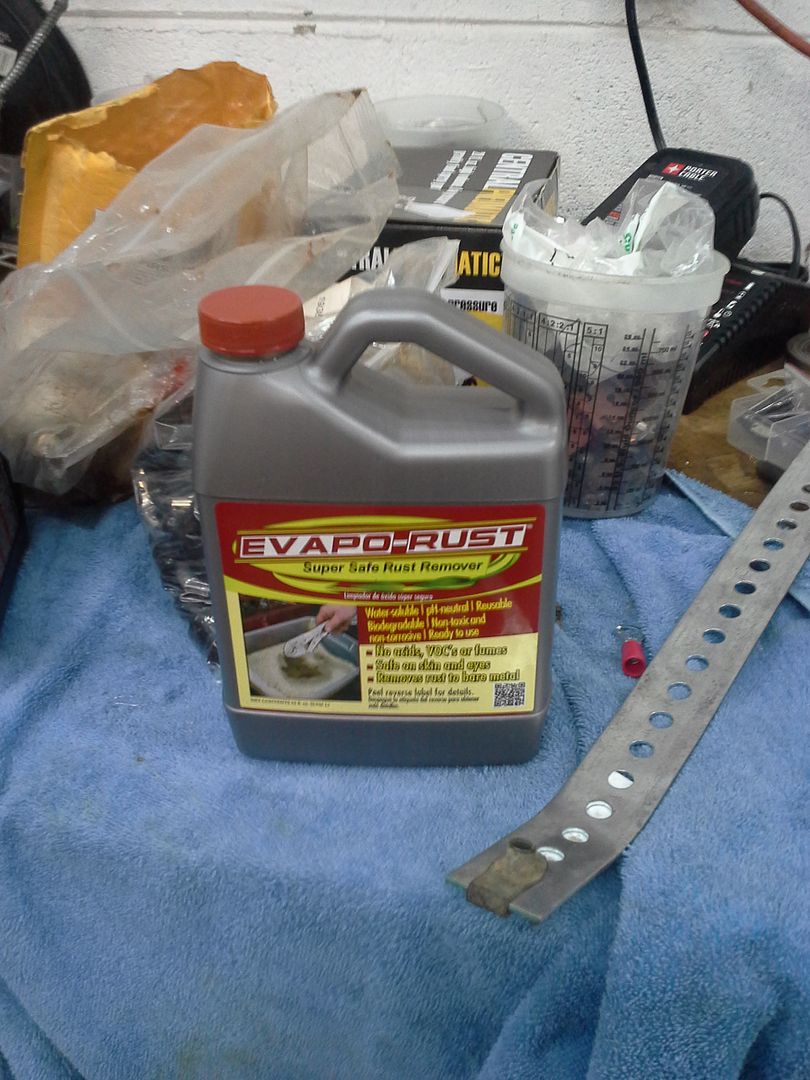
so I got started on mine tonight. it was cosmetically rougher, with a REALLY bad top. id read over on the GRM forum about evapo-rust, so I decided to try it. decided electrolysis was just too much hassle.
first step was to get it cleaned up real good and brought inside. Castrol super clean and some hot water took care of that.

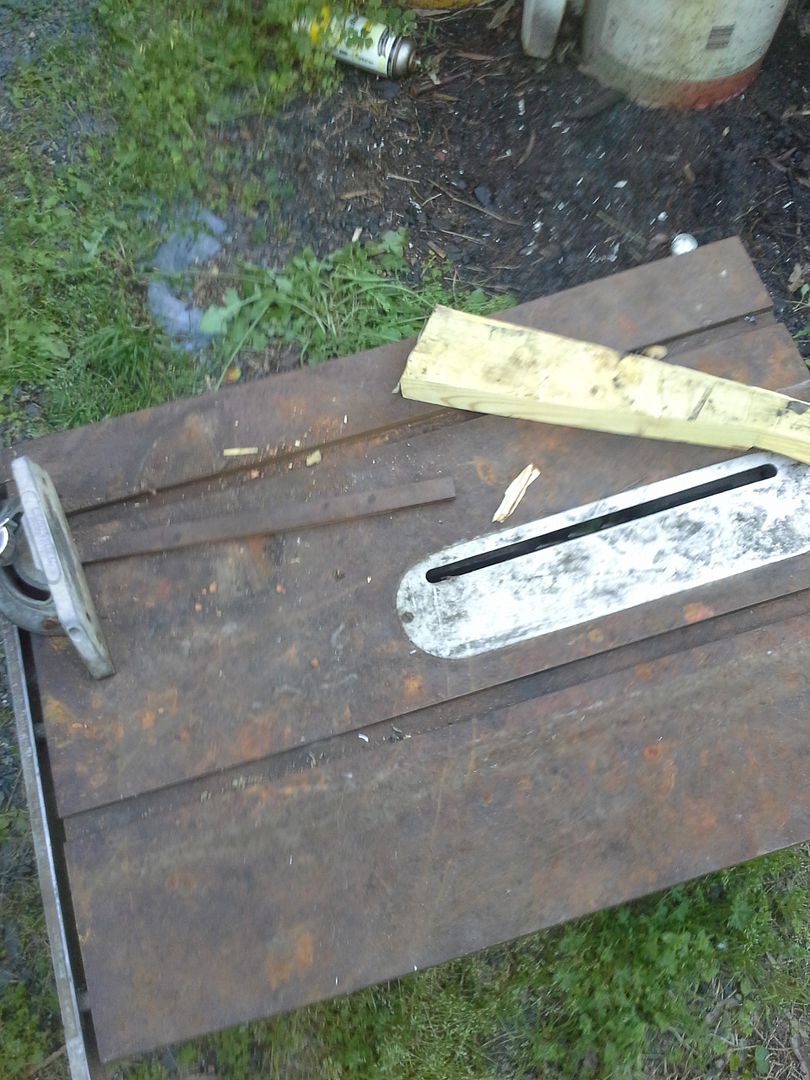
next, wire brush the worst of the rust out of the miter slots, insert for the insert, and the top.
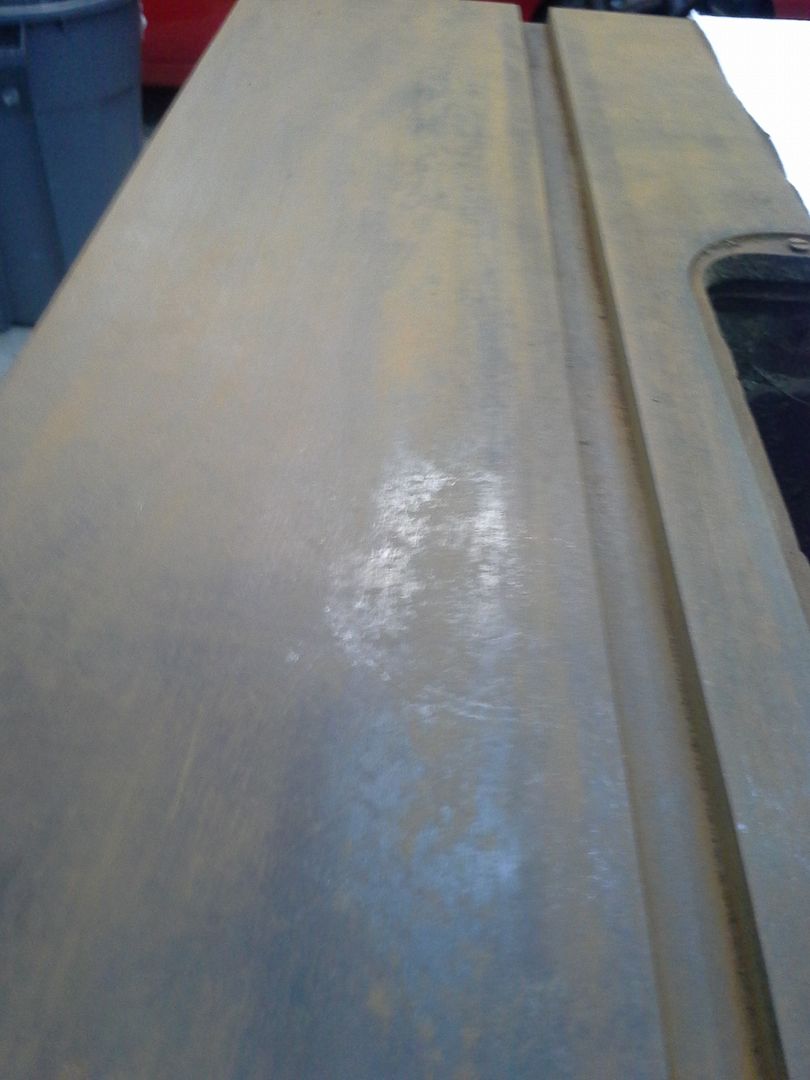
I really think this saw was well cared for and well maintained before it wound up outside under a pine tree at the mower junkyard. top is cleaning up way too easily for it to be otherwise, and all the bearings are still rock steady and quiet.
so now were up to evaporust. according to the jug, im supposed to spread paper towels, soak them, and cover with plastic overnight.
paper towels was easy.
to soak the paper towels:
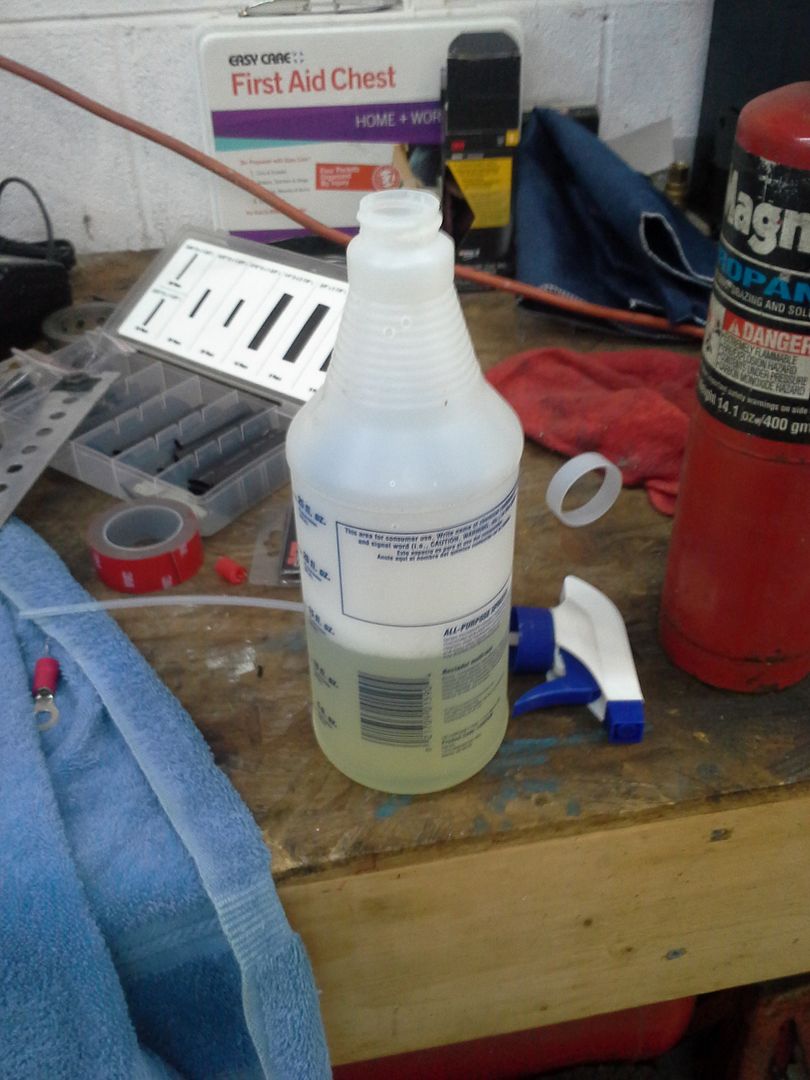
after soaking and working out the air bubbles:
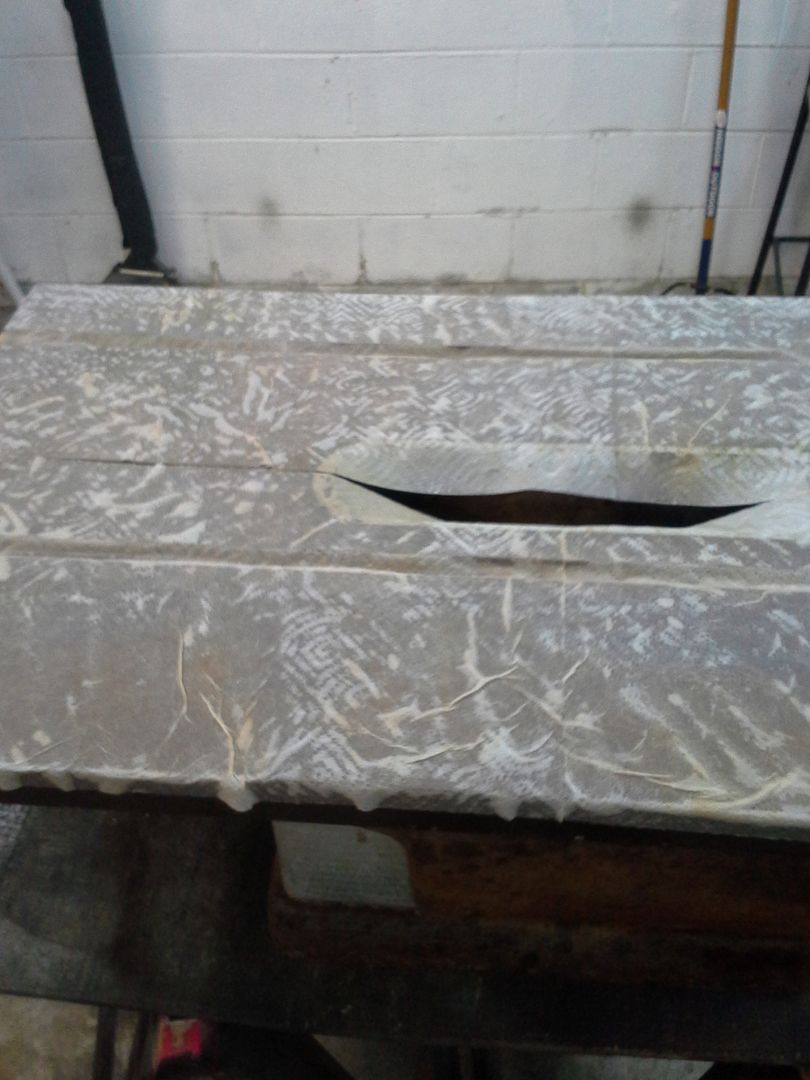
and wrapped for the night:
next time I get shop time, ill continue on the tear down and reworking the top.
I have a thing for vintage tools. specifically late 40's-late 50's tools. they just do it for me.
my friends have started referring to my garage as "Crawford's home for wayward power tools". its not far off.
in October, a friend of mine was helping clear out the last barn of his departed grandfather. he couldn't bring himself to throw out the tools that none of the family wanted. he wanted them, but had no way to get them back home with him. so he showed up out of the blue to drop them off with me. I didn't even know he was in town.
the only tool he actually seemed to care about was his grandfather table saw. told me quite a few stories about him and his grandfather and that saw. he was a little teary eyed unloading it from the trailer.
now, im working in a 27x17 basement shop, that restores cars, does woodworking, fixes house stuff, etc. not a lot of spare space, especially when the 70 duster takes a full bay, and the other one is usually filled with something im building a wiring harness on. I have a 58 AMF dewalt radial arm that I also use for ripping, as its a truly superb radial arm. have not needed a table saw in years, and had no plans to get one. until this one shows up.
still didn't want it, but I hatched a plan to restore it and deliver it to his home. he has that many memories ******* with it, it deserves a place of honor in his shop.
only problem is, the saw is TRASHED. multiple coats of paint on everything, top included. loaded with **** and debris, making adjustments and use very difficult. And someone equipped it with a different motor that trips breakers, and a 7 1/4 blade. this happened sometime after his grandfathers death. he speculated one of the cousins....
anyway, here's some pics of his saw.


pretty rough, right?
so in December, I was at a mower junkyard getting some pieces for my rider. came across a forlorn, crusty and rusty 113 just like his. with perfect aluminum pieces. for 20. so I bought it as a parts saw. only to find out it was in better shape than his.
here's what 20 will buy you. this is after a lot of cleaning, replacing the cord and checking out the motor, and managing to un-seize the miter gauge with a BFH and liberal use of MAPP gas.


and this is where things go sideways.
I decided I like the idea of having a table saw, and figured out how I could make one the appropriate use of floor space. since I had two that could theoretically be brought back, why not just restore them both?
mine will be the former parts saw. going for a correct restoration (to a point. im going to mirror polish all the chrome and aluminum bits, as well as polish the top to as shiny as I can). his will be a much less correct restoration. pretty much restoring it to his childhood memories.
so I got started on mine tonight. it was cosmetically rougher, with a REALLY bad top. id read over on the GRM forum about evapo-rust, so I decided to try it. decided electrolysis was just too much hassle.
first step was to get it cleaned up real good and brought inside. Castrol super clean and some hot water took care of that.


next, wire brush the worst of the rust out of the miter slots, insert for the insert, and the top.

I really think this saw was well cared for and well maintained before it wound up outside under a pine tree at the mower junkyard. top is cleaning up way too easily for it to be otherwise, and all the bearings are still rock steady and quiet.
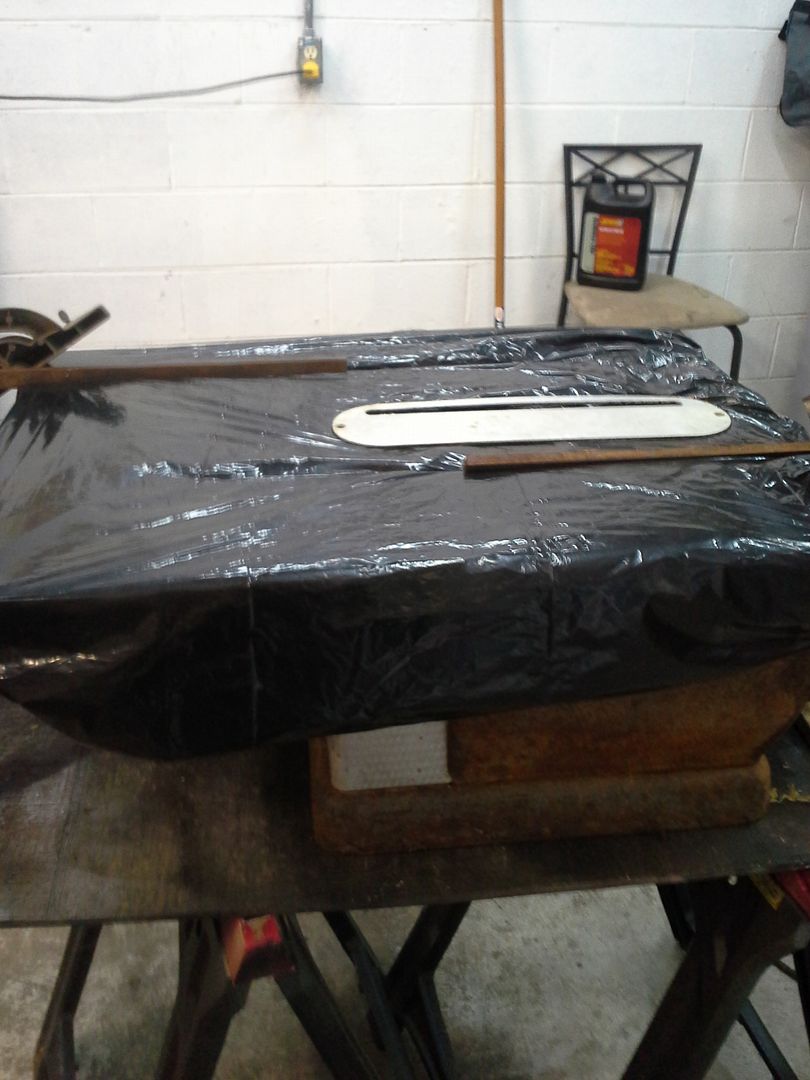
so now were up to evaporust. according to the jug, im supposed to spread paper towels, soak them, and cover with plastic overnight.
paper towels was easy.

to soak the paper towels:


after soaking and working out the air bubbles:

and wrapped for the night:

next time I get shop time, ill continue on the tear down and reworking the top.


