JackDiddly
Well-known member
So when I started this project I had in mind that one day I would sit here and be doing this as a thread here on GJ. Well, I guess that day has come! I managed to get some quality pics of most stages of this project, but filing the rough parts of castings, the sanding and painting is work I chose not to document. (not my favorite sand, paint, sand, paint, sand, paint, sand, paint....) luckily I managed to find my second block a 1/3 round top that aided in paint removal on the wheel guards . So the following Pictures document the:
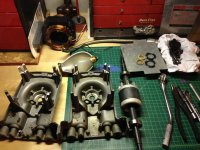
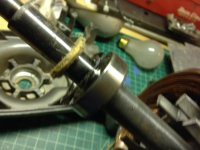
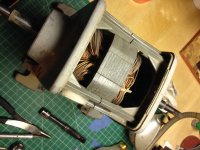
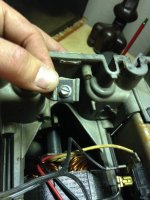
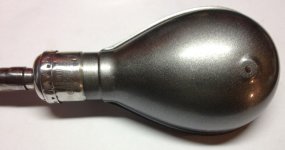
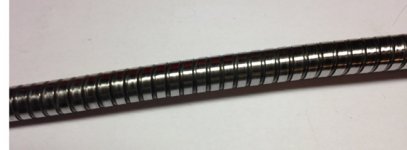
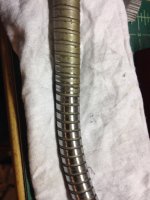
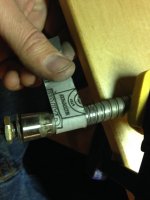
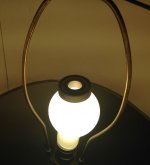
Dis-assembly, Repairing of broken mounting tab, Installation of bearings using the freezer and light bulb method, Polishing of my shaft, er.. I mean the light post, and Re-assembly.
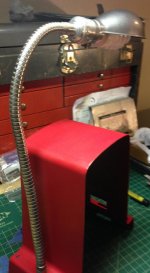
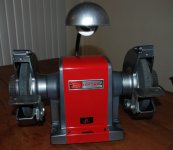
(For the record the old wheels - passed a ring test, and mercury filled CFL are on there strictly for the pictures, all I have right now)
Still needs the spark arrestors, eye shields, and I don't see myself ordering the quench tray.
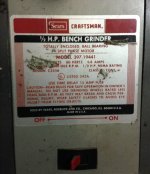
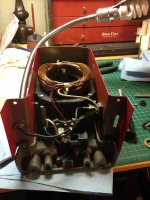
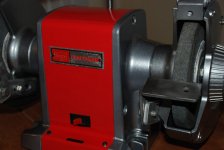
So how it started.
. So the following Pictures document the:Dis-assembly, Repairing of broken mounting tab, Installation of bearings using the freezer and light bulb method, Polishing of my shaft, er.. I mean the light post, and Re-assembly.
(For the record the old wheels - passed a ring test, and mercury filled CFL are on there strictly for the pictures, all I have right now)
Still needs the spark arrestors, eye shields, and I don't see myself ordering the quench tray.
So how it started.