jimreed2160
Well-known member
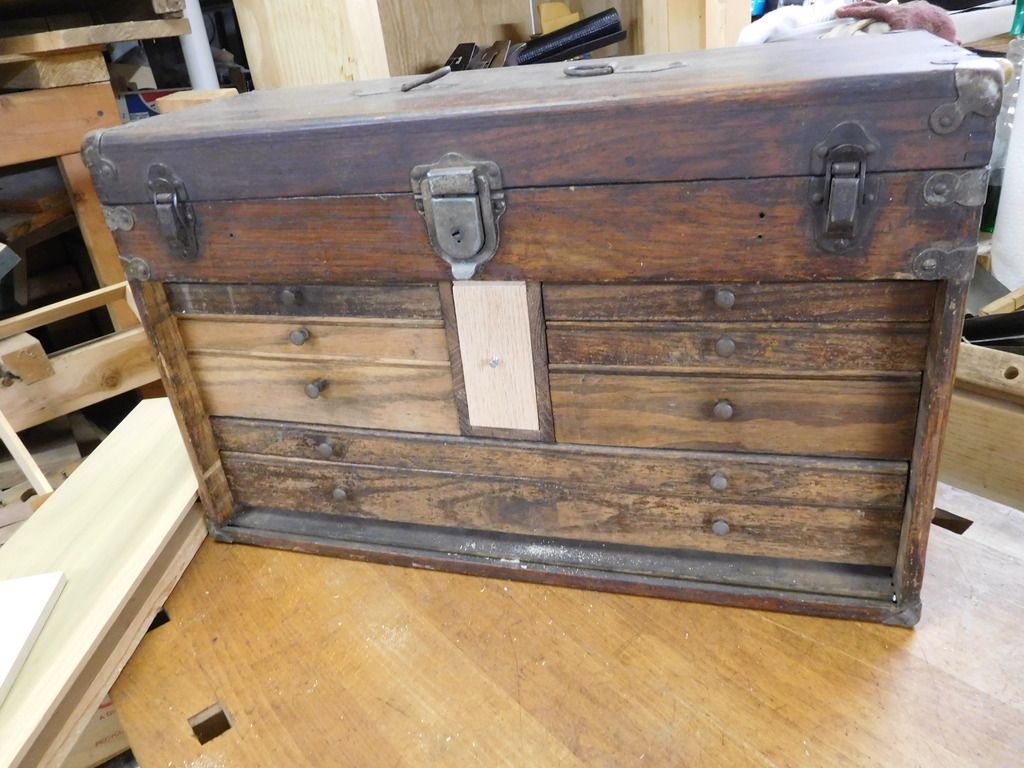
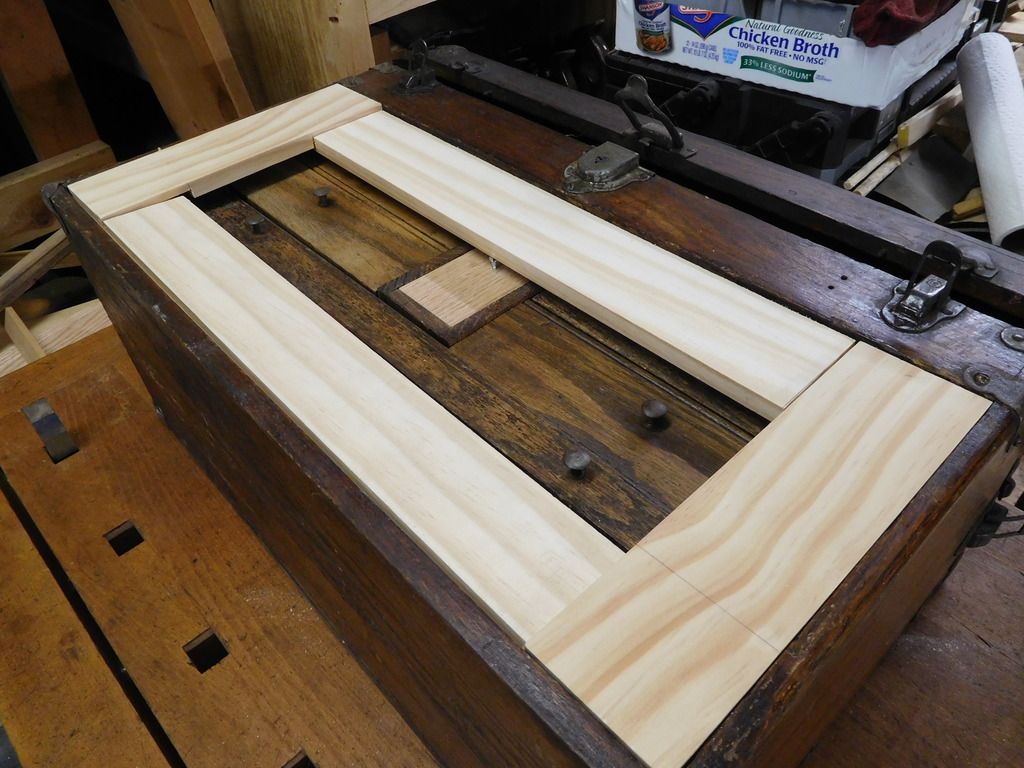
I picked up this once nice Sipco (Schartow Iron Works) 9 drawer oak machinist chest. It was looking sad with a missing front, missing drawer, missing drawer lining, and bad finish. Otherwise, it was in pretty good shape. The box was sturdy and the existing drawers were sound.
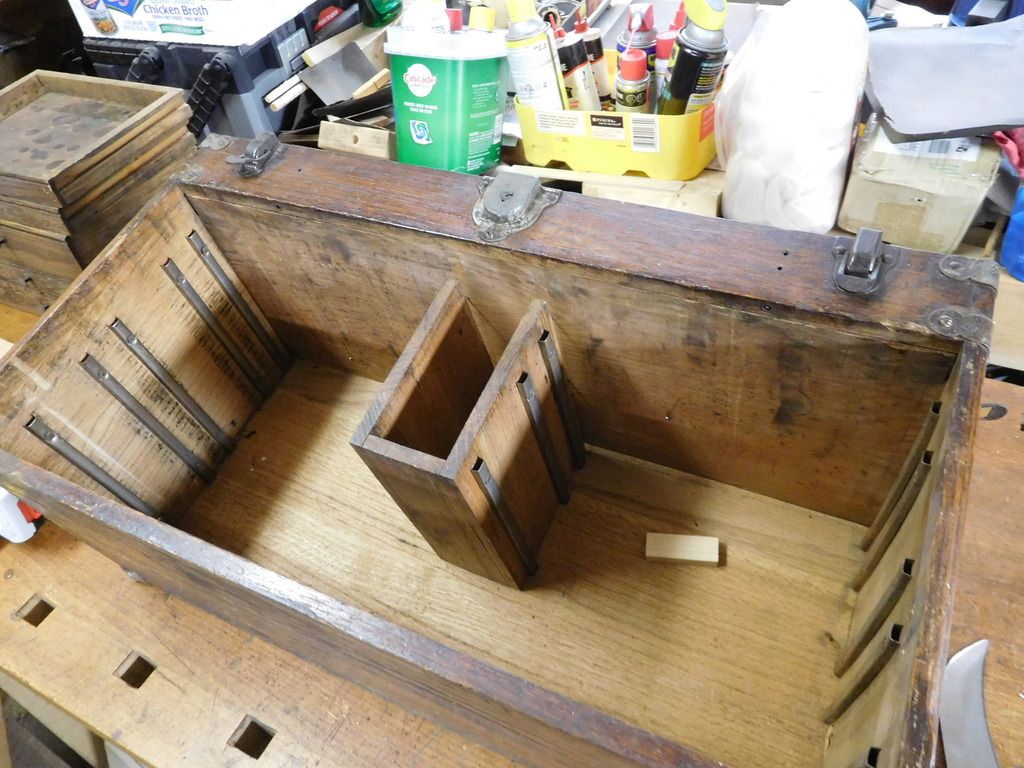
I began by removing and repairing the drawer tower. The drawers in chests like these have side runners. The interior tower had a break at the end. It was installed with six nails from the top and one from the rear. It was the rear nail that caused a problem, so I removed it first. Then I carefully pried off the assembly.
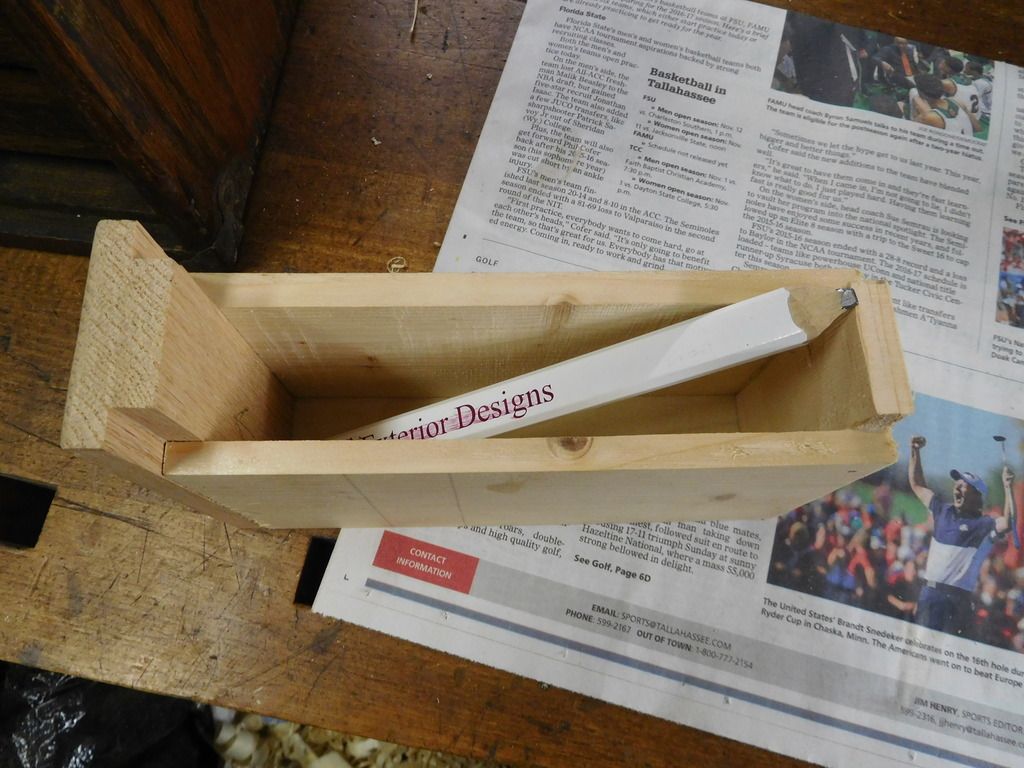
The little piece of white wood is the drawer stop that I plan to put in place.

The rear nail caused a splinter which probably interfered with the drawer. Maybe that is why it was removed and then MIA. I glued the splinter back in place and glued a drawer stop above it to keep the drawer from hitting the back of the box.

After the glue dried, I carefully impaled the tower back on the six nails. I drilled a hole through the original hole in the back of the box and spiked a nail into the bottom of the tower to prevent lateral movement.
I began by removing and repairing the drawer tower. The drawers in chests like these have side runners. The interior tower had a break at the end. It was installed with six nails from the top and one from the rear. It was the rear nail that caused a problem, so I removed it first. Then I carefully pried off the assembly.
The little piece of white wood is the drawer stop that I plan to put in place.
The rear nail caused a splinter which probably interfered with the drawer. Maybe that is why it was removed and then MIA. I glued the splinter back in place and glued a drawer stop above it to keep the drawer from hitting the back of the box.
After the glue dried, I carefully impaled the tower back on the six nails. I drilled a hole through the original hole in the back of the box and spiked a nail into the bottom of the tower to prevent lateral movement.