My name is Alex Thiel (pronounced till) and I am a 26-year-old process engineer in rural NW Ohio. I started a thread a few years ago (titled Starting Out Young) where I was working out of my dad’s basement, but Photobucket decided to mess it up royally. I said that I would start another thread when I moved out and got my own shop. Well that time happened in 2017 and I am just now getting around to starting the new thread. Life certainly has a way of getting in the way.
So back to 2017. In May of 2017 I graduated from Ohio Northern University with my mechanical engineering degree. My then fiancé also graduated that same weekend from Kent State with her doctorate of Audiology. We graduated on Friday and Sunday respectively and went to work at our new jobs on Monday. Our wedding was set for October of 2017, so we had been looking at houses in our hometown for months without any luck. Finally, around the middle of July we found a house just outside of town that fit the bill and we closed on it in August of 2017. The house had been for sale less than a year before after being foreclosed on and I really wanted to purchase it back then. But being a broke college student… So, we bought it from the guy who “flipped” it who was a high school history teacher of ours. The guy had no business flipping houses, but I digress. So, I won’t go into major details, but I did a ton of work with the help of my dad from August up until the week of our wedding. We rushed to get things moved in and then we got ourselves hitched and started living in our new home.
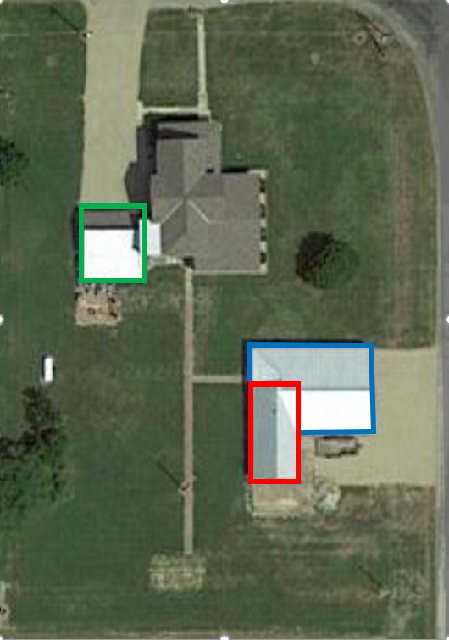
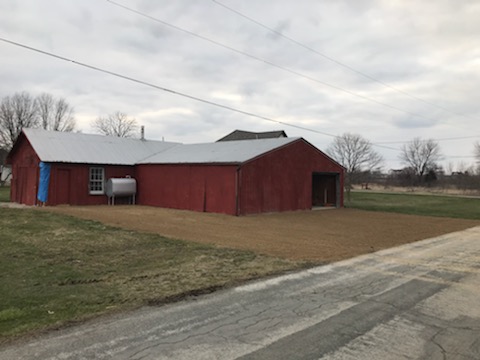
To start out, the green square is the 2-car attached garage. It is about 24x20 and houses our daily drivers along with some garden tools and bikes. I didn’t have anything to do to this other than rip out a crappy bench that was in the front of the garage.
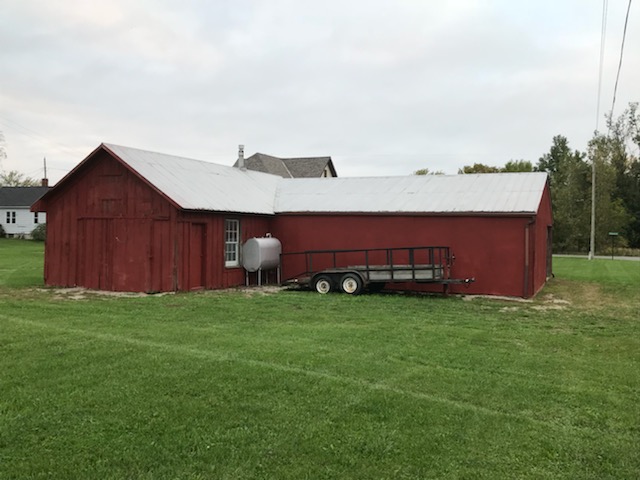
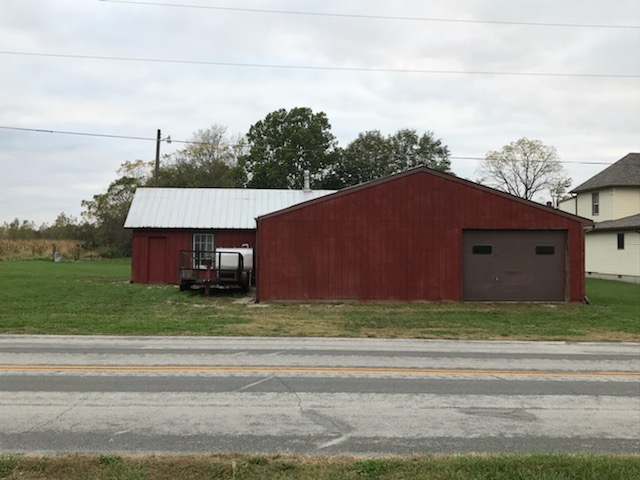
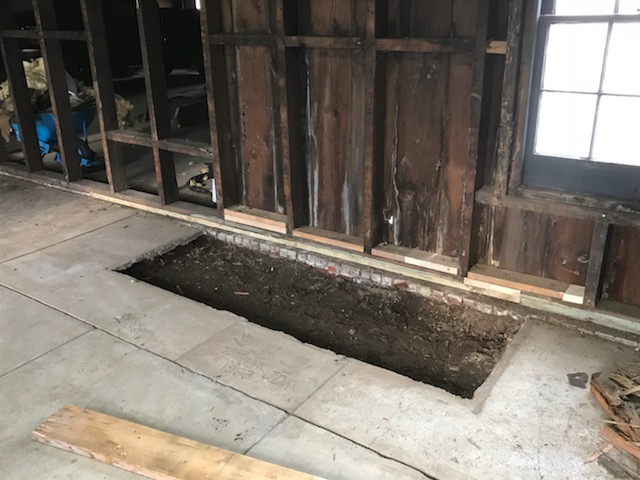
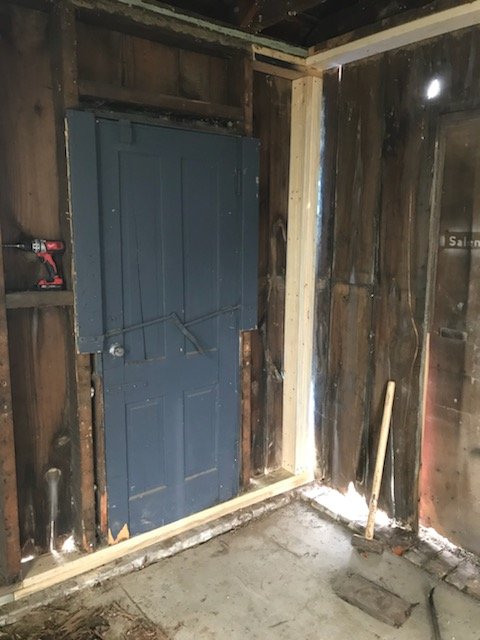
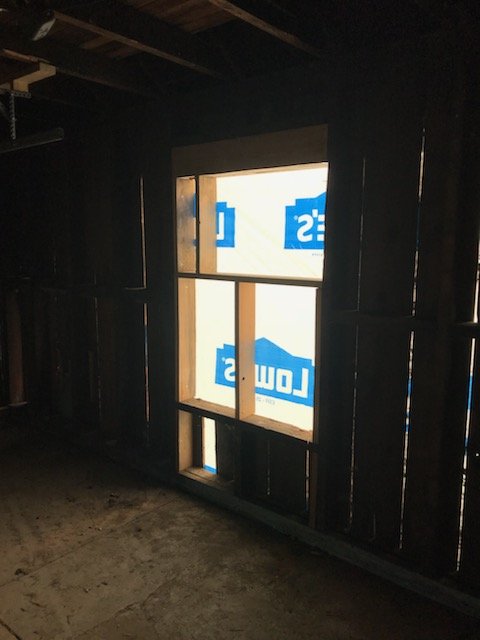
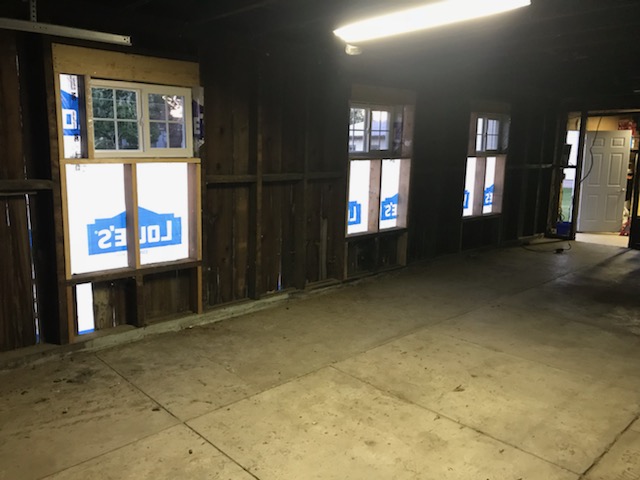
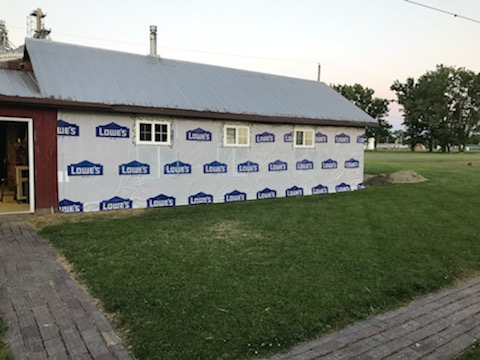
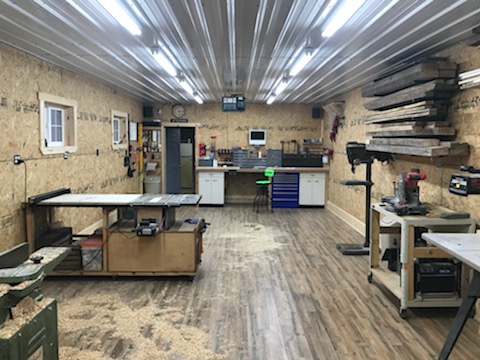
The real shop is the red and blue squares. The red square is the original shop and is about 35x15 and I use it as my woodshop. My neighbor who lives next door grew up in my house, so I know a little bit of the history. I am fairly close to train tracks that run both N-S and E-W and he said this building was originally part of a train depot near by and was moved to the property before he was born (he is in his late 60’s). The blue square is about 45x32 minus the 20x15 portion that is the woodshop. He didn’t have an exact date on when it was added on to the original shop but from the construction, I would guess sometime in the 80’s.
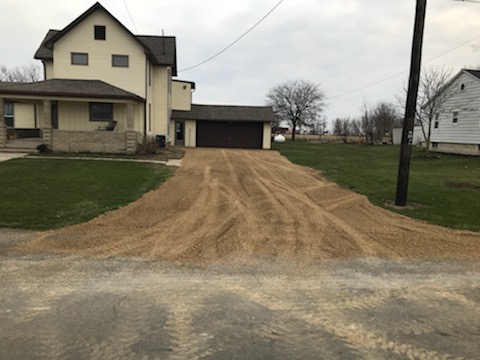
Looking SE out my back door.
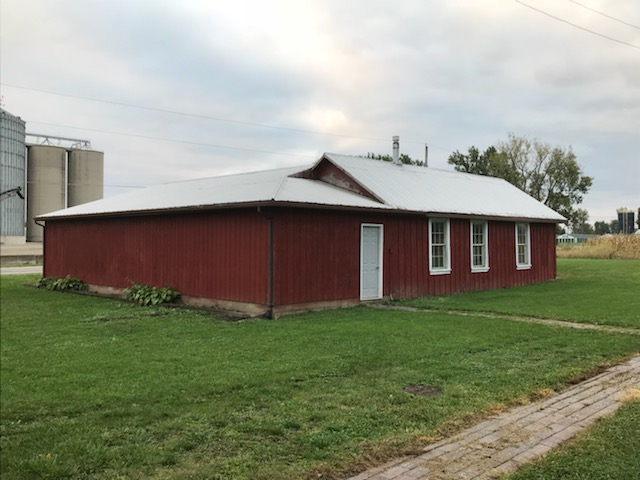
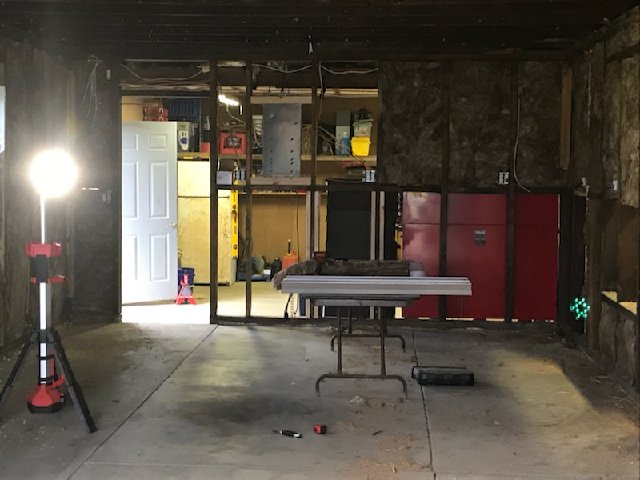
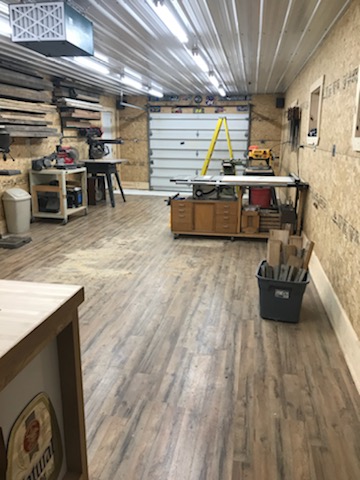
Looking North.
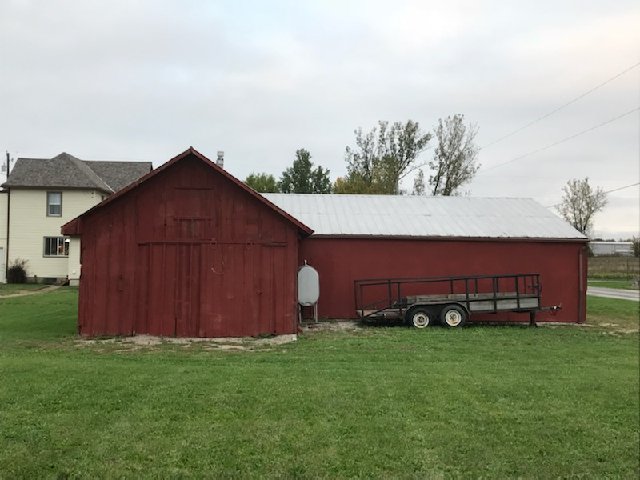
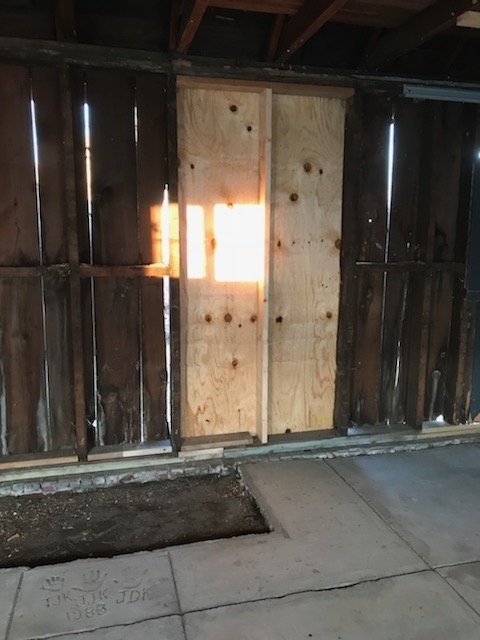
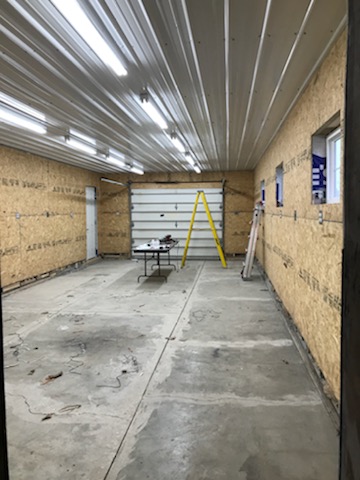
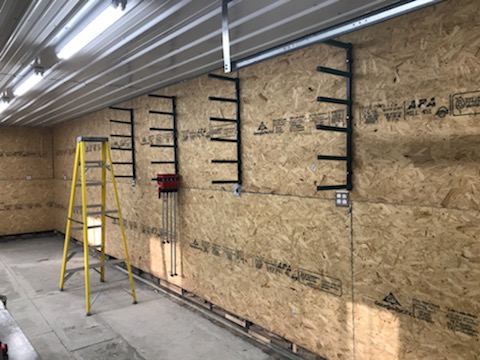
Looking NW.
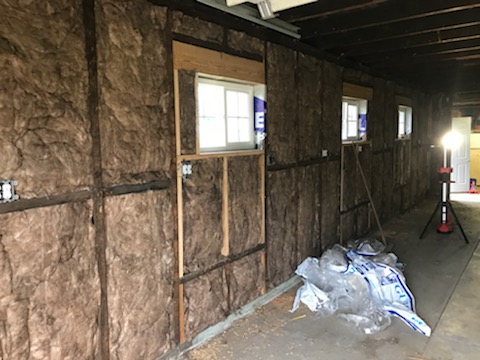
Looking West.
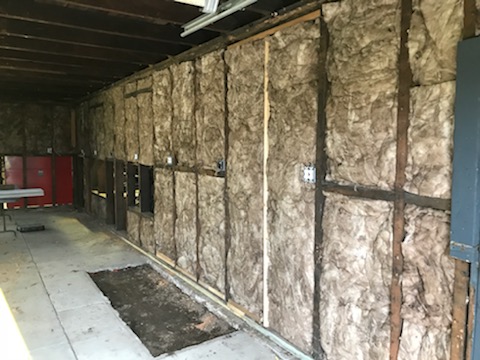
Looking SW.

More updates to follow as I have plenty of time to spare thanks to COVID-19.
So back to 2017. In May of 2017 I graduated from Ohio Northern University with my mechanical engineering degree. My then fiancé also graduated that same weekend from Kent State with her doctorate of Audiology. We graduated on Friday and Sunday respectively and went to work at our new jobs on Monday. Our wedding was set for October of 2017, so we had been looking at houses in our hometown for months without any luck. Finally, around the middle of July we found a house just outside of town that fit the bill and we closed on it in August of 2017. The house had been for sale less than a year before after being foreclosed on and I really wanted to purchase it back then. But being a broke college student… So, we bought it from the guy who “flipped” it who was a high school history teacher of ours. The guy had no business flipping houses, but I digress. So, I won’t go into major details, but I did a ton of work with the help of my dad from August up until the week of our wedding. We rushed to get things moved in and then we got ourselves hitched and started living in our new home.
To start out, the green square is the 2-car attached garage. It is about 24x20 and houses our daily drivers along with some garden tools and bikes. I didn’t have anything to do to this other than rip out a crappy bench that was in the front of the garage.
The real shop is the red and blue squares. The red square is the original shop and is about 35x15 and I use it as my woodshop. My neighbor who lives next door grew up in my house, so I know a little bit of the history. I am fairly close to train tracks that run both N-S and E-W and he said this building was originally part of a train depot near by and was moved to the property before he was born (he is in his late 60’s). The blue square is about 45x32 minus the 20x15 portion that is the woodshop. He didn’t have an exact date on when it was added on to the original shop but from the construction, I would guess sometime in the 80’s.
Looking SE out my back door.
Looking North.
Looking NW.
Looking West.
Looking SW.
More updates to follow as I have plenty of time to spare thanks to COVID-19.


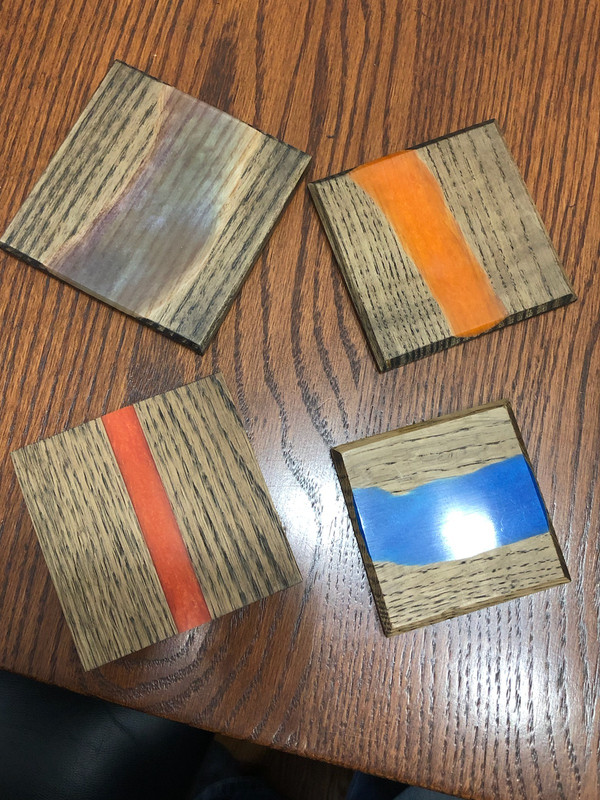
 I hate getting cuts on the fingertips, every time you grab something and put pressure on it, it's a constant reminder. Got any photos of the coasters?