This past year I got a little restless and decided to do some house projects to make the home more comfortable. I started my search on Google for how-to guides and tools to complete the tasks. Tool reviews brought me to Garage Journal and another car forum brought me to this sub-forum (Garage Gallery). This site has been a wealth of knowledge, inspiration, and a terrible influence for my wallet  .
.
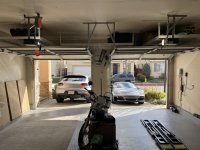
Everyone needs a place to store their tools and toys so the garage is the next place I make my own. I'll be updating this first post as I move along my journey.
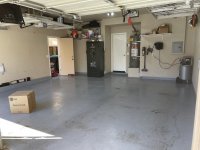
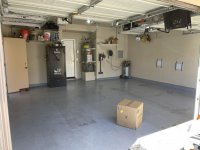
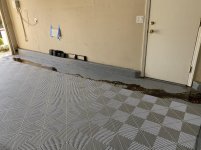
Before Pics:
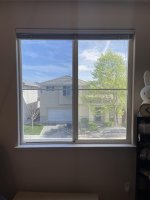
I wish I took better before pics when I first moved or before moving things around. There was 1 warm light bulb that illuminated nothing makes it difficult to work on the toys.


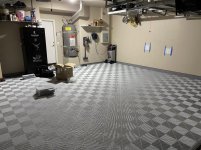
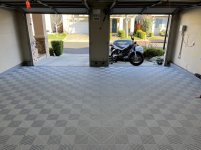
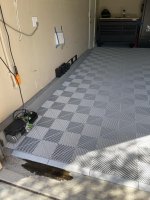
In Progress...

.Everyone needs a place to store their tools and toys so the garage is the next place I make my own. I'll be updating this first post as I move along my journey.
Before Pics:
I wish I took better before pics when I first moved or before moving things around. There was 1 warm light bulb that illuminated nothing makes it difficult to work on the toys.
In Progress...
Attachments


Last edited:


 .
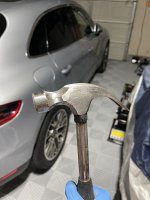
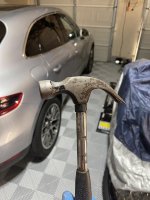
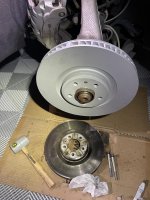
. . Went to the store to buy a ratcheting 1/4" wrench to hold a T-30 bit (I've only had metric motorcycles and cars) then removed 2 more screws.
 At this point I said I give up
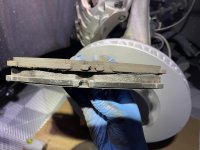
  however my better half said (I'm summarizing here), don't give up, here's a beer, grind that sucker out.
 and hoped that I had enough thread sticking out to remove. Luckily enough it worked! The rest was easy peasy and finished the next hour including dinner and cleanup.


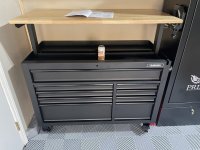


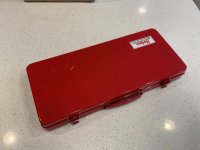
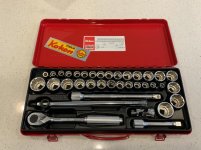
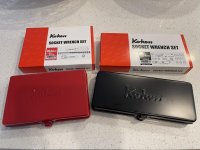
 . This is my first time buying premium tools and I will say it’s freakin’ awesome. The, fit, finish, feel, clicking, simply outshines my Stanley, Craftsman, Husky, Power Torque, and Tekton hand tools. For many years, I’ve been piecing random tools together as projects demanded it and now I have a proper full set that even comes with a 10mm socket.