To avoid these ads, REGISTER NOW!

30X44 Stick build in MA

ChevSub89

Member
Joined
Sep 18, 2020
Messages
12
Location
House
Long time lurker first time poster...

Finally got around to building my ideal garage on property...although I wish it was bigger!
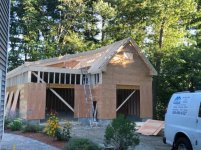
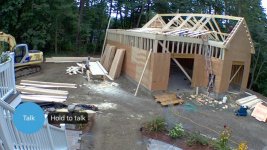
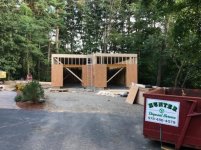
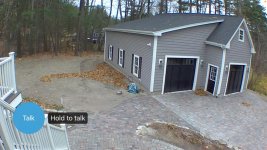
Stick built 30x44 overall with storage above. I'm working on the insides now as we started last year..just never got around to posting anything about it until now. Most of my pictures of the progress are from my security camera as during the fall and winter it's dark when I leave for work and dark when I get home from work :-(

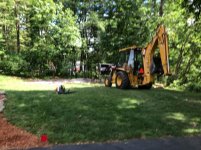
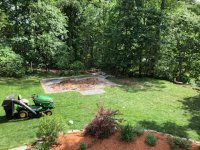
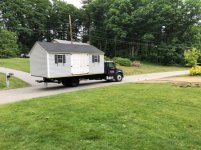
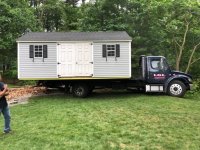
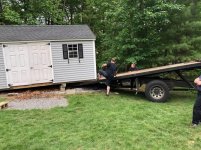
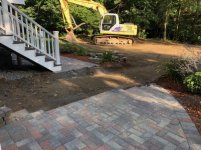
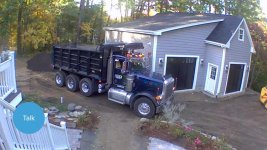
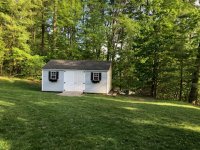
So we had a 12x24 Reeds Ferry shed on the property when we purchased it about 6 years ago. The shed is very nice and the hardscaping for it was done exceptionally well. The stone must have been at least 4 feet deep! The entire yard was done in the rear when an addition was added in 2011 and pitched perfectly for drainage. Being that the shed was that nice, and our yard was going to become a little tight in the rear with the new garage...the wife said it has to go or I have to build a smaller garage. Well...needless to say the shed went. All the way next door to the neighbors LoL. My towing contractor via work had no concerns about backing in at warp speed and throwing the shed on his truck. Between him arriving and leaving after dropping it on it's new blocks he was there for 2.5 hours. Pretty impressive. May have almost rolled a couple times, but that's for another time.

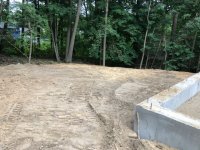
We needed to get the shed moved first so we could have the surveyor stake out the plans and see where the structure would lay.
 

Attachments

  • IMG_8220.jpg
    IMG_8220.jpg
    114.7 KB · Views: 64
  • IMG_8256.jpg
    IMG_8256.jpg
    85.3 KB · Views: 45
  • IMG_8255.jpg
    IMG_8255.jpg
    117.7 KB · Views: 46
  • IMG_8257.jpg
    IMG_8257.jpg
    136.4 KB · Views: 47
  • IMG_8262.jpg
    IMG_8262.jpg
    98.1 KB · Views: 53
  • IMG_8260.jpg
    IMG_8260.jpg
    148.5 KB · Views: 56
  • IMG_8261.jpg
    IMG_8261.jpg
    149.8 KB · Views: 57
To avoid these ads, REGISTER NOW!
OP
C

ChevSub89

Member
Joined
Sep 18, 2020
Messages
12
Location
House
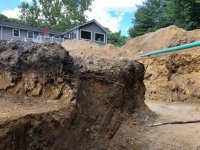
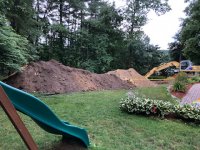
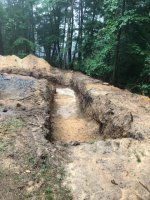
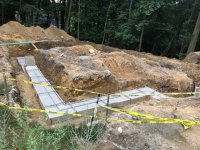
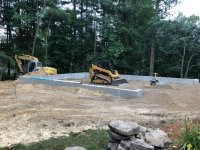
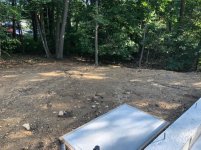
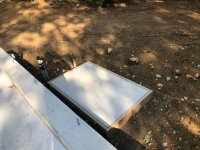
After that it was onto removing some pretty large trees and stumps. The largest being about 48" in diameter. Thankfully no ledge or large boulders. My neighbors across the street are sitting on all ledge. That would have definitely driven up the cost for excavation. They were able to remove the stumps and dig the foundation in 2 days! They did not screw around one bit. Every morning those guys were there at 6am warming up the equipment and didn't leave until 5pm.
 

Attachments

  • IMG_8565.jpg
    IMG_8565.jpg
    76.1 KB · Views: 48
  • IMG_8495.jpg
    IMG_8495.jpg
    75.9 KB · Views: 43
  • IMG_8488.jpg
    IMG_8488.jpg
    82.1 KB · Views: 44
  • IMG_8487.jpg
    IMG_8487.jpg
    116.5 KB · Views: 46
  • IMG_8474.jpg
    IMG_8474.jpg
    142.2 KB · Views: 50
  • IMG_8466.jpg
    IMG_8466.jpg
    137.5 KB · Views: 51
OP
C

ChevSub89

Member
Joined
Sep 18, 2020
Messages
12
Location
House
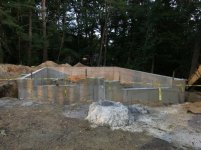
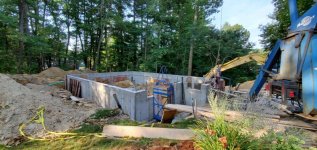
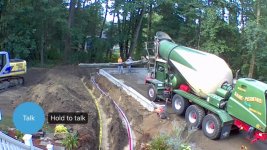
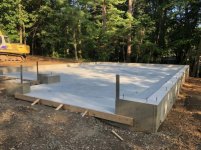
Forms went up in a day, with concrete poured into the footings the next. After about a week for concrete to set and the town to inspect they were back to do the foundation.
 

Attachments

  • IMG_8636.jpg
    IMG_8636.jpg
    74.5 KB · Views: 47
  • IMG_8629.jpg
    IMG_8629.jpg
    120.9 KB · Views: 48
  • IMG_8619.jpg
    IMG_8619.jpg
    76.6 KB · Views: 48
  • IMG_8618.jpg
    IMG_8618.jpg
    126.5 KB · Views: 50
  • IMG_8615.jpg
    IMG_8615.jpg
    119.5 KB · Views: 50
  • IMG_8580.jpg
    IMG_8580.jpg
    136.5 KB · Views: 50
OP
C

ChevSub89

Member
Joined
Sep 18, 2020
Messages
12
Location
House
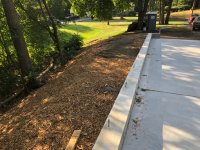
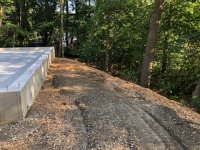
We actually lucked out on placement for the garage. We abut a drainage easement on two sides and placed the garage foundation right on the lines - with town approval of course. This in turn gave us much more usable yard space which we weren't even planning for! Bonus!
 

Attachments

  • IMG_8665.jpg
    IMG_8665.jpg
    111 KB · Views: 52
  • IMG_8663.jpg
    IMG_8663.jpg
    105.8 KB · Views: 47
  • IMG_8649.jpg
    IMG_8649.jpg
    127.8 KB · Views: 42
  • IMG_8645.jpg
    IMG_8645.jpg
    79.6 KB · Views: 43
  • IMG_8637.jpg
    IMG_8637.jpg
    137.1 KB · Views: 43
OP
C

ChevSub89

Member
Joined
Sep 18, 2020
Messages
12
Location
House
With the town giving the final approval we could start pulling up our patio/walkway to make room for the utilities trenches. We planned on running power for a separate panel, cable, internet, Natural Gas. We were combining the garage project with the addition of a whole home stand by NG Generac. Perfect location for it right behind the new garage. We decided against water as the town would have required sewer as well...in addition to a whole slew of other permits. Plus this way we don't have to heat it all the time if we don't want to!
 

Attachments

  • IMG_8748.jpg
    IMG_8748.jpg
    133.6 KB · Views: 42
  • IMG_8746.jpg
    IMG_8746.jpg
    118.7 KB · Views: 45
  • IMG_8745.jpg
    IMG_8745.jpg
    70.9 KB · Views: 43
  • IMG_8743.jpg
    IMG_8743.jpg
    61.8 KB · Views: 46
  • A-1.pdf
    113 KB · Views: 4
  • A-2.pdf
    123 KB · Views: 4
OP
C

ChevSub89

Member
Joined
Sep 18, 2020
Messages
12
Location
House
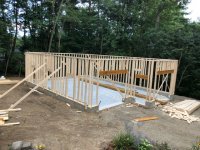
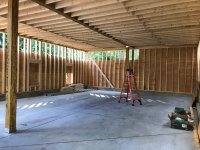
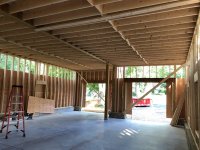
With the floor poured it was finally clear how big this garage was going to be...or not big enough if you ask me :)

We had settled on storage over on side (the long side) in order to make the roof line not seem so huge once completed.
 

Attachments

  • IMG_8753.jpg
    IMG_8753.jpg
    139.4 KB · Views: 39
  • IMG_8752.jpg
    IMG_8752.jpg
    99.5 KB · Views: 44
  • IMG_8751.jpg
    IMG_8751.jpg
    109.7 KB · Views: 45
  • IMG_8750.jpg
    IMG_8750.jpg
    142.8 KB · Views: 46
  • IMG_8749.jpg
    IMG_8749.jpg
    127.6 KB · Views: 52
  • IMG_8747.jpg
    IMG_8747.jpg
    65 KB · Views: 52
OP
C

ChevSub89

Member
Joined
Sep 18, 2020
Messages
12
Location
House
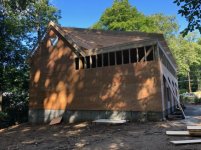
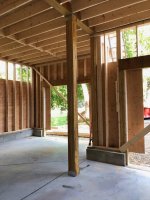
The framers were awesome!

They had the whole structure framed in a couple days! Good weather was clearly working in their favor.

We settled on first floor height of 11.5 feet from the floor to the bottom of the joists. We also decided to push the LVL up into the storage area rather than have it hang down in the shop area. Since we were doing a knee wall for snow load it made perfect sense.
 

Attachments

  • IMG_8782.jpg
    IMG_8782.jpg
    74.4 KB · Views: 65
  • IMG_8779.jpg
    IMG_8779.jpg
    73.8 KB · Views: 58
  • IMG_8778.jpg
    IMG_8778.jpg
    133.2 KB · Views: 58
  • IMG_8775.jpg
    IMG_8775.jpg
    89.9 KB · Views: 58
  • IMG_8774.jpg
    IMG_8774.jpg
    85.5 KB · Views: 59
  • IMG_8773.jpg
    IMG_8773.jpg
    64.5 KB · Views: 58
  • IMG_8770.jpg
    IMG_8770.jpg
    130.7 KB · Views: 64
OP
C

ChevSub89

Member
Joined
Sep 18, 2020
Messages
12
Location
House
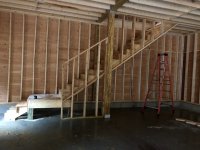
When we originally designed the garage it had storage on both sides at full height up above...we didn't realize until it came time to build the stairs that with the new design the stairs were going to not meet code for height. We ended up getting the blessing from the building inspector for the design you see here. When you walk up I clear the beam and the roof when at the top. Seeing as how I'm the tallest in the family it works for me!
 

Attachments

  • IMG_8803.jpg
    IMG_8803.jpg
    115.5 KB · Views: 58
  • IMG_8802.jpg
    IMG_8802.jpg
    111.5 KB · Views: 63
  • IMG_8790.jpg
    IMG_8790.jpg
    60.8 KB · Views: 59
  • IMG_8789.jpg
    IMG_8789.jpg
    138.9 KB · Views: 58
  • IMG_8788.jpg
    IMG_8788.jpg
    137.7 KB · Views: 58
  • IMG_8787.jpg
    IMG_8787.jpg
    73.4 KB · Views: 57
  • IMG_8786.jpg
    IMG_8786.jpg
    101.2 KB · Views: 60
OP
C

ChevSub89

Member
Joined
Sep 18, 2020
Messages
12
Location
House
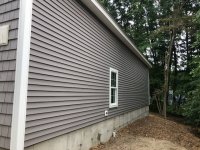
The roofers were done in a day and installed ice shield most of the way up the low pitched roof. We used thicker sheathing there as well to account for snow load.
The roofers also did the siding. Amazingly done in two days! We decided to got with a cedar style shingle in the front in order to make the front look a little better and maybe not so big.
 

Attachments

  • IMG_8864.jpg
    IMG_8864.jpg
    91.9 KB · Views: 45
  • IMG_8863.jpg
    IMG_8863.jpg
    89.4 KB · Views: 46
  • IMG_8862.jpg
    IMG_8862.jpg
    105.1 KB · Views: 53
  • IMG_8861.jpg
    IMG_8861.jpg
    127.5 KB · Views: 49
  • IMG_8860.jpg
    IMG_8860.jpg
    69.9 KB · Views: 56
  • IMG_8856.jpg
    IMG_8856.jpg
    89.8 KB · Views: 56
  • IMG_8810.jpg
    IMG_8810.jpg
    82.8 KB · Views: 56
To avoid these ads, REGISTER NOW!
OP
C

ChevSub89

Member
Joined
Sep 18, 2020
Messages
12
Location
House
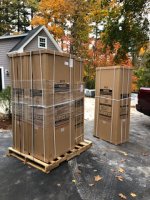
While the siding was being done our electricians took care of all their tasks. After the lights were installed and the garage doors finally came in we were able to start putting things in the space...important things. Like cars...some nice New Age cabinets and a new 4 post Advantage Lift.
We also started to get some fill in so we could re-pitch the yard to drain.
 

Attachments

  • IMG_9161.jpg
    IMG_9161.jpg
    97.8 KB · Views: 53
  • IMG_9160.jpg
    IMG_9160.jpg
    79.5 KB · Views: 53
  • IMG_9079.jpg
    IMG_9079.jpg
    96.5 KB · Views: 56
  • IMG_8966.jpg
    IMG_8966.jpg
    127.6 KB · Views: 66
  • IMG_8893.jpg
    IMG_8893.jpg
    107.6 KB · Views: 54
  • IMG_8865.jpg
    IMG_8865.jpg
    116 KB · Views: 50
OP
C

ChevSub89

Member
Joined
Sep 18, 2020
Messages
12
Location
House
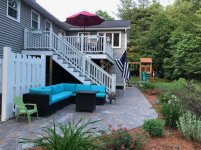
We decided that if we did asphalt to the garage it would look horrible with how much of it there would need to be. We chose to match the existing patio that we had with the same style and color brick. We also made a new connecting walkway and re-worked the garden beds for access to the garage. The end result was much better than we thought it would be.
 

Attachments

  • IMG_9436.jpg
    IMG_9436.jpg
    115.4 KB · Views: 54
  • IMG_9304.jpg
    IMG_9304.jpg
    145.4 KB · Views: 64
  • IMG_9250.jpg
    IMG_9250.jpg
    85.7 KB · Views: 62
  • IMG_9195.jpg
    IMG_9195.jpg
    149.5 KB · Views: 71
  • IMG_8284.jpg
    IMG_8284.jpg
    96.8 KB · Views: 64
  • IMG_9171.jpg
    IMG_9171.jpg
    57.6 KB · Views: 58
OP
C

ChevSub89

Member
Joined
Sep 18, 2020
Messages
12
Location
House
Thanks for the kind words!

I hope to post more soon, but with my job and a toddler I only have about 45 minutes a night to spend on it...so progress will be slow. But slow and steady will get me there no matter what right?

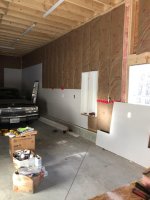
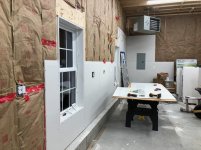
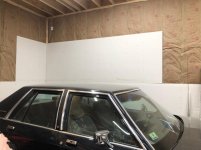
Here is some progress pictures on the drywall. Hope to be done with it by next weekend.
 

Attachments

  • IMG_0001.jpg
    IMG_0001.jpg
    73.4 KB · Views: 50
  • IMG_0097.jpg
    IMG_0097.jpg
    149.2 KB · Views: 44
  • IMG_0098.jpg
    IMG_0098.jpg
    151.5 KB · Views: 50
  • IMG_9998.jpg
    IMG_9998.jpg
    103.3 KB · Views: 54
To avoid these ads, REGISTER NOW!
Top Bottom