BiTurbo228
Well-known member
Hi folks!
I've been loitering around these parts on and off for quite a while now, and even had a thread on my old garage which I've thoroughly neglected to update (largely because I've outgrown it and it's a complete mess).
However, there's been a rather exciting development in my world in that I've finally bitten the bullet and become a home-owner!

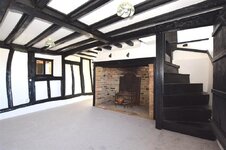
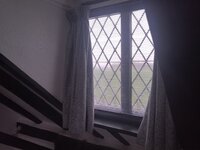
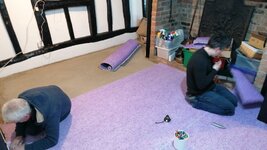
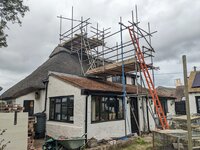
It's a listed thatched cottage which is the appropriate combination of terrifying and unbelievably cool. The core of the cottage was built in the 1500s sometime, with extensions added on through the 1700s with a final extension added onto the back in 1997 when there's actually records existing. While it's in mostly good condition, there are some bits and pieces that need doing which I can detail if people are interested (new kitchen, gas tank underground so we don't spend £400pm on heating over winter, insulation so we don't spend £400pm on heating, get the AirBnB up and running so we can afford £400pm in heating until the other two get done etc. etc.).
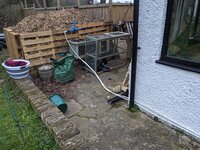
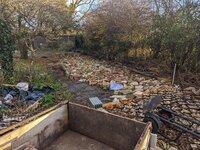
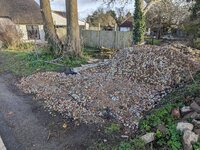
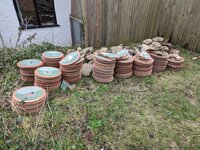
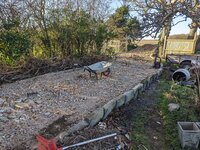
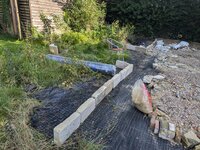
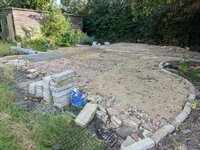
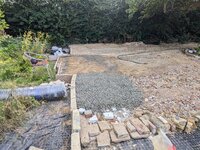
However, the major draw for me is this:

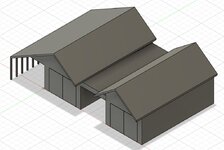
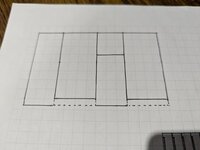
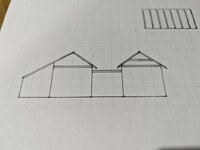
Big ol' garden out the back with plenty of space for a generously-sized garage tucked in the corner. However, that's future plans after we've got all the necessary permissions. For now, there's a little L-shaped area in one of the outbuildings that I've claimed as an intermediate garage/workshop area, which is what this thread will be about
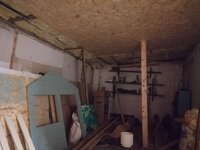
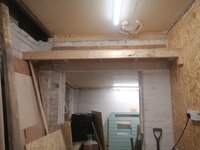
The little L-shaped area has one leg for a car parking space which is 9.8x19.3 and another one for a workshop at 6.6x10.6 (once I've removed the section claimed by the other half for washing machines and rabbit-food storage). The PO had been partway through converting it into a sort of rental flat type thing, so on moving in day it looked like this:
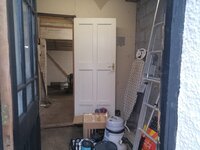
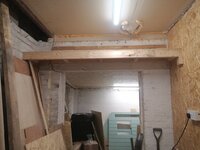
Stud wall partitioning the workshop area.
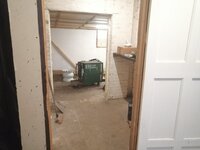
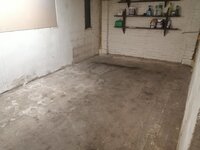
Through the door in the stud wall

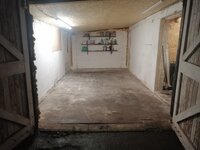
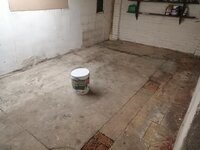
Garage area
First order of business was gutting the timber partitioning wall in what will eventually be the workshop area, being careful to recover as much timber as possible as I'm skint!
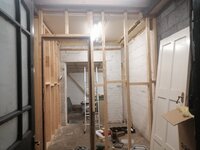

Part of the reason for taking all of this down was that the stud wall on the left was inset a fair way and unnecessarily narrowed the workshop by about a foot!

I repurposed some of the plasterboard to line the breezeblock partitioning wall as sound transmission across it is a concern, and it saved a trip to the recycling centre.

For a similar reason I re-used some of the stud walling to sit in front of the breezeblocks. Partially to put a bit more distance between me working and the wall, and also because I much prefer timber as a building material (and loathe plasterboard/drywall). Much tougher, and the ability to screw stuff to it without having to align it with studs is worth its weight in gold.
Behind that went all of the rockwool I'd pulled out of the old walls, plus a couple of bags we've had lying around for yonks.

The top of the stud wall got nailed to one of the roof crossbeams, supporting that a little, and the bottom got bolted to the concrete floor using epoxy stud fixing goo.
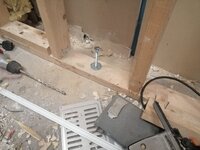
Next up was to run the wiring. I'd actually forgotten about this step and jumped the gun on fitting the OSB to the face of it, and had to take all that off and go again!
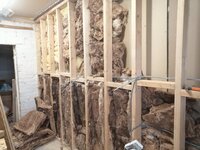
There's a 2.5mm T&E cable going to an existing breaker for the higher level plugs which will sit above the workbench, and a 6mm T&E cable which will eventually get plumbed into another breaker for the under-bench plugs and the spur around the garage area. The idea is that the top ones will be used for movable stuff and pillar drills and the like, while the under-bench ones will be for compressors and the washing machine. I also get a little bugged by having angle grinder cables trailing over the workbench while I'm doing stuff, so they can stay plugged in underneath and just be brought up for use.
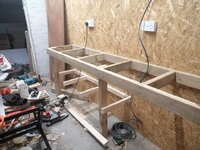
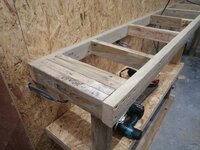
After that the boards could go back on and it was starting to come together!


That'll do for an initial update, but there's more to come if people are interested
I've been loitering around these parts on and off for quite a while now, and even had a thread on my old garage which I've thoroughly neglected to update (largely because I've outgrown it and it's a complete mess).
However, there's been a rather exciting development in my world in that I've finally bitten the bullet and become a home-owner!
It's a listed thatched cottage which is the appropriate combination of terrifying and unbelievably cool. The core of the cottage was built in the 1500s sometime, with extensions added on through the 1700s with a final extension added onto the back in 1997 when there's actually records existing. While it's in mostly good condition, there are some bits and pieces that need doing which I can detail if people are interested (new kitchen, gas tank underground so we don't spend £400pm on heating over winter, insulation so we don't spend £400pm on heating, get the AirBnB up and running so we can afford £400pm in heating until the other two get done etc. etc.).
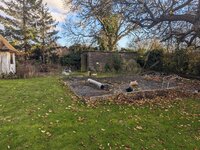
However, the major draw for me is this:
Big ol' garden out the back with plenty of space for a generously-sized garage tucked in the corner. However, that's future plans after we've got all the necessary permissions. For now, there's a little L-shaped area in one of the outbuildings that I've claimed as an intermediate garage/workshop area, which is what this thread will be about
The little L-shaped area has one leg for a car parking space which is 9.8x19.3 and another one for a workshop at 6.6x10.6 (once I've removed the section claimed by the other half for washing machines and rabbit-food storage). The PO had been partway through converting it into a sort of rental flat type thing, so on moving in day it looked like this:
Stud wall partitioning the workshop area.
Through the door in the stud wall
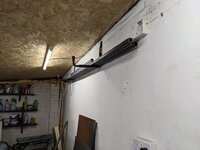
Garage area
First order of business was gutting the timber partitioning wall in what will eventually be the workshop area, being careful to recover as much timber as possible as I'm skint!
Part of the reason for taking all of this down was that the stud wall on the left was inset a fair way and unnecessarily narrowed the workshop by about a foot!
I repurposed some of the plasterboard to line the breezeblock partitioning wall as sound transmission across it is a concern, and it saved a trip to the recycling centre.
For a similar reason I re-used some of the stud walling to sit in front of the breezeblocks. Partially to put a bit more distance between me working and the wall, and also because I much prefer timber as a building material (and loathe plasterboard/drywall). Much tougher, and the ability to screw stuff to it without having to align it with studs is worth its weight in gold.
Behind that went all of the rockwool I'd pulled out of the old walls, plus a couple of bags we've had lying around for yonks.
The top of the stud wall got nailed to one of the roof crossbeams, supporting that a little, and the bottom got bolted to the concrete floor using epoxy stud fixing goo.
Next up was to run the wiring. I'd actually forgotten about this step and jumped the gun on fitting the OSB to the face of it, and had to take all that off and go again!
There's a 2.5mm T&E cable going to an existing breaker for the higher level plugs which will sit above the workbench, and a 6mm T&E cable which will eventually get plumbed into another breaker for the under-bench plugs and the spur around the garage area. The idea is that the top ones will be used for movable stuff and pillar drills and the like, while the under-bench ones will be for compressors and the washing machine. I also get a little bugged by having angle grinder cables trailing over the workbench while I'm doing stuff, so they can stay plugged in underneath and just be brought up for use.
After that the boards could go back on and it was starting to come together!
That'll do for an initial update, but there's more to come if people are interested