To avoid these ads, REGISTER NOW!

What did you do "IN" your garage today?

bugnut

ALLIANCE MEMBER
Joined
Jul 14, 2012
Messages
4,009
Location
Central Ohio
Changed out the bolts on the 20 ton press, the **** that came with it stripped just tightening it with a 3/8 ratchet. Bolt depot order arrive and I change out all of the bolts. Had to fight the one stripped one to complete the job.

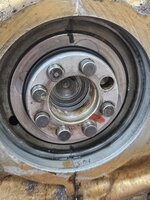
Measured and videoed the 1600cc rear main bearing. I believe it has too much movement.
 

Attachments

  • 20250419_110846.jpg
    20250419_110846.jpg
    880.2 KB · Views: 29
  • 20250419_110917.jpg
    20250419_110917.jpg
    582.7 KB · Views: 21
  • 20250419_113705.jpg
    20250419_113705.jpg
    680 KB · Views: 18
  • 20250419_141325.jpg
    20250419_141325.jpg
    995.3 KB · Views: 24
To avoid these ads, REGISTER NOW!

jagwinn

Well-known member
Joined
Apr 10, 2013
Messages
487
Location
Virden, Illinois
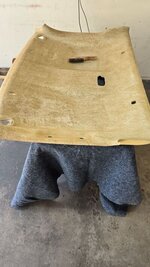
Removed the headliner from 2004 Silverado. Single cab. I removed all the interior trim and sunvisors, grab handle, dome lamp and coat hooks.
Removed the third brake light on the rear roof to get at the snap in attaching to release the head liner backing board.
I peeled the cloth from the foam that was glued to the fiberglass headliner board.
I proceeded to remove the foam to get a clean surface for the new material.
START POST.jpg

I started with sandpaper but that was slow going; various grits and sanding blocks...not really effective.
I tried putty knives in a variety of widths, dragging them upright like a paint scraper, but not really effective.
Then I tried a belt sander very uneven results and to much dust!
Finally tried a wire brush....
WIREBRUSH POST.jpg
Very much better!
One hour later:
FINISH POST.jpg
Had one mishap:
VOID POST.jpg

Next up will be attach new material.
I purchased 60"X40" of headliner material from the Springfield Wal Mart store fabric department. Color selection was Dark Grey, Beige and White; foam backed. Also, can of spray Upholstery Adhesive.
$21 altogether...
 

rd65

Well-known member
Joined
Sep 29, 2017
Messages
2,841
Location
Granite Falls, WA
Removed the headliner from 2004 Silverado. Single cab. I removed all the interior trim and sunvisors, grab handle, dome lamp and coat hooks.
Removed the third brake light on the rear roof to get at the snap in attaching to release the head liner backing board.
I peeled the cloth from the foam that was glued to the fiberglass headliner board.
I proceeded to remove the foam to get a clean surface for the new material.
START POST.jpg

I started with sandpaper but that was slow going; various grits and sanding blocks...not really effective.
I tried putty knives in a variety of widths, dragging them upright like a paint scraper, but not really effective.
Then I tried a belt sander very uneven results and to much dust!
Finally tried a wire brush....
WIREBRUSH POST.jpg
Very much better!
One hour later:
FINISH POST.jpg
Had one mishap:
VOID POST.jpg

Next up will be attach new material.
I purchased 60"X40" of headliner material from the Springfield Wal Mart store fabric department. Color selection was Dark Grey, Beige and White; foam backed. Also, can of spray Upholstery Adhesive.
$21 altogether...
I have watched some of this guy on YT. Good information.
 

XJSuperman

Well-known member
Joined
Jan 26, 2018
Messages
3,088
Location
Central Iowa
Removed the headliner from 2004 Silverado. Single cab. I removed all the interior trim and sunvisors, grab handle, dome lamp and coat hooks.
Removed the third brake light on the rear roof to get at the snap in attaching to release the head liner backing board.
I peeled the cloth from the foam that was glued to the fiberglass headliner board.
I proceeded to remove the foam to get a clean surface for the new material.
START POST.jpg
I started with sandpaper but that was slow going; various grits and sanding blocks...not really effective.
I tried putty knives in a variety of widths, dragging them upright like a paint scraper, but not really effective.
Then I tried a belt sander very uneven results and to much dust!
Finally tried a wire brush....
WIREBRUSH POST.jpg
Very much better!
Some advice I was given years ago before doing my Jeep was to use a toilet brush cut off and chucked in a drill. Worked amazingly well.
 

niget2002

Well-known member
Joined
Oct 2, 2012
Messages
11,263
Location
Josephine, TX
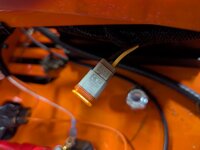
Started playing with the light for the zero turn. Discovered the mower has an available plug for 'auxilary' that is tied to 4th position on the key. Jammed some wires in it and was able to power the light. I'll have to order some plugs to match, but I'll be able to hook it up directly to the key.

I need to wire in a fuse. The electrical schematic doesn't show one.

1000003730.jpg
 

ed_

Well-known member
Joined
Nov 5, 2019
Messages
187
Location
Maine
I decided to cut the bandsaw project short and finished up painting the stand / reassembling it. I had originally planned on some more mods like a lower shelf and chip tray but I need the saw for it's first big project.
IMG_20250422_222314_868.jpg

I need to turn this metal into a chassis table for the XJ in the background.
IMG_20250423_144038_599.jpg

It's gonna be a little shorter than most chassis tables at 12' so my XJ will overhang both ends by ~1' but that's fine for my needs. Eventually when the XJ is done I'll add leg extensions to the table and turn it into an epic workbench island thing. I might start a thread for the project.
 

niget2002

Well-known member
Joined
Oct 2, 2012
Messages
11,263
Location
Josephine, TX
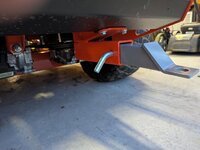
Went out and mounted the light bar on the zero turn. I used rivnuts to mount the light to the ROPs. Then I drilled holes and used grommets to run the wire through the ROPs. Discovered after I drilled the hole at the top that here's already a hole in the back. I'll do all the electricals when the connector comes in.

1000003734.jpg

Then I mounted the trailer hitch to the mower.

1000003735.jpg

Then I took the mower for a spin with the utility cart attached.
 
To avoid these ads, REGISTER NOW!

DGersic

Well-known member
Joined
Mar 12, 2017
Messages
6,386
Location
DeKalb, IL
Was going to work on the mower deck painting, but intermittent rain got in the way. So puttering on other projects.

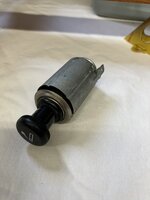
Out with the old 12 lighter socket.

IMG_6812.jpeg

In with the new 25W USB A/C charge port. Minor wiring updates needed, made more difficult by the HVAC controls and the cowl vent mechanism being in the way.

IMG_6811.jpeg

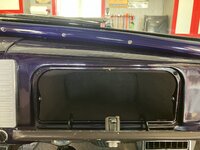
The rubber bumpers for my glove box door arrived. So, door installed temporarily.

IMG_6815.jpegIMG_6816.jpeg

It’s going to be painted to match the dash, when my friend can do it. He messed up his hands last week, so painting is out for now.

Sanded and stained my grilling tools.

IMG_6817.jpeg

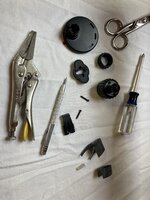
That 25W charge port is to support a magnet mount / MagSafe charger. Some minor disassembly and modifications to make the hook attach where I need it.

IMG_6809.jpegIMG_6818.jpegIMG_6819.jpeg

I wanted something I can see, but that is removable.

Needs a short USB C cable. I have some 6”, those are too short by about an inch. Some 9” cables will fix that and will be here eventually.
 

bugnut

ALLIANCE MEMBER
Joined
Jul 14, 2012
Messages
4,009
Location
Central Ohio
Spent more time measuring on the crank and the rear main bearing, put an indicator on both surfaces and then gently moved, bearing moved more than the indicator could measure, so greater than .028", crank moved more than .040" so this is not good. Left it set up so I can digest the numbers and figure out if I have more questions.

Put two new tires and rims, that I picked up from my tire savant, in the stack of parts ready for installation on the baja. Thinking it would be nice to replace the lug bolts, with studs. Gotta find out who sells them and if they are short enough for the aluminum wheels.
 

Attachments

  • 20250423_112014.jpg
    20250423_112014.jpg
    878.2 KB · Views: 10
  • 20250423_160209.jpg
    20250423_160209.jpg
    713.2 KB · Views: 11

Notgrownup

Well-known member
Joined
May 5, 2014
Messages
5,977
Location
Snow Hill NC
Pulled the Tri Glide in the shop for a motor and primary oil change . I like to take it for a ride to warm up everything the drain it . Damnit if I can’t find an oil filter. I always have a spare. 30 minute ride to the Harley Dealer at lunch today I guess if I want to ride in the Shriners poker run Saturday.. Eased off my worries with 3 glasses of Kosher Rioja from Spain that was gifted to me at Christmas and a nice Filet On the grill.
 

jimkinney

Well-known member
Joined
Jan 3, 2009
Messages
303
Location
Florida's Space Coast
Rearranged the garage to get the dead water heater out. Of course it's in the back corner behind the bench and air compressor.
Most things are on wheels except the 5000 lb workbench, ok it's closer to 500 lb, but feels heavier. Luckily I can use the floor jack to get it on wheels to move it.

Got the heater out, set it at the curb and it was gone before bed time.

More cold showers until the new heater arrives next week, but the garage is ready for the install.
 

XJSuperman

Well-known member
Joined
Jan 26, 2018
Messages
3,088
Location
Central Iowa
Bunch of in and out yesterday hanging a bird shelter for a particularly dumb Robin thats been hanging around attempting to build a nest in an undesirable location. Tools collected, tools replaced. Hail storm the previous night brought down a bunch of tree debris so out came the blower and cleaned the driveway and sidewalks and vehicles off. The rain keeps coming so the mower waits.
 

cannuck

Well-known member
Joined
Nov 30, 2021
Messages
4,662
Location
Rural SK
Did a quick set of clamp-on connectors to test spring rates vs. deflection at various distances along a Chev 1500 fiberglass spring. Used my 10 ton load cell/meter on hook of Gallion 125 mobile crane with the adjustable clamps hanging 6' lengths of deck chain hooked to bottom blade of D5 with hydraulics extended to load blade down. Got some interesting numbers, my 13YO grandson ran crane (yes, I can trust and totally depend on his skill and common sense). It is Easter break for him from school, so took him into polytech for a tour of the shops. Didn't think I would ever be able to get him out of the "Advance Manufacturing and Additive Manufacturing" lab. He also got to spend some time with me on the project I consult to in one of the shops (sorry, big ND so no go on discussion). Wish more people would expose their kids to the trades and technical options they have after HS. Some fantastic opportunities out there.
 

cody1325

Well-known member
Joined
Apr 17, 2024
Messages
1,119
Location
Southwest Virginia
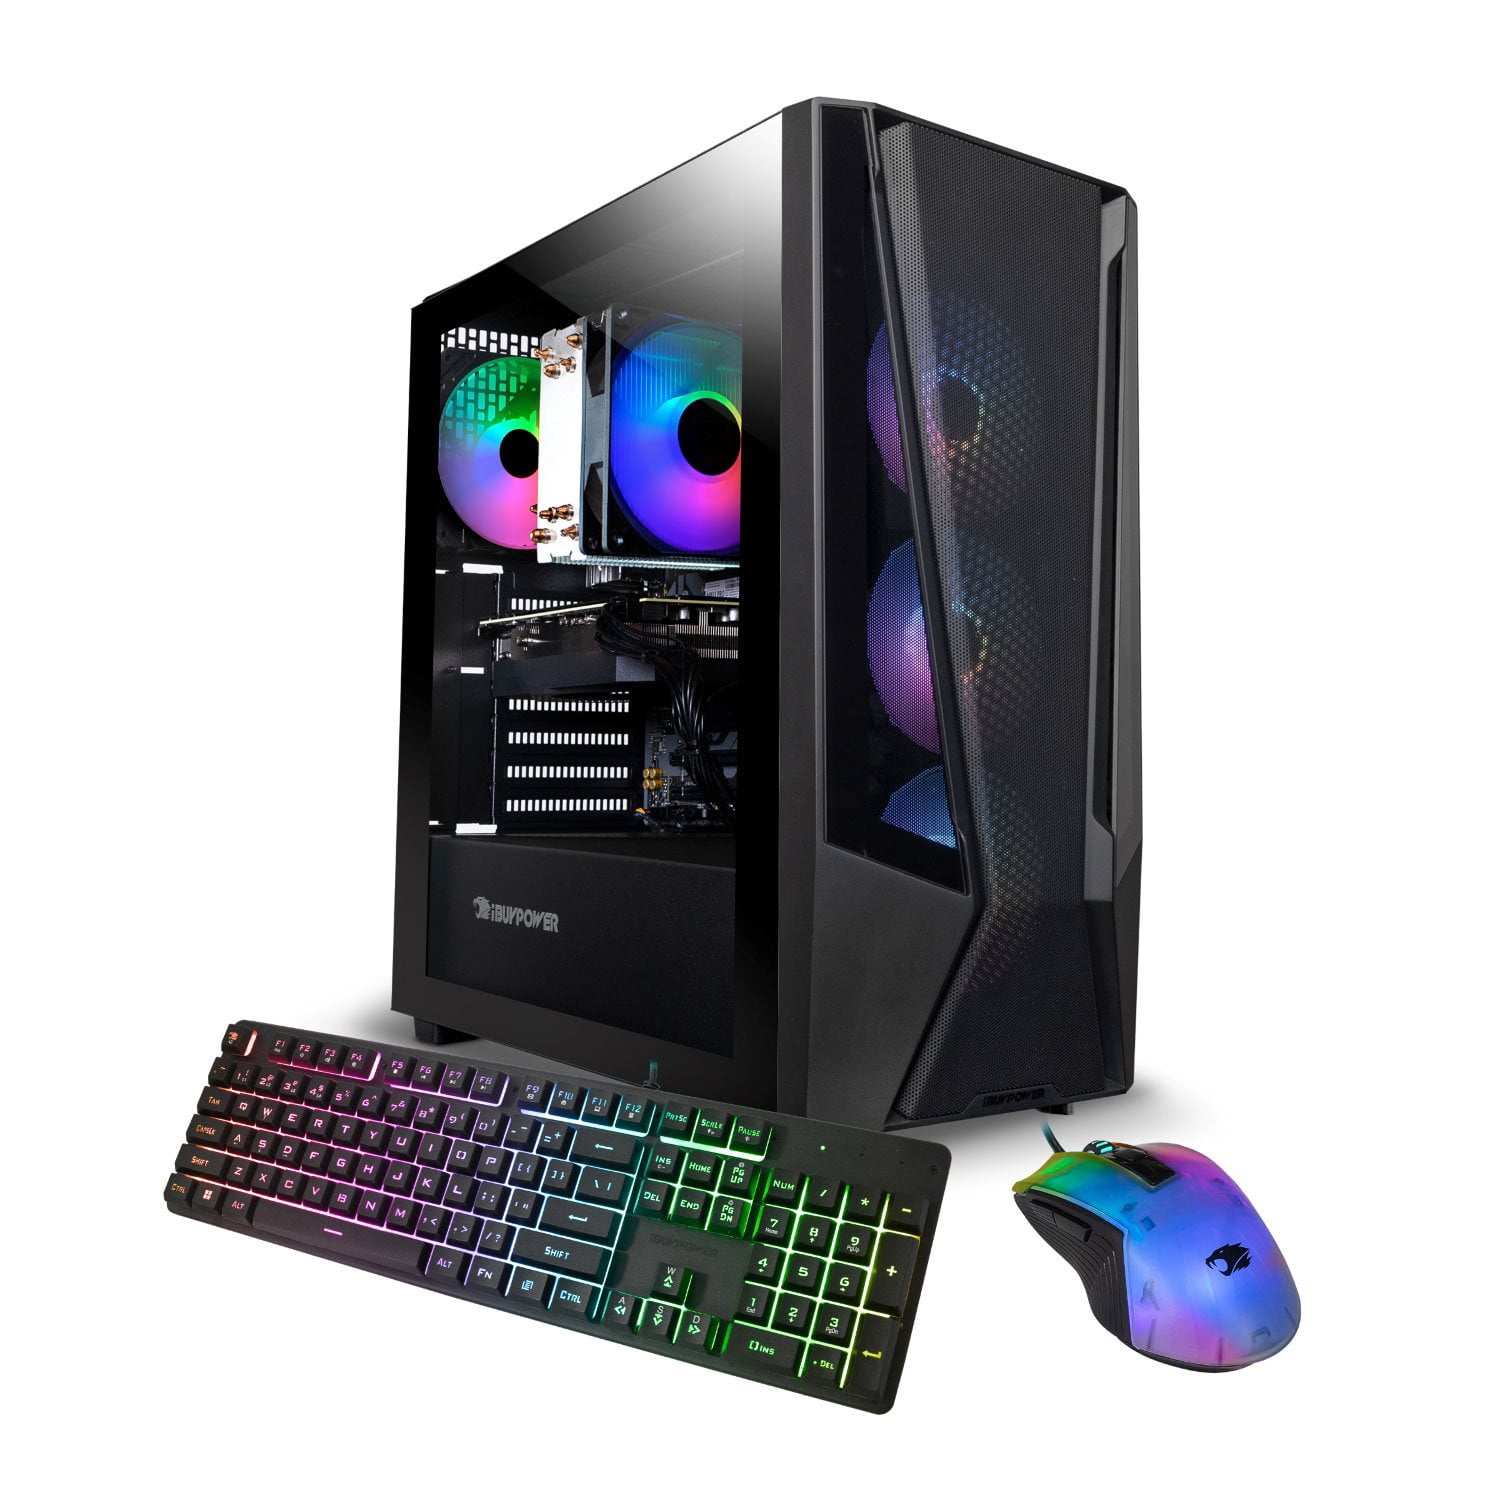
Bought the floor/demo model of a gaming PC at Sam's Club today. $550 from $900, and they didn't have that gaudy mouse and keyboard (thus, I just used my existing Logitech/Razer setup) that they would've had to pay me to take otherwise. Yes, I hate RGB with a passion.


Well, I had to wipe it down to the MSI BIOS to remove the Sam's Club admin/demo account. Still in the process of making a bootable drive using my 500GB external SSD, as well as writing down a few key passwords.
 

npp

Well-known member
Joined
Dec 6, 2012
Messages
296
Spent more time measuring on the crank and the rear main bearing, put an indicator on both surfaces and then gently moved, bearing moved more than the indicator could measure, so greater than .028", crank moved more than .040" so this is not good. Left it set up so I can digest the numbers and figure out if I have more questions.

Put two new tires and rims, that I picked up from my tire savant, in the stack of parts ready for installation on the baja. Thinking it would be nice to replace the lug bolts, with studs. Gotta find out who sells them and if they are short enough for the aluminum wheels.
Seems like you will need a align bore and new main bearings.
 
To avoid these ads, REGISTER NOW!
Top Bottom