I loaded up my 250cf Argon tank yesterday and went to my local welding supply and swapped it for a refill, then got the TIG welder put back together.

At that point I decided to suit up and crawl under the coach and get started on removing my PPV (Pressure Protection Valves) from the rear air tank. The rear air tank is the hardest to access being positioned directly over the drive axle, so I would like to get it knocked out first and get it over with. I believe I have one beginning to leak internally and being 24 years old in a couple of months I figured rather than trying to decide which one is leaking, I may as well just replace all of them and have peace of mind.
Also, the older Air Force One auxiliary braking systems just tapped into an air brake chamber and although it works, it doesn't work as effectively as it should as well as isn't DOT compliant with as it doesn't meet FMVSS 121. By merely tapping into a brake chamber in essence it is splitting the air between that chamber as well as the toad, so while I have the PPV valves and air line work going on, I wanted to make sure I made my setup fully compliant. Spartan chassis used to package and sell a really nice supplemental braking kit for their chassis, but they no longer offer it. Although I am not running a Spartan chassis, most large diesel pusher coaches using air brakes all pretty much share similar design and layout so the Spartan kit will work interchangeably. I have been keeping my eye open for a NOS kit and stumbled across one last year for sale on eBay so I made an offer and purchased it. It's been sitting on my shelf ever since so I wanted to dig it out and install it.
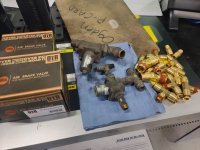
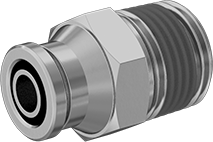
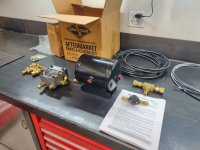
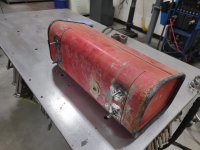
The kit is pretty inclusive of an auxiliary air tank, PPV valve, brake relay and an assortment of various compression style fittings and DOT air line. I laid out the components in order of how I'll install them and figured while I was under the coach working on removing the PPV valves, I would try to determine a location for both the air tank and the brake relay.
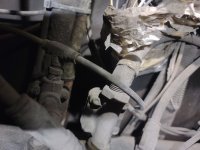
Sorry for the poor pictures, there is not much room under the coach and I have to squeeze up between the tag axle and drive axle in order to reach the primary air tank. I marked the PPV valves, the PCC (Pressure Control Check) valve, which I may as well replace as well seeing as how I had to remove it to remove the last PPV valve, and the marked all of the associated air lines to go with each specific valve for identification. Colors on the air lines are hard to tell due to the manufacturer covering everything in paint and undercoating, so colored zip-ties will have to do.

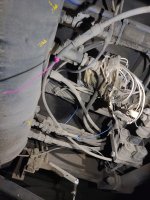
I also realized that I think that Monaco/Roadmaster looks to have installed the PPV valves upside down. I think the spring chamber with the hole to atmosphere is supposed to be facing down according to an older Haldex installation guide I read years ago. I think I will go ahead and place them in the correct orientation upon installation.
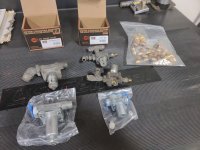
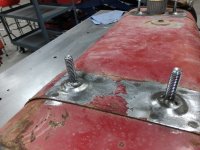
The two PPV valve and the pressure control check valve removed. I was able to find a couple of part numbers with a little help from some light sanding, so I'll make a trip to my local Fleetpride to see about getting replacements.

Thanks for looking.




 I have to lean it against the tailgate and then grab it by the bottom and slide it up and into the bed.