To avoid these ads, REGISTER NOW!

My little shop.

kingston

Well-known member
Joined
Mar 21, 2010
Messages
140
Location
America
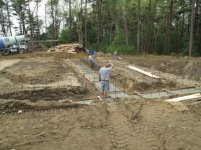
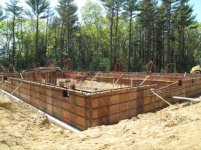
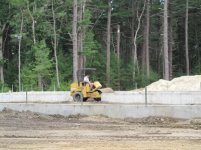
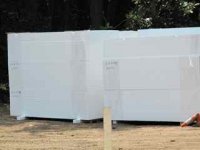
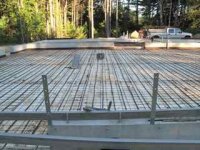
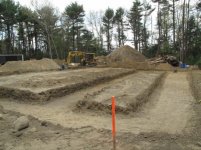
I thought that this might be a good way to introduce myself. This is the shop that I am building for myself. Not quite from the beginning, but almost.

Specs.
Footprint: 58'x80'
First Floor: 40x80x16; 18x80x14
Second Floor: 18x80x10
Mezzanines: 10x36; 8x30
Footing: 10"x 36"
Foundation: 10"x60"
 

Attachments
  • IMG_0937.jpg
    IMG_0937.jpg
    57.7 KB · Views: 151
  • IMG_0945.jpg
    IMG_0945.jpg
    53.5 KB · Views: 121
  • IMG_0959.jpg
    IMG_0959.jpg
    62 KB · Views: 124
  • IMG_0971.jpg
    IMG_0971.jpg
    70.7 KB · Views: 142
  • IMG_1049.jpg
    IMG_1049.jpg
    40.7 KB · Views: 146
  • IMG_1020.jpg
    IMG_1020.jpg
    56.5 KB · Views: 129
Last edited:
To avoid these ads, REGISTER NOW!
OP
K

kingston

Well-known member
Joined
Mar 21, 2010
Messages
140
Location
America
Here are some more pictures.
 

Attachments

  • IMG_1200.jpg
    IMG_1200.jpg
    57.9 KB · Views: 181
  • IMG_1178.jpg
    IMG_1178.jpg
    55.4 KB · Views: 188
  • IMG_1176.jpg
    IMG_1176.jpg
    51.6 KB · Views: 141
  • IMG_1166.jpg
    IMG_1166.jpg
    55.5 KB · Views: 122
  • IMG_1055.jpg
    IMG_1055.jpg
    66.1 KB · Views: 133

el capitan

Member
Joined
Oct 23, 2010
Messages
5
You had me at shop. This looks like it's going to be A.... wait for it, mazing! What do you plan on doing in this bad boy?
 
OP
K

kingston

Well-known member
Joined
Mar 21, 2010
Messages
140
Location
America
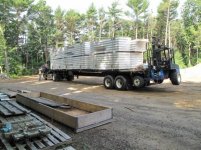
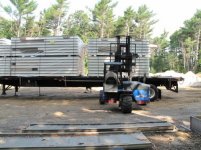
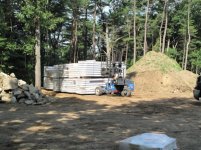
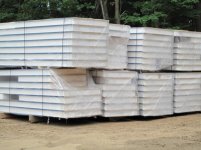
Receiving the SIPs.
 

Attachments

  • IMG_1132.jpg
    IMG_1132.jpg
    67 KB · Views: 120
  • IMG_1133.jpg
    IMG_1133.jpg
    59.9 KB · Views: 116
  • IMG_1136.jpg
    IMG_1136.jpg
    68.7 KB · Views: 105
  • IMG_1194.jpg
    IMG_1194.jpg
    43.9 KB · Views: 123
OP
K

kingston

Well-known member
Joined
Mar 21, 2010
Messages
140
Location
America
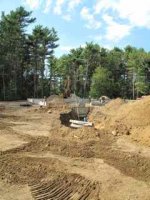
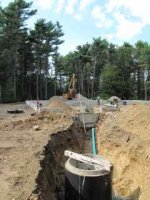
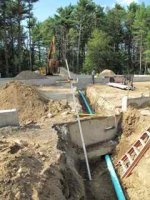
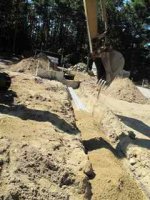
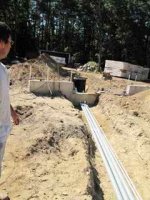
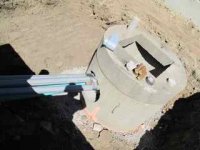
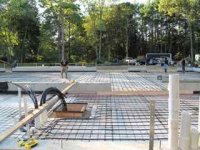
Setting precast for the buried utility chases.
 

Attachments

  • IMG_1366.jpg
    IMG_1366.jpg
    12.4 KB · Views: 90
  • IMG_1347.jpg
    IMG_1347.jpg
    13 KB · Views: 89
  • IMG_1348.jpg
    IMG_1348.jpg
    12.4 KB · Views: 110
  • IMG_1352.jpg
    IMG_1352.jpg
    14.7 KB · Views: 114
  • IMG_1353.jpg
    IMG_1353.jpg
    11.5 KB · Views: 121
  • IMG_1359.jpg
    IMG_1359.jpg
    13.7 KB · Views: 120
  • IMG_1360.jpg
    IMG_1360.jpg
    12.3 KB · Views: 126
OP
K

kingston

Well-known member
Joined
Mar 21, 2010
Messages
140
Location
America
Just a bit of advice it is much easier to form the chases in the poured walls than it is to core chases in after the fact. I cored 20+ 5" holes and 14 or so 2.5" holes by had with a DIMAS hand held core drill. It took me about 2 days...
 

Attachments

  • IMG_1373.jpg
    IMG_1373.jpg
    11.3 KB · Views: 69
  • IMG_1371.jpg
    IMG_1371.jpg
    14.7 KB · Views: 48
  • IMG_1370.jpg
    IMG_1370.jpg
    11.2 KB · Views: 54
  • IMG_1369.jpg
    IMG_1369.jpg
    13.8 KB · Views: 60
  • IMG_1368.jpg
    IMG_1368.jpg
    9.6 KB · Views: 68
To avoid these ads, REGISTER NOW!
OP
K

kingston

Well-known member
Joined
Mar 21, 2010
Messages
140
Location
America
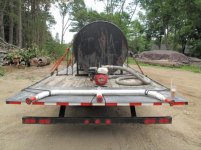
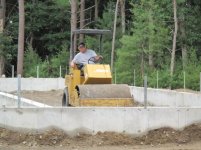
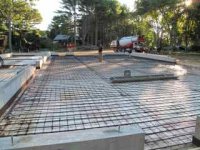
After the utility chases were backfilled and compacting in lifts, we brought in 60 or so yards of some very mildly silty sand to begin preparing the floors. Spreading, raking, compacting, soaking, and lasering the grade took around 120 hours using the Wacker plate compactor, t 10-wheeler, CAT 312, Case 221D, and water wagon. It's hard to believe that I only seem to have this one picture to show for it.
 

Attachments

  • IMG_1382.jpg
    IMG_1382.jpg
    10.8 KB · Views: 105
Last edited:
OP
K

kingston

Well-known member
Joined
Mar 21, 2010
Messages
140
Location
America
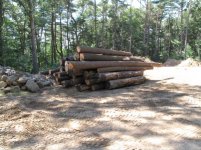
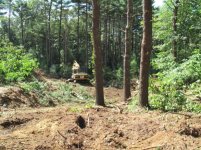
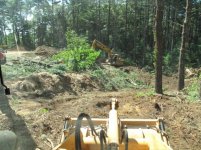
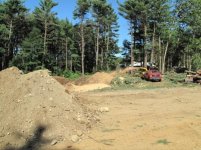
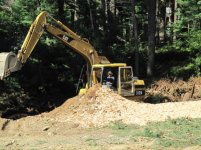
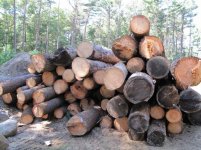
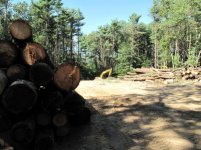
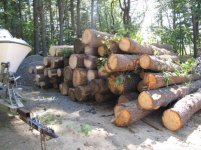
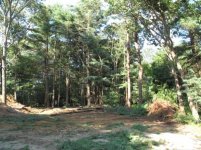
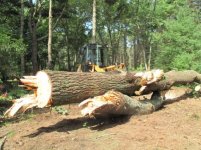
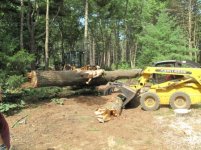
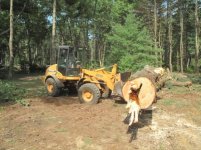
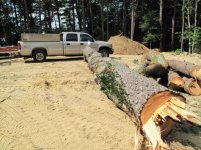
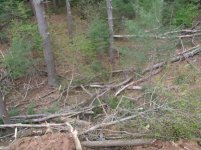
These next photos are going back to the final stages of site clearing, grubbing out subsoil and forest mat, stumping and the last of the tree cutting. This is all prior to filling a 30' deep hole with 14,000+ yards of structural fill. The fill came in over the course of 4 years and was pushed in and compacted in lifts. I'll post some aerial photographs taken from a helicopter later on. The site was very heavily wooded. All logs were cut piled and milled on site and will be used to finish the interior and exterior of the barn.
 

Attachments

  • IMG_0499.jpg
    IMG_0499.jpg
    71.4 KB · Views: 38
  • IMG_0494.jpg
    IMG_0494.jpg
    77.2 KB · Views: 33
  • IMG_0486.jpg
    IMG_0486.jpg
    80.5 KB · Views: 33
  • IMG_0485.jpg
    IMG_0485.jpg
    87.7 KB · Views: 33
  • IMG_0478.jpg
    IMG_0478.jpg
    80.2 KB · Views: 33
  • IMG_0470.jpg
    IMG_0470.jpg
    71.6 KB · Views: 33
Last edited:
OP
K

kingston

Well-known member
Joined
Mar 21, 2010
Messages
140
Location
America
More site prep...
 

Attachments

  • IMG_0516.jpg
    IMG_0516.jpg
    65.4 KB · Views: 31
  • IMG_0504.jpg
    IMG_0504.jpg
    66.4 KB · Views: 31
  • IMG_0501.jpg
    IMG_0501.jpg
    65.6 KB · Views: 34
  • IMG_0500.jpg
    IMG_0500.jpg
    59.2 KB · Views: 32
  • IMG_0497.jpg
    IMG_0497.jpg
    66 KB · Views: 33
  • IMG_0495.jpg
    IMG_0495.jpg
    82 KB · Views: 30
Last edited:
OP
K

kingston

Well-known member
Joined
Mar 21, 2010
Messages
140
Location
America
And more.
 

Attachments

  • IMG_0437.jpg
    IMG_0437.jpg
    59.8 KB · Views: 30
  • IMG_0434.jpg
    IMG_0434.jpg
    71.9 KB · Views: 29
  • IMG_0425.jpg
    IMG_0425.jpg
    77.1 KB · Views: 35
  • IMG_0459.jpg
    IMG_0459.jpg
    72.1 KB · Views: 31
  • IMG_0461.jpg
    IMG_0461.jpg
    69.7 KB · Views: 38
  • IMG_0462.jpg
    IMG_0462.jpg
    66 KB · Views: 53
  • IMG_0465.jpg
    IMG_0465.jpg
    66.1 KB · Views: 42
Last edited:
OP
K

kingston

Well-known member
Joined
Mar 21, 2010
Messages
140
Location
America
Screening loam and the beginning of the slabs.
 

Attachments

  • IMG_0934.jpg
    IMG_0934.jpg
    65.3 KB · Views: 50
  • IMG_0995.jpg
    IMG_0995.jpg
    69.2 KB · Views: 55
  • IMG_0944.jpg
    IMG_0944.jpg
    72.3 KB · Views: 69
  • IMG_1035.jpg
    IMG_1035.jpg
    63.9 KB · Views: 49
OP
K

kingston

Well-known member
Joined
Mar 21, 2010
Messages
140
Location
America
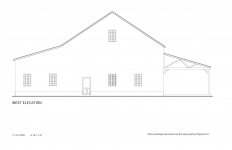
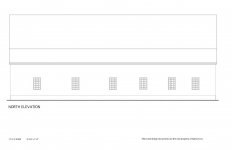
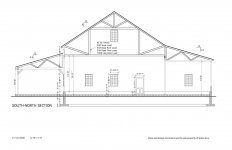
Attached are a set of drawings lacking details and such, but this should give folks an idea of what I'm up to.
 

Attachments

  • Spires Barn S_elev.jpg
    Spires Barn S_elev.jpg
    124.4 KB · Views: 117
  • Spires Barn E_elev.jpg
    Spires Barn E_elev.jpg
    121.2 KB · Views: 123
  • Spires Barn W_elev.jpg
    Spires Barn W_elev.jpg
    123.2 KB · Views: 100
  • Spires Barn N_elev.jpg
    Spires Barn N_elev.jpg
    118.6 KB · Views: 98
  • Spires Barn S-N_section.jpg
    Spires Barn S-N_section.jpg
    131.6 KB · Views: 131
  • Spires Barn FloorPlan.jpg
    Spires Barn FloorPlan.jpg
    130.9 KB · Views: 109
OP
K

kingston

Well-known member
Joined
Mar 21, 2010
Messages
140
Location
America
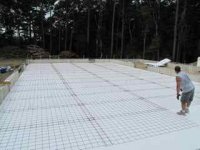
Foam ( 2 1/8" 2psi. high density EPS and PEX, 7200' of 1/2" pex on 9" centers.
 

Attachments

  • IMG_1410.jpg
    IMG_1410.jpg
    9.4 KB · Views: 71
  • IMG_1384.jpg
    IMG_1384.jpg
    7.7 KB · Views: 70
  • IMG_1414.jpg
    IMG_1414.jpg
    10.2 KB · Views: 70
  • IMG_1417.jpg
    IMG_1417.jpg
    12.6 KB · Views: 63
  • IMG_1566.jpg
    IMG_1566.jpg
    15.2 KB · Views: 72
  • IMG_1567.jpg
    IMG_1567.jpg
    15 KB · Views: 73
  • IMG_1569.jpg
    IMG_1569.jpg
    15.1 KB · Views: 55
OP
K

kingston

Well-known member
Joined
Mar 21, 2010
Messages
140
Location
America
The calculations say that it will take a mere 70K BTU to heat the whole place with the radiant heat in the floors.
 

sevensandeights

Well-known member
Joined
Apr 27, 2009
Messages
368
Location
Mckean, PA
Nope - not yet. I was just up there last week. The structure is up and all the windows are in. The sides and roof have been wrapped and he is just about to order the steel for the roof. Most of the 2x4" furring strips (not really girts since the walls are solid panels!) are on the walls and ready to receive the wood siding.
 
To avoid these ads, REGISTER NOW!
Top Bottom