Upon returning from my escape to Mexico, I’m back at the make-over to accommodate my new BendPak lift of one of my four-car garages. This garage will transformed into my antique restoration and car repair shop. Besides the new lift, I’m installing a bridge crane, tire changer, wheel balancer, work benched, storage cabinets, roller tool boxes, and ultimately a full size paint booth.
Unloading the components of my bridge crane off my flatbed trailer that I recovered from my old house.

I first bolted the four columns to the cement floor. Since the ceiling is higher than the old garage, I added a piece of wide flanged 6” I-beam to the top of each column to increase the hook height. The two runway beams are then placed on top of the columns and braced to the garage walls. The magnet drill press was used to drill holes in the runway beams so that they can be bolted to the columns.


The garage restraints necessitated that I shorten the 12” bridge beam by five feet. My cut-off saw cut made short work of it.
I drilled new holes to attach the end truck back onto the bridge beam. My trusty old cherry picker placed it on top of my scissors truck. Then lifted the bridge assembly in place over the two runway beams. Then install the trolley and 4,000 pound electric chain fall. It’s 120 Volt so I won’t need too add a rotary phase converter. Though I plan on installing a series of cables and pulleys like my main garage shop to keep the wires out out the way.

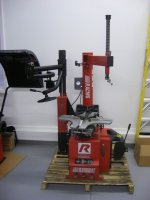
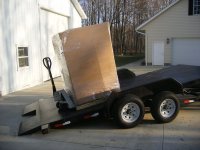
Ranger tire changer and wheel balancer on my tilt bed trailer.

Simply tilt the trailer bed, and roll off the equipment using my newly acquired pallet truck.

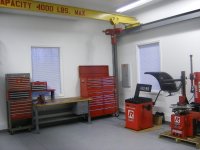
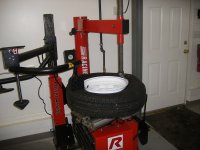
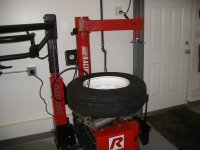
Here a picture of the Ranger tire changer, wheel balancer, and an over view of the bridge crane, work bench, and roller tool boxes. Now to install air lines and wiring to the new equipment...