To avoid these ads, REGISTER NOW!

Building my garage / workshop (56K death)

To avoid these ads, REGISTER NOW!
OP
C

ceo012384

Well-known member
Joined
Nov 29, 2007
Messages
112
Location
Boston
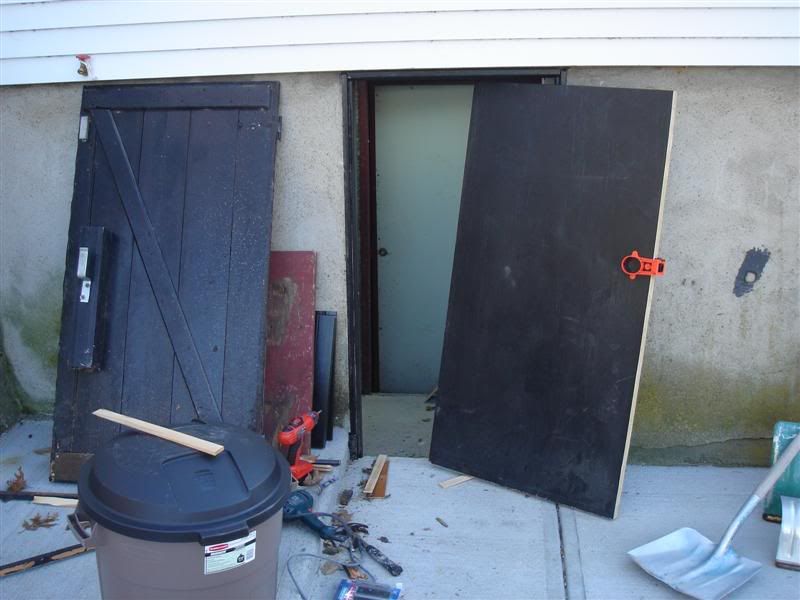
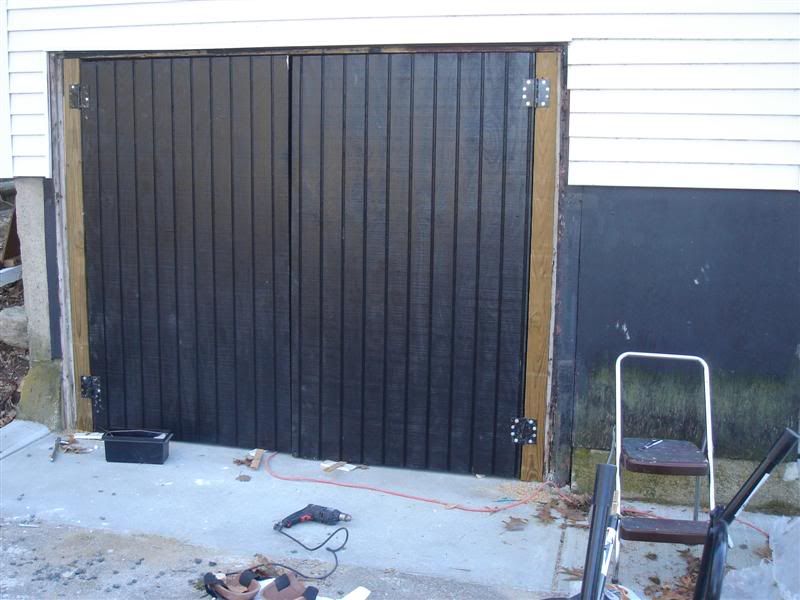
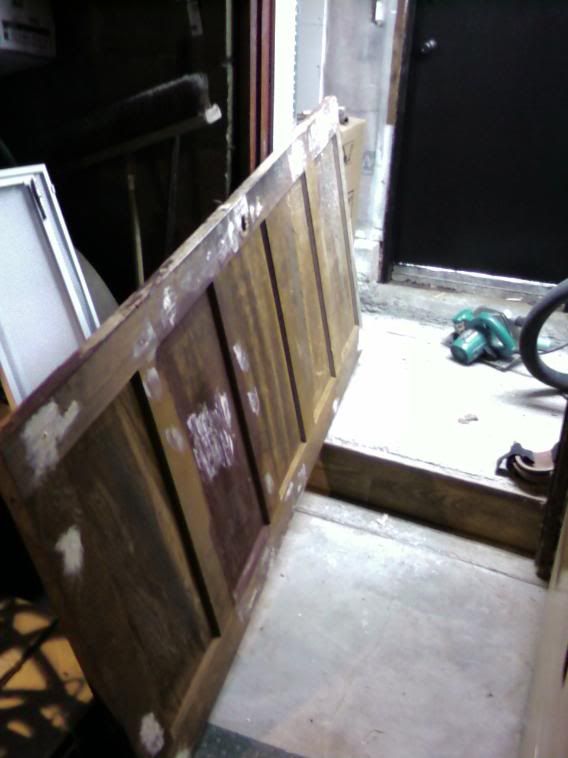
Did some more work on the doors this past weekend, unfortunately only one day's worth, and was able to completely finish their construction. They are pretty heavy, but as long as I use proper hinges, the added strength, durability, insulating quality, and weather resistance should be worth it.

A lot of the machine supply places I've been looking at for hinges are ridiculously overpriced. Luckily, I have a buddy who does tons of custom metalwork and makes his own ornate railings and gates, and he has even fashioned a pair of hinges for 40 foot tall solid wood doors. I am gonna take a trip to his shop and we'll make some nice hinges for not too much money.


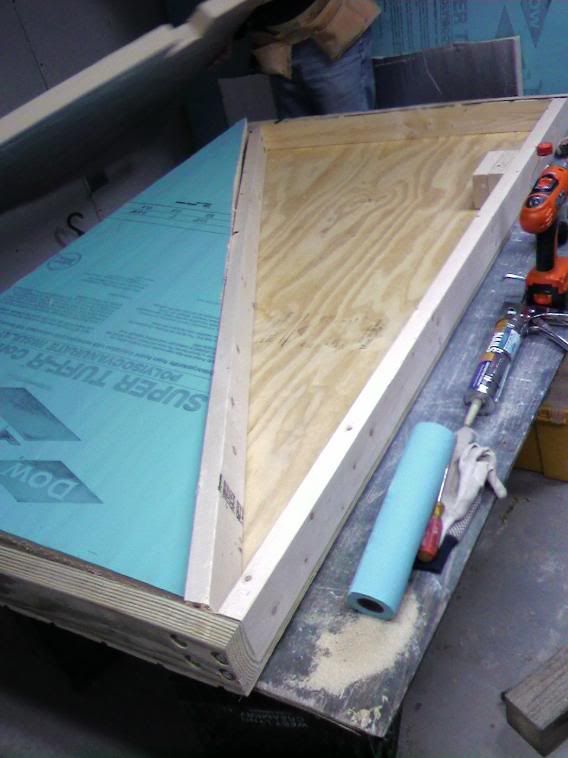
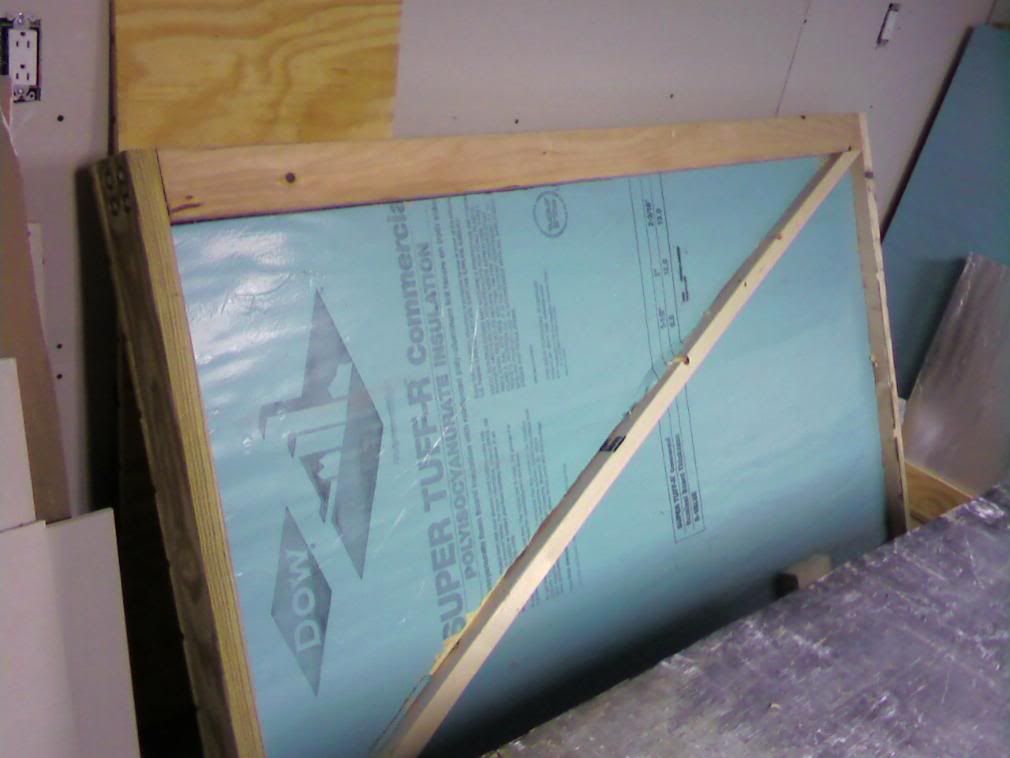
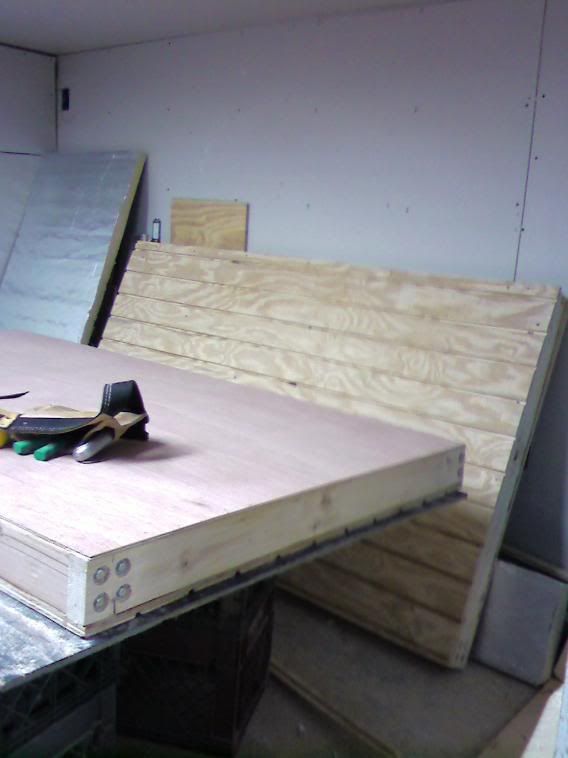
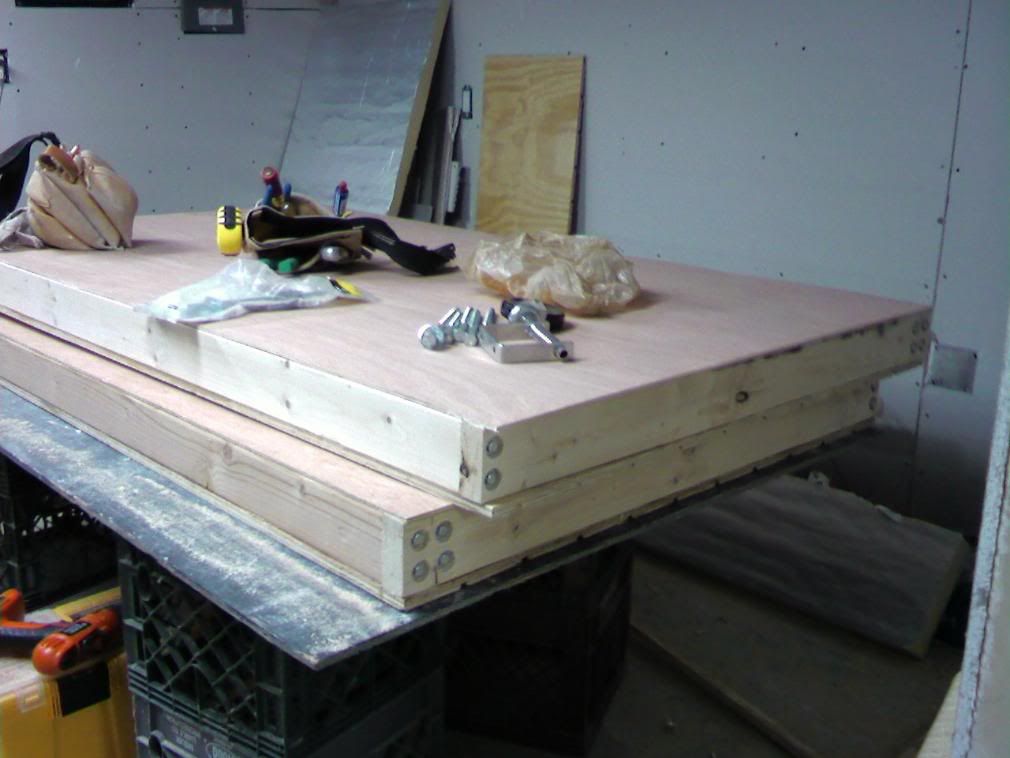
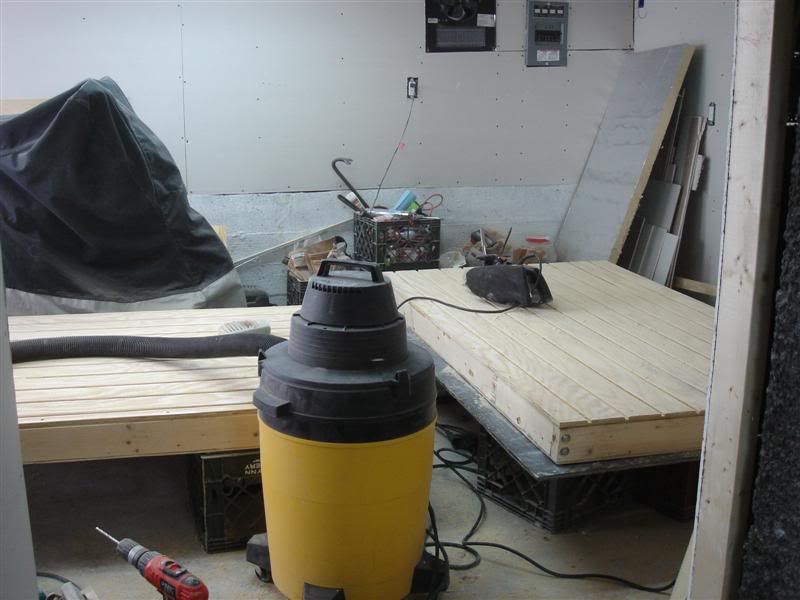
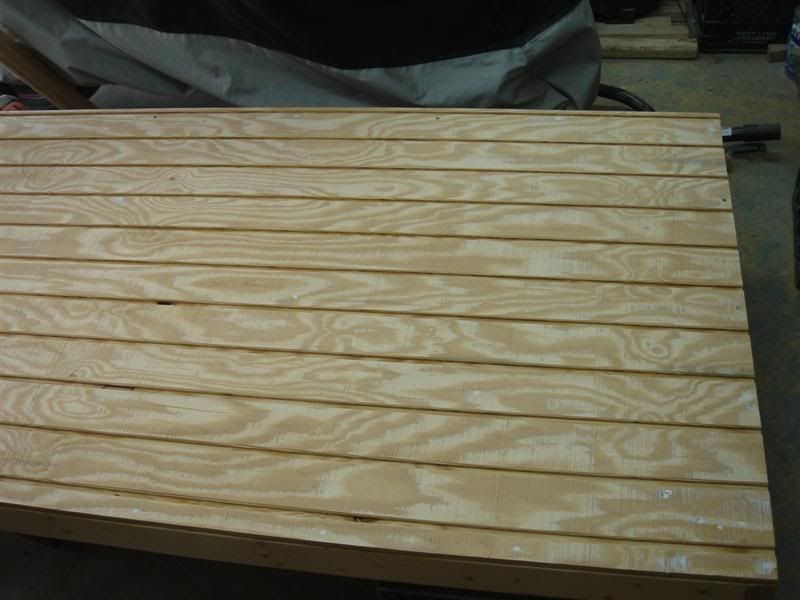
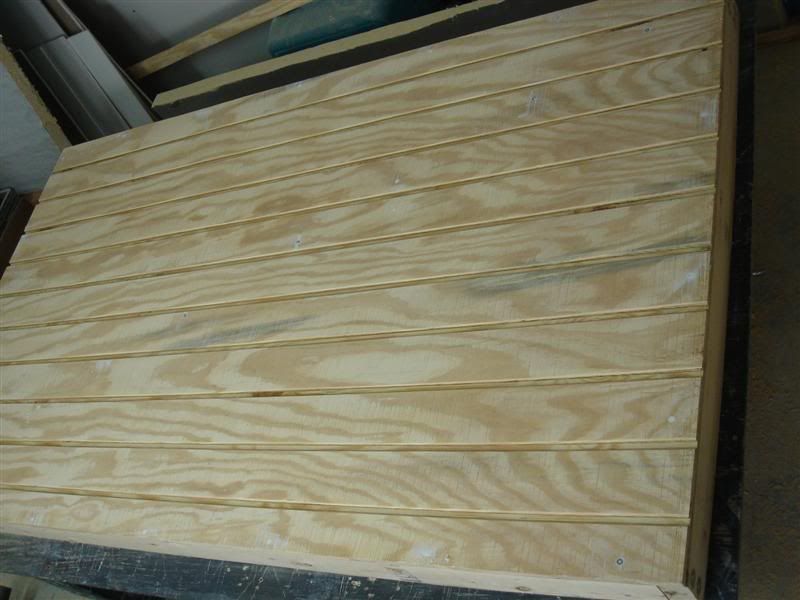
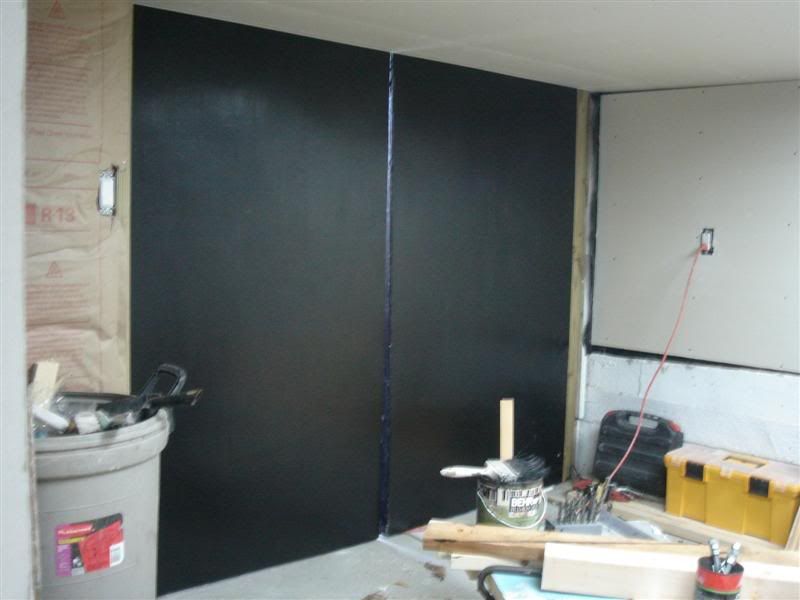
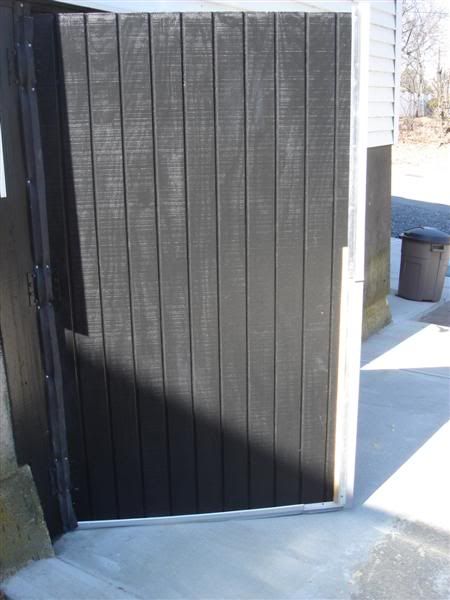
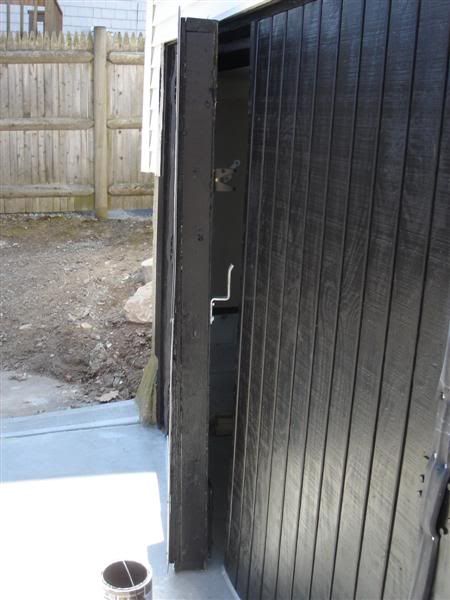
So the doors are built around the frames I described in my last post. For the front cladding, I used texture 1-11 with roughly 4" wide grooves. It's attached via lots of construction adhesive (liquid nails, good stuff) and some 1.25" exterior screws. The construction adhesive I used all around will actually add a ton of strength to the doors, as well as sealing them from water and weather. Then, I used some 2" thick foam insulation (R12 insulating factor... nice, and a little pricey) to fill the door. I used construction adhesive to attach it to the back of the front T-1-11, so behind it will be a roughly 1.5" air gap, which will help even more for insulating. Then, the inside cladding is just 1/4" finished luon, attached via construction adhesive and 1.25" finish nails.

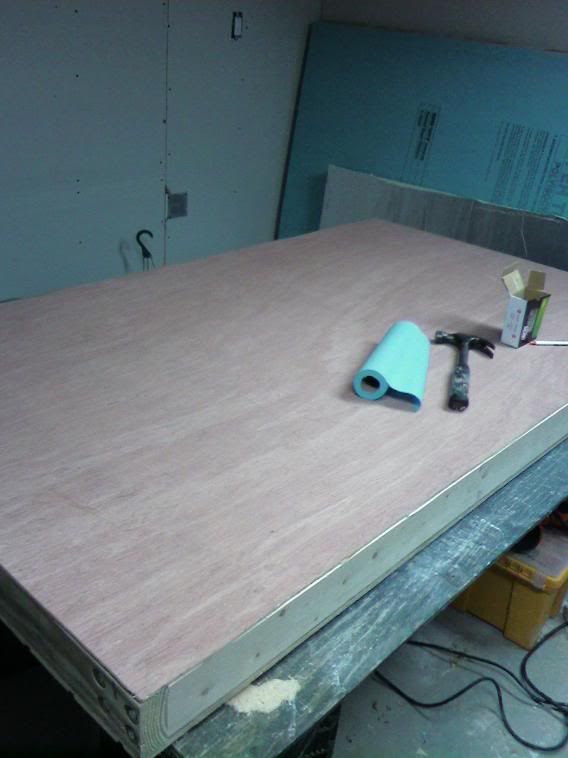
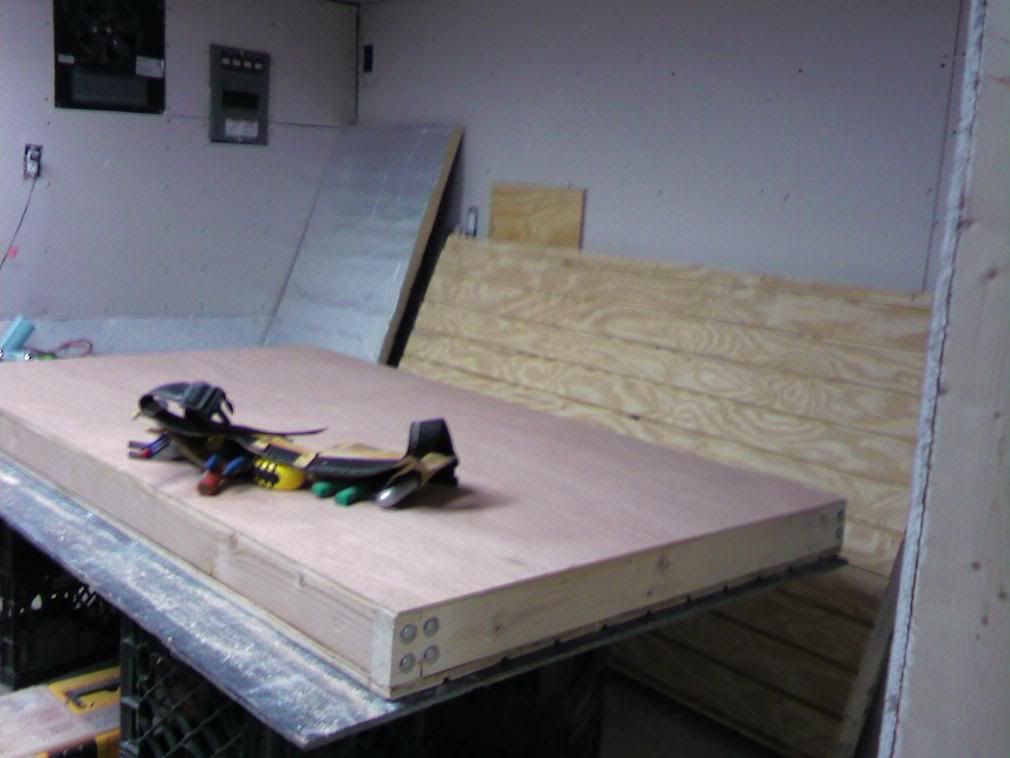
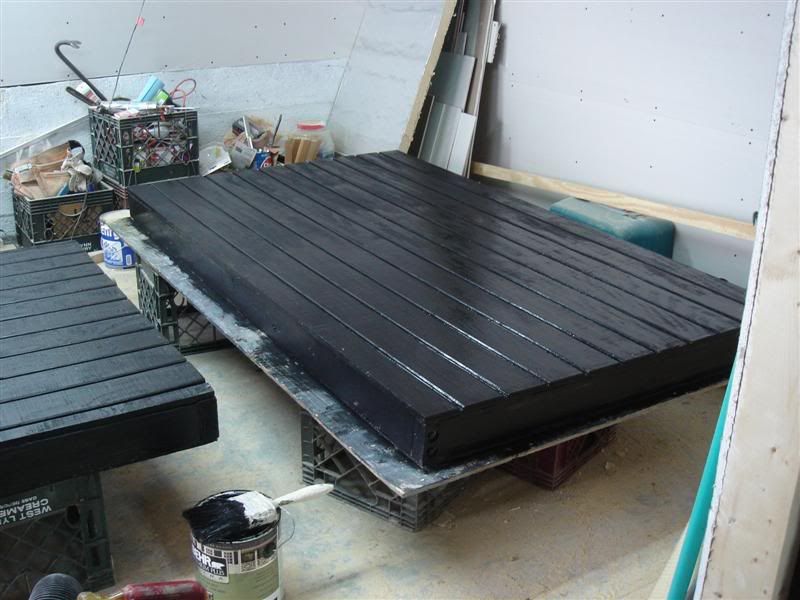
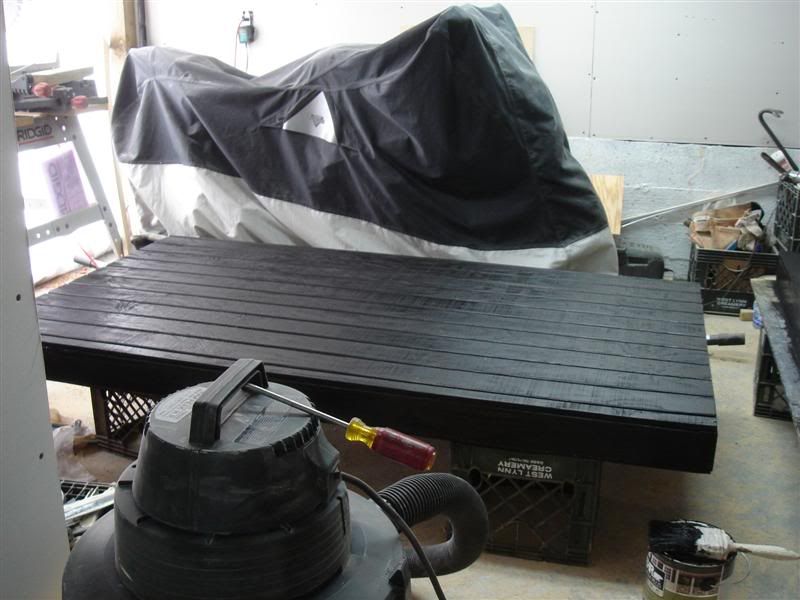
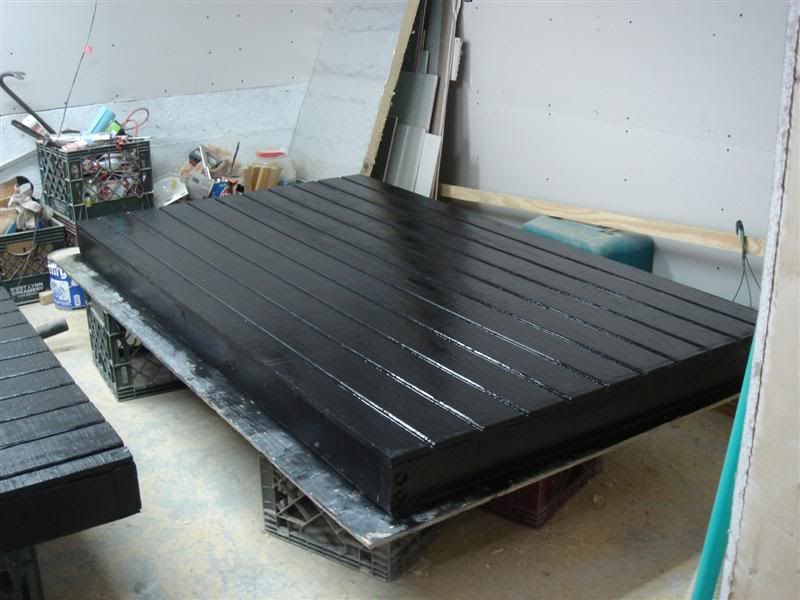
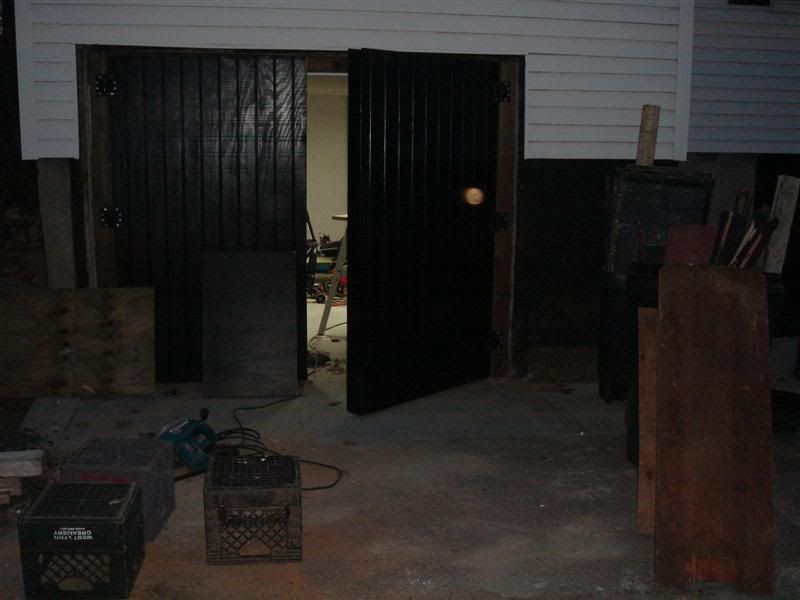
Here is the doors as built this weekend.

Mid-Build:
0216081747.jpg

0216081757.jpg


All done:
0216081817.jpg

0216081938.jpg


You can see the T-1-11 Pretty well on the underside of this door from the side. I guess I forgot to take photos of the outsides of the doors.
0216081939.jpg

0216081943.jpg


I have all the rest of planned out exactly, except for the hinges.

One door will lock to the other upon closing via a gate latch, like this:
be15cff4-126d-4d95-b252-2200103285c1_4.jpg


Then, the doors will lock in place via a cane bolt / plunge latch down into the concrete. I have the bit, and a hammer drill. Easy. It is sort of like this:
926016,018-lg.jpg


There will be wipers along the bottom of each door to seal against the ground, and a wider one mounted in the center to cover the gap between the doors.

Rubber weatherstripping will be tacked all around the door frame on the building in such a way that as the door is pulled shut the last couple inches, all the weatherstripping will be lightly compressed, and seal the garage.

I plan to find rigid casters with a slight offset from their mounting plate that will be attached such that as the door is pulled shut the last couple inches, a lot of the load will be taken off the hinges and supported by the casters.


Now, just have to paint them (using black exterior paint on the front and sides... the inside will be white interior paint) and hang them. Going out there tomorrow to do the painting at the very least.
 

sammerdog

Banned
Joined
Jan 18, 2008
Messages
1,477
Location
West Michigan
Great idea on the doors. Looking forward to see what you and your friend come up with for hinges. I love the swing out effect, but don't think I could live without a remote controlled opener.
 
OP
C

ceo012384

Well-known member
Joined
Nov 29, 2007
Messages
112
Location
Boston
Good work, nice job so far. Great pictures as well.
Thanks :beer:
Great idea on the doors. Looking forward to see what you and your friend come up with for hinges. I love the swing out effect, but don't think I could live without a remote controlled opener.
I actually have another buddy who builds windows and doors and hangs them, mostly commercial stuff, so he has some hinges he says will work, and the price is right. I'll know more once I meet up with him.


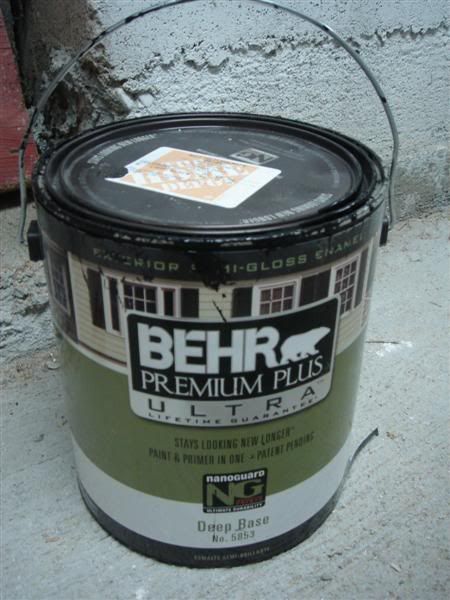
So last Saturday I was able to paint the doors. I used a Behr exterior paint with primer built ina nd it went down very nicely, just took a little effort.

DSC02369Medium.jpg


Before painted, I lightly sanded down the front face of the texture 1 - 11 to get it nice and smooth with a belt sander. It's pretty rough when you buy it. This would look better, and make the paint go on easier...

DSC02348Medium.jpg


I used some putty on all of the screw holes and little imperfections. Here they are, all prepped for paint:

DSC02351Medium.jpg


DSC02352Medium.jpg


Laid on the first coat:

DSC02356Medium.jpg


DSC02358Medium.jpg


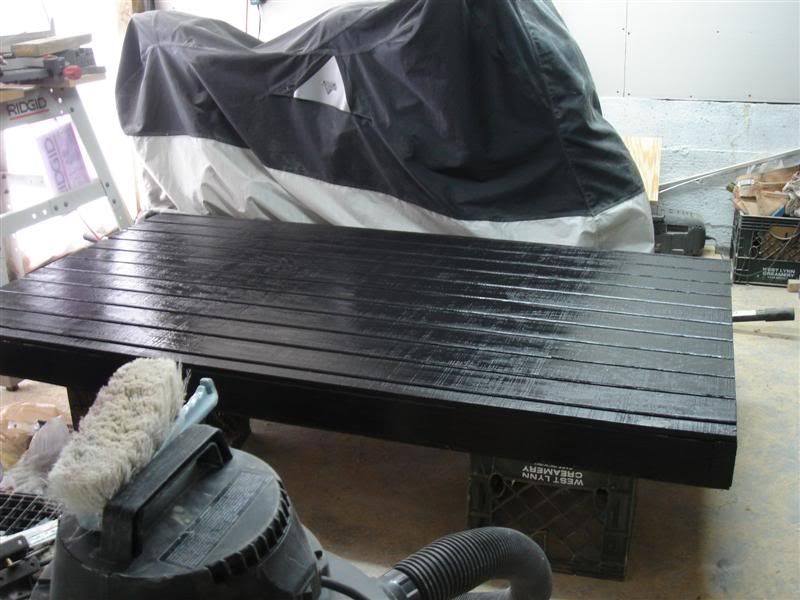
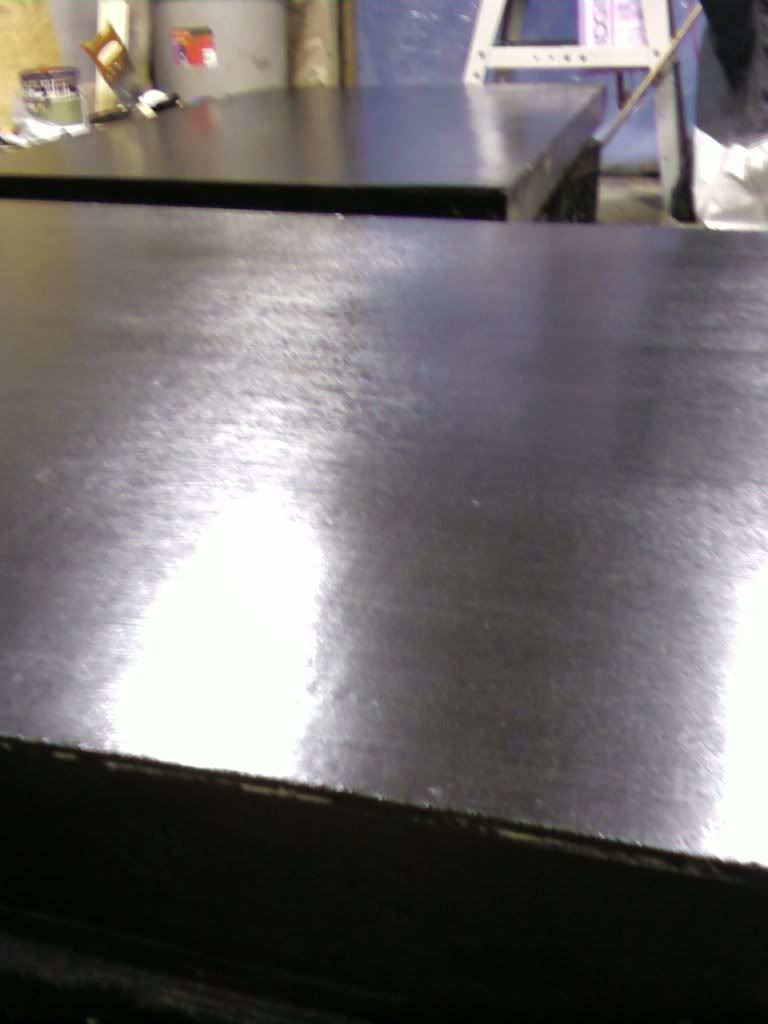
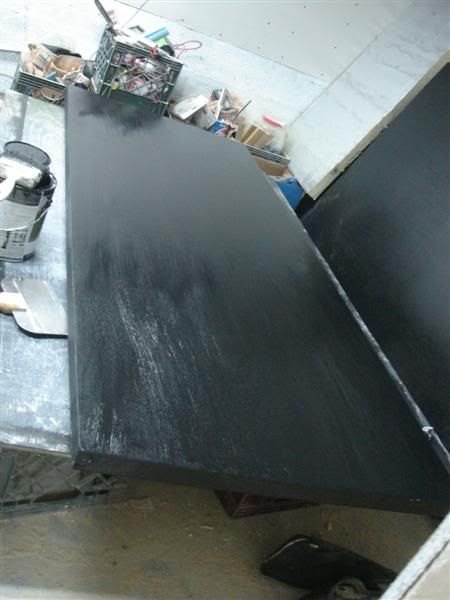
Laid on the second coat nice and thick... came out pretty well:

DSC02359Medium.jpg


DSC02362Medium.jpg


This weekend I'm planning to head out there and paint the inside face of both doors. I have some hinges coming next week so the doors are on hold until then. I am going to try to start figuring out the small door in the other room and if I think of a good idea that is doable same day I will get started on it. Otherwise I will get going on the drywall mudding.... ugh...

Work *****, otherwise this **** would have been done months and months ago.
 
OP
C

ceo012384

Well-known member
Joined
Nov 29, 2007
Messages
112
Location
Boston
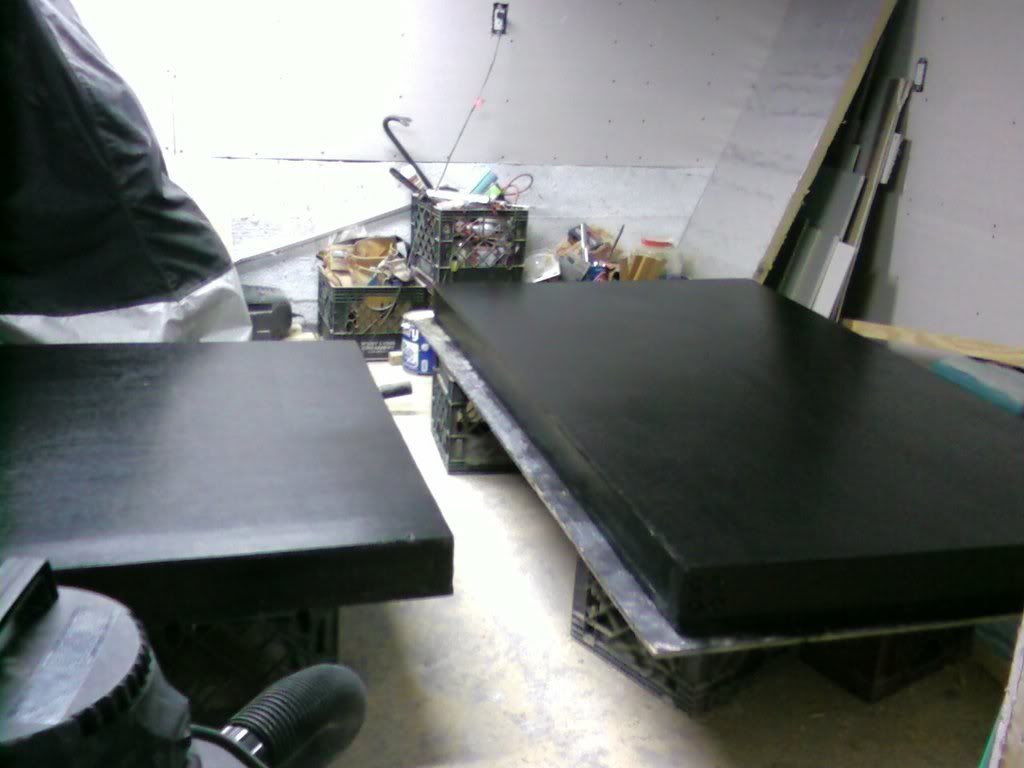
Finished painting the other sides of the doors.

Did a couple errands and figured out a thorough plan for the small door. Just have to enact it now.

Cameraphone pics... sorry.
0302081747a.jpg


0302081747.jpg


This coming weekend I should be able to hang the big doors, as well as construct, paint, and hang the small door. That would be HUGE.... and I think it's doable.
 
Last edited:
OP
C

ceo012384

Well-known member
Joined
Nov 29, 2007
Messages
112
Location
Boston
Just to confirm, over 6,000 views and only about a dozen comments from board members is pretty sad. This isn't a very friendly forum.
 

thetastelingers

Well-known member
Joined
Mar 12, 2007
Messages
716
Location
Soddy Daisy
I think you would get more responses if you were asking questions, or needed some help.
Looks like you have it all taken care of from what I can see.
:thumbup:
Please don't stop posting your progress.....you may come back to all the people wondering what happened. :)
 

Z06 427

Well-known member
Joined
Feb 6, 2008
Messages
62
Location
El Cajon, CA
I am new to the forum and have enjoyed following your project. Well thought out and a lot of hard work. Great use of the space available. Look forward to seeing it completed. I appreciate how hard it is to balance work with a project like this, I'm in the same boat. Keep up the good work. It will be worth the effort in the end.:thumbup::thumbup:
 

peterwgpa

New member
Joined
Dec 28, 2007
Messages
4
Great project - I enjoy catching up with your progress. keep the photo's coming.

regards

Peter W
 
OP
C

ceo012384

Well-known member
Joined
Nov 29, 2007
Messages
112
Location
Boston
I think you would get more responses if you were asking questions, or needed some help.
Looks like you have it all taken care of from what I can see.
:thumbup:
Please don't stop posting your progress.....you may come back to all the people wondering what happened. :)
Yeah, that's true. Makes sense.

Maybe I was just a bit cranky the other day. But the occasional 'good job!' is certainly nice to hear :beer:
I am new to the forum and have enjoyed following your project. Well thought out and a lot of hard work. Great use of the space available. Look forward to seeing it completed. I appreciate how hard it is to balance work with a project like this, I'm in the same boat. Keep up the good work. It will be worth the effort in the end.:thumbup::thumbup:
Thanks man!

Yeah, it's not the biggest or nicest space, but it's what I've got to work with and I'm making it my own. I'm pretty proud of it thus far. ESPECIALLY when I look back a the starting pictures :shocking:

The work balance is the frustrating part. Especially that now it's going to get nicer out soon, I need to get this finished so I can use it for what it's meant for... working on the r6!
Great project - I enjoy catching up with your progress. keep the photo's coming.

regards

Peter W
Thanks peter! Will do on the photos... looking back at them all keeps me motivated :thumbup:


Got a lot accomplished yesterday and today. Also, I'll be able to work on it tomorrow (monday), friday, and next weekend. Hell yeah.


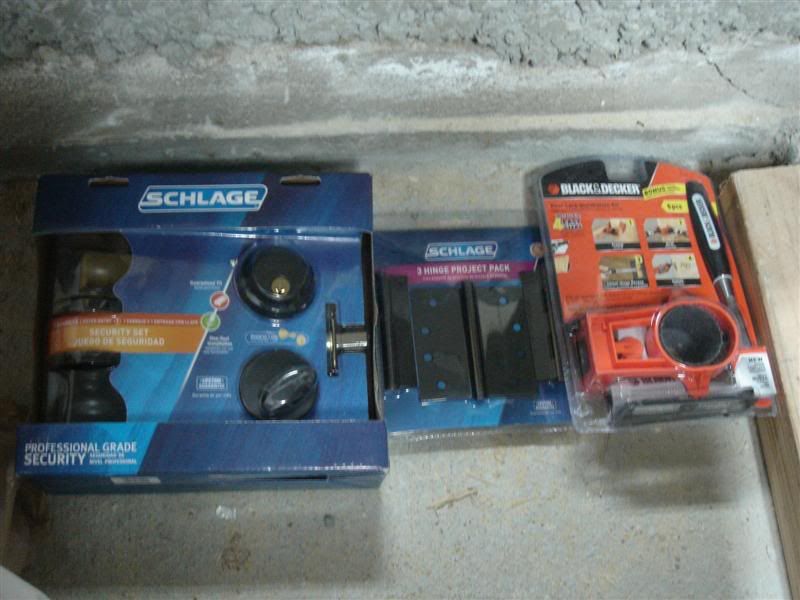
I got all the materials necessary for the small door: solid wood slab exterior door, exterior door jambs, lock set, hinges, and a kit with jigs to help you cut all your doorknob holes. I painted the door and jambs and let them to sit:

DSC02420Medium.jpg


DSC02422Medium.jpg


DSC02424Medium.jpg


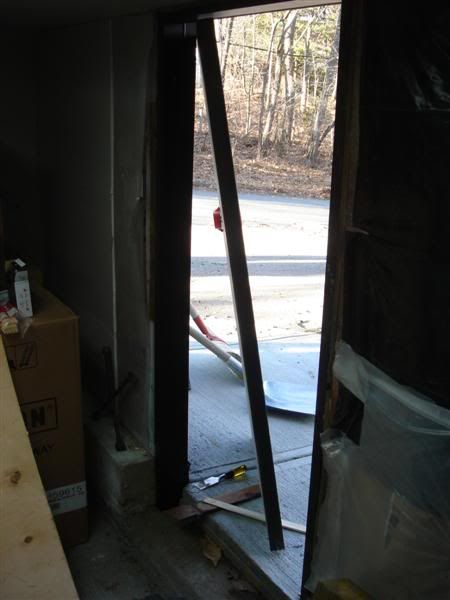
I ripped out the old ****** door, and installed the new jambs.

DSC02439Medium.jpg


DSC02440Medium.jpg


Later sunday night I got the hinges on the small door, mounted it, and got the knob and lock all working great. It was dark so I didn't take more pics. The door still needs another coat of paint and I need to insulate around the frame with caulking and some other odds and ends. I'll get pics tomorrow.


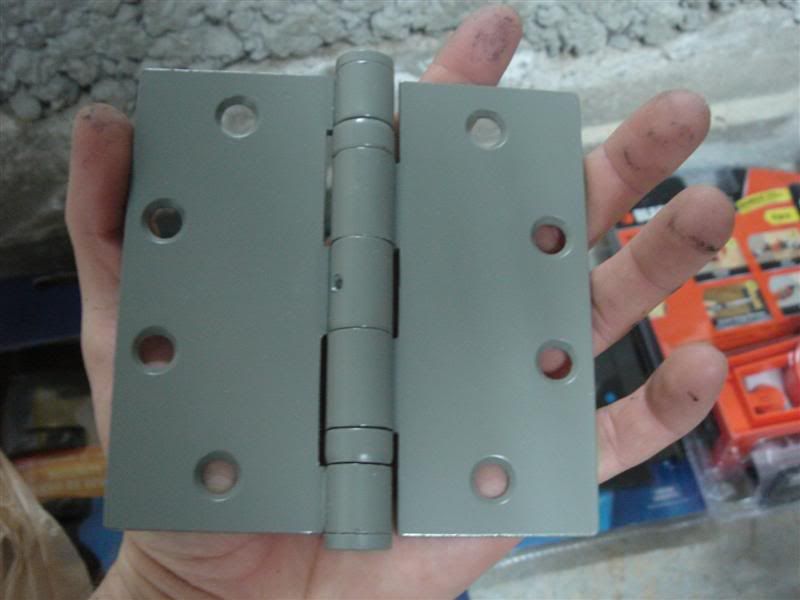
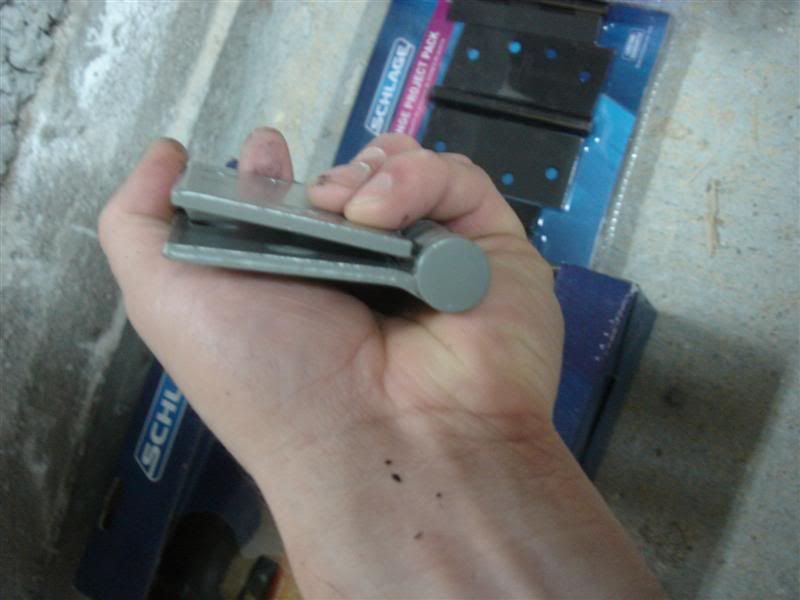
Also, I found some hinges that would work for the large doors at a killer price. They are commercial grade 4.5" hinges with non-removable pins, ball bearing movement, nice thick metal for the plates, very beefy pin, and they were pre-primed for painting. Best of all, only 6 bucks a piece. It was a no-brainer. I got 6... maybe I only need four, but figured at that price I might as well overkill.

DSC02436Medium.jpg


DSC02435Medium.jpg


I attached the hinges via 5/16" lag screws for 6 of the 8 holes, and then 1 on each side is a through bolt to the other side. This was if someone wants to break it they can't just take out the bolts on the hinges. I mounted up the doors... shimmed them up into place and got two hinges attached with half the bolts on each... just to test the movement. Movement was smooth and felt great.

DSC02437Medium.jpg


DSC02442Medium.jpg


My plan tomorrow is to tidy up all my loose ends. Hopefully this can all be done in a day, but I'm not sure.

- Quick trip to the Depot for more paint and some bolts

- Finish all the small door odds and ends
---- Painting
---- Caulking/insulating
---- Weatherstrip on the bottom
---- Etc.

- Finish the big doors
---- Mount the other two hinges
---- Attach all lags/bolts
---- Attach the gate latch to connect the two doors
---- Rig up the cane bolt for the floor
---- Weatherstrip the entire opening
---- Attach weatherstrips/wipers for the bottom of the doors
---- Rubber strips over the gaps on the hinge sides
---- Paint hinges, frame, general trim around the doors

- Final drywall work
---- Small pieces by all the doors (big doors, small door, door to main basement)

- Clean the **** out of the place
---- Get rid of all random wood
---- Sweep floor
---- Organize all tools
---- Can now get rid of table, etc.

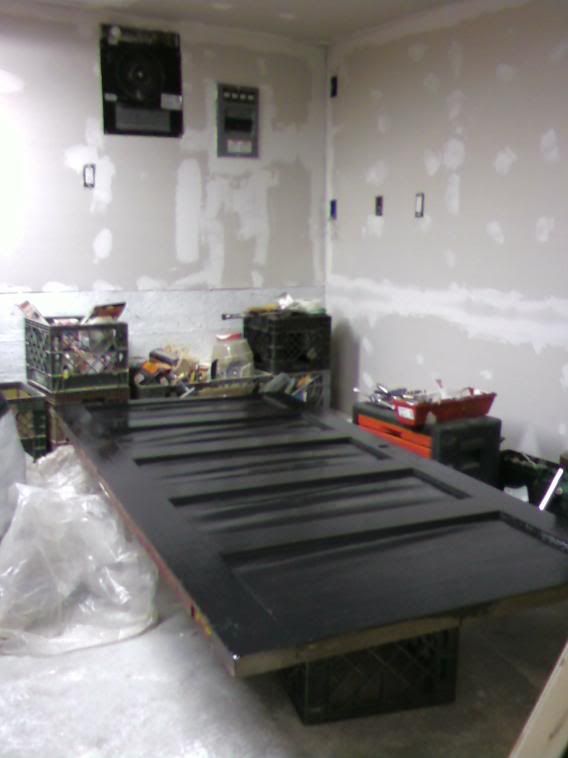
It's already starting to look less cluttered in there just from my moving the table out of the way:

DSC02444Medium.jpg


At that point, I will be ready to tackle starting the mudding, sanding, and painting next friday, saturday, and sunday.

Oh yeah, and I'm going for a ******** ride. The bike needs it, and I need it. It's suppose to be around 38. Good enough.
 
Last edited:

jamm

Well-known member
Joined
Oct 31, 2007
Messages
139
I really like your innovative use of space. The doors look great. I would definately change how you attached the hinges though. Even with 1 bolt on each hinge side going all the way through, a pry bar for pressure and a cordless impact would loosen it enough to cut the head with bolt cutters. You might consider installing them the same way you are holding them in your pic. If you don't want to change them, I would at least spot weld the not to the bolt.

Good luck :beer:
 

sammerdog

Banned
Joined
Jan 18, 2008
Messages
1,477
Location
West Michigan
Love the swing out doors. Yeah, if you're in a rough neighborhood, the exposed hinge hardware could be tempting to a thief, but heck, to gain entry, he'd have to take off a 4x7 door - pretty conspicuous.

...If you don't want to change them, I would at least spot weld the nut to the bolt....

An option to welding - drill a small hole through both your through bolt and the nut, push a small cotter pin through it.
 

gesoffen

Well-known member
Joined
Jan 7, 2007
Messages
341
Location
NoVA
At that point, I will be ready to tackle starting the mudding, sanding, and painting next friday, saturday, and sunday.

Looks like I'll be doing the samething next weekend although in a remodeled bedroom - not a garage.

So if you garagejournal members see any drywall mud and dust covered "ghosts" about, it'll be one of the two of us!
 
OP
C

ceo012384

Well-known member
Joined
Nov 29, 2007
Messages
112
Location
Boston
I really like your innovative use of space. The doors look great. I would definately change how you attached the hinges though. Even with 1 bolt on each hinge side going all the way through, a pry bar for pressure and a cordless impact would loosen it enough to cut the head with bolt cutters. You might consider installing them the same way you are holding them in your pic. If you don't want to change them, I would at least spot weld the not to the bolt.

Good luck :beer:
I can't put the hinges the way you're mentioning. Since I wanted to use these bolts to add strength, the heads wouldn't allow the hinge to close in that configuration. They have to stay in the orientation I have them.

That's a good idea about the spot weld. I'll have to see if I can find a buddy with an easily portable welder who could do it for me. I'm glad I threw a 240V 40A line in there :shocking:
Very cool, inspiring thread for sure.
:beer: thanks dude.
Love the swing out doors. Yeah, if you're in a rough neighborhood, the exposed hinge hardware could be tempting to a thief, but heck, to gain entry, he'd have to take off a 4x7 door - pretty conspicuous.

...If you don't want to change them, I would at least spot weld the nut to the bolt....

An option to welding - drill a small hole through both your through bolt and the nut, push a small cotter pin through it.
It's not a rough neighborhood at all... pretty wealthy town. But I am a paranoid, **** retentive, OCD perfectionist. I think the welding route will make the most sense.
Looks like I'll be doing the samething next weekend although in a remodeled bedroom - not a garage.

So if you garagejournal members see any drywall mud and dust covered "ghosts" about, it'll be one of the two of us!
I am not looking forward to the mud work and the sanding mess! :mad:
Block foundation work looks like you're in the Boston area - am I right?
Good eye... yes, about 15 miles west of beantown (where I actually live)


So I didn't get quite as much done today as I originally planned/wanted, but that's alright. I woke up late (needed the rest), had to ship some things, wanted to ride, and needed to organize the place quite a bit.

I finished drilling all the holes and installing all the bolts for the big doors. They open smoothly, and work great. They are all ready to be sealed up and all latches and such installed, all of which I have a plan for and have all the parts. I'll do that next time.

DSC02447Medium.jpg


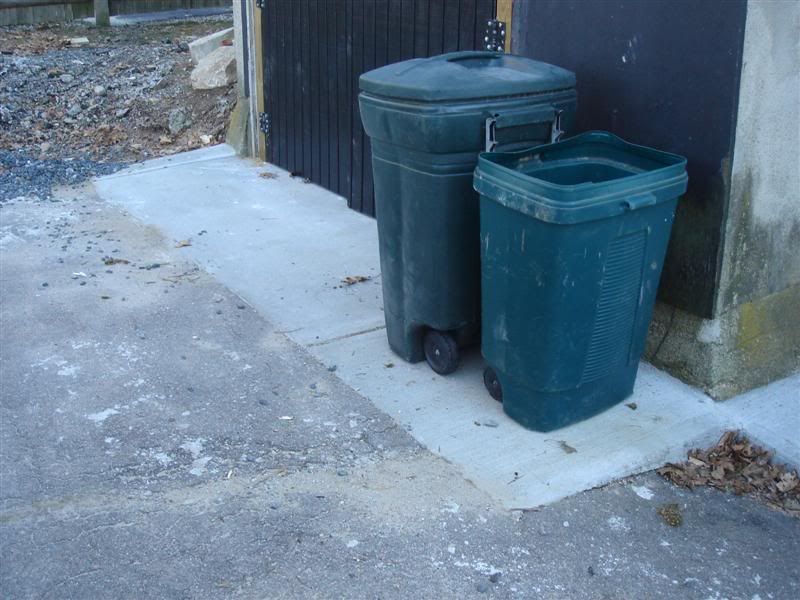
Also, I realized I never posted pics of the outside concrete work. To fix all of the potential drainage problems due to the asphalt sloping toward the building, everything was re-done with concrete. This is also the reason for the low ceiling height, the floor in the garage needed to be at the asphalt level plus a little bit. You can see here all of the concrete built up against the building to encourage runoff. So far from what I've seen it all works great.

DSC02450Medium.jpg


DSC02452Medium.jpg


Then, I decided no matter what, I needed to ride. Went out for about two hours, hit some twisties, got the feel back, etc. It felt ******* great. About to head out:

DSC02449Medium.jpg


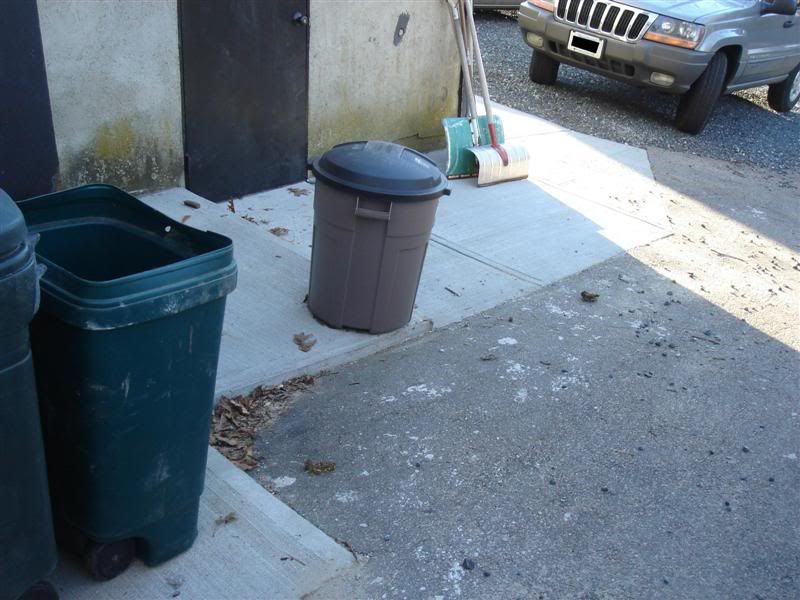
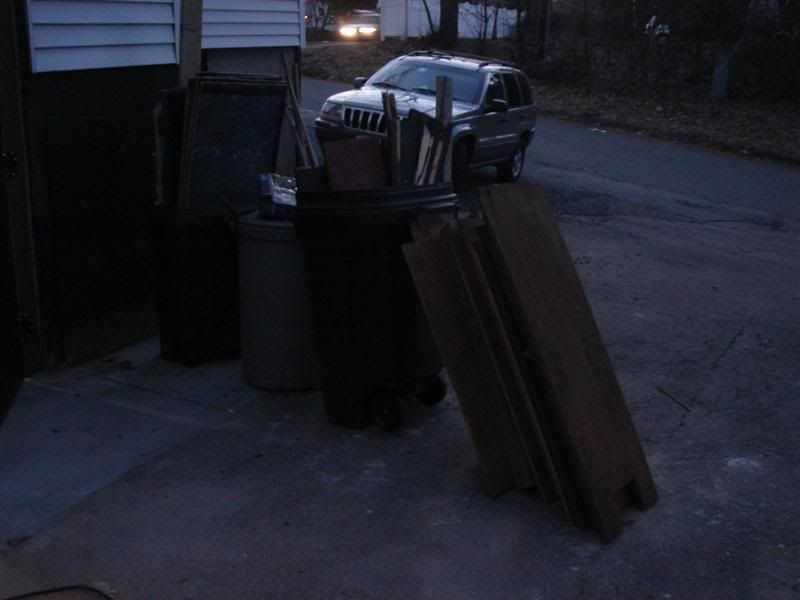
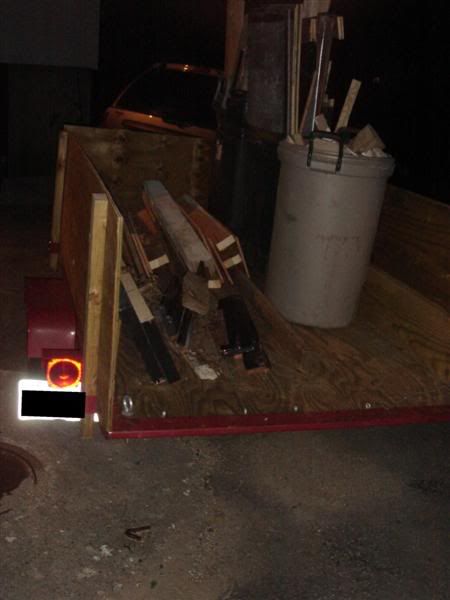
When I returned, instead of worrying about little trim work, painting and insulating the door frames, etc (all which would require a Depot trip), I decided to clean up and get organized. Also, this is due to the trash guy coming tomorrow... needed to get rid of some scrap. There was a TON of old and scrap wood. I cut it all into pieces to fit into barrels (the only way they'll take it). It filled up six trash barrels!

DSC02453Medium.jpg


DSC02455Medium.jpg


DSC02461Medium.jpg


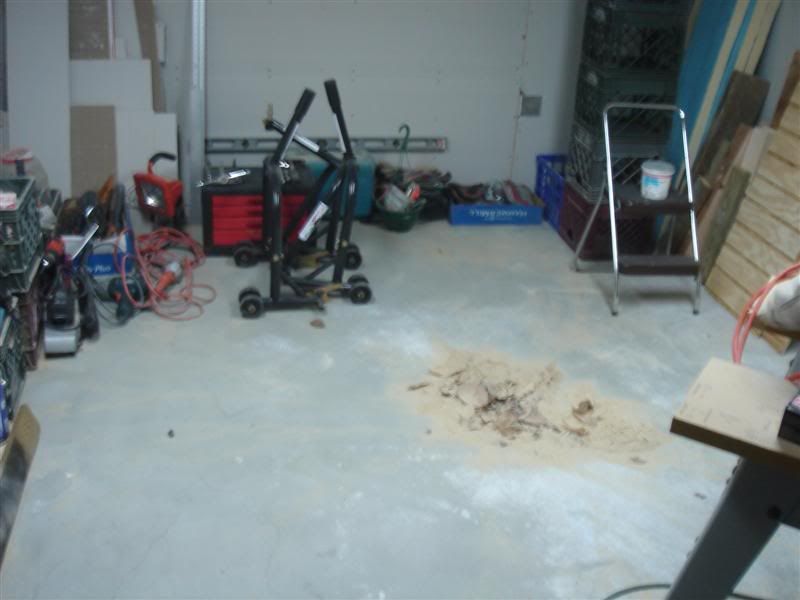
Also, cleaned up garage. Some of the clutter were the makeshift 'tables' I had been using for work, which ended up in the pics above. Also, organized all the tools and swept up. That's a shitload of sawdust!

DSC02457Medium.jpg


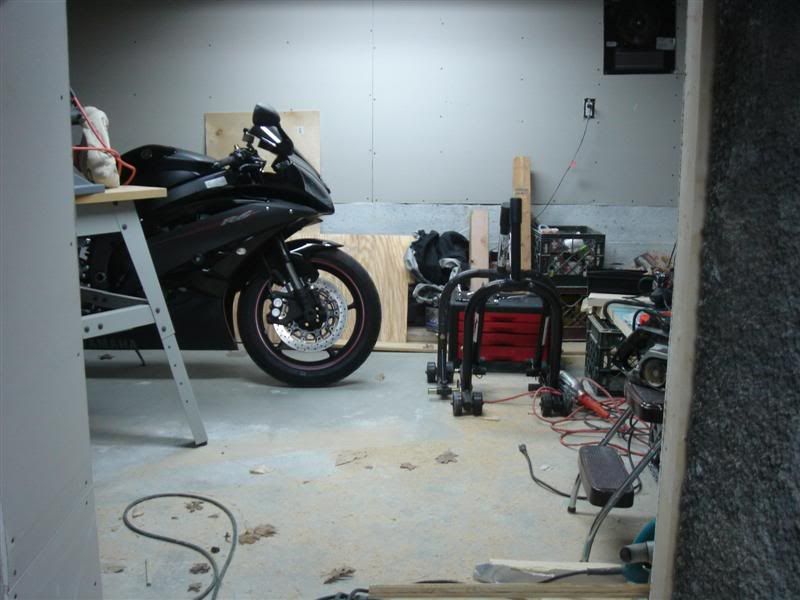
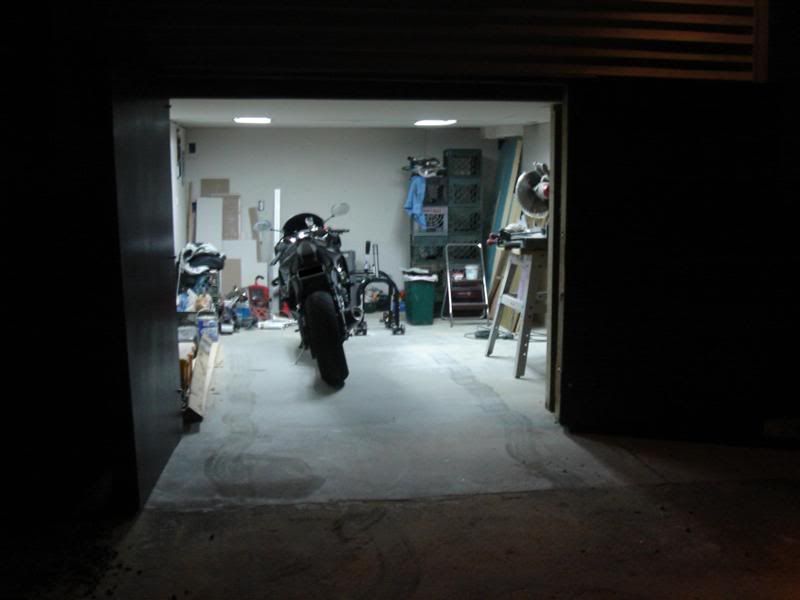
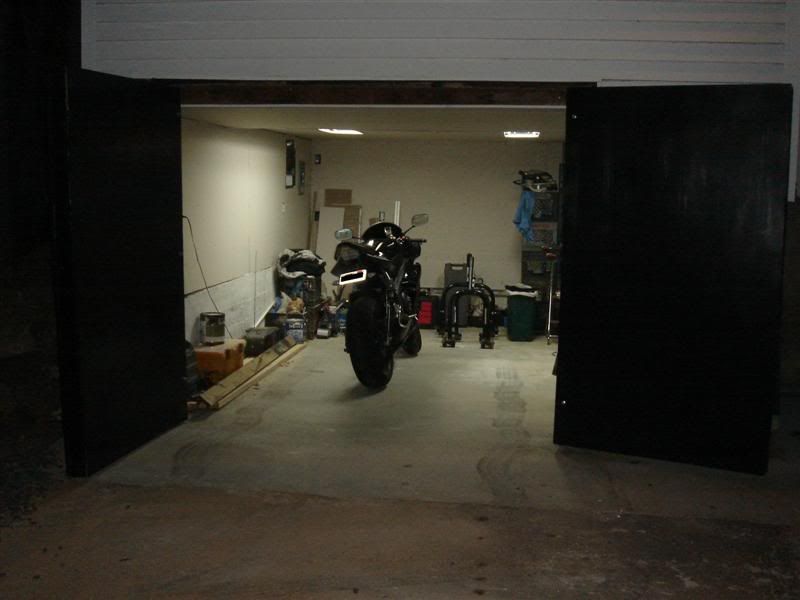
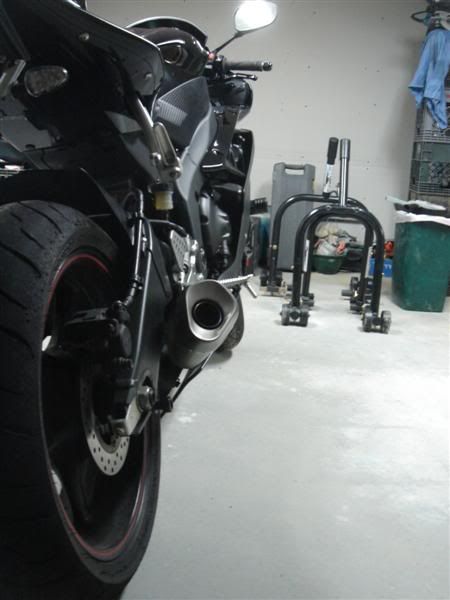
Lots of space in there now that a lot of the **** is out. It's going to be so sweet when I'm done. Bike looks great in there, too ;)

DSC02466Medium.jpg


DSC02465Medium.jpg


DSC02462Medium.jpg


DSC02467Medium.jpg


DSC02468Medium.jpg


Basically, everything is ready to go. Next time I go out, I will finish all the door insulation, weatherstripping, caulking, and painting. Then, I'll hang the last few small bits of drywall by the doors, and pull the bike and everything except for drywall stuff out of the garage. That should all take one day. Then, the next day the mudding and sanding will start. After that, it will just be painting, building shelves, and building a workbench. I've also got a few little finishing touches/surprises up my sleeve ;)
 

JMURiz

Well-known member
Joined
Dec 6, 2005
Messages
1,483
Location
NoVA
What's the ceiling height in the main garage, looks only about 6'...although it's worth it not to have rain water coming in under the doors. Hopefully it's comfy enough to walk around in.
Great bike garage for sure!
 
To avoid these ads, REGISTER NOW!

TejasBimmer

Well-known member
Joined
Mar 1, 2008
Messages
540
Location
off I-35, TEXAS!
WOW - - great work.
Not sure if you were thinking about doing this or not...how about a little overhang w/ a gutter, over the garage door opening.
This will also help prevent water running towards the door.

Great build up and thanks for sharing and great looking bike there!
 
OP
C

ceo012384

Well-known member
Joined
Nov 29, 2007
Messages
112
Location
Boston
What's the ceiling height in the main garage, looks only about 6'...although it's worth it not to have rain water coming in under the doors. Hopefully it's comfy enough to walk around in.
Great bike garage for sure!
Yeah the ceiling is low... but I fit in there perfectly fine. The only really low clearance is the doorway between the two rooms. I am 5'8". If someone were any more than 5'11", they wouldn't be too comfortable in the main room. But I guess I don't care! :spit:
WOW - - great work.
Not sure if you were thinking about doing this or not...how about a little overhang w/ a gutter, over the garage door opening.
This will also help prevent water running towards the door.

Great build up and thanks for sharing and great looking bike there!
Thanks! Yeah, that is an option. The doors are inset a bit from the edge of the building, and the vinyl siding has a lip the will encourage water to drip at the edge. But yes, I have been thinking I will either put an angled piece there to ensure it runs off out towards the driveway, or a small gutter to take it off to the right side (looking from the outside).
Looks awesome!

You really should take a "today" version of this photo. -Gabe

DSC01506Medium.jpg
Thanks man! Yeah, looking back, it's pretty crazy to think about... ALL that **** in there, the dirt floor, crusty walls, all sorts of drywall/plaster/insulation that was rotting or falling off...

I can do that with the picture. Essentially, it would be this view, but zoomed in so that you were standing in the center of the right door, about 2 feet away from the threshold, just to give you an idea. I'm not out there so I can't take a fresh pic:
 

kbs2244

Well-known member
Joined
Nov 11, 2006
Messages
14,065
You do very good work.
The only nit I would pick is the way you mounted the hinges. When they are lag screwed to the outside face that way a guy with a battery drill and a socket can be in your space in 30 seconds.
The hinges should be between the door and the jamb, with only the pins exposed. (That is why they are non-removable.)
But if you are on the back side of the house, out of sight of the street, and in a nice neighborhood where everybody already has all the toys they want, you are probably in good shape.
Congratulations.
 
OP
C

ceo012384

Well-known member
Joined
Nov 29, 2007
Messages
112
Location
Boston
You do very good work.
The only nit I would pick is the way you mounted the hinges. When they are lag screwed to the outside face that way a guy with a battery drill and a socket can be in your space in 30 seconds.
The hinges should be between the door and the jamb, with only the pins exposed. (That is why they are non-removable.)
But if you are on the back side of the house, out of sight of the street, and in a nice neighborhood where everybody already has all the toys they want, you are probably in good shape.
Congratulations.
Thanks for the compliments :D

In this neighborhood I really don't think it will be an issue, but I am pretty OCD/paranoid, so I have thought about all of that.

If you read earlier, 2 out of the 8 bolts on each hinge (one on each side) go all the way through to lock washers and double nuts. That was my fix for preventing hinge removal from just backing out the bolts. I will get a buddy to spot weld the bolt head to the plate as well, just in case.

I can't put the hinges the way you're saying, like I said before... I wanted to use decent size bolts to add strength (instead of the ****** little screws that come with hinges), and because of that the bolt heads stick out from the plates. The thickness of two bolt heads in between the two plates would mean that the doors wouldn't close.
Nice.
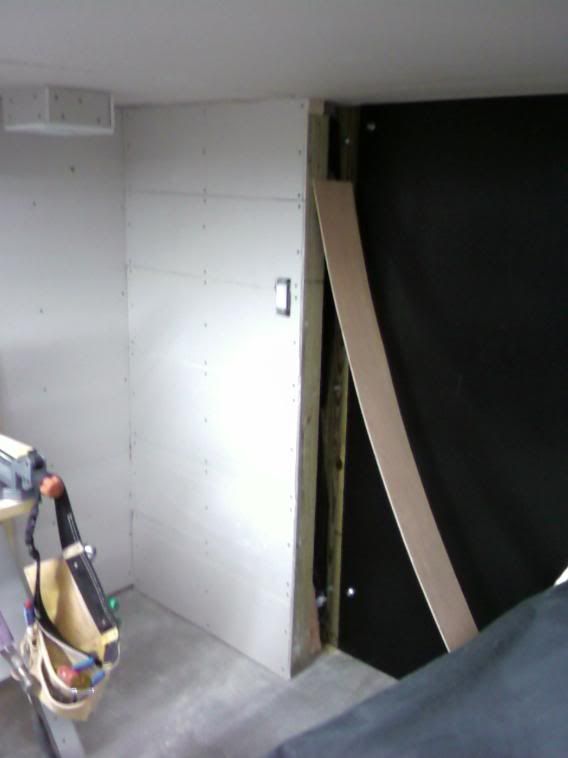
Looks like you had a car in there at one time.

You sure can get around in there now compared to previously.
Thanks man.

Yeah, I just was curious whether or not my jeep grand cherokee would fit in there. It was very tight (thus the wiggles in the tire treads), I had to pull the mirrors in and move really slow. The ceiling cleared the tops of the roof racks by a finger's thickness! I really just tried it out of curiosity... I don't think the hassle would ever be worth it to get it in there, unless I wanted to store it for a long period of time.
 
OP
C

ceo012384

Well-known member
Joined
Nov 29, 2007
Messages
112
Location
Boston
As usual, didn't make quite as much progress this weekend as I would have liked, but maybe I just set lofty goals. I got a decent amount done, though. The weather (rain and snow) prevented me from doing some of the things I intended.

My camera was acting up so these are all phone pics, sorry.

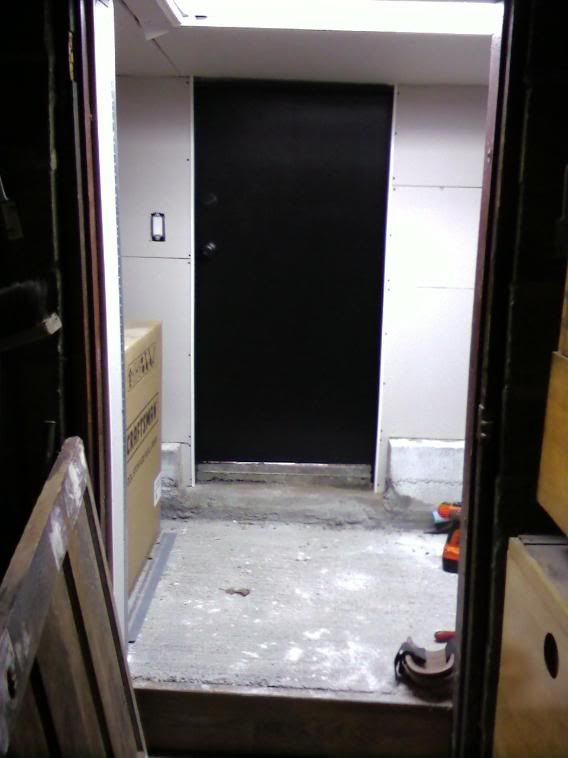
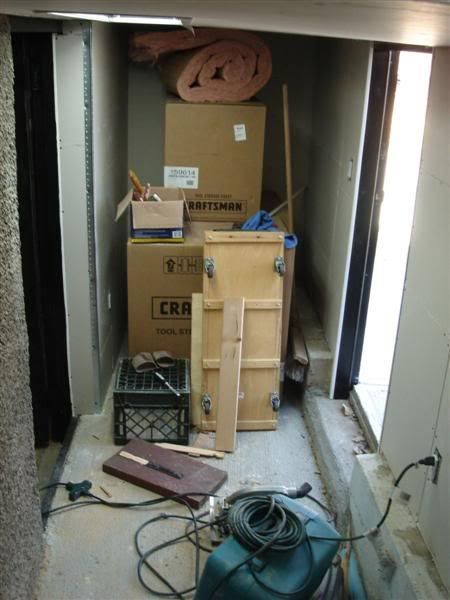
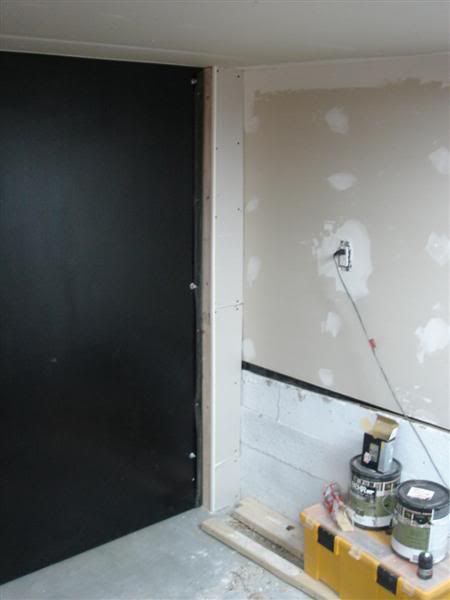
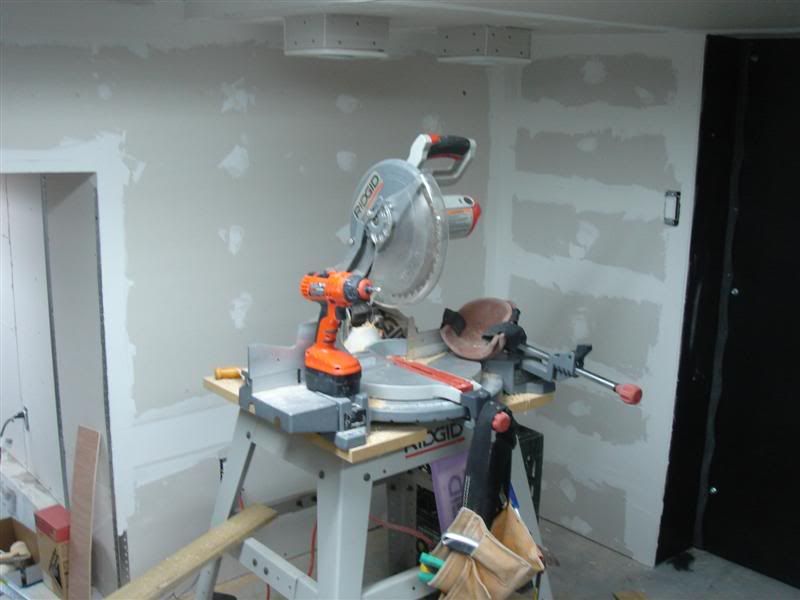
There was bits of drywall to finish around the small door, big doors, and the door into the main basement. The frames also needed to be stuffed with insulation beforehand. I did that. Also, needed to prep a lot of the corners for mudding with j-strips and metal corner beads. At this point I was piecing a lot of the parts together with leftover drywall bits. It will add some mudding time but I didn't feel like making a Depot trip just for a sheet of drywall.

Here is the part by the big doors:

0315081122.jpg


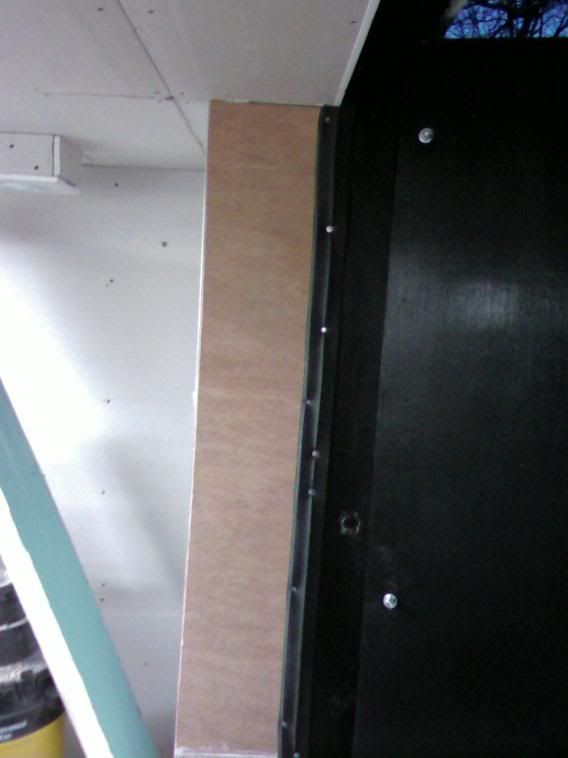
Hung some corner beads:

0315081123.jpg


From the main basement looking at the small door after I stuffed insulation in the frame:

0315081124.jpg


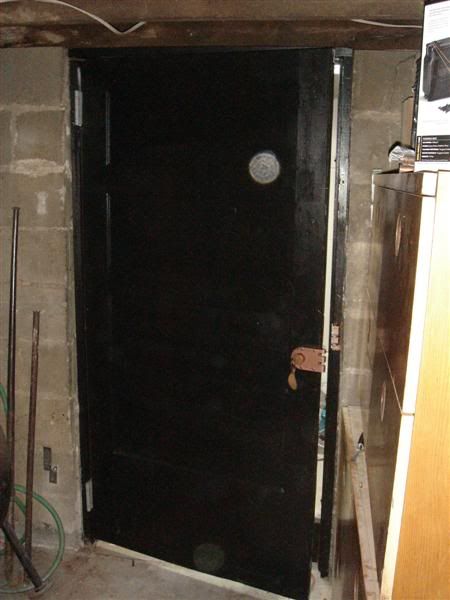
I also ripped down the door into the main basement becasue it was in rough shape and needed new hinges. There was a big steel sheet bolted to the front of it (previous building owner kept ~$100k stock of high-end fishing supplies in here, used to be a flyfishing shop) that weighed probably 80 pounds, I took that off. That is why the hinges had gone to ****. I cleaned it off and puttied all of the holes in it:

0315081124a.jpg


Hung the drywall around the small door, j-stripped the edges:

0315081326.jpg


Used some of the 1/4" luon that I used to face the inside of the big doors to clean up the threshold:

0315081903b.jpg


Then, I used thick weatherstripping to insulate the whole frame of the big doors. The last inch or so that the doors are closed compress this stuff and make a weathertight seal. I could already feel the place getting warmer:

0315081904.jpg


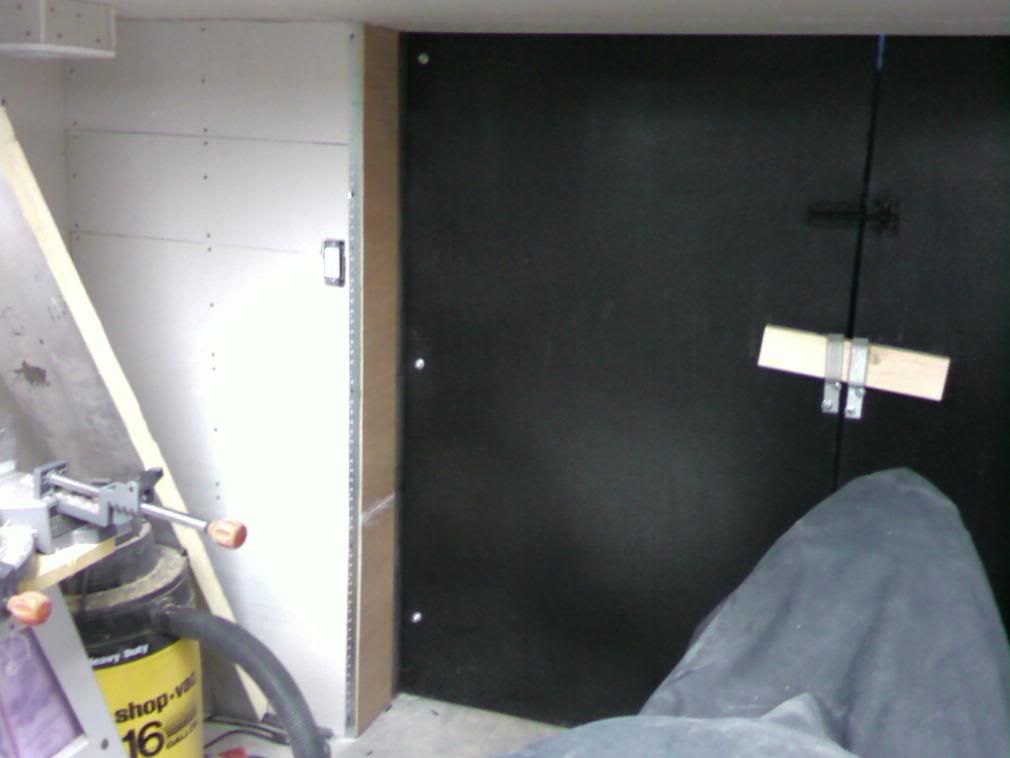
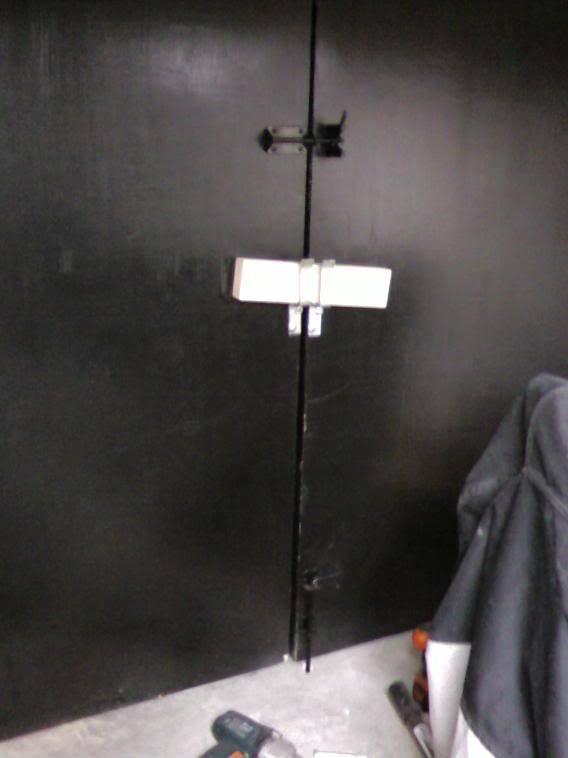
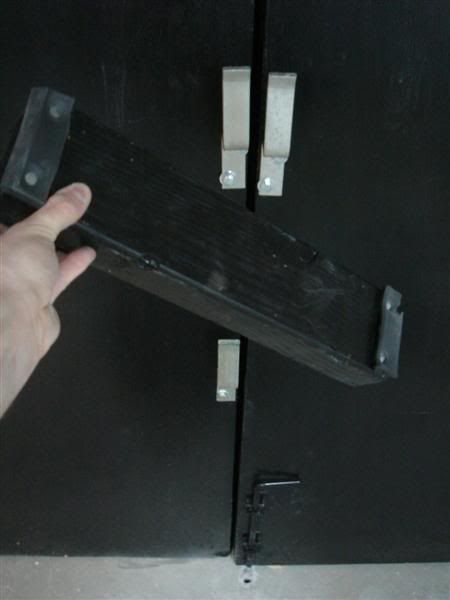
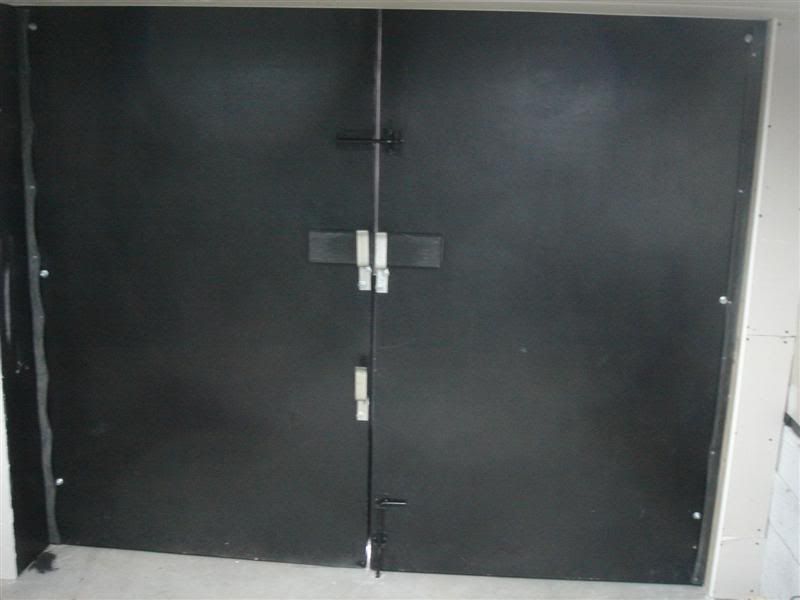
Then, used a gate latch to click the doors together, a short barricade (will paint black and rubberize the ends so as not to scratch the doors next time) for strength, and a cane bolt down into the concrete to secure them shut:

0315081902.jpg


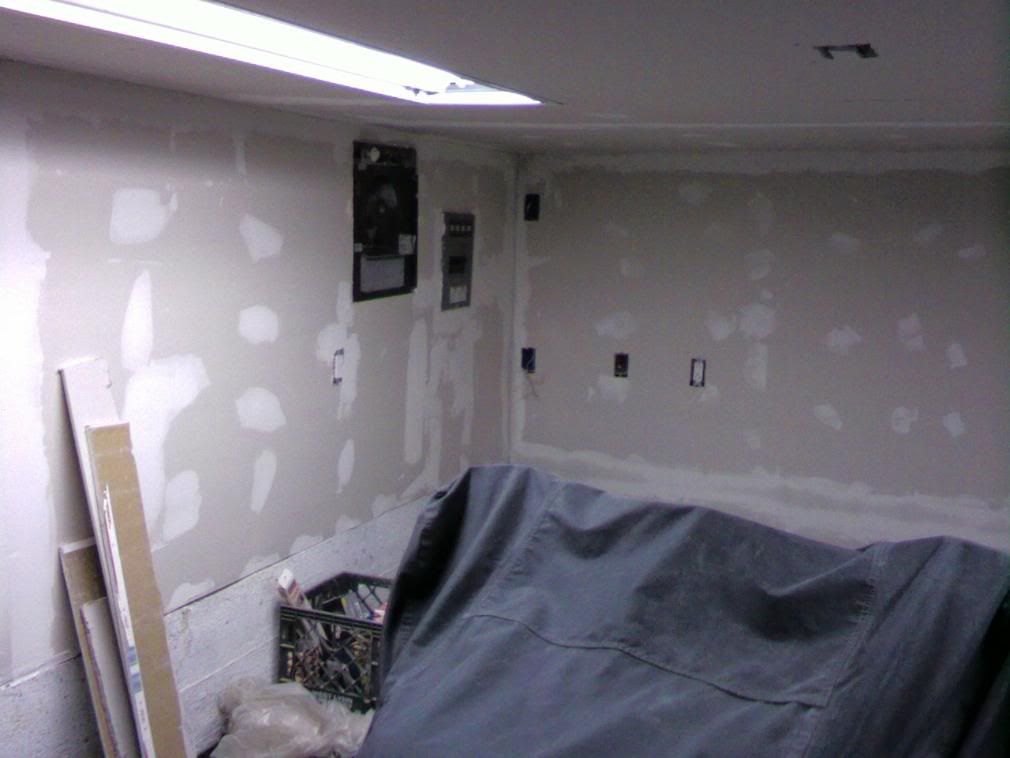
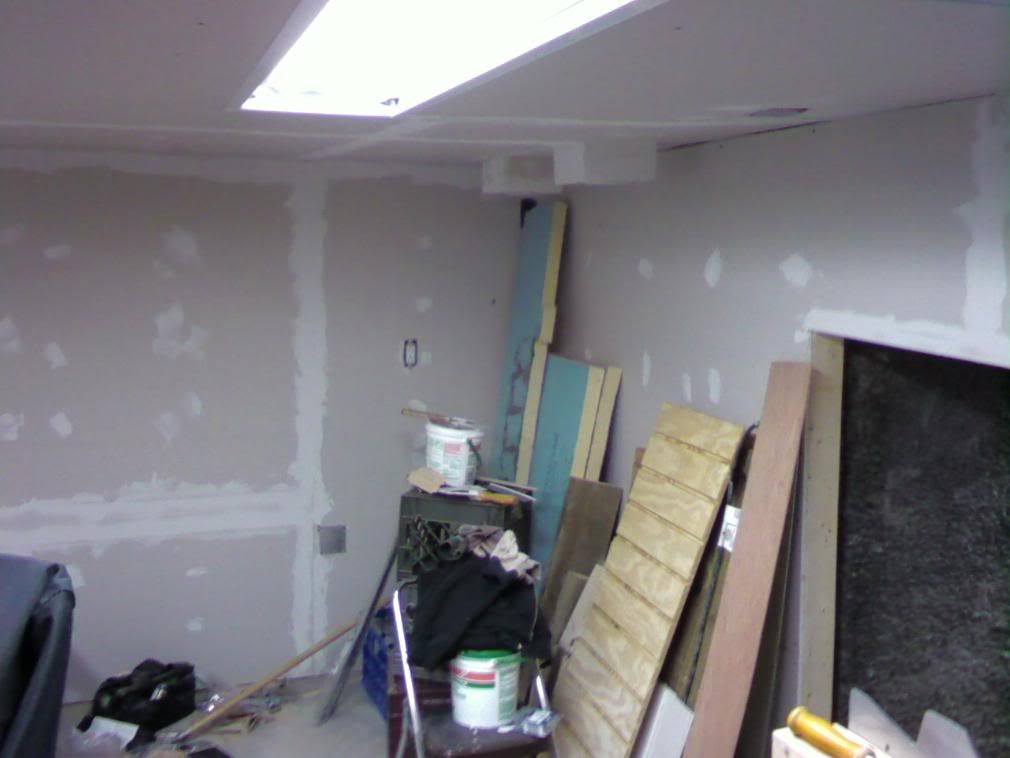
Started the mudding, did most of the main room 1 coat:

0315081903a.jpg


0315081903.jpg


And painted one side of the door going into the main basement:

0315081935.jpg


Next time, need to finish up all the door issues... couldn't this time because of the weather. I have all the stuff already:
- Door sweeps on the bottom of the small door and both big doors
- Extra wide door sweep/flap between the big doors in the center
- Rubber sheeting over the hinge-side gaps for redundancy
- Small trim painting bits outside
- Paint the other side of the door going into the main basement, rehang it on fresh hinges

There is one or two small trim things to neaten up in the garage as well, just little *** jobs though.

Then, it's all mudding... 3 coats, sanding in between. Yay fun. Not.
 

kbs2244

Well-known member
Joined
Nov 11, 2006
Messages
14,065
Welded through bolts will keep the hinges on the wall, for sure.

That bike is going to have a nice place to cool down in.
 

thetastelingers

Well-known member
Joined
Mar 12, 2007
Messages
716
Location
Soddy Daisy
I am stalled out on the drywall mudding in my garage......just because I am a procrastinator, and ......well....that is about it.....:)

It is looking great!
what color or colors are you painting it?
 
OP
C

ceo012384

Well-known member
Joined
Nov 29, 2007
Messages
112
Location
Boston
Great project. You do excellant, quick work. Hope to see some more pics. I love looking at real working spaces as they evolve.

jhn9840
John
John,

Thanks a lot for the kind words. I really appreciate it!

Every few months I look back over all the photos and just smile to myself a bit seeing how far it's come along :)

I'll get another update up as soon as I get a chance to type it out...

-Christopher
Welded through bolts will keep the hinges on the wall, for sure.

That bike is going to have a nice place to cool down in.
Yeah, I just need to find someone local who has a somewhat portable welder and give them a few beers to do it for me... really welding is something I want to learn eventually.

And yes... the bike is starting to look at home in there as the space around it gets 'prettier' :D
I am stalled out on the drywall mudding in my garage......just because I am a procrastinator, and ......well....that is about it.....:)

It is looking great!
what color or colors are you painting it?
Procrastination is a bug that bites us all from time to time... the mudding hasn't gone as far as I would like because I've been finishing up all the issues with all the doors (3 separate entrances means lots of little nitpicks to worry about)

Thanks! As far as colors, I haven't thought too much about it. It's going to be a space where I do a lot of work so I will probably go with a standard ultra white for all the walls. I already got the high-vis bulbs for the fluorescent fixtures. The doors and all the door trim are black. The baseboards, I am leaning towards aluminum diamond plate ones that will be caulked to the floor with clear caulk for water-tightness. I may do some trim paint or something but I haven't thought about it yet. Eventually I want to do the floor the right way: medium gray epoxy with red black and white paint chips, and a couple thick clear coats.


I did a bunch of work this weekend and straightened out a bunch of loose ends. When I get a chance this week I'll type it up and post pics. :D
 
OP
C

ceo012384

Well-known member
Joined
Nov 29, 2007
Messages
112
Location
Boston
This past weekend (Easter weekend) I was able to get out there for all day Saturday and the morning of Sunday to get some work done. I finished everything involving all three doorways, did a couple bits of trim work, and did a little more mudding.

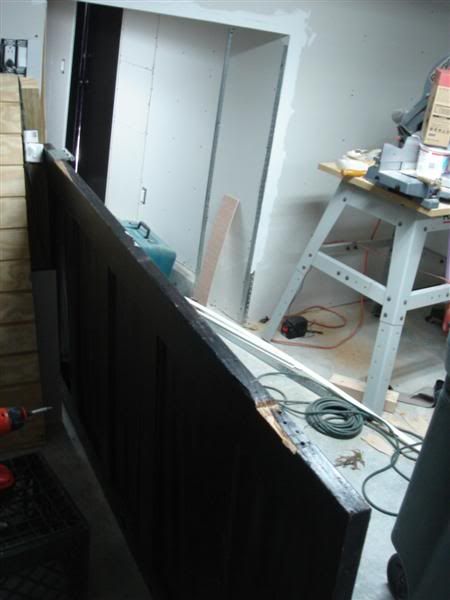
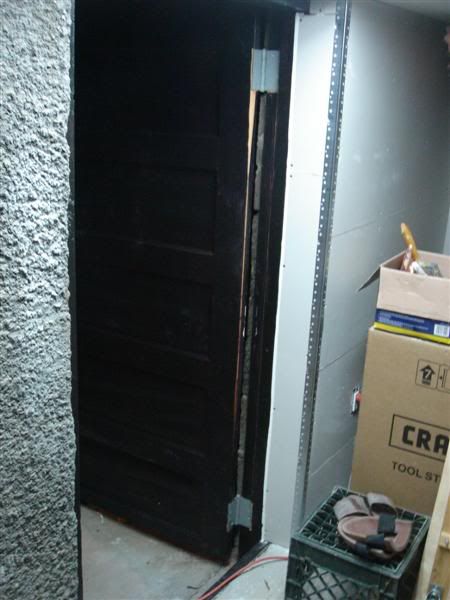
I gave another coat of paint to the door that goes into the main basement and painted the whole frame that it hangs on. I chiseled out bigger hinge cutouts on the frame and the door and hung it up. Looks 1000x better now:

DSC02503Medium.jpg


DSC02509Medium.jpg


DSC02510Medium.jpg


DSC02547Medium.jpg


I repainted some of the trim on the small door, and attached a doorsweep to the bottom. Cashmoney:

DSC02505Medium.jpg


I boxed in the corner near the door because it was still exposed and drywalled it:

DSC02511Medium.jpg


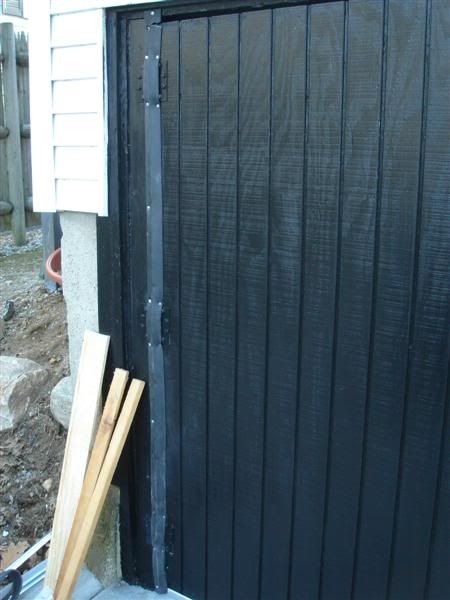
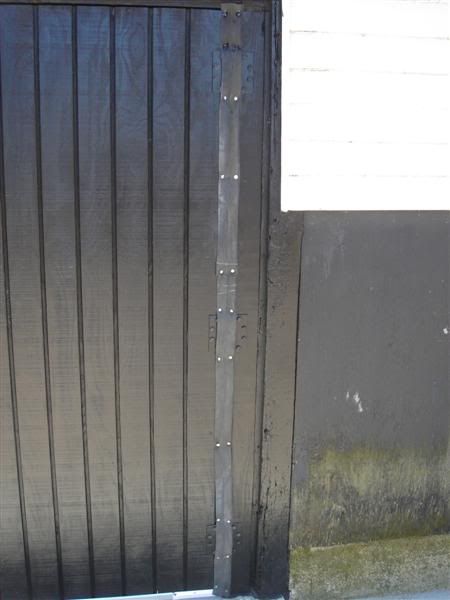
For the main doors I used some rubber weatherstripping to cover the gap near the hinges. I nailed some on the inside (forgot to take pics) wrapped around the corner so that as the door is closed, the strip gets compressed between the door and the frame. Then, for redundancy, I tacked a sheet over the gap on the outside as well. I think I'll probably dab all the nailheads with black paint just to improve the appearance next time I'm out there.

DSC02506Medium.jpg


DSC02542Medium.jpg


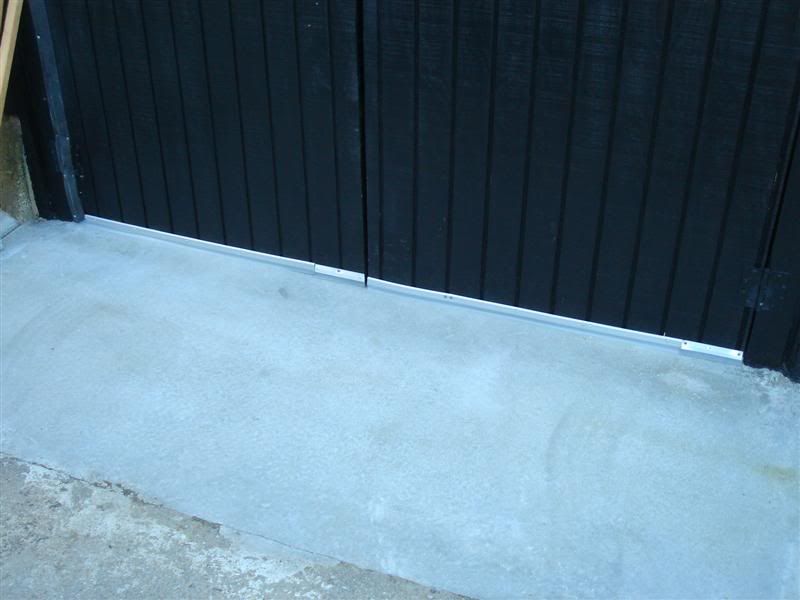
I put door sweeps on the bottom of both doors. They didn't come long enough so I had to buy three and chop one up:

DSC02507Medium.jpg


Now comes the only real mistake I've made in this whole build (besides a couple small electrical brainfarts which I fixed). When building the doors, as I was putting on the sheeting on both sides, I used tons of construction adhesive as well as nails/screws for the back/front. After this, I stacked the doors on top of eachother and left them on my work table. But, I forgot to put some weight on top of the top door, so as the adhesive dried and hardened, the sheet moved/warped. This manifested itself when I hung the doors as the doors appearing to not be square, which is not the case.

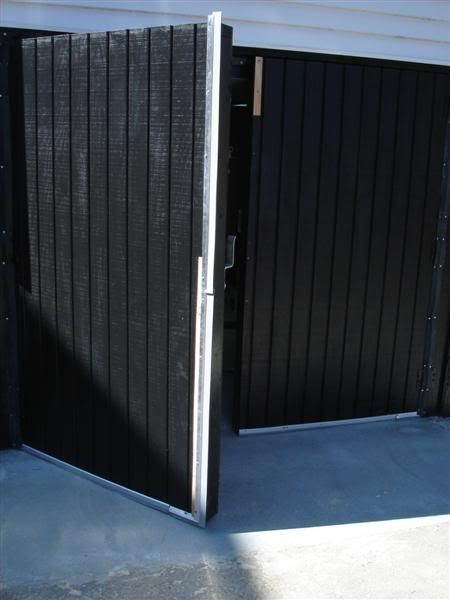
In order to seal the gap in the middle of the doors, I decided to get extra large door sweeps which had a wider piece of rubber sheet than most, and just mount them vertically. But, due to the screwup I just mentioned, the doors don't line up perfectly and the flap wouldn't seal all the way. So I traced the error onto a board and used a belt sander to create my own 'shim'. Worked great:

DSC02537Medium.jpg


DSC02538Medium.jpg


Then I painted those trim bits and you don't notice them at all:

DSC02539Medium.jpg


I decided to paint the sweeps in the middle because I thought they looked funny. The paint didn't go on too well so they will need a couple more coats, this was on sunday right before I had to leave to do Easter stuff so I didn't do a great job. I'll fix it next time:

DSC02543Medium.jpg


I painted the crossbar and tacked some rubber to it so it doesn't scratch the door when putting it in:

DSC02513Medium.jpg


DSC02540Medium.jpg


I did a little more mudding in the corner and on the ceiling:

DSC02541Medium.jpg


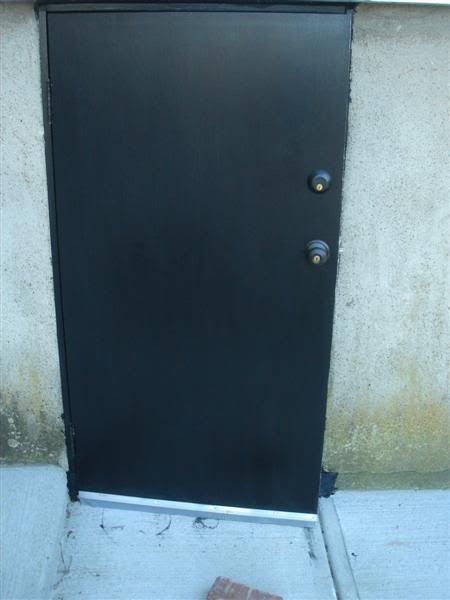
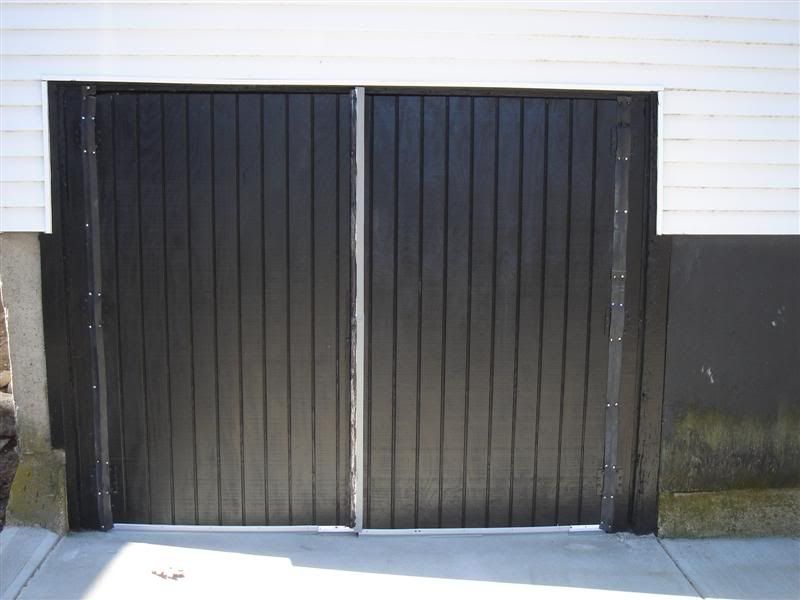
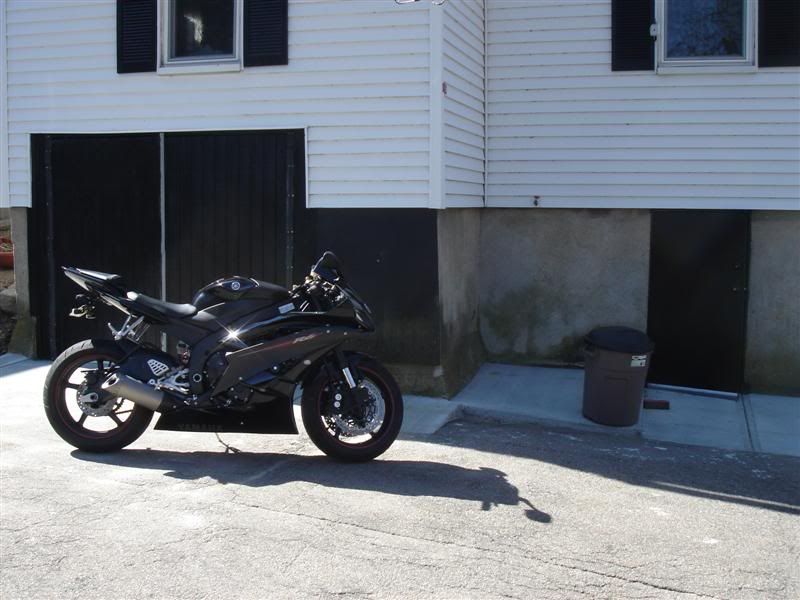
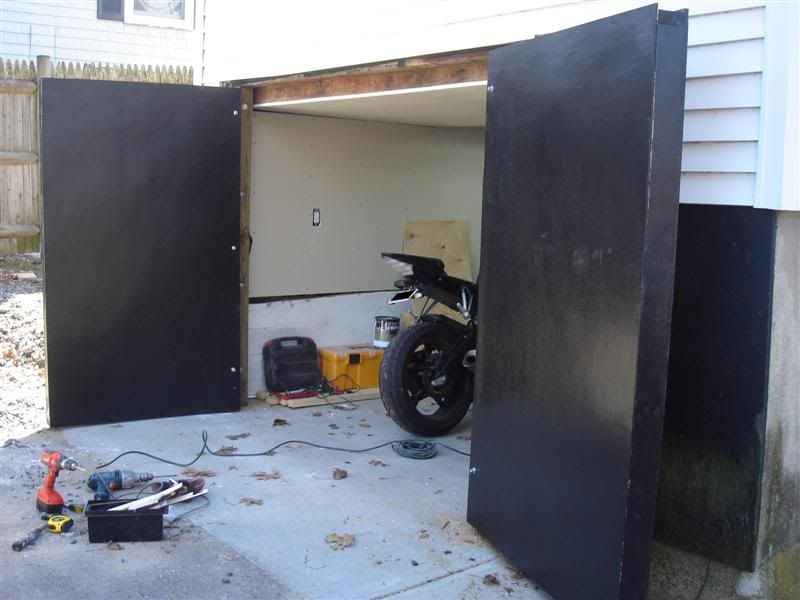
From the outside, the place looks pretty good, if I do say so myself. Especially considering the doors I built cost about 3% of what I was quoted to have a set built.

DSC02544Medium.jpg


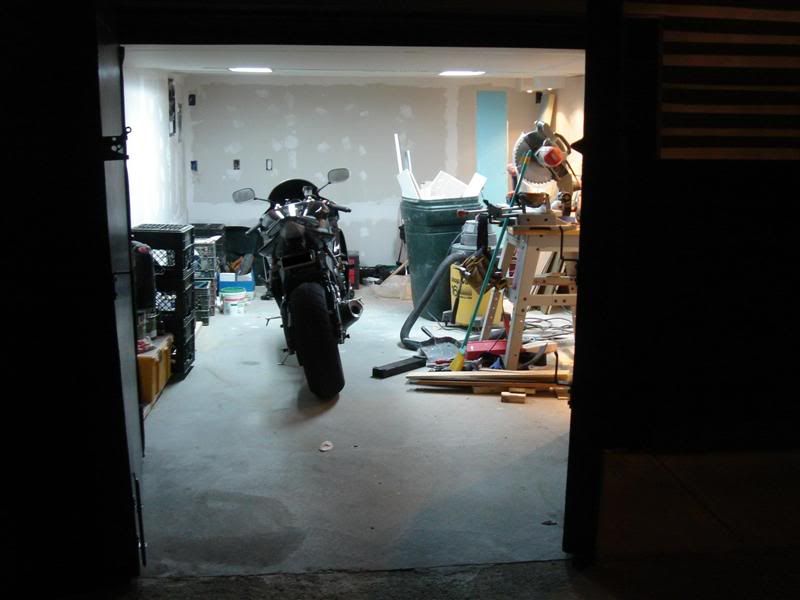
Inside looked alright sat night:

DSC02514Medium.jpg


Unfortunately I've got a ****** couple of weeks with work, this one and next week, so I'm not sure if I'll be able to get much/anything done for a bit :(

Left:
- One small bit of trim work
- Mudding, sanding
- Clean the whole joint out, throw away scraps, etc to get ready for paint. Lay down plastic sheeting over the whole floor
- Priming, painting
- I want to use a baseboard that I can seal to the floor to make it waterproof. Since the place isn't that big I think I might splurge on these because they'll look ******' badass. Then I'll use clear caulking to seal the joint at the floor. Will make mopping the place really easy.
BaseMold5.jpg

- Design and build workbench. Put a beer fridge under it.
- Build all shelving. The small room will be all shelves, and there will be shelves for the stereo.
- Set up tool chests, fill, organize, etc. In general organize the whole joint.
- Down the road, I want to do the epoxy flooring. We'll see when I get the money and time to do it.

I'm also going to tackle a job in the main basement as well, but that is a story for another day ;)
 

thetastelingers

Well-known member
Joined
Mar 12, 2007
Messages
716
Location
Soddy Daisy
How much are the baseboards going to run you?
Just curious to see if I would be interested in doing the same thing.
The place is looking great.
I am playing more than I am working in the garage....:bounce:
 
OP
C

ceo012384

Well-known member
Joined
Nov 29, 2007
Messages
112
Location
Boston
Nice job on your project.
Thanks!
How much are the baseboards going to run you?
Just curious to see if I would be interested in doing the same thing.
The place is looking great.
I am playing more than I am working in the garage....:bounce:
I think I found them for around 24 dollars per 8 foot length, and they are 4.5 inches in height. My space isn't too big so it's not too bad. At the bottom they angle a little bit to sit flush and push liquid towards the center of the room if something is spilled on the wall.
 
OP
C

ceo012384

Well-known member
Joined
Nov 29, 2007
Messages
112
Location
Boston
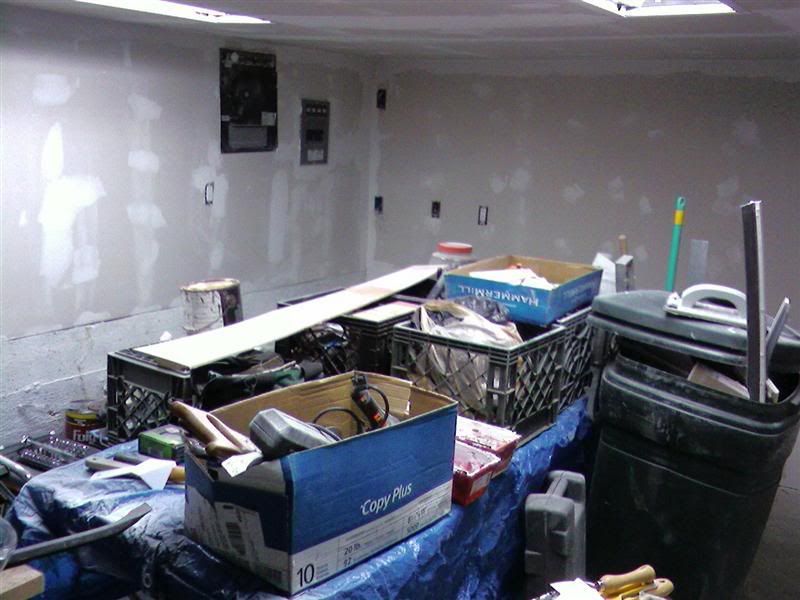
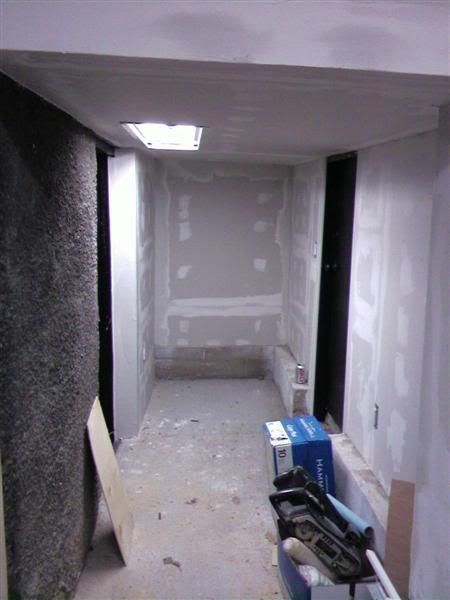
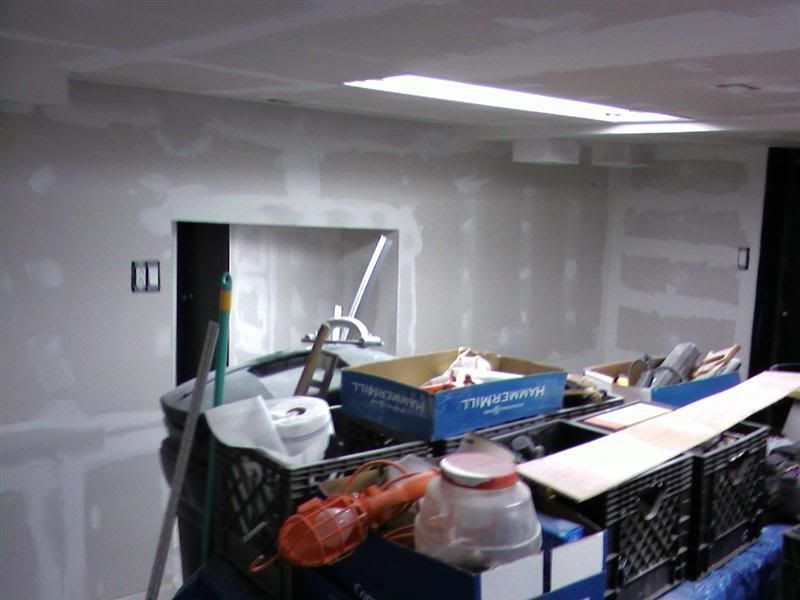
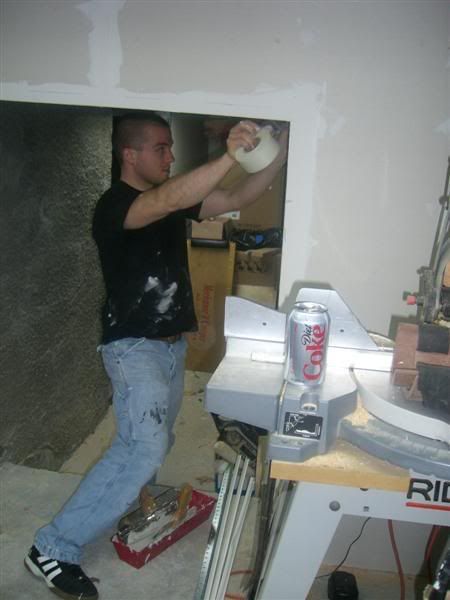
I was able to get one good day of work done in the garage this past weekend. I had a friend visiting again. Next weekend will be dedicated to garage work and starting my bike prep for the track in 3 weeks and for the season in general.

Basically I was abe to apply the rest of the 1st mud coat after doing a bunch of moving and organizing of things, and then sand half of that first coat. Three coats and three sands should do it.

Here's a few camera phone pics, and a couple my friend took.

0404081624Medium.jpg


0404081623aMedium.jpg


0404081623Medium.jpg


CIMG0717Medium.jpg


CIMG0719Medium.jpg


At this point, I'll have sort of a double focus for the next few weeks until my track days: the garage, and doing some bike prep for the track is in order since I am a little anxious about all of that getting done (new tires, 4kmile service, new SS brake lines and HH pads, tank sliders, etc.)
 
OP
C

ceo012384

Well-known member
Joined
Nov 29, 2007
Messages
112
Location
Boston
coming along nicely.

Thanks man!

This coming weekend is blocked off for garage and bike work. We'll see what I can get done.

Even the individual tasks are a little daunting when you're working alone...
 

Willy Victor

Well-known member
Joined
Apr 9, 2006
Messages
444
Yeah, that's true. Makes sense.

Maybe I was just a bit cranky the other day. But the occasional 'good job!' is certainly nice to hear :beer:

Thanks man!

Yeah, it's not the biggest or nicest space, but it's what I've got to work with and I'm making it my own. I'm pretty proud of it thus far. ESPECIALLY when I look back a the starting pictures :shocking:

The work balance is the frustrating part. Especially that now it's going to get nicer out soon, I need to get this finished so I can use it for what it's meant for... working on the r6!

Thanks peter! Will do on the photos... looking back at them all keeps me motivated :thumbup:


Got a lot accomplished yesterday and today. Also, I'll be able to work on it tomorrow (monday), friday, and next weekend. Hell yeah.


I got all the materials necessary for the small door: solid wood slab exterior door, exterior door jambs, lock set, hinges, and a kit with jigs to help you cut all your doorknob holes. I painted the door and jambs and let them to sit:

DSC02420Medium.jpg


DSC02422Medium.jpg


DSC02424Medium.jpg


I ripped out the old ****** door, and installed the new jambs.

DSC02439Medium.jpg


DSC02440Medium.jpg


Later sunday night I got the hinges on the small door, mounted it, and got the knob and lock all working great. It was dark so I didn't take more pics. The door still needs another coat of paint and I need to insulate around the frame with caulking and some other odds and ends. I'll get pics tomorrow.


Also, I found some hinges that would work for the large doors at a killer price. They are commercial grade 4.5" hinges with non-removable pins, ball bearing movement, nice thick metal for the plates, very beefy pin, and they were pre-primed for painting. Best of all, only 6 bucks a piece. It was a no-brainer. I got 6... maybe I only need four, but figured at that price I might as well overkill.

DSC02436Medium.jpg


DSC02435Medium.jpg


I attached the hinges via 5/16" lag screws for 6 of the 8 holes, and then 1 on each side is a through bolt to the other side. This was if someone wants to break it they can't just take out the bolts on the hinges. I mounted up the doors... shimmed them up into place and got two hinges attached with half the bolts on each... just to test the movement. Movement was smooth and felt great.

DSC02437Medium.jpg


DSC02442Medium.jpg


My plan tomorrow is to tidy up all my loose ends. Hopefully this can all be done in a day, but I'm not sure.

- Quick trip to the Depot for more paint and some bolts

- Finish all the small door odds and ends
---- Painting
---- Caulking/insulating
---- Weatherstrip on the bottom
---- Etc.

- Finish the big doors
---- Mount the other two hinges
---- Attach all lags/bolts
---- Attach the gate latch to connect the two doors
---- Rig up the cane bolt for the floor
---- Weatherstrip the entire opening
---- Attach weatherstrips/wipers for the bottom of the doors
---- Rubber strips over the gaps on the hinge sides
---- Paint hinges, frame, general trim around the doors

- Final drywall work
---- Small pieces by all the doors (big doors, small door, door to main basement)

- Clean the **** out of the place
---- Get rid of all random wood
---- Sweep floor
---- Organize all tools
---- Can now get rid of table, etc.

It's already starting to look less cluttered in there just from my moving the table out of the way:

DSC02444Medium.jpg


At that point, I will be ready to tackle starting the mudding, sanding, and painting next friday, saturday, and sunday.

Oh yeah, and I'm going for a ******** ride. The bike needs it, and I need it. It's suppose to be around 38. Good enough.


Looking for a comment, the doors aren't plumb to one another.


Willy
 
OP
C

ceo012384

Well-known member
Joined
Nov 29, 2007
Messages
112
Location
Boston
Looking for a comment, the doors aren't plumb to one another.


Willy
Assuming this is what you're referring to:
Now comes the only real mistake I've made in this whole build (besides a couple small electrical brainfarts which I fixed). When building the doors, as I was putting on the sheeting on both sides, I used tons of construction adhesive as well as nails/screws for the back/front. After this, I stacked the doors on top of eachother and left them on my work table. But, I forgot to put some weight on top of the top door, so as the adhesive dried and hardened, the sheet moved/warped. This manifested itself when I hung the doors as the doors appearing to not be square, which is not the case.

In order to seal the gap in the middle of the doors, I decided to get extra large door sweeps which had a wider piece of rubber sheet than most, and just mount them vertically. But, due to the screwup I just mentioned, the doors don't line up perfectly and the flap wouldn't seal all the way. So I traced the error onto a board and used a belt sander to create my own 'shim'. Worked great:
 
To avoid these ads, REGISTER NOW!
Top Bottom