I must apologize to everyone that follows this thread. I've been a little out of sorts this week as you can imagine. However, the work must go on!
A while back I made the above post. Well, tonight I finished most of the fence. I think it looks pretty good.
Here are the progress shots:
scraping off excess paint:
I still need to get a knob for it. I'll see what I can come up with.
Also finished (mostly) the handwheels.
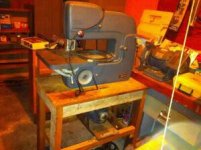
Before:
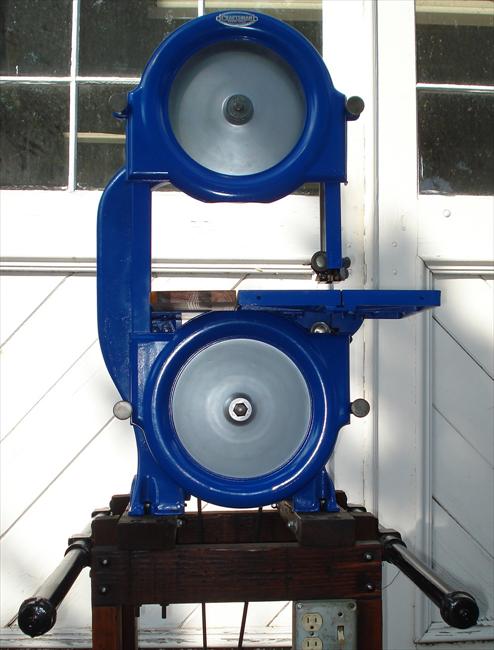
After:
This saw is going to be coming together VERY soon. The only parts that still need cleaning up are the fence rails/guides and the waffle extension, which still needs paint. Apart from that, I just need to pick up some misc hardware and things will be going back together! I don't think I will restore the motor quite yet. It is non-original to the saw and only 3/4HP so before I invest the time I'll see how it runs first. I'm really looking forward to testing it out.
Also, got a very nice surprise today:
A local OWWM picked up some parts for the Craftsman cabinet saw that were ruckered in from across the country. Guess what they were?
Motor:
And...
Motor mount!!!!
I was
very excited to get the motor mount because it is proprietary to this one saw and the saws are pretty rare as-is, let alone trying to find a seldom-separated part. HUGE thanks goes out to BlueMerle from the OWWM forums - you are giving this old saw new life!
Now all I need is the unobtanium belt guard

Tomorrow am going to be doing some work, but mainly some security stuff. If there is one thing that having your car stolen will do, its to get you thinking about how you can better be prepared. Taking steps.