

Mmfh
MEMBER EMERITUS
Hey there,
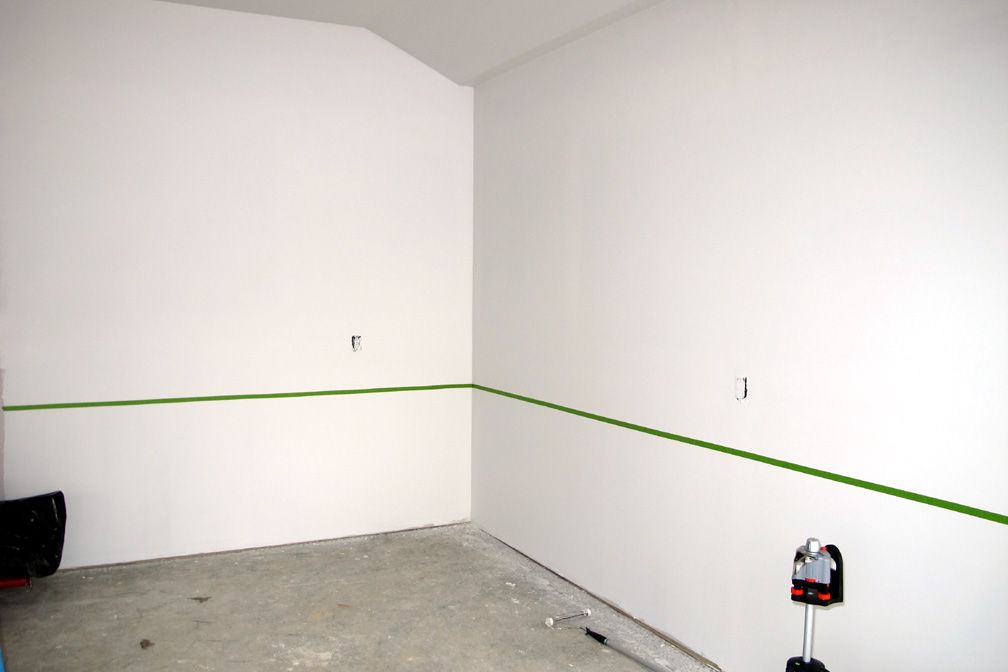
I'm finally to the point where I'm trying to figure out how to make a nice clean line for my paint stripe, or actually two stripes.
I've seen many of you guys with the nice stripes in your garage, and I want to run the tape out and get some paint on the wall, but I just can't get a totally level and straight tape line. And No Beers yet!
What's the trick, just not being stupid probably. So, how did you do it???
I've tried using a level, chalk line, 2x4 with a level, eyeball it.
Maybe a drink wouldn't hurt?
Thanks very much!
Mm


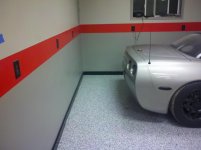
 C'mon. I just measured up from the floor, marked a pencil line and then pulled y tape as straight as I could. Looks perfectly level to me.


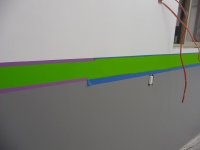

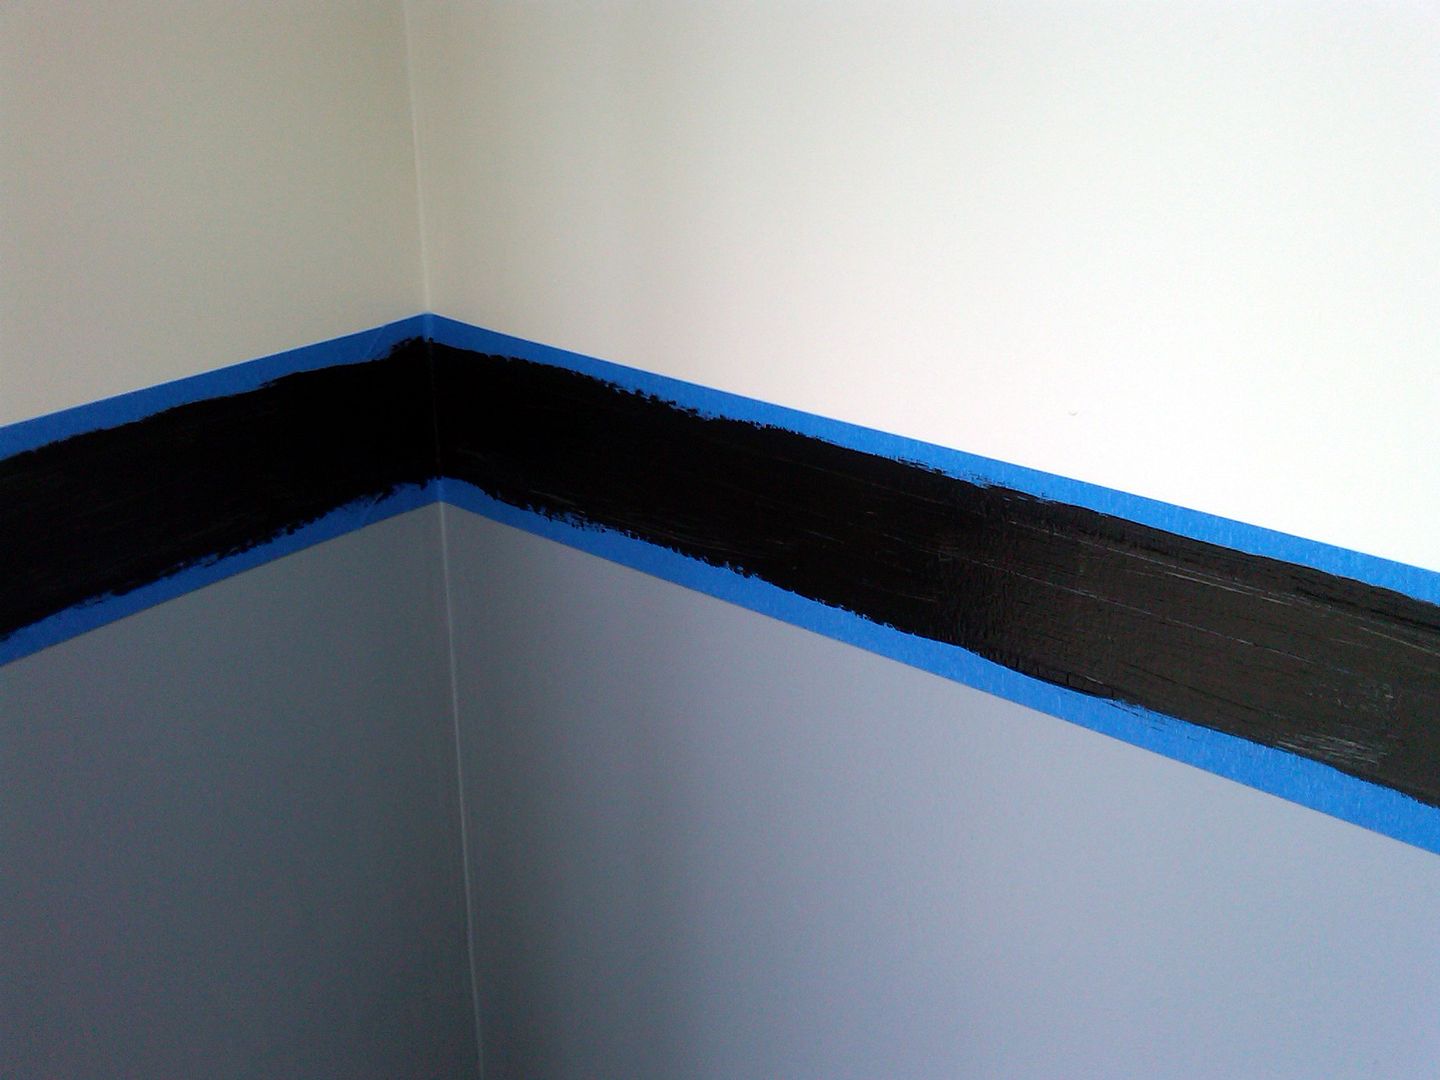
 I have the same problem bleed thru on a concrete block wall.with 2 color stripe