retrobuilder
Well-known member
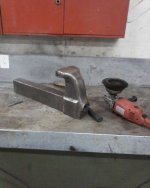
Awesome vise on previous posting. truly a clamping tool.
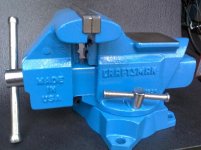
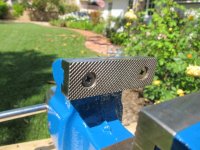
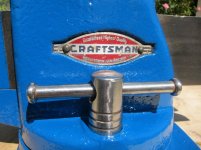
Here is my recent refurbishing of a not too old Craftsman 4" USA vise.
Originally painted gray with U.S.A. lettering. My wife said I should have painted it "craftsman red". Could have but decided on Ford Engine Blue to go with cabinets.
Filed, blocked and true surfaces + oxide cleaning with Cortec rust remover. Re-assembly lubrication of the threads and contact surfaces.
Far from spectacular but will improve the bench setup. Pardon the "Ford color".
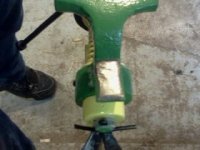
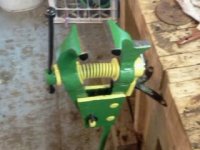
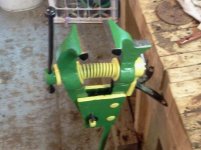


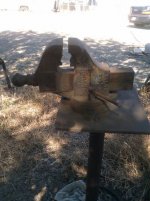

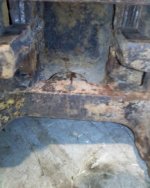


 on this. you probably already have one hole, and I'd bet there is a center tapped hole for the swivel base pivot bolt. that's three if you drill a hole on the opposite side of the swivel clamp hole.


![IMG_6453 [800x600].jpg](https://www.garagejournal.com/forum/data/attachments/234/234048-3c7f6d742c803d8d4958f99fee19a141.jpg "IMG_6453 [800x600].jpg")

![IMG_6807 [800x600].jpg](https://www.garagejournal.com/forum/data/attachments/233/233986-930943b5ee4fd650d3fc87ef9babb056.jpg "IMG_6807 [800x600].jpg")
![IMG_6809 [800x600].jpg](https://www.garagejournal.com/forum/data/attachments/234/234009-9abe8c30762ed321c1dffe3254fde8c3.jpg "IMG_6809 [800x600].jpg")
![IMG_6818 [800x600].jpg](https://www.garagejournal.com/forum/data/attachments/234/234031-7e9d77dd680272f836cb7d1b0da3a86b.jpg "IMG_6818 [800x600].jpg")