chris fresh
Well-known member
So i have a few projects all going at the same time in the shop,all making money and moving along smoothly,shocking really.I don't really like have a wood project and resto projects going at the same time in the same space,but there both paying gigs so i can put up with it.
One of the problems i have is that i have out grown my small H.F blast cabinet,i've been talking of going bigger and now have started the project because of left over/extra material from the current wood project.
I'm building 4 bookshelves for a customer with cabinet bottoms,nothing fancy really,just mad from 3/4 birch ply,1x12 pine for shelves,shaker style doors.The customer called and asked if she could make a change to the project that called for one less box and was aware of the material cost,she said don't worry about returning the material,just keep it for yourself.
So hears where i end up with an extra sheet of 3/4",two sheets of 1/2" for free,but taking up floor space.so today while i had the big saw out and the cut table i figured i'de take advantage of the stuff and begin my new cabinet build.
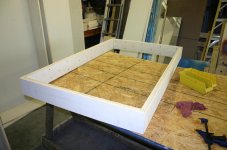
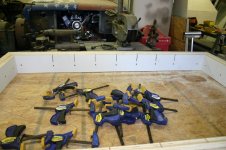
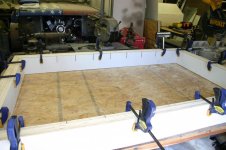
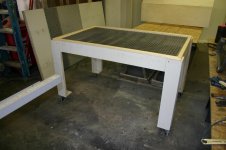
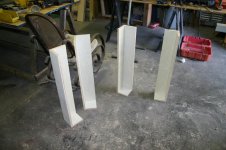
I first knocked down the 3/4 ply to strips 5 1/2" wide,made a frame 3'x5'.Then chased the outside of that with another band,making it 1 1/2" thick.Did this for a couple of reasons, (1) material was free, (2) cut and laminated plywood is much truer that regular 2x material) (3) 3/4 plywood on edge has less tendency to sag than 2x material over time.
Inside frame is glued and screwed,then the outside band is also glued in between layers,mitered corners,and screwed from the inside with 1 1/4 course thread screws.
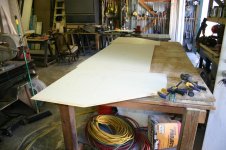
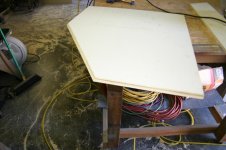
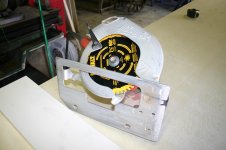
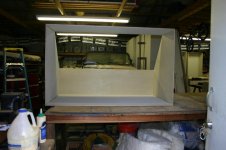
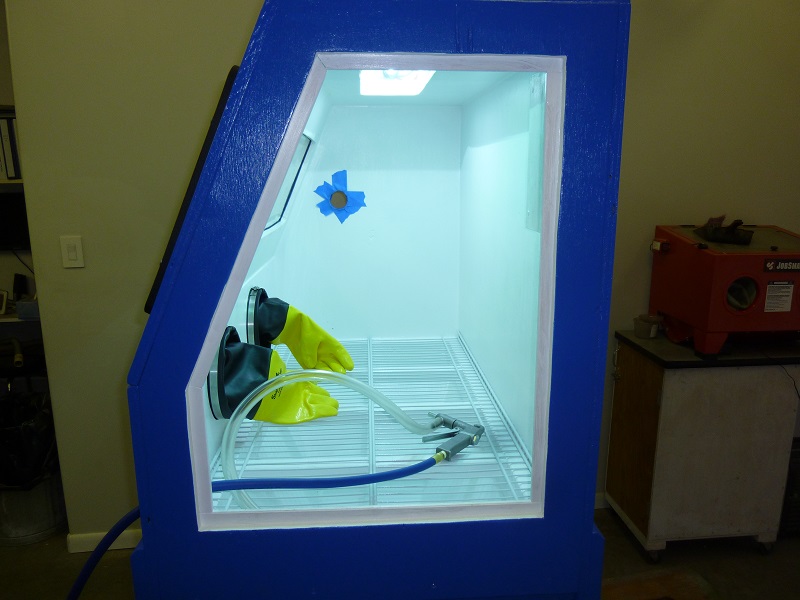
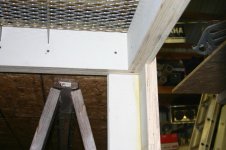
Now for the fun part,i made the back and two ends first.I didn't want **** joints,i wanted clean mitered joints.I use a skillsaw with a brand new 60 tooth count blade for this.By using a straight edge tacked with a brad gun,i mitered every joint.I plan on painting the inside with white latex for good reflexion and the outside will also get prepped and probably nice paint.
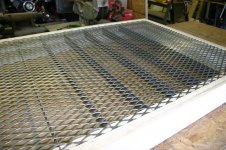
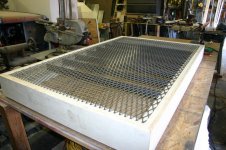
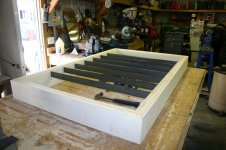
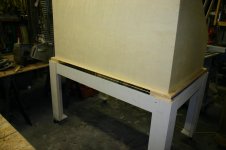
Here's the progress i made today,tomorrow i will get the front panels made.Next step is to make a two frames,one for the top lid and the other for the bottom,these will sandwich together when the lid closes.These will have a 5ft piano hinge across the back.
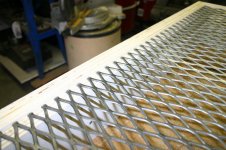
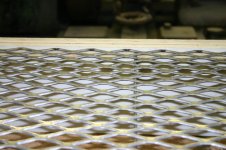
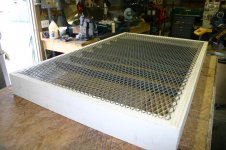
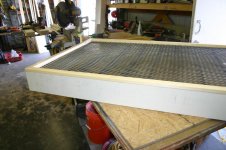
Inside will have a piece of 3/4 expanded metal for a grate.One of the things i need to figure out is some kind of support for the middle of the grate,i will be putting fairly heavy items in this.
Things i want for this.
Alot of light.
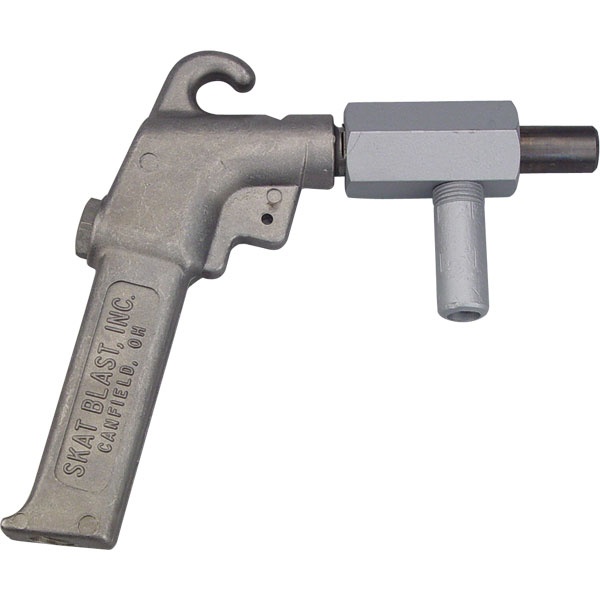
I'm using a TP tools SKAT GUN
I plan on building a spinning table for the center, 24" diameter.
And i'm still on the fence with vacuum.I have almost all things needed,just working out the details.
check the pics.
One of the problems i have is that i have out grown my small H.F blast cabinet,i've been talking of going bigger and now have started the project because of left over/extra material from the current wood project.
I'm building 4 bookshelves for a customer with cabinet bottoms,nothing fancy really,just mad from 3/4 birch ply,1x12 pine for shelves,shaker style doors.The customer called and asked if she could make a change to the project that called for one less box and was aware of the material cost,she said don't worry about returning the material,just keep it for yourself.
So hears where i end up with an extra sheet of 3/4",two sheets of 1/2" for free,but taking up floor space.so today while i had the big saw out and the cut table i figured i'de take advantage of the stuff and begin my new cabinet build.
I first knocked down the 3/4 ply to strips 5 1/2" wide,made a frame 3'x5'.Then chased the outside of that with another band,making it 1 1/2" thick.Did this for a couple of reasons, (1) material was free, (2) cut and laminated plywood is much truer that regular 2x material) (3) 3/4 plywood on edge has less tendency to sag than 2x material over time.
Inside frame is glued and screwed,then the outside band is also glued in between layers,mitered corners,and screwed from the inside with 1 1/4 course thread screws.
Now for the fun part,i made the back and two ends first.I didn't want **** joints,i wanted clean mitered joints.I use a skillsaw with a brand new 60 tooth count blade for this.By using a straight edge tacked with a brad gun,i mitered every joint.I plan on painting the inside with white latex for good reflexion and the outside will also get prepped and probably nice paint.
Here's the progress i made today,tomorrow i will get the front panels made.Next step is to make a two frames,one for the top lid and the other for the bottom,these will sandwich together when the lid closes.These will have a 5ft piano hinge across the back.
Inside will have a piece of 3/4 expanded metal for a grate.One of the things i need to figure out is some kind of support for the middle of the grate,i will be putting fairly heavy items in this.
Things i want for this.
Alot of light.
I'm using a TP tools SKAT GUN
I plan on building a spinning table for the center, 24" diameter.
And i'm still on the fence with vacuum.I have almost all things needed,just working out the details.
check the pics.