OP
bluesman2a
Well-known member
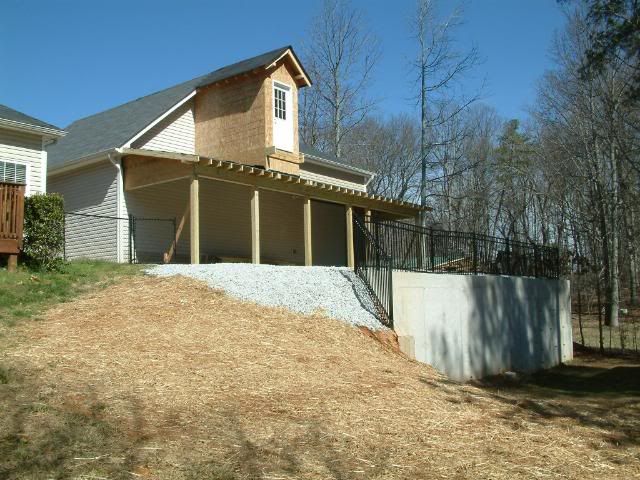
Progress at lunch today:


Do you own a DUKW?!?!?! I was looking at the pictures of your Jeep and saw you had an album with that title.


Better have some long legs to make that bottom step.
Haha!!! Well at least it isn't as bad as it was BEFORE!!! Seriously though, I just haven't had a chance to take/post pics today. There's a 90* turn at that landing so you go straight from the sidewalk to the stairs. Everything just lined up better that way.


Is it just me or do your shingles overhang like 2"?
OK Herb, I'm Impressed. Your place is awesome! And I thought the shop I built a few years back was nice but it was in a neighborhood and the Wife needed trees in her life not neighbors.
I sold it and moved to a place with some land to sit and look at the view. Lots of trees.There is an old 24x30 house on the property that I'm going to convert to my "new" shop.
I'll start a thread on it in a couple weeks and let everyone follow the progress.
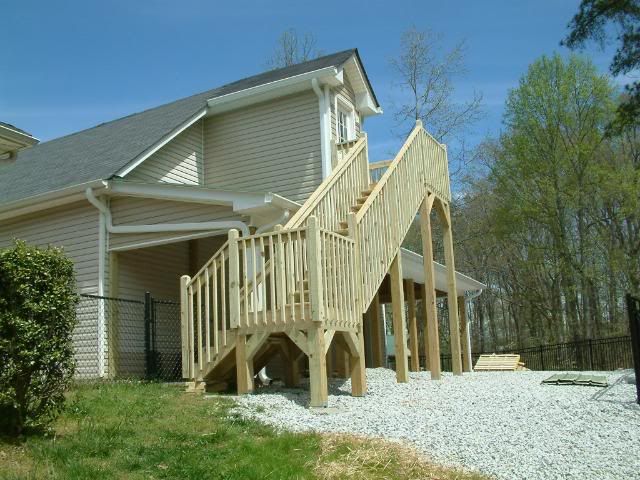
Another update from before work this morning:


What a good looking addition; nicely done!
Just curious about the stairway supports, are they beefy enough not to require more in the way of cross-bracing?
Another thing - how do you plan on fixing the old section ridge beam split?
Thanks again for sharing both the trials and triumphs of this build.


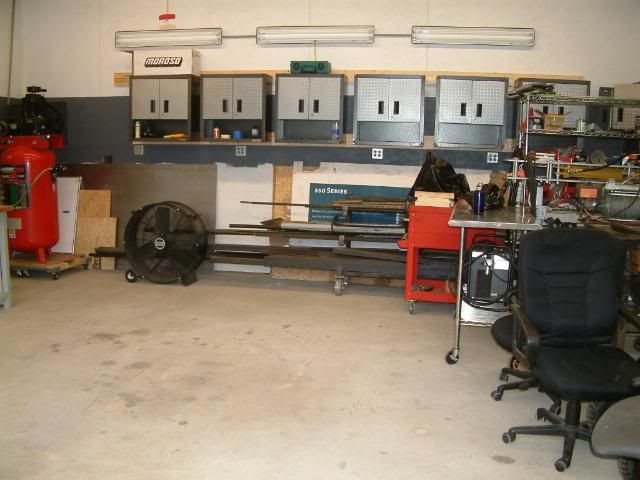


My parents just left, they came and stayed for a week and I put Dad to work. Man he did he whine about putting together all 21 gladiator cabinets!!!
Hanging one wall. Did 2X6's into the studs then lagged into the stringers. I considered the Gladiator geartrack mounting systems, but that cost more than I paid for the cabinets!!!
Second wall hung.
Also hung my wire rack and other cord reel that I have been tripping over for a while.
Finished product with the daily-putt-putt parked in.
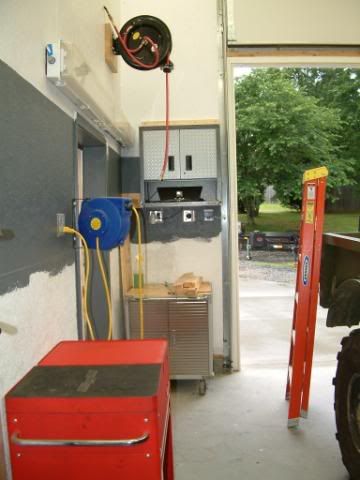
Also mounted 3 hose reels.
2 of those are Lowes specials (50 footers with 3/8" hose).
The other Lowes reel, another cord reel, and a single cabinet, nice place to put wallet, keys, ipod, sound station while working.
This is the main hose-reel, it's a Cox-Reel, 100 footer with 1/2" line above the blast cabinet.
Also got a chance to do some much needed maintenance work on my bender, drill-press, and bandsaw. It's a GREAT feeling to get things cleaned up and in proper working order again.
Looks great...Pop's looks like he is ready for battle. (They don't build em like that anymore.) Send him down here to Tampa when he is done up there. I got a keg of beer ready for him, as well as a few projects.


I mainly work on off-road vehicles in my shop. My main project has been a 1967 Jeep M-715.
In addition to that, I do a lot of other fabricating/stuff for off-road friends. I've also recently gotten into trying to buy/restore some machinery... here's a 1941 DoAll bandsaw I've been working on.
Here's a CJ-7 we tore the *** end and frame out of in order to stretch and put in a Ford 9" rear end and custom tank.
and other stuff as it comes along.
nice 715 and shop. any more pictures of past projects.


Big question is, do you still have the welding table? I might want to buy it back.......