35chevy
Well-known member
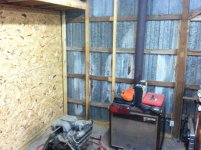
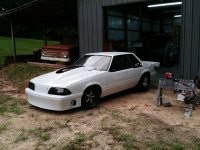
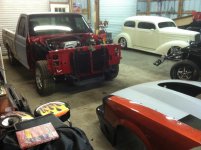
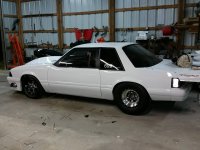
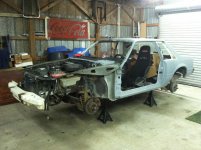
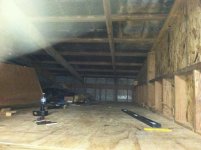
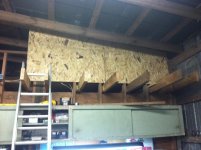
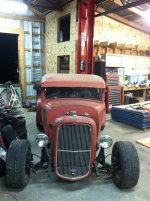
Hey guys, I've been hanging out here for a while just reading and dreaming of having a shop like some of you guys  . When I bought my property, there was an old dirt floor pole barn already on it, so I've done a little here and there through the years to turn it into a shop. It isn't fancy by any means. I'm not sure how old it is, but I remember it being there around 30 years ago, and it wasn't new then. I've owned it 16 years. It's 40'x48' and I enclosed a 32'x40' area. I have worked "in" it, but I haven't spent much time working "on" it. I started a few years after I bought it by having a steel truss built so I could remove two posts. It already had the 8x16 room built inside it, and one outside wall built with used metal. I put down the concrete, three outside walls, the doors, and wired it up, and that's how I've been using it for several years now. I'm tired of the clutter, the leaks in the roof, and the cold drafts and freezing to death in the winter, so I'm doing a few upgrades. I'm doing this mostly by myself along with working on my vehicles as well as a full time job, so progress is slow. Anyway, I went through all of my pictures and found some shots taken over the past few years that show some of the building in the background. I just built a storage area above the 8x16 room and I bought 40 sheets of OSB with no lines, and I'm working on it!
. When I bought my property, there was an old dirt floor pole barn already on it, so I've done a little here and there through the years to turn it into a shop. It isn't fancy by any means. I'm not sure how old it is, but I remember it being there around 30 years ago, and it wasn't new then. I've owned it 16 years. It's 40'x48' and I enclosed a 32'x40' area. I have worked "in" it, but I haven't spent much time working "on" it. I started a few years after I bought it by having a steel truss built so I could remove two posts. It already had the 8x16 room built inside it, and one outside wall built with used metal. I put down the concrete, three outside walls, the doors, and wired it up, and that's how I've been using it for several years now. I'm tired of the clutter, the leaks in the roof, and the cold drafts and freezing to death in the winter, so I'm doing a few upgrades. I'm doing this mostly by myself along with working on my vehicles as well as a full time job, so progress is slow. Anyway, I went through all of my pictures and found some shots taken over the past few years that show some of the building in the background. I just built a storage area above the 8x16 room and I bought 40 sheets of OSB with no lines, and I'm working on it!Attachments
-
 IMG_0704.jpg147 KB · Views: 460
 -
 10452436_10202101930649681_3687833149261521810_n.jpg123.3 KB · Views: 443
 -
 IMG_1629.jpg143.2 KB · Views: 431
 -
 10485288_10202269199551299_6797377904041247376_n.jpg74.1 KB · Views: 414
 -
 IMG_0497.jpg137.6 KB · Views: 444
 -
 IMG_1615.jpg145.9 KB · Views: 400
 -
 1450919_10200862407982389_549087498_n.jpg87.7 KB · Views: 433


") .
.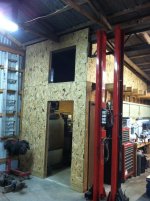

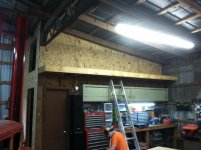


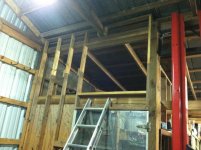
 I didn't hang the OSB because I've got to pick up some insulation next week. I'll be back at it Monday evening.