

e-tek
Well-known member
Hey guys, After 2 years, the Challenger is fianlly going back together and starting to look like a car again! I thought I might bore everyone with a BEFORE & AFTER photo essay.
I've really appreciated all the help and encouragement I've recieved from GJ Members along the way. Before GJ I never belonged to a forum of any kind (though I've read Penthouse Forum!) and have to say, it's been a great way to waste a lot of time!
Anyhow, on to the show. I bought this 1974 Dodge Challenger from a tiny town in Saskatchewan. It was a one-owner car that was driven to the freakin' bare bones, but had (a) never been in an accident, (even small that I could tell), and, (b) was 1000% ORIGINAL and had never had anything removed or replaced!
As I purchased it:
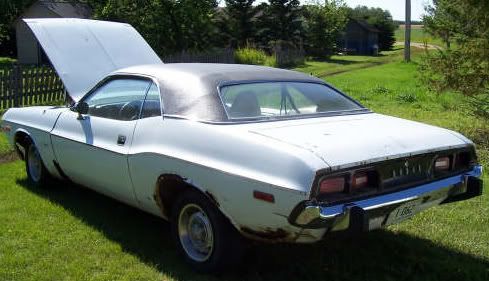
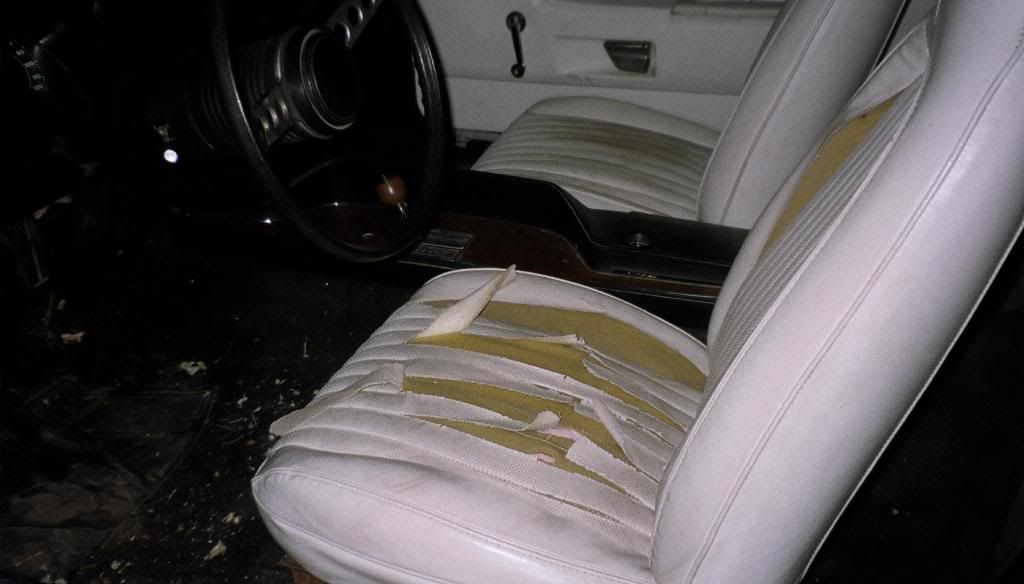
Home for the next while...

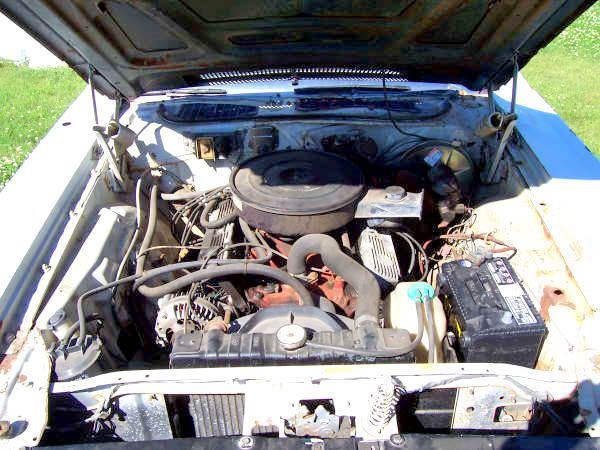
Engine Bay:
Tearing it apart:


Cutting out the old:

Welded in the new metal (inner wheel wells, some trunk pieces, quarters):

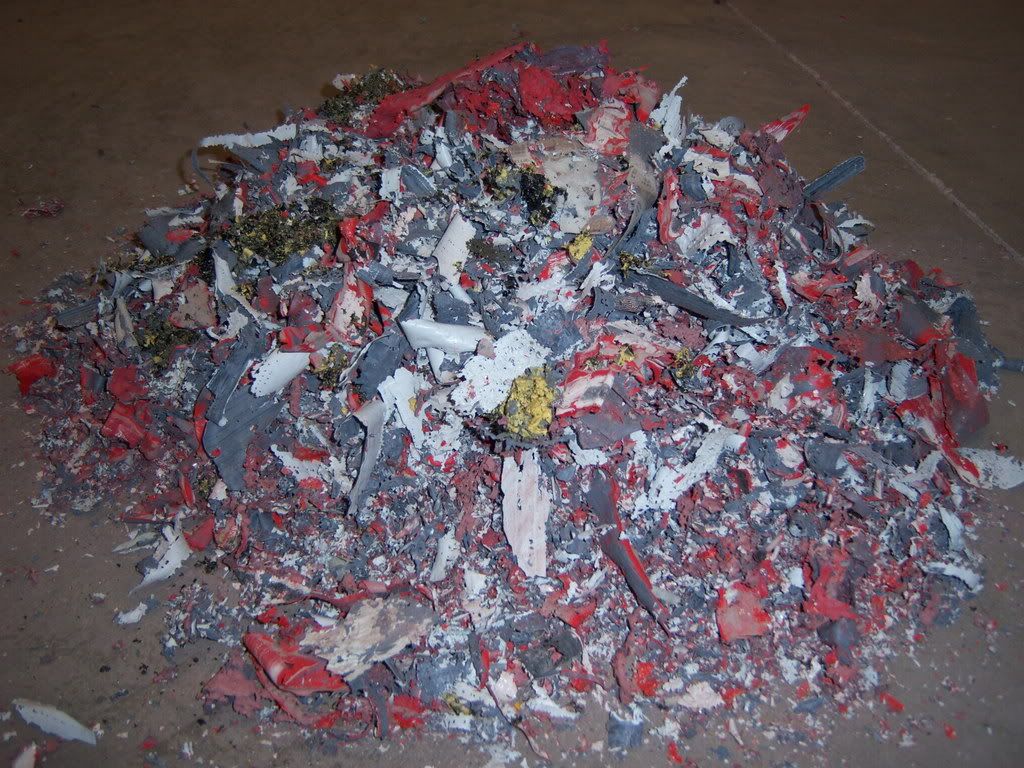
3 previous paint jobs:

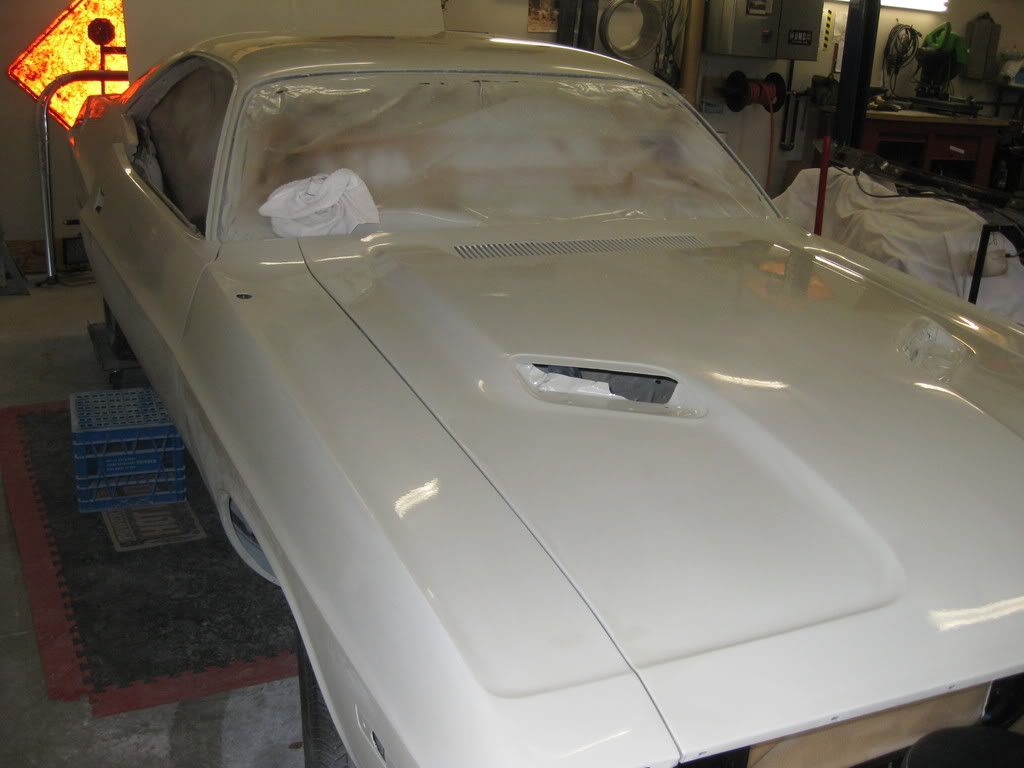
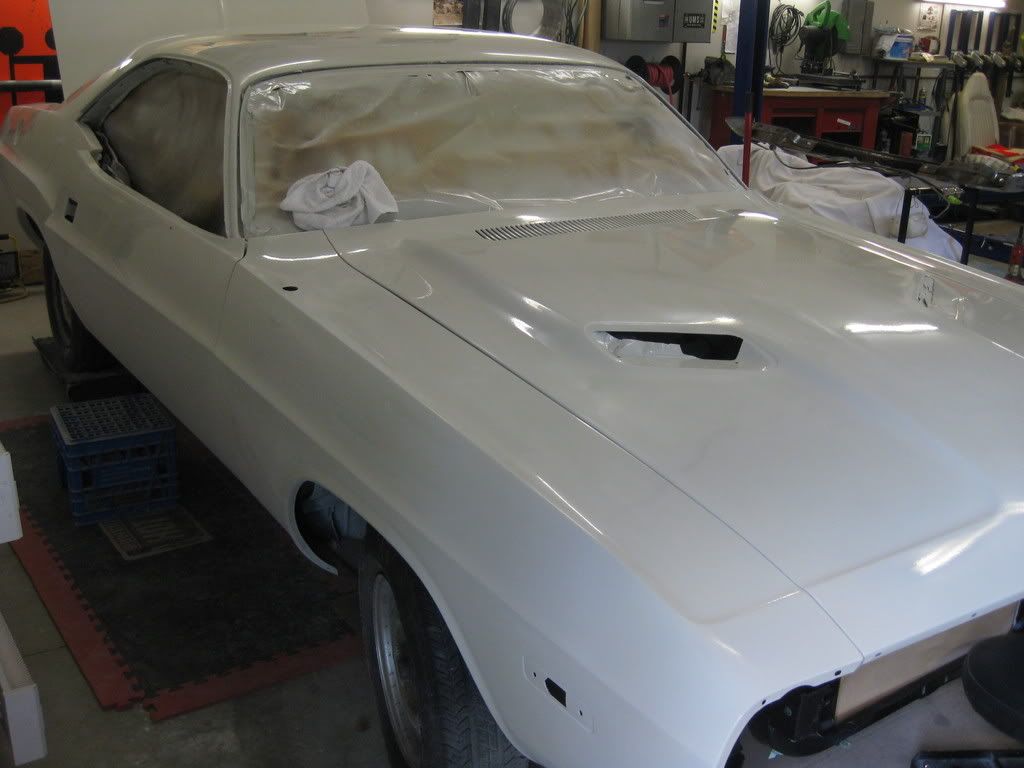
FINALLY Painted:
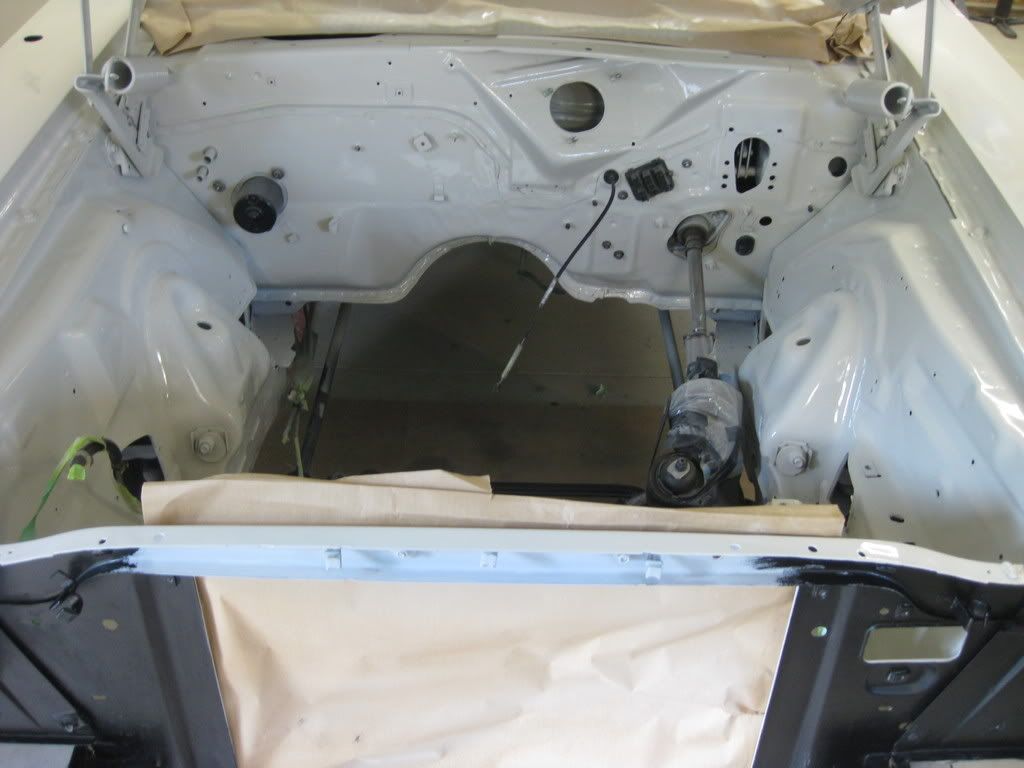
ENGINE DONE:

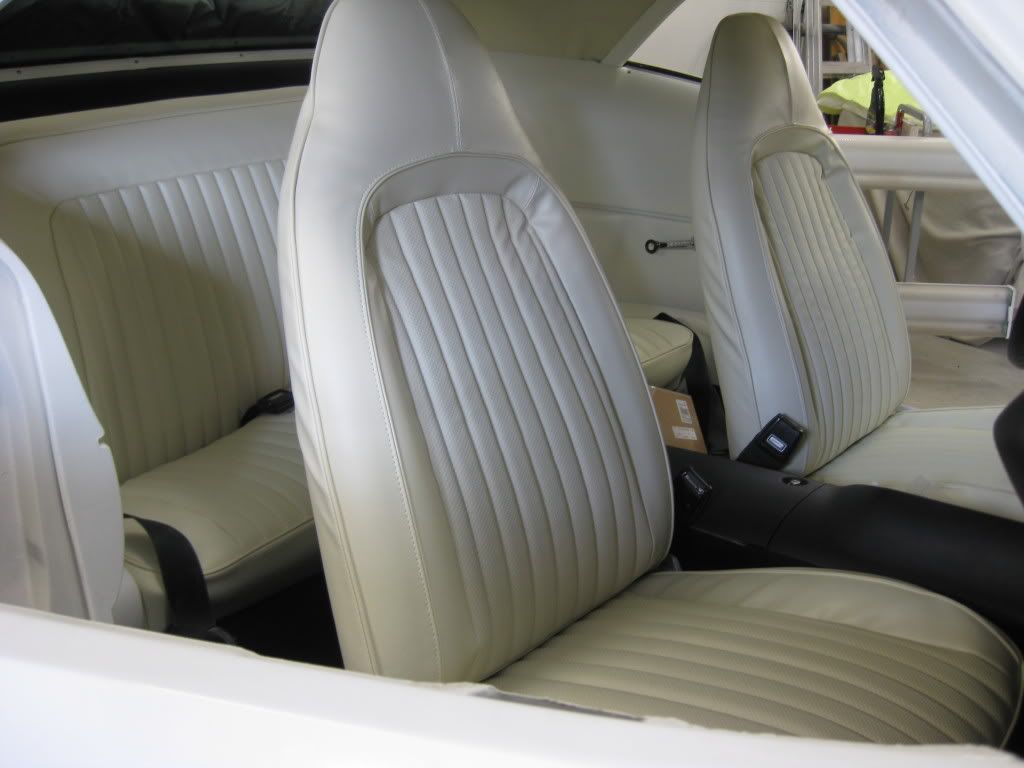
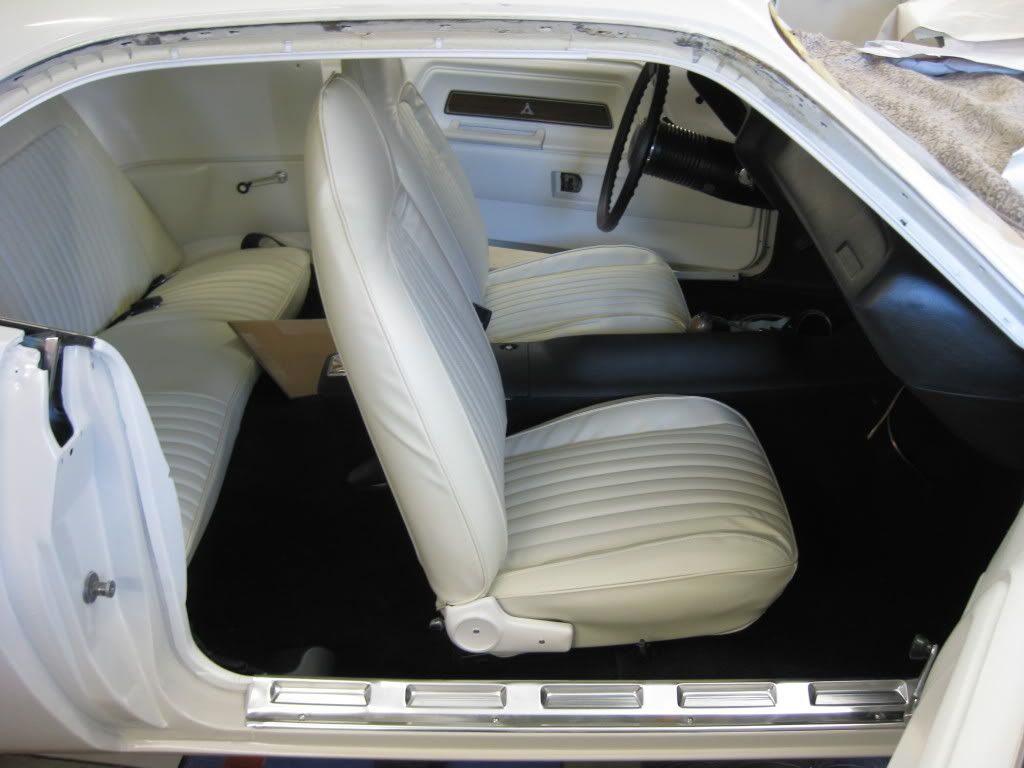
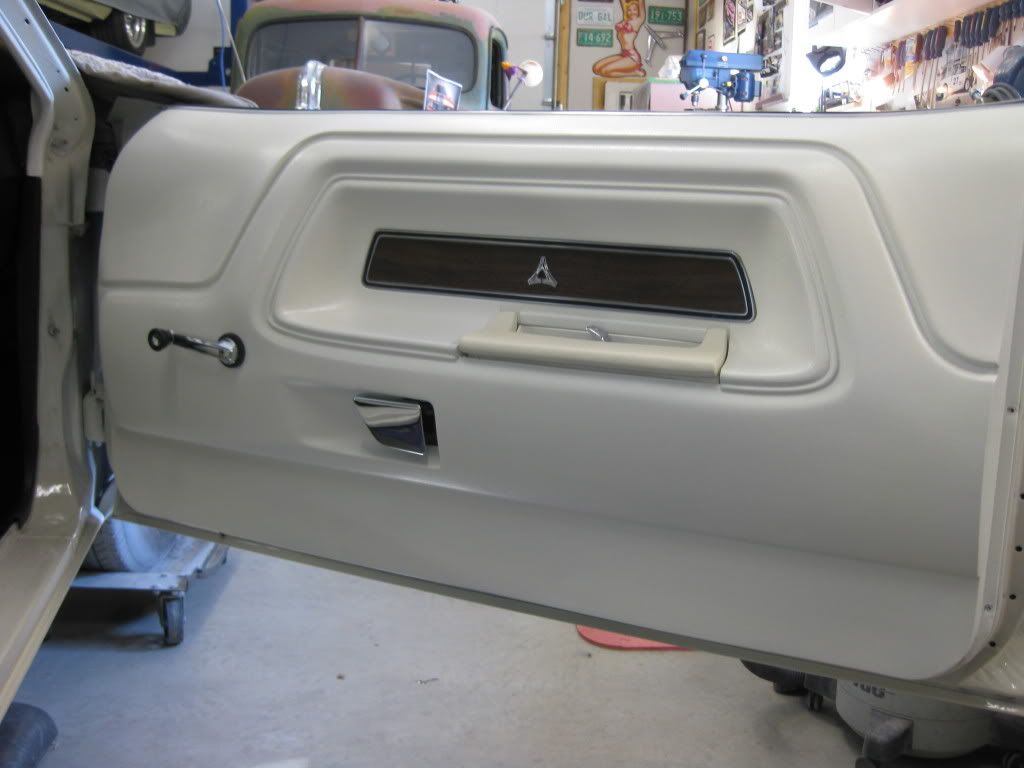
Interior:
THANKS FOR LOOKING - AGAIN!!
I've really appreciated all the help and encouragement I've recieved from GJ Members along the way. Before GJ I never belonged to a forum of any kind (though I've read Penthouse Forum!) and have to say, it's been a great way to waste a lot of time!
Anyhow, on to the show. I bought this 1974 Dodge Challenger from a tiny town in Saskatchewan. It was a one-owner car that was driven to the freakin' bare bones, but had (a) never been in an accident, (even small that I could tell), and, (b) was 1000% ORIGINAL and had never had anything removed or replaced!
As I purchased it:
Home for the next while...
Engine Bay:
Tearing it apart:
Cutting out the old:
Welded in the new metal (inner wheel wells, some trunk pieces, quarters):
3 previous paint jobs:
FINALLY Painted:
ENGINE DONE:
Interior:
THANKS FOR LOOKING - AGAIN!!
Last edited:

 Thanks for the kind words guys - it's much appreciated!
 Check the latest photos below on my home-built engine test stand. As for the covers, you can also see below the one cover had two holes cut for the PCV and filler. They could go on either side - I think I'll swap the holes to have the filler up front -thanks!


