RickP
Well-known member
Finished! Page 2 has some photos of the finished project.
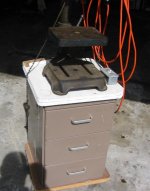
My drill press has taken up space on my workbench for too many years now. I got a miter saw recently and wanted to practice compound angles, so a small project seemed like a good way to start:
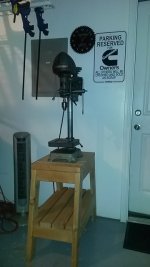
Here's a shot with the drill press on top of it, showing the storage for drill bits on the two shelves below it:
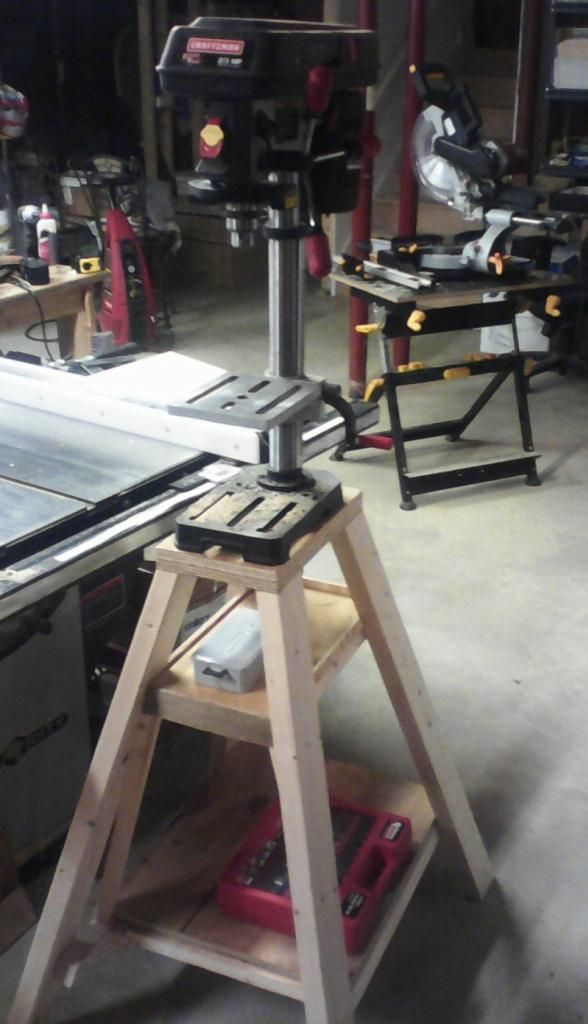
Also - that's the new miter saw in the background.
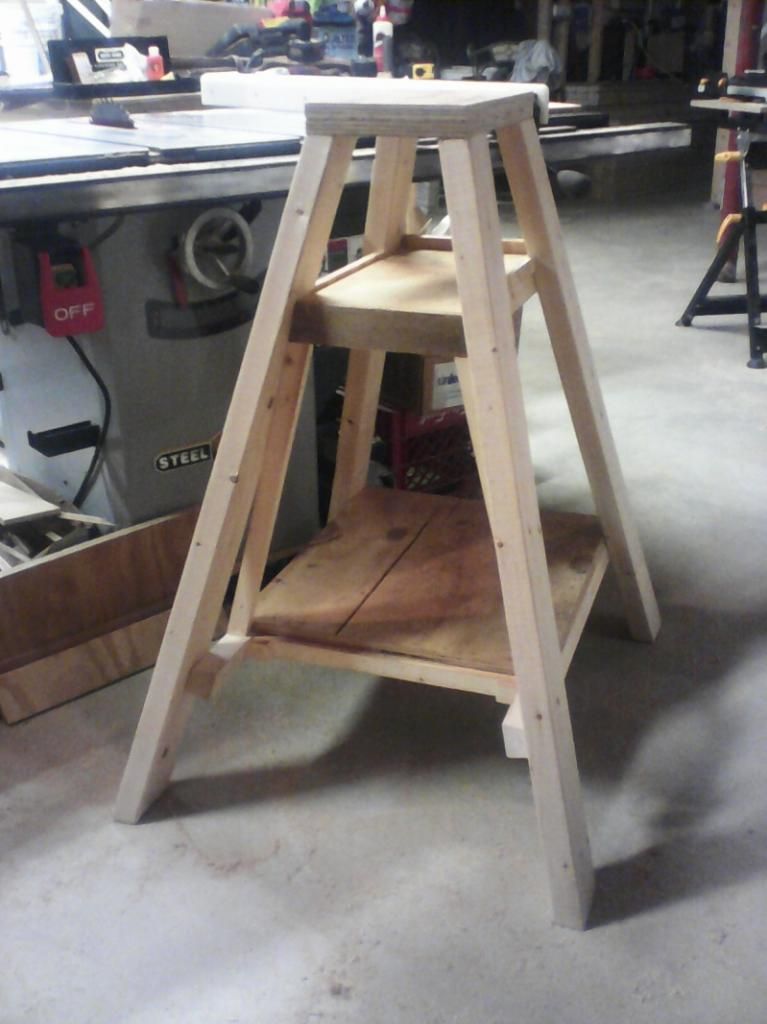
My DP is an entry-level Craftsman model, but I made the stand strong enough to be easily modified if I ever get a bigger model.
I've got plans for a few improvements - like a door and sides to keep metal shavings off the shelves, but that's all for now.
My drill press has taken up space on my workbench for too many years now. I got a miter saw recently and wanted to practice compound angles, so a small project seemed like a good way to start:
Here's a shot with the drill press on top of it, showing the storage for drill bits on the two shelves below it:
Also - that's the new miter saw in the background.
My DP is an entry-level Craftsman model, but I made the stand strong enough to be easily modified if I ever get a bigger model.
I've got plans for a few improvements - like a door and sides to keep metal shavings off the shelves, but that's all for now.
Last edited:

") I had to go downstairs and check my drill press stand, it's been too many years since I built it - the legs are splayed only 5 degrees in both directions. I haven't had any issues with its stability.
I had to go downstairs and check my drill press stand, it's been too many years since I built it - the legs are splayed only 5 degrees in both directions. I haven't had any issues with its stability.