Building a 20x24 Shop - The Workspace
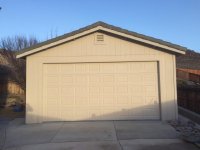
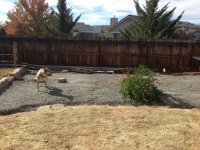
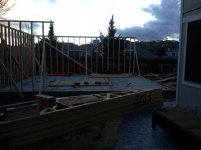
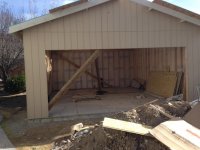
A few months back I decided to start looking into building a shop that I can work in. A place that is not multi-purpose like the attached garage. After doing the research and getting some quotes together a 20x24 with 9 foot ceilings is what was decided based on budget and available space. I know bigger is better, but I have to work with what I have so here we go.
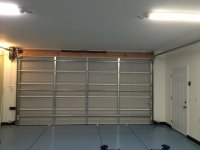
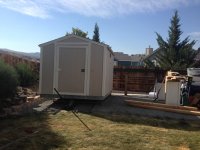
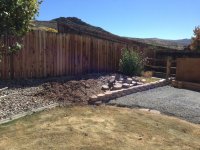
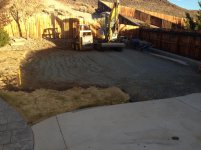
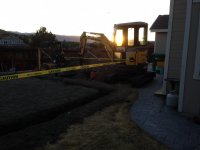
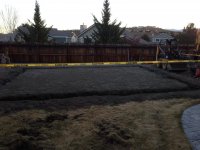
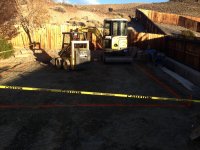
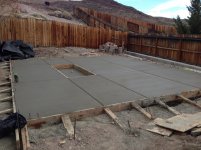
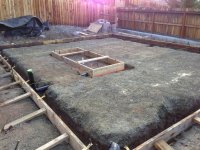
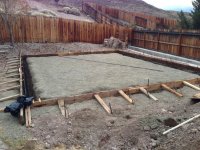
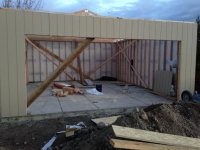
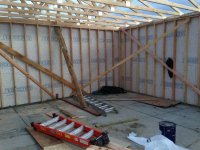
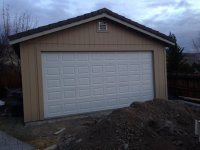
HOA approved the plans in September, Permits pulled in October. Right now the foundation is curing. Should have walls soon. On to the pics:
A few months back I decided to start looking into building a shop that I can work in. A place that is not multi-purpose like the attached garage. After doing the research and getting some quotes together a 20x24 with 9 foot ceilings is what was decided based on budget and available space. I know bigger is better, but I have to work with what I have so here we go.
HOA approved the plans in September, Permits pulled in October. Right now the foundation is curing. Should have walls soon. On to the pics:
Attachments


Last edited:


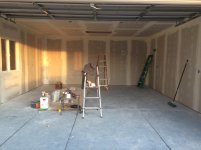


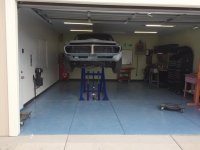
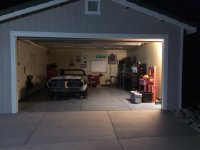
") I'm working on a 67 Firebird. I sort of started on the floors and made kind of a mess of it. I am staying with epoxy since it worked well for me at my last house. I wanted to go with something more industrial this time (Rustoleum from HD last time) around and got the Original color chips kits for heavy duty use - high solids content. I did not realize it was going to be as thick as it was and should have waited for a warmer day to start doing it. I have a plan to try and salvage it though. More on that later - if I succeed, lol
I'm working on a 67 Firebird. I sort of started on the floors and made kind of a mess of it. I am staying with epoxy since it worked well for me at my last house. I wanted to go with something more industrial this time (Rustoleum from HD last time) around and got the Original color chips kits for heavy duty use - high solids content. I did not realize it was going to be as thick as it was and should have waited for a warmer day to start doing it. I have a plan to try and salvage it though. More on that later - if I succeed, lol