To avoid these ads, REGISTER NOW!

1966 F100 EcoBoost Engine Swap (EcoBoosted)

Status
Not open for further replies.
OP
T

TimeWarpF100

Well-known member
Joined
Aug 21, 2010
Messages
6,784
Location
not here
Found a pic of my dad's 1966 F100. The truck that started it all.

I would like to find one with the '55 scooter in the back . .

Estimated year of 1977

77AEF708-1503-4E76-BA2B-921B92688D22.jpg
 
To avoid these ads, REGISTER NOW!
OP
T

TimeWarpF100

Well-known member
Joined
Aug 21, 2010
Messages
6,784
Location
not here
Ok, Back to the EcoProject

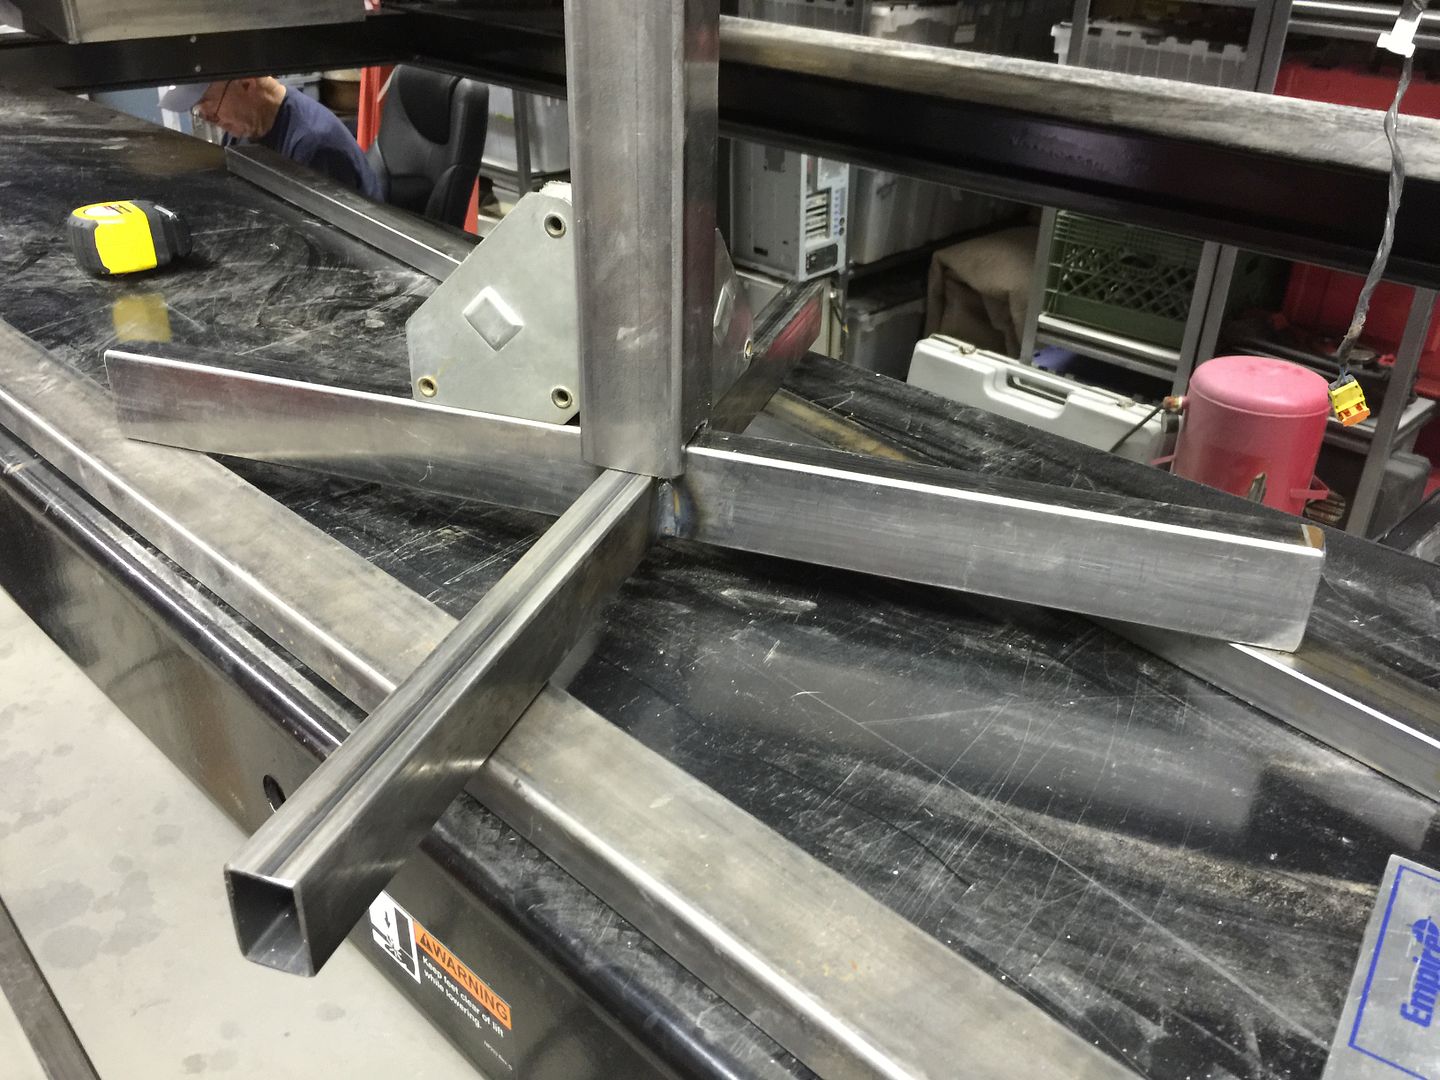
The intercooler is Massive so needed to build a stand to hold it in place to see if I could actually get it to fit. A bit big but nothing the "blue wrench" cannot cure. (oxy torch)

Or the new fangled tool the plasma cutter.

It was about this time the cell camera messed up.

Instead of doing the base in 3 pieces I used 2 different sizes and notched the larger one. For upright I just notched it too. I had to make a top swivel piece so I could get the cooler at proper angle. Will need to find the DSLR to get pics of how I did that.

C7BE6150-E2EB-4B03-A21C-9526D68A0048_1.jpg

1FF78D6B-10E8-4CD8-9FF0-F281F47217F9.jpg

FDEC25AF-8E00-4A50-997C-8416F69849E2_1.jpg
 
OP
T

TimeWarpF100

Well-known member
Joined
Aug 21, 2010
Messages
6,784
Location
not here
I said that cooler was MASSIVE!

no tank on one end as have to do some tweaking on frame, build new ends . .

Then try to get all the piping in place.

It will be hanging down a bit but a shot of flat black paint will allow it to blend in . . ha

I will also cut a hole in front bumper for better air to it.

This cooler is more for a Race car like a 24 hours of Daytona, Sebring, Lemans . .

E01D0313-8D85-4E51-96A8-0232D13CB364_1.jpg

D6094650-7F4F-4E73-8E04-485167C6E48F_1.jpg

2C03EDE9-E065-4264-B17A-0D337EF1DB85.jpg


More at end of day. Up at a bit after 5 and its now 6:56 AM.

Killed a couple hours with this update . .

The simple stand will adjust to over 80" in height and will tip etc. I may have to tweak it a touch but appears it will do the job. I need to put a piece of tubing inside so it clamps better
 
Last edited:
OP
T

TimeWarpF100

Well-known member
Joined
Aug 21, 2010
Messages
6,784
Location
not here
Front stub of frame is going to need some "extensive" mods to get it all to fit.

I already re-routed the trans cooler lines. Need to add the crossmember in there to hold the core support in place. The 7" lower in engine bay height vs the new F150 is killin' me trying to get it all to fit . .
 
OP
T

TimeWarpF100

Well-known member
Joined
Aug 21, 2010
Messages
6,784
Location
not here
This week will be nothing but EcoProject week!

Here is another pic of the quickie stand to hold IC in place. I still need to get a weight on it but pretty heavy piece. Obvious scrap pieces laying around . .

So much for the its way to big and it will never fit! When I am done it WILL fit but not be much frame left!

DSC04395.jpg
 
OP
T

TimeWarpF100

Well-known member
Joined
Aug 21, 2010
Messages
6,784
Location
not here
One can see in these pics I am nearly 2" short on width between rails for the IC to fit.
One tank has been cut off here.

DSC04396.jpg

DSC04398.jpg

Pic with original bumper from the 427 Project Truck.

Bumper has to go back approx 3.5" and still get the IC to fit in there. Going to be very close.

DSC04399.jpg

shot from underneath . . I was starting to doubt my 4 post hoist purchase until now.
Because its getting difficult getting up if I lay under truck this is a joy to work on not having to bend over. Should have had the truck turned tho so the hoist control on end I am working on. The grinding marks in frame is where I took the Plasma cutter to remove the core support mounting.

DSC04401.jpg


With a bit of tweaking the stock '13 frame bumper brackets will work fine on the '66 bumper!

DSC04402.jpg

The height I need to lower the core support is a BUNCh from stock location. I will have little frame left to weld the mounts back on.

DSC04403.jpg

Another pic of IC stand

DSC04406.jpg

Grille back off and core support-radiator module ready to come out for the torching . .

DSC04408.jpg

Marks where I plan on making the cuts to get crossmember to fit.

DSC04409.jpg
 
OP
T

TimeWarpF100

Well-known member
Joined
Aug 21, 2010
Messages
6,784
Location
not here
The marks here at a angle is approx location of the IC. I will be lucky to have .125" clearance to bumper.

DSC04410.jpg


Here are the tubes coming out of the turbo's. One can see I am already short of room. I need to gain 2" more with the magic wand . . Most likely will need to make new tubes coming off the turbo's . . More WorK

DSC04411.jpg


Vertical piece with spot welds drilled out is the original inner structure from donor truck.

Here is the new core support cross member I am attempting to install. This will give me a much easier way to un-install and install the cooling module. It will also give me a starting point for the structure to hold the fenders on to cab and to core support.

Just wingin' it here. My mind will not allow me to sit down and try to draw and measure. Get a brainstorm and try it. If it works ok, if not just start over again.. LOL

I have a tendency to not think things thru because the brain not wired that way . .

5EB3CE39-03A1-407F-9C05-245BC6AA0DDC.jpg
 
OP
T

TimeWarpF100

Well-known member
Joined
Aug 21, 2010
Messages
6,784
Location
not here
cooling module removed.

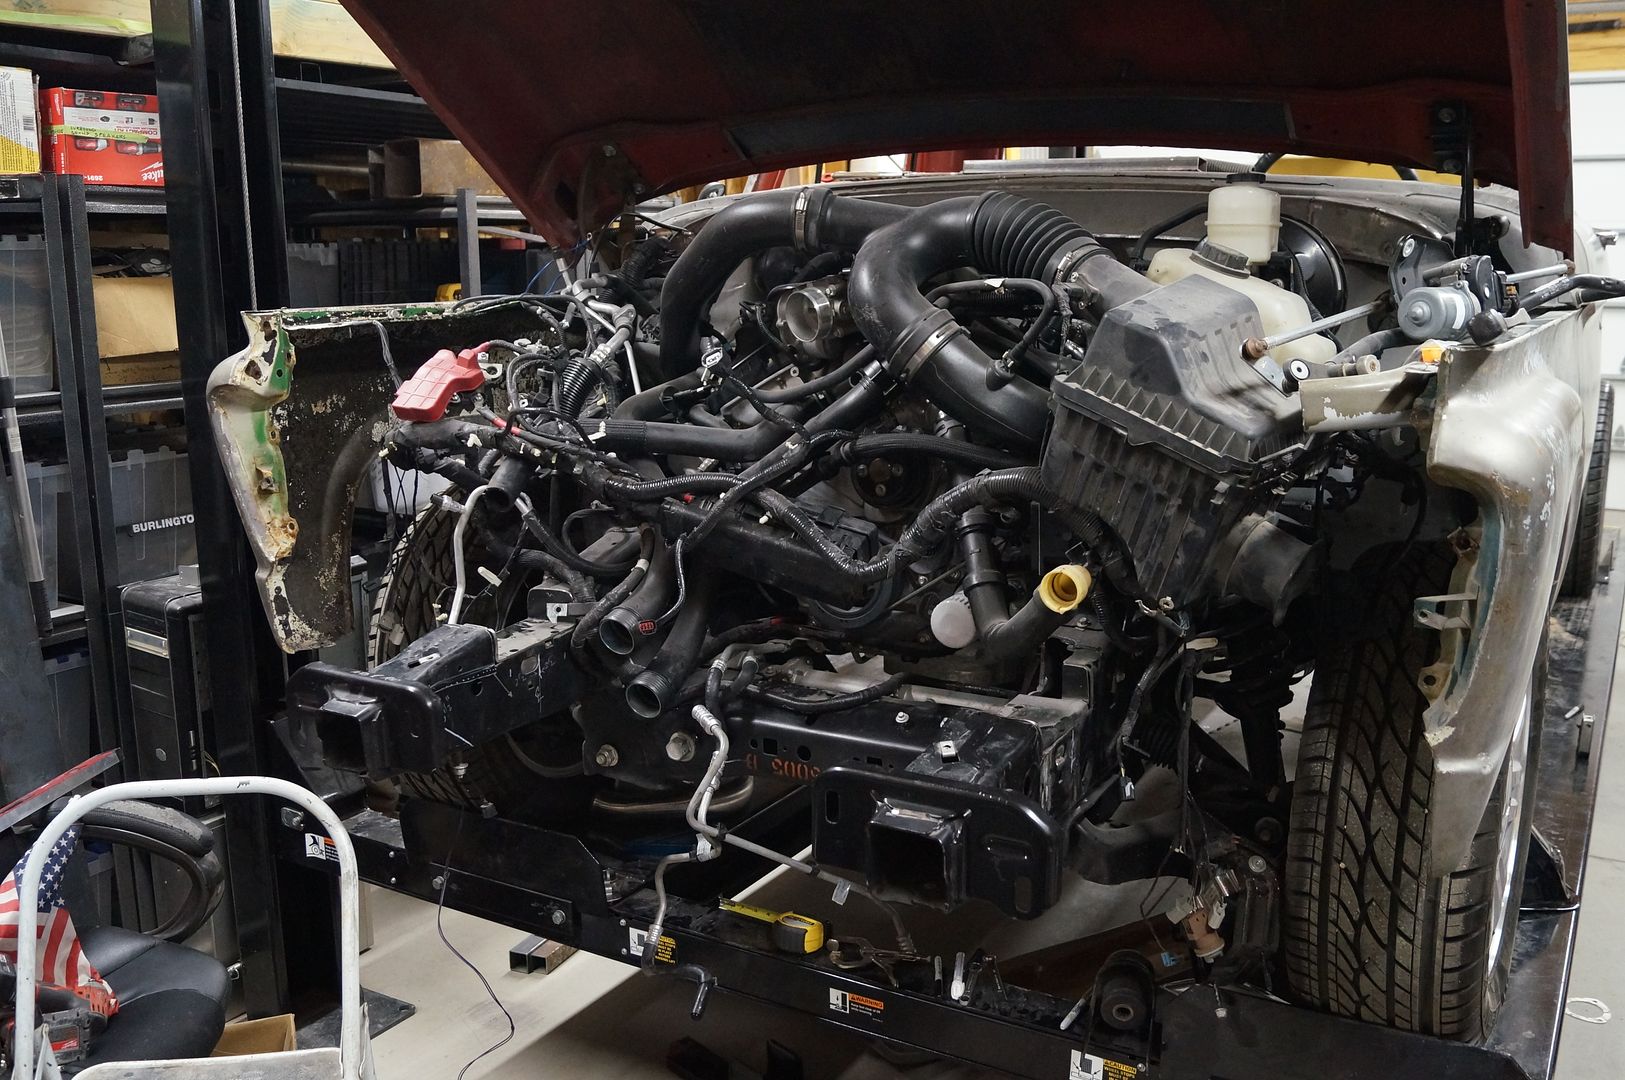
One can see the already large notches cut in frame for cooling module to fit. I now need an extra 2" for the module cross member to fit.

DSC04415.jpg


DSC04416.jpg


Because I had to move the core support radiator module back so far the lower hose clearance became an issue. I also had to modify the hoses on engine oil cooler to fit.

A much much smaller engine bay than the '11-14 trucks.

Another reason for the cross member is for mounting the Vacuum pump for the power brake system . . I am trying to use all stock ford wiring without having to cut, shorten, modify best I can and will be easier in the long run for mounting or any repairs down the road.

DSC04417.jpg
 
Last edited:
OP
T

TimeWarpF100

Well-known member
Joined
Aug 21, 2010
Messages
6,784
Location
not here
Thinking forward the plan is to make a pocket in the '66 bumper to fit the driving lights, then also all the stock '11-14 bulbs and wiring can be used. Same with park lights.

Since no front license plate is needed in AZ the indentation in bumper for plate will become a opening for air to the IC.

Mind is still spinning on what to do with power mirror's ect. I do not want the huge mirrors on but would like to use the motors and wiring etc from the donor truck . .

Power windows, door locks . . Ok, better put that thinking in back of brain until needed. LOL

By the way I found my can of Traction Fluid to help me from just spinning the wheels and not moving forward . . Hoping once I get traction I can keep moving for a bit.
 

volleyball

Well-known member
Joined
Aug 29, 2011
Messages
4,127
Location
NY, not NYC
You know you are moving forward when you start thinking about mirrors. Maybe mirrors from a sedan will work. But maybe just give the stock a chance. Big mirrors are nice especially as you get older and turning your head back gets harder.
 
OP
T

TimeWarpF100

Well-known member
Joined
Aug 21, 2010
Messages
6,784
Location
not here
You know you are moving forward when you start thinking about mirrors. Maybe mirrors from a sedan will work. But maybe just give the stock a chance. Big mirrors are nice especially as you get older and turning your head back gets harder.

Really cool work TW. It is getting close and glad you are back at it.

A quickie update before the week really starts.

DeutzMike sent me these pics from a local show.

It really has me thinking. I have always wanted a twin to my dad's 1966 F100 just in basic trim. Red with white grille and bumper.

Even tho this EcoProject would be a bit off with the new tires just a plain looking truck is nice too and the cost will me minimal with the base truck.

Here is a stock looking truck very nicely done but with a late model 5.0 crate engine.

B689AA55-B8B9-4D92-AD0B-A837E09E0923.jpg

04D86CDB-C0DC-4566-ABAB-5DB221F869E1.jpg

D6DE409F-E4E2-4519-AE37-E09479546396.jpg

1C51DBDF-2025-4E1A-AAEE-4A940BEE989E.jpg

9D004B0B-3993-49E9-9594-63753515585C.jpg

EC088524-5FE1-4B92-9F94-D8EFDEA80017.png
 

white6589

Well-known member
Joined
Feb 27, 2011
Messages
351
Location
Maryland
Really cool work TW. It is getting close and glad you are back at it.

^^^^ X's 2
Red with white grille and bumper.

Even tho this EcoProject would be a bit off with the new tires just a plain looking truck is nice too and the cost will me minimal with the base truck.


1C51DBDF-2025-4E1A-AAEE-4A940BEE989E.jpg

Most Definitely!!

You and MP&C, my favorite threads, Thank you both.
 
OP
T

TimeWarpF100

Well-known member
Joined
Aug 21, 2010
Messages
6,784
Location
not here
EcoBoost Project Update:

Too tired to post pics but made some pretty good progress in getting the IC to fit.

Took the plasma to the frame and made some major cuts. Also shortened the front of frame 3.5" so the bumper will locate in right spot.

Put the cooler in the chop saw and did a bit of cuttin' It fits between the rails just fine now!:lol_hitti:lol_hitti

Hoping this week I can get the end tanks for cooler made up and get it fitted.
Then start on the piping.

I also managed to get the core support crossmember fitted in correct location!

The core support location is now in only place it will fit. Just enough to clear the grille and still have room for the pipe from IC to TB.

The 2 pipes that come off Turbo's to IC will need modification as now the crossmember is in the way.

Looks like approx 7" down on the core support from stock '11-'14 location.

I now have to figure out how to strengthen the frame back up where I cut it apart.

More in AM.

A bit more motivated now that progress is being made.
 

dreuter

New member
Joined
Feb 4, 2014
Messages
1
Re: 1966 F100 EcoBoost Engine Swap & 1966 427 Project

I enjoy reading your thread and seeing your ingenuity. In one of your post you mentioned the vacuum pump for the brakes. I have an 2011 f150 with the ecoboost engine and the pumps go bad often. Mine has left me and others without brakes a handful of times. Dealer says its functions fine so I have to wait till the recall happens (which is being looked at by nhts). Anyway just wanted to put it in your mind that it may need replaced and access to the pump may be a good thing in the future.
 
OP
T

TimeWarpF100

Well-known member
Joined
Aug 21, 2010
Messages
6,784
Location
not here
I enjoy reading your thread and seeing your ingenuity. In one of your post you mentioned the vacuum pump for the brakes. I have an 2011 f150 with the ecoboost engine and the pumps go bad often. Mine has left me and others without brakes a handful of times. Dealer says its functions fine so I have to wait till the recall happens (which is being looked at by nhts). Anyway just wanted to put it in your mind that it may need replaced and access to the pump may be a good thing in the future.

Thanks for the comments!

Since the Vacuum pump sits in stock location on top of core support mount it will have very easy access from inside wheel well.

It is pricey at List of 588.47 but my cost would be about 300.00
I have 1/2 dozen friends who own ecoboost trucks and none of them have had a issue. Lets hope mine is fine also. If it ever does go out the replacement will be around 15 minutes.

The upper valance will need a bit of trimming for it to fit.

A1CA94CD-E8E7-4766-9418-4BFA2A8F3F8D.png


Wow, you've made a heap of progress TW - great work (as usual). :thumbup:

Hoping more progress over the weekend!
 
To avoid these ads, REGISTER NOW!
OP
T

TimeWarpF100

Well-known member
Joined
Aug 21, 2010
Messages
6,784
Location
not here
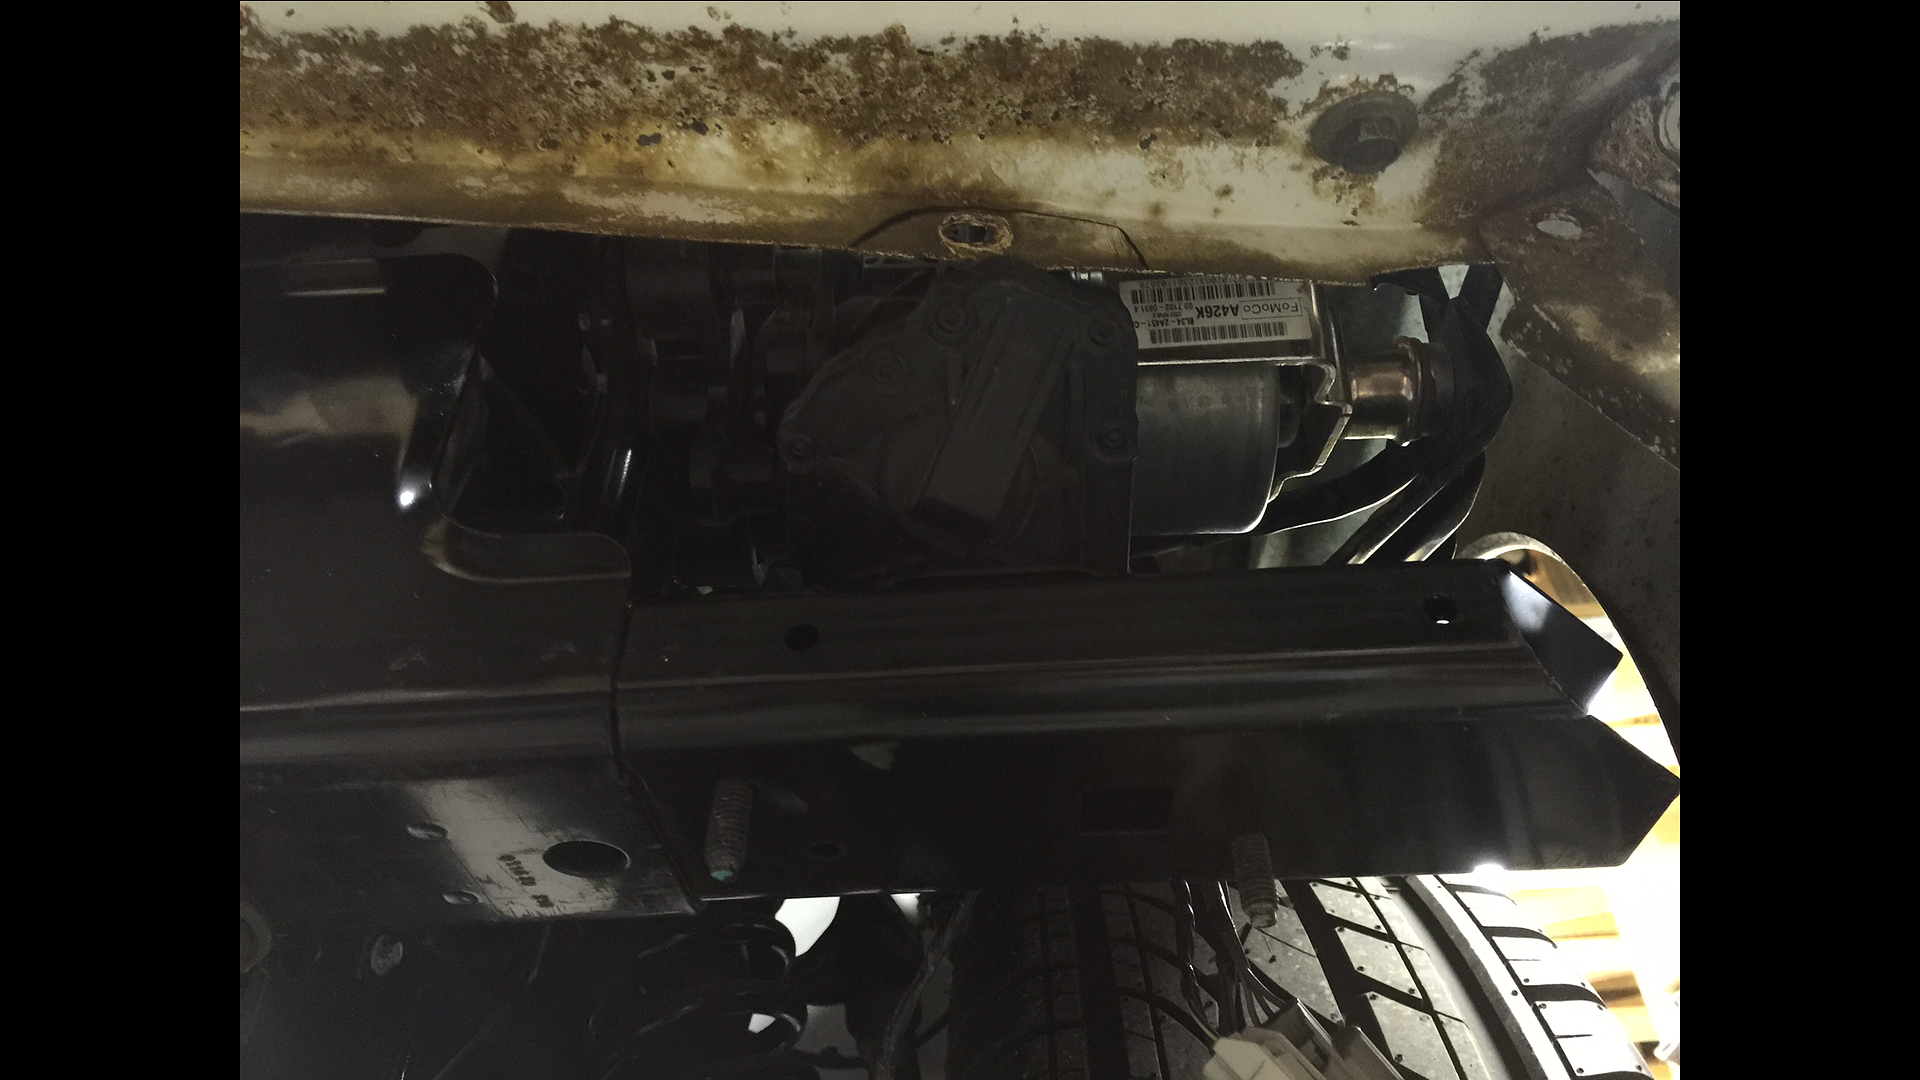
A pic from underneath now that its up in the air.

Electronic assist power steering rack

33B5102A-147D-472A-923B-E9FD611AE5B6.png


The Ole' Jet came in handy for chopping up the IC.

F1F15CC0-E9DE-40F7-9AA6-2D11D2F422AB.png


7E896401-23A0-4F42-8183-C358DD616873.png


Made a cut but turned out because it was flopped I had it at wrong angle . .
Just a initial cut to see where I was at.

19165724-1744-46A2-B20A-BBBFB588AF51.png


Made another . .

108C290A-9A21-4FD5-A06F-B7F20C6AFC26.png


Yet another. Turns out the "wrong cut" was in perfect spot.

7C12FE33-ADA5-46BE-B9EB-59D6670ABCDF.png


682541E3-796E-4F87-9B28-8B9E25D8DA05.png


Fancy cut . .

FA10D147-57FE-4B0B-AD24-EAA1C0D12D54.png


Core support in proper location

IC in place

5EB2946B-3558-4021-A591-F09D06658324.png


Not sure how but bumper fits!

My friends assure me this is pure luck not skill
 

8man

Well-known member
Joined
Oct 16, 2013
Messages
630
Location
Bryan, Texas
What he said! Somehow, I think there was some skill involved though. Fits nice. Looking forward to the bumper on it. It's moving now!
 
OP
T

TimeWarpF100

Well-known member
Joined
Aug 21, 2010
Messages
6,784
Location
not here
I'd rather be lucky than good any day of the week.. :thumbup:

Ha~ha!

What he said! Somehow, I think there was some skill involved though. Fits nice. Looking forward to the bumper on it. It's moving now!

Bumper fit you said? I was even able to get bumper back a bit so it fits truck better. The painted bumpers fit much better than the chrome ones.

F8A40055-5CC6-40A2-9664-877B8C329196.png


A couple even better updates as soon as pics upload . .
 
OP
T

TimeWarpF100

Well-known member
Joined
Aug 21, 2010
Messages
6,784
Location
not here
BoostedLuckEco . .

Just call me LuCkY,

The 4 post hoist has made things so much easier. Instead of laying on my back on concrete looking up and wondering, Ok i got down here how do I get back up I can now see things from the proper angle, as LuCk would have it . .

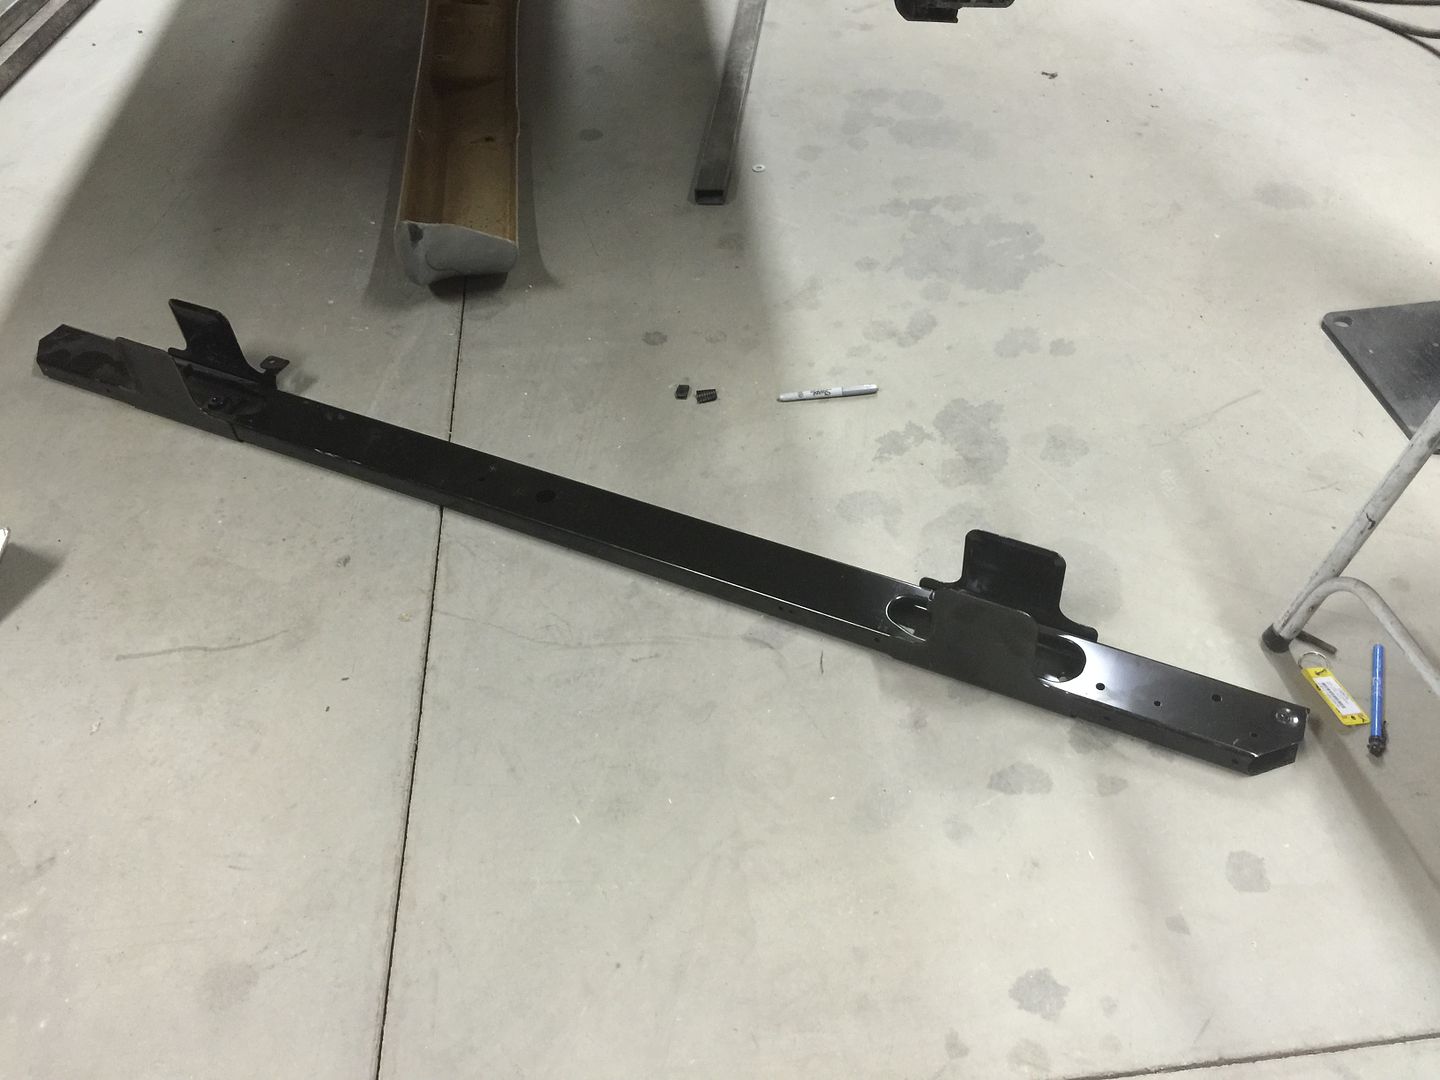
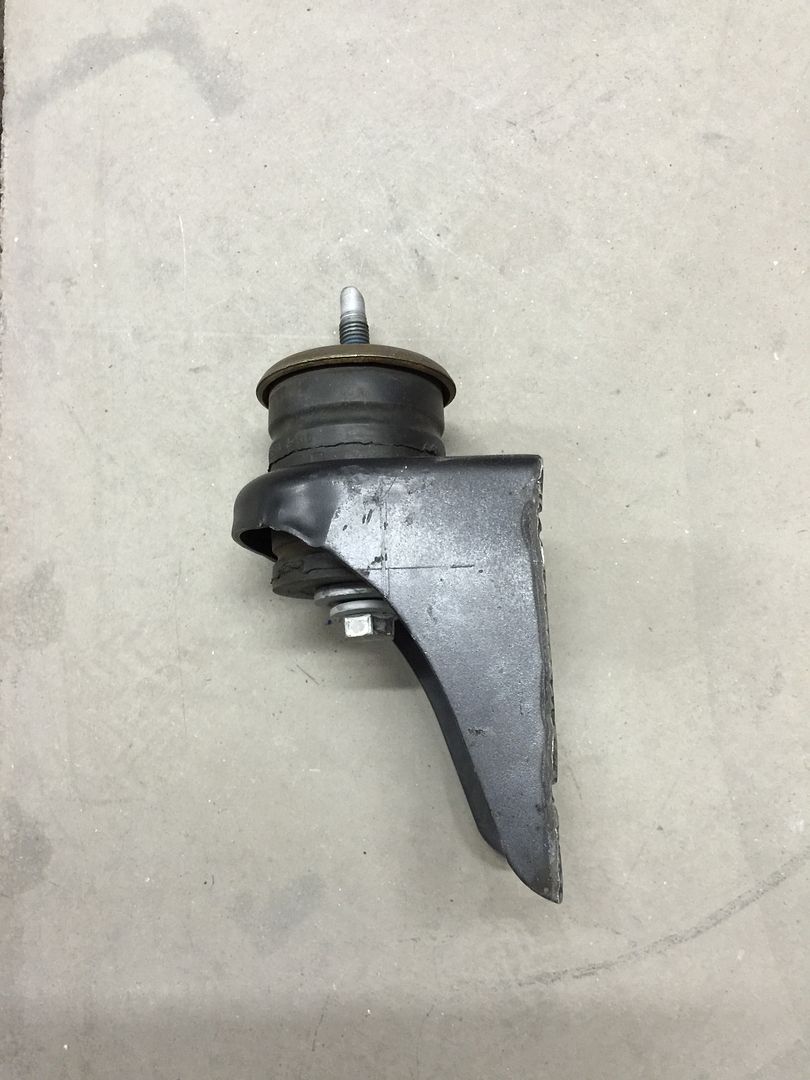
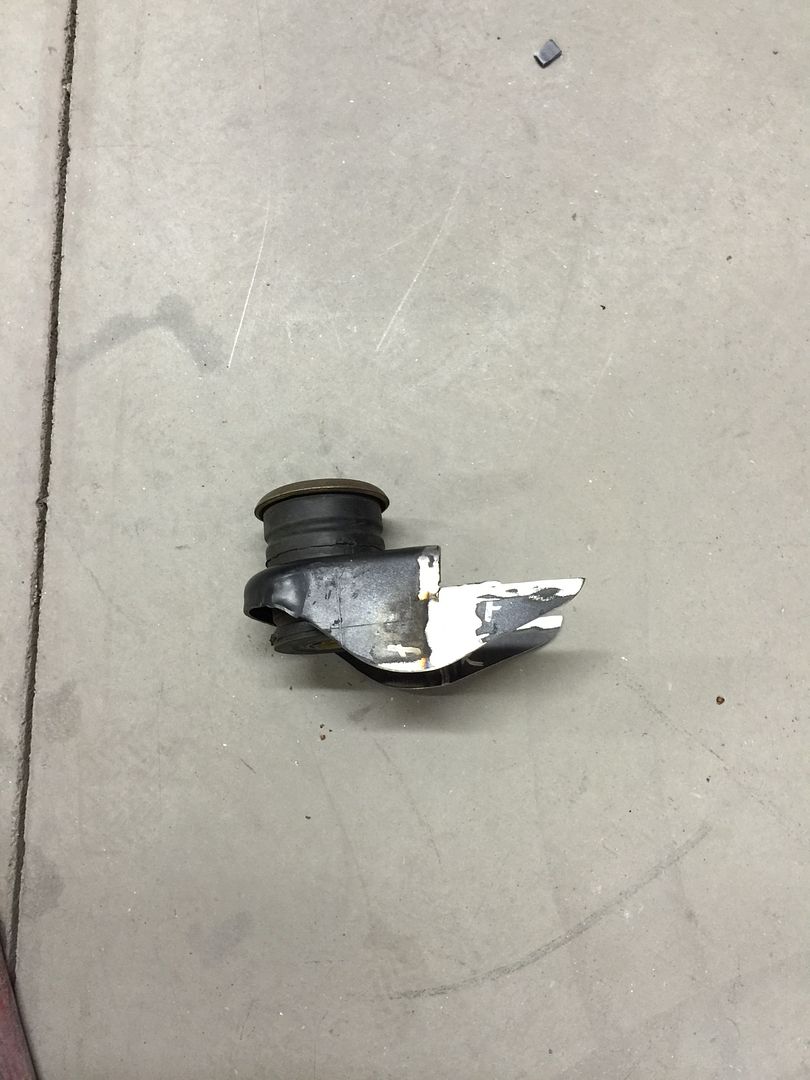
I took the stock core support mounts that I had cut off with the plasma hoping I could use them actually quite a few months back.

I started with this

91b4a060-575d-4e7e-a309-ea83bc895338.jpg


Put them in the chop saw

7CD886E6-3A19-41BA-9A00-A4573F1DCE93.jpg


and came up with this

AEC62785-186A-4898-BB92-7CCCAB7D435A.jpg


which in turn now this

74ae638f-0fa9-45e1-a292-9f9031885850.jpg


Simply by cutting 3" off and rotating, welding it back on. and a bit of finesse with the grinder
 
Last edited:
OP
T

TimeWarpF100

Well-known member
Joined
Aug 21, 2010
Messages
6,784
Location
not here
In place like this . .

The core support module now has a permanent mount!

The sheetrock is only semi~permanent!

F6ED457B-71E8-4A40-9BE7-BF34F73CF4AF.jpg

2AE40682-87FD-480E-8C07-1DC743A44FF0.jpg


5B879C14-3F4F-4B73-8035-F0B8438316D4.jpg


The core support is now dropped down 5-6" along with going back 1.5" bottom and 2
top.
 
Last edited:
OP
T

TimeWarpF100

Well-known member
Joined
Aug 21, 2010
Messages
6,784
Location
not here
I couldn't be more pleased how its going.

Yesterday not so much . . In a lot of pain with a broken tooth. Ended up getting it extracted. Nothing done yesterday, Kinda been bothering me for a while.

Hoping I can make up for it thru the weekend.

Finally getting to the point I have to slow down to post . . .

Remember the sections cut off top of 4 post hoist?

4E06DE8D-FE0F-4527-B2CA-DE46097AFAD7.jpg


May have found a new use for them . . .
 
OP
T

TimeWarpF100

Well-known member
Joined
Aug 21, 2010
Messages
6,784
Location
not here
This will give an idea how much I had to drop core support to get hood to shut.

Frame is between 7-9" tall at this point.

16348873-F44F-4C82-BD2A-027CD0A50E05.jpg
 
OP
T

TimeWarpF100

Well-known member
Joined
Aug 21, 2010
Messages
6,784
Location
not here
I found another project . .

This one has many board feet of wood.

Will most likely keep the wood interior!

.


.


.


.


75399770-A6A8-409C-94E9-356A155A0BAC.png
 
Last edited:
OP
T

TimeWarpF100

Well-known member
Joined
Aug 21, 2010
Messages
6,784
Location
not here
Somehow the LuCk continued

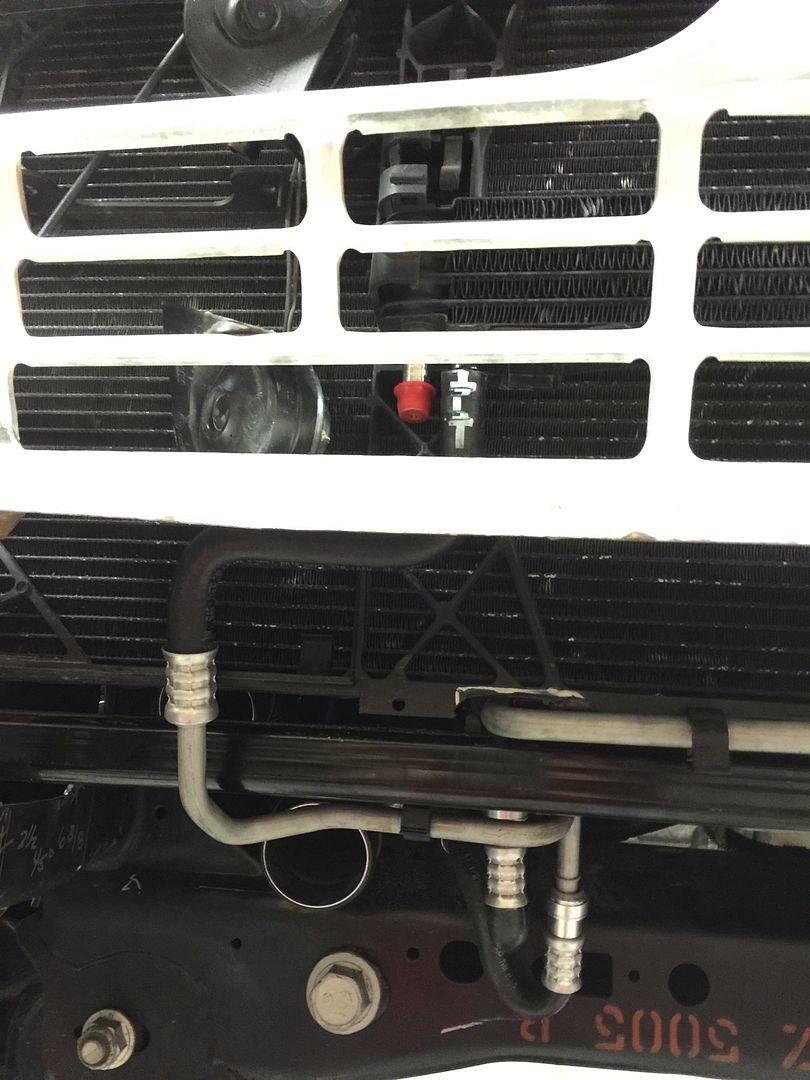
The re-routing of transmission cooler lines was also pure LuCk

By just rotating and changing placement along with a bit of tweaking of upper valance I was able to make them work without changing the shape or length. One above crossmember one below.

I did have to drill one hole for the factory cooler line clip.

But note where the 2nd IC tube from turbo ends up! Reason for having to make a new tube. I guess I could try to lengthen the tube but now sure what glue etc to use. Just make it out of metal . . Extra pipe from that 427 Truck project needs a place to go.

F2A9A48E-DE6E-4573-BCB8-C219C5CAB85C.jpg


008102A9-2F6A-4ED4-86BA-3370E707AA60.jpg


42DB0666-A93E-4784-B66E-60E837171778.jpg


Next up is taking this plastic or PVC ~ ABS tube and making it out of metal . .

A14813FE-4313-41D5-A972-6986DF71170B.jpg


BoostedLucKEco has another story about fitment. If I sit too long at computer will just get sleepy . .More later
 
Last edited:

8man

Well-known member
Joined
Oct 16, 2013
Messages
630
Location
Bryan, Texas
After all the bad luck health wise, you are making up for it on the Eco front! That is awesome and congratulations.

It'll be fun to see what the weekend brings.
 

bulletpruf

Well-known member
Joined
Nov 28, 2013
Messages
11,088
Location
San Antonio
Making real progress now! I'm chalking it up to skill, not luck!

Keep up the updates, and don't forget about the 427 truck, Bronco, and FE stuff, too. How is the 418 doing?

Scott
 
Status
Not open for further replies.
To avoid these ads, REGISTER NOW!
Top Bottom