dodge610
Well-known member
I haven't checked in here for awhile due to personal and business obligations but couldn't let this one pass us by.
Not at all intending to demean or bash the results on your Audi, please take this in the spirit it's intended: to EDUCATE the less informed so you know what to expect from a job done right.
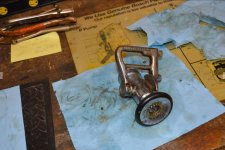
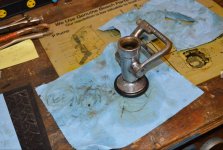
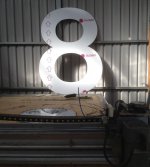
Do you see all those little bumps and defects on the left side?? That's what is called "outgassing," and it's something that happens every time to aluminum if the proper prep steps are not followed before the part is coated.
Basically, aluminum is very porous. It has all kinds of air pockets and impurities in it which become trapped there when it's originally formed. When a piece is heated to powder coating cure temperature, all of that air and the **** in the metal comes to the surface where it blows right through your powder. That's why your finish is not smooth and uniform as it should be.
Do your homework before hiring anybody for your metal finishing on your pride and joy (or letting your buddy who just got a HF set up do it). Check references, ask to see real work samples on the same kind of metal you'll be finishing, make sure they're experienced, and above all know what they're doing. Sadly, there are "powder coaters" on every corner nowadays and it's the real truth that quite a few of them seem to be merely practicing on your parts.
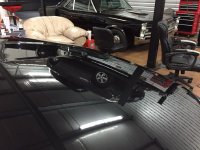
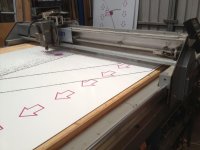
Carry on ladies and gentlemen ....... and to stay on topic, here's some Powder **** from my shop since I've been lax in getting in the door around here lately.


Leeann your custom work is 10 times better than mine will ever be.