To avoid these ads, REGISTER NOW!

1966 F100 EcoBoost Engine Swap (EcoBoosted)

Status
Not open for further replies.

WoodsTruck

Well-known member
Joined
Jan 12, 2013
Messages
1,025
I agree with the tapered ends to the bumper hole, or some dividers like the lower grille has to break up the large hole and radius the corners to match the other soft corners of the grille openings or the turn signals (no 90° corners anywhere).
 
To avoid these ads, REGISTER NOW!

DarkMonohue

Well-known member
Joined
Sep 21, 2009
Messages
261
Location
Pacific Northwet (OR)
Not that you need another opinion, but I think a plain rectangular hole in the bumper, with neatly rounded corners and radiused edge, would look best. The other treatments may be intended to make the hole blend in with the rest of the truck, but they draw the eye (at least my eye) to it. A plain rectangle is less "interesting" to the eye and thus less conspicuous.
 

ridenbug

Member
Joined
Feb 10, 2015
Messages
5
:thumbup:

Not that you need another opinion, but I think a plain rectangular hole in the bumper, with neatly rounded corners and radiused edge, would look best. The other treatments may be intended to make the hole blend in with the rest of the truck, but they draw the eye (at least my eye) to it. A plain rectangle is less "interesting" to the eye and thus less conspicuous.
 
OP
T

TimeWarpF100

Well-known member
Joined
Aug 21, 2010
Messages
6,784
Location
not here
Not so great "paint" version. Someone here probably has photoshop?

BUMPER IDEA.jpg

Bronco is looking sharp!

Where is she moving in MN? A clean, rust free, Bronco that was just detailed by you and your daughter will sell in a heartbeat up here.

No photoshop, but another idea...

Ha I've forgot the thread on ring before myself. Filled it up and "oops". Never splattered it but I've watched one explode in someone's face when not sealed on tight. Living on the edge at its finest.

I agree with the tapered ends to the bumper hole, or some dividers like the lower grille has to break up the large hole and radius the corners to match the other soft corners of the grille openings or the turn signals (no 90° corners anywhere).

Awesome job........

Not that you need another opinion, but I think a plain rectangular hole in the bumper, with neatly rounded corners and radiused edge, would look best. The other treatments may be intended to make the hole blend in with the rest of the truck, but they draw the eye (at least my eye) to it. A plain rectangle is less "interesting" to the eye and thus less conspicuous.


Thanks to all for the comments.

Have not touched the EcoProject for well over a week.

Not much progress on anything. Have spent the time I am able to work on daughters bronco. Its going slow but making progress.

She will be moving 10 days from now. Some how have to get it finished up.

A couple random pics.

64BD10B3-3AB8-4497-8B40-A451F407703E.jpg

4F8CC4A4-71DC-48F4-B377-37321F07E775.jpg

266E7ECF-818D-44CC-93DD-52CA72FB891B.jpg


We took a family trip this past weekend up to Antelope Canyon Northern AZ,

A few pics from there. The North Canyon is approx 550' Long and 130+" deep in places. All carved from water/flash floods. Thought some would enjoy a few pics. Not car related but a little break. Probably the last family vacation in quite some time.

Taken with my smeared lens cell phone . .

47FF6EA7-E0E0-4AF3-AA8F-7BABA49EC36B.jpg

0A938E3A-59D9-4B50-9DC0-033D87AA9EF0.jpg

5A78A916-3021-4781-8A90-17A27A4A700D.jpg

EFF9C735-A7BD-4396-B84C-F5D15BBD30F9.jpg

9864A779-98F9-40EA-AC1E-0199E9FA15C4.jpg

023F439A-F1EC-432C-B4BB-DE66F385E7DA.jpg

C5EB1068-8A69-4808-88BB-C7644E78030A.jpg

06BF453B-95A2-4064-808E-2245204A4A0A.jpg

7BB7624B-660D-4552-BCBD-32A2CBCB2AD5.jpg

DD003661-5344-4113-80E9-C17DAA61F5BA.jpg
 
OP
T

TimeWarpF100

Well-known member
Joined
Aug 21, 2010
Messages
6,784
Location
not here
Bumper Opening:

A few comments on the bumper opening. I have thought about doing something but after thinking this over it will like some pointed out not match the theme.

Not really sure at this point if I will make a change to opening but for now at least it will be left alone.

Because its a Tribute truck to my dad's and the theme is to make it appear as close to stock as possible I want to try to keep it that way. Thinking that if I painted it silver and had a polished grille and chrome bumper then maybe other changes would be warranted.

I highly doubt I will be able to turn one of my other trucks as prior planned into a tribute truck so this one will have to do.

Because of the HUGE brakes it has to have a minimum of a 18" wheel. Cannot change that and also it needs a large opening in bumper for IC.

I really wanted to integrate the '11 power mirror motors into it but at this point going to lean for the tribute style look. Much faster and also cheaper to do.

Looking back at dad's original truck and the type of mirror it had I looked up the part number and typed it into a web browser. BINGO, Found a new one still in box from probably 1963! (63-66 the same mirror)

Made a bid and ended up with it. Also found a trailer tow type mirror for the pass side but for now will not install. Its even uglier than the one found for drivers side.

28cf5eb9-2981-4b95-adfe-edaf9c458e13.jpg

E82EF2CD-4424-4C6D-A0C3-7A1FC21E51AA.jpg

BE4AB364-9E93-4BAC-A9BC-C1F996FE16E9.jpg
 

sxk122

Well-known member
Joined
Sep 19, 2011
Messages
400
Location
Dallas, TX
I know it's a tribute.... but those mirrors.... eeesh.....

Isn't there another option? Even you don't sound thrilled with them.....


Love the vacation pics, truly beautiful.
 

Stuart in MN

Well-known member
Joined
Sep 8, 2005
Messages
23,157
Location
Minneapolis
I went with the regular small mirrors on my F-100, they're readily available from all the old Ford truck parts suppliers:

1953-1966-FORD-TRUCK-MIRROR.jpg


However, they aren't as big so they don't provide as good a view, particularly if you have a camper shell or side boards on the bed.
 

PugetDude

ALLIANCE MEMBER
Joined
Mar 13, 2013
Messages
22,447
Location
Superstition Mountains, AZ
Bumper Opening:

A few comments on the bumper opening. I have thought about doing something but after thinking this over it will like some pointed out not match the theme.

Not really sure at this point if I will make a change to opening but for now at least it will be left alone.

Because its a Tribute truck to my dad's and the theme is to make it appear as close to stock as possible I want to try to keep it that way. Thinking that if I painted it silver and had a polished grille and chrome bumper then maybe other changes would be warranted.

I highly doubt I will be able to turn one of my other trucks as prior planned into a tribute truck so this one will have to do.

Because of the HUGE brakes it has to have a minimum of a 18" wheel. Cannot change that and also it needs a large opening in bumper for IC.

I really wanted to integrate the '11 power mirror motors into it but at this point going to lean for the tribute style look. Much faster and also cheaper to do.

Looking back at dad's original truck and the type of mirror it had I looked up the part number and typed it into a web browser. BINGO, Found a new one still in box from probably 1963! (63-66 the same mirror)

Made a bid and ended up with it. Also found a trailer tow type mirror for the pass side but for now will not install. Its even uglier than the one found for drivers side.

28cf5eb9-2981-4b95-adfe-edaf9c458e13.jpg

E82EF2CD-4424-4C6D-A0C3-7A1FC21E51AA.jpg

BE4AB364-9E93-4BAC-A9BC-C1F996FE16E9.jpg

NO... NO.. NO... you don't want this to end up in the "Thread of WTF"....
 

ridenbug

Member
Joined
Feb 10, 2015
Messages
5
I like the theme of your dad's truck, gives it some meaning, I'm sentimental.

"Because of the HUGE brakes it has to have a minimum of a 18" wheel. Cannot change that and also it needs a large opening in bumper for IC."

Could you do custom steel wheels? Probably not in budget......
http://www.thewheelsmith.net/
 

CNGsaves

Well-known member
Joined
Sep 26, 2012
Messages
13,233
Location
KS and OK
x1000 to NOT have those giant ugly mirrors on there all the time.

I'd go with the small round or square chrome mirrors that were stock in the day.

Instead, build the mounts for the large mirrors that you would ONLY install when necessary to do towing, then you would remove. Only thing left on truck would be the mounting attachments (small piece of steel bracket with hole).
 
OP
T

TimeWarpF100

Well-known member
Joined
Aug 21, 2010
Messages
6,784
Location
not here
I went with the regular small mirrors on my F-100, they're readily available from all the old Ford truck parts suppliers:

1953-1966-FORD-TRUCK-MIRROR.jpg


However, they aren't as big so they don't provide as good a view, particularly if you have a camper shell or side boards on the bed.

Lololol

I have extra of that same mirror, NOS NIB.

Same mounting hole. Same bolts. Would just need a single extra which could b plugged when not in use.

5 min to change.

My internet down & not liking to type from phone. Uploading large pics eats up data. It's been a 4yr fight for decent internet. Down most of time and totally unreliable


JamieK

Well-known member
Joined
Aug 13, 2009
Messages
1,760
Location
Winston-Salem, NC
Regarding the front bumper, if you really wanted to over engineer it and cause yourself more work, you could make a flap that would fill the hole when the truck is parked. Wire it up with an electric or vacuum motor so that it would open when needed; i.e. under boost conditions. Some new cars are doing this with their grille openings, to improve aerodynamics.
 
To avoid these ads, REGISTER NOW!
OP
T

TimeWarpF100

Well-known member
Joined
Aug 21, 2010
Messages
6,784
Location
not here
I like the theme of your dad's truck, gives it some meaning, I'm sentimental.

"Because of the HUGE brakes it has to have a minimum of a 18" wheel. Cannot change that and also it needs a large opening in bumper for IC."

Could you do custom steel wheels? Probably not in budget......
http://www.thewheelsmith.net/

Wheel Smith does not make them in larger sizes. 16" Being the largest.

I did have custom wheels made for my "other" project but they are 15".

Brake rotor's on Eco are 14" gotta be at least a 18" wheel to clear.

I do have a plan for wheels but no funds at this time. I can at least put some miles on it with current tire/wheel combo.

Using the same NOS caps these are wheels for the other project. But again will be unable to use them on the front as do not properly clear the much much smaller disc brakes and maintain proper back spacing.

IMG_1151_zps4972e043.jpg
 
OP
T

TimeWarpF100

Well-known member
Joined
Aug 21, 2010
Messages
6,784
Location
not here
50 yrs to the day when my dad pulled into the driveway with his brand new '66 F100.

I really had planned on at least having the EcoProject for a longer test drive but still need the windshield. Daughters Bronco has taken top priority as she is moving out of state a week from now. Just sooooooooooo much work yet to do.

Worked on it late into the evening. Had hoped to take it on maiden voyage to the Scottsdale Pavilions Car show later today when she gets off work but not very likely that will happen. I kinda over did it yet once again yesterday . . LOL
 
OP
T

TimeWarpF100

Well-known member
Joined
Aug 21, 2010
Messages
6,784
Location
not here
Who would have thought 50 yrs later my daughter would be doing the final restoration touches on a 30 yr old Bronco?

Trying to do this without cutting corners . .

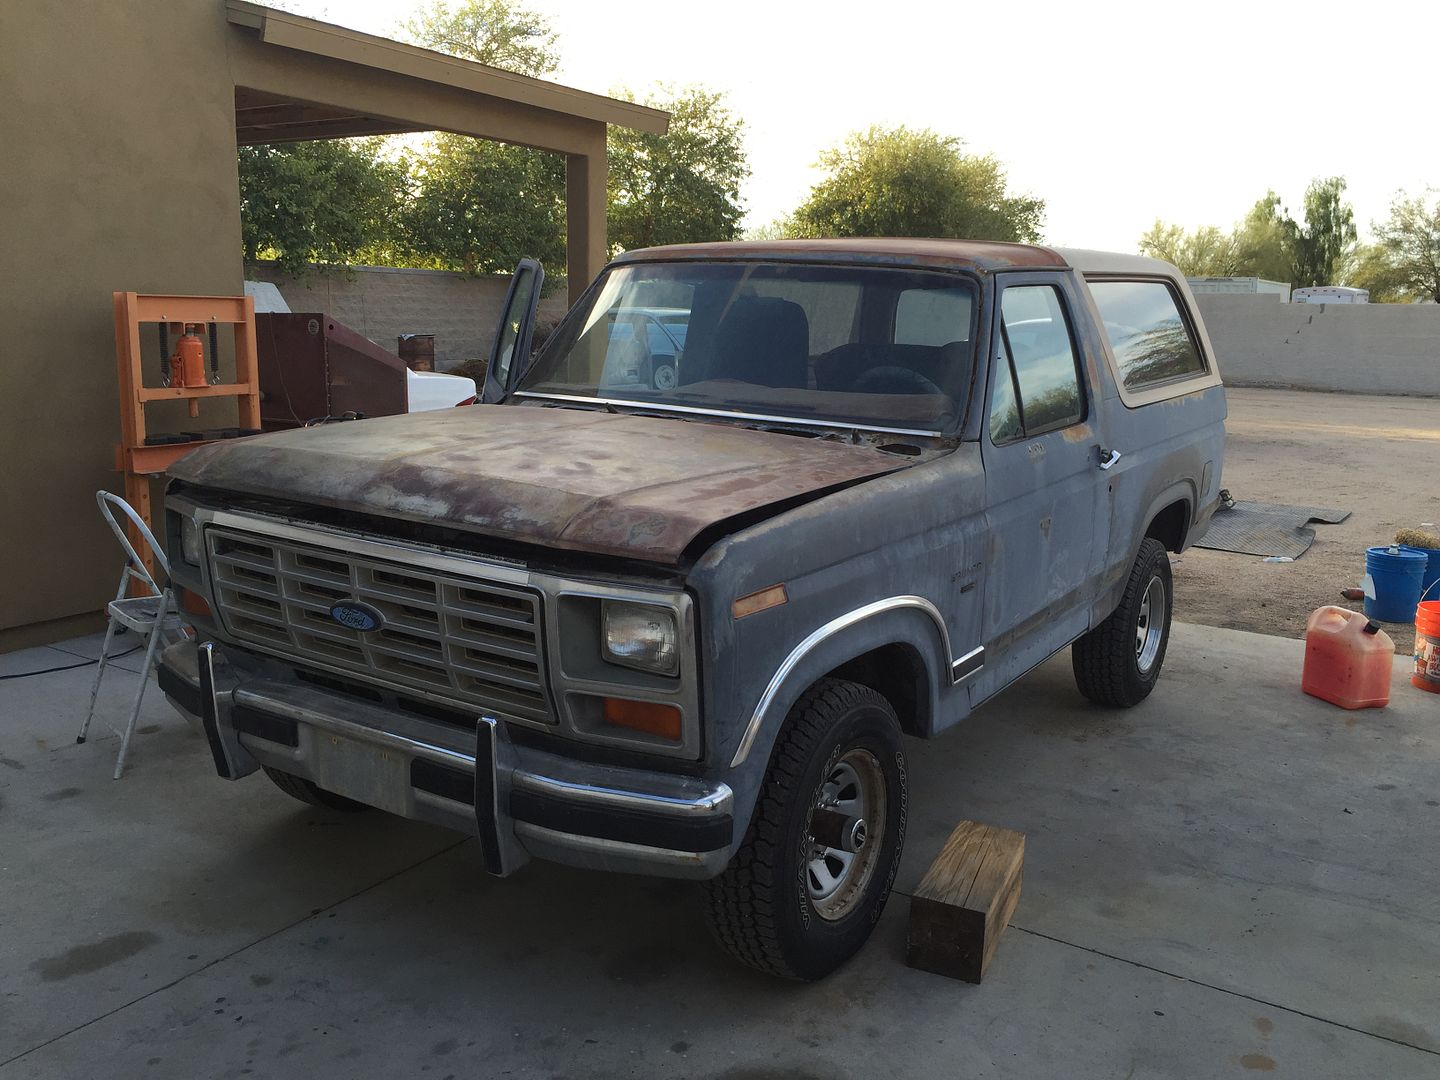
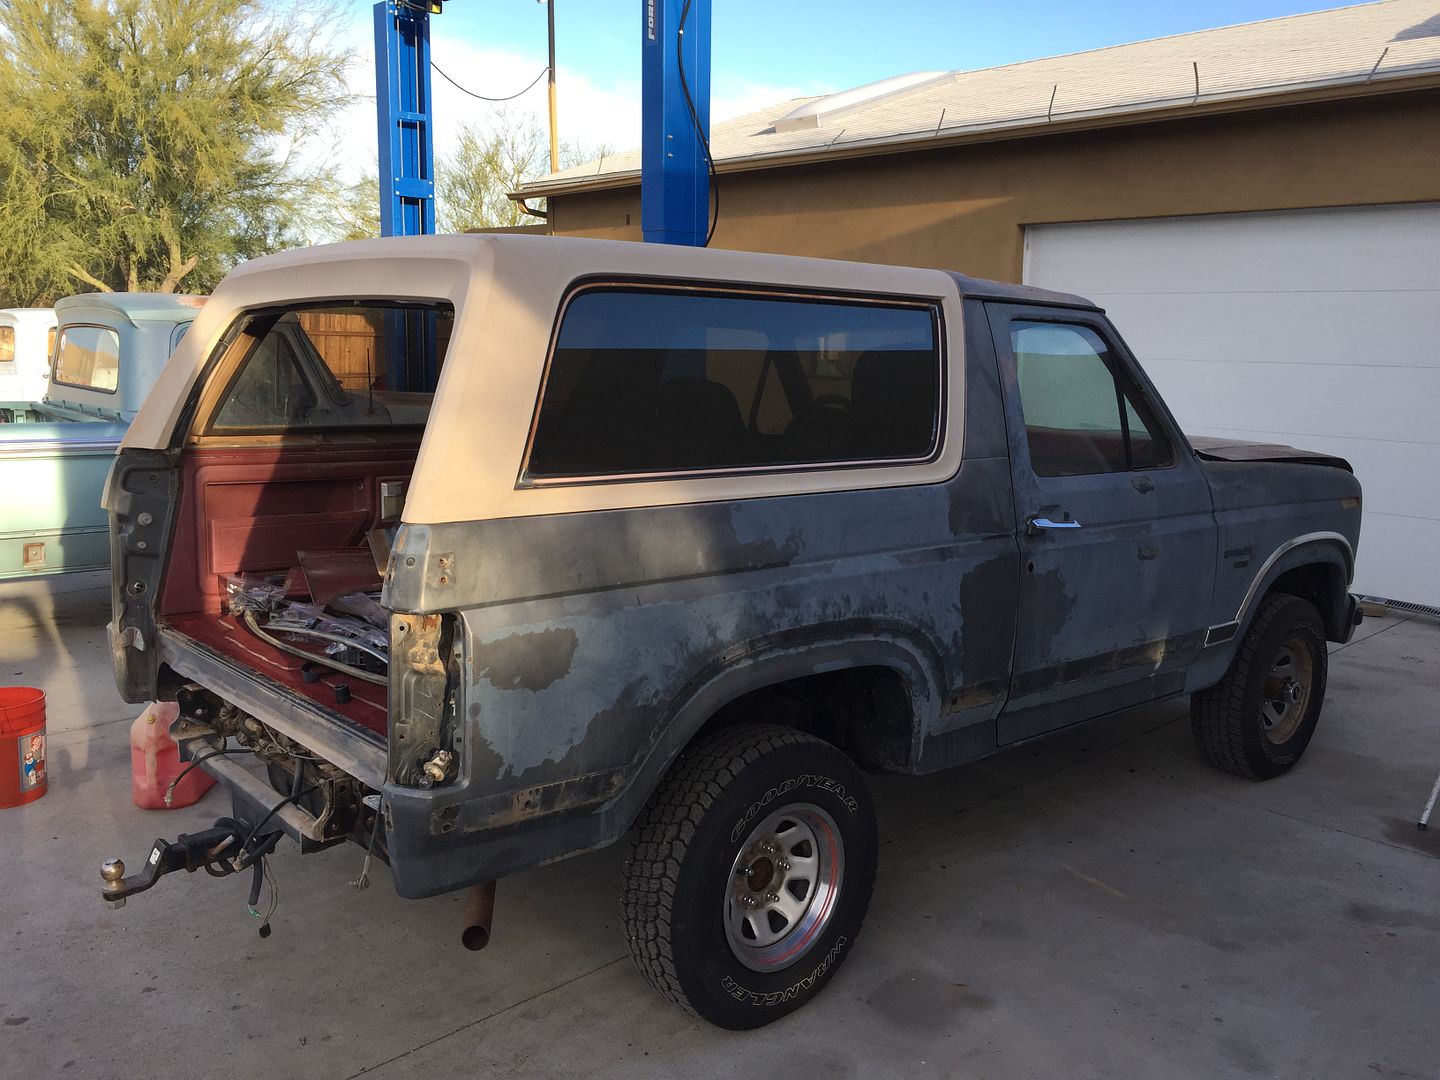
The Bronco being 30yrs old the Arizona sun had taken its toll on interior fade. Surprisingly it held up well as far as dry rot, cracking etc but the color was fading away. Especially after having no tailgate and for a extended amount of time no topper to protect it from the sun.

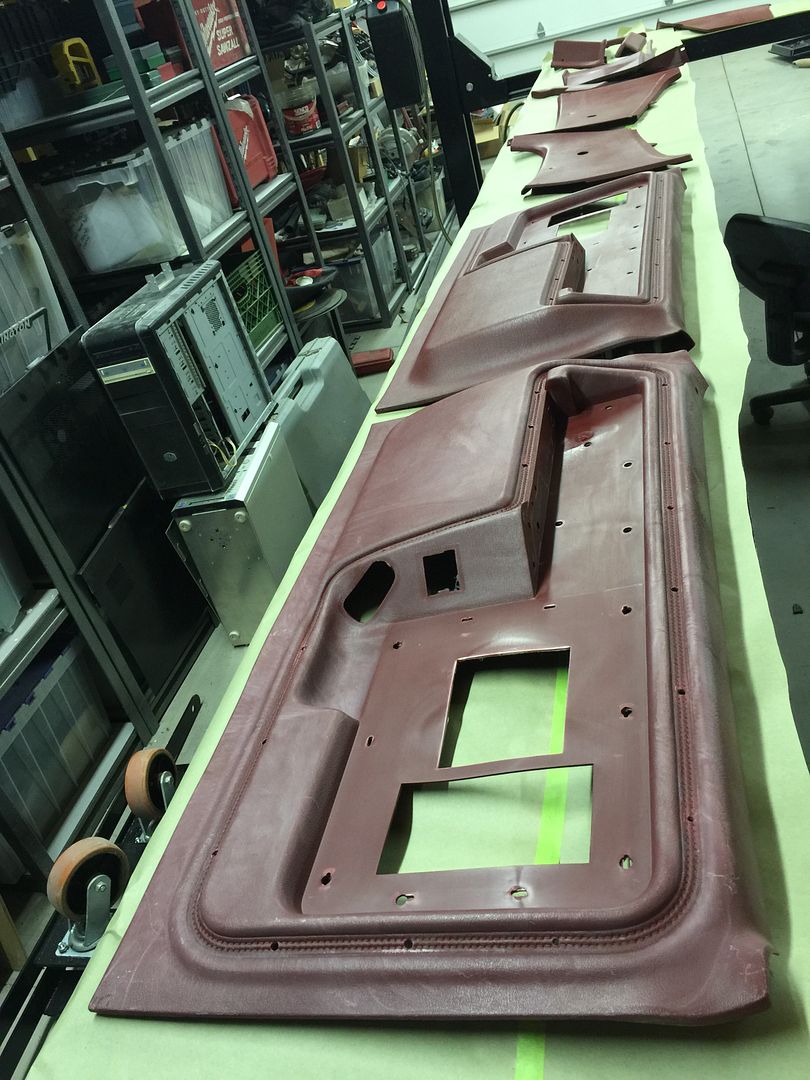
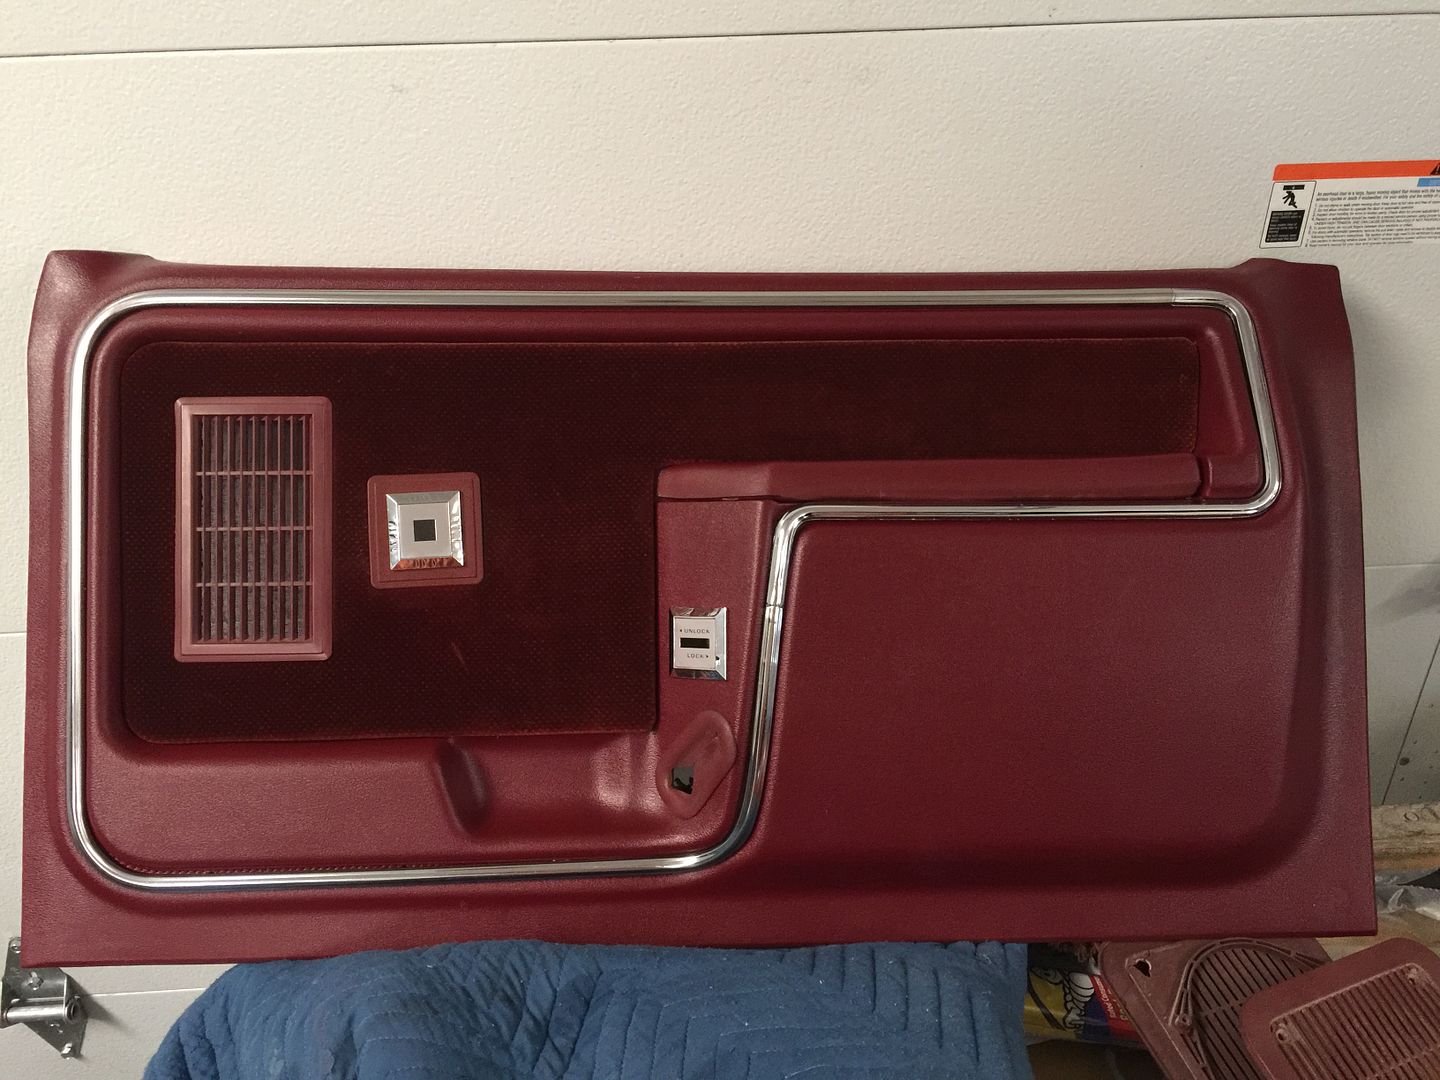
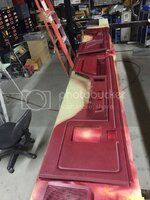
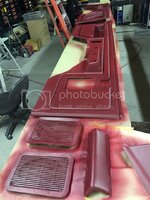
We decided to re-do all the trim. Front door panels not avail for this year so restoring the only way. To me I think it all turned out fantastic!

Daughter for sure the motivating factor here.
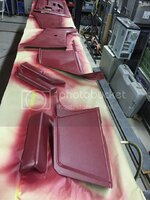
Using side garage and 4 post hoist we stripped everything down then painted and re-assembled.
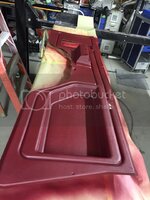
Here is a before and after of the door panels.

While I was at a "medical appt" daughter chased after dye and paint for interior.

6D5FFA70-3B10-4CE4-BCAA-B16C08D39C46.jpg

D793AAC1-C19C-45AA-A14A-780E0F977CE4.jpg

09D7D4D5-581F-454B-A99B-794AA91A8E66.jpg


Simply amazing what a bit of elbow grease will do. She also re-dyed the door panel cloth inserts.

I am unable to give her any type of financial help but hoping this job will have lasted memories.
 
Last edited:
OP
T

TimeWarpF100

Well-known member
Joined
Aug 21, 2010
Messages
6,784
Location
not here
one more where its at this morning. Time to get busy the drivers side still needs final buff, stripes, trim, mirrors, wheel detail . .

FF246371-F64D-45C5-BB0D-F84186A3755B.jpg


Gotta get some better pics . .
 

ridenbug

Member
Joined
Feb 10, 2015
Messages
5
Wheel Smith does not make them in larger sizes. 16" Being the largest.

I did have custom wheels made for my "other" project but they are 15".

Brake rotor's on Eco are 14" gotta be at least a 18" wheel to clear.

I do have a plan for wheels but no funds at this time. I can at least put some miles on it with current tire/wheel combo.

Using the same NOS caps these are wheels for the other project. But again will be unable to use them on the front as do not properly clear the much much smaller disc brakes and maintain proper back spacing.

IMG_1151_zps4972e043.jpg

Those look cool! So does the Bronco.

A nice thing about wheels and tires, they can be changed anytime and totally change the look of a vehicle...
 

white6589

Well-known member
Joined
Feb 27, 2011
Messages
351
Location
Maryland
OP
T

TimeWarpF100

Well-known member
Joined
Aug 21, 2010
Messages
6,784
Location
not here
Those look cool! So does the Bronco.

A nice thing about wheels and tires, they can be changed anytime and totally change the look of a vehicle...

I have made a wheel choice but will be a while before I can order them.

TW, where do you find your energy? Bronco looks great!

I love the look of those wheels and caps for the Eco, I checked TireRack and Discount tire to see if they had maybe some steel wheels for their winter tire packages. Discount Tire had nada but Tirerack came up with this:

http://www.tirerack.com/snow/Winter...ghLow=lowToHigh&displayResults=50&sortValue=0

Looking forward to all of the updates.

My energy is near zero . . I only get a few good days per month, reason everything takes so long. For sure helps when good help shows up . . The only way I will accept a aftermarket wheel is if it will accept the '66 dog dish hubcaps. The steel wheels are too narrow to fit the tires. Waiting to sell something so I can order the new custom aluminum wheels.


Subscribed!!!!!

Awesome Work!!

Thanks!
 
OP
T

TimeWarpF100

Well-known member
Joined
Aug 21, 2010
Messages
6,784
Location
not here
Did not get to drive the Eco today on the 50th anniversary but at least the custom plate finally showed .

2C868242-AAB4-4BEA-B075-5AF647579108.jpg


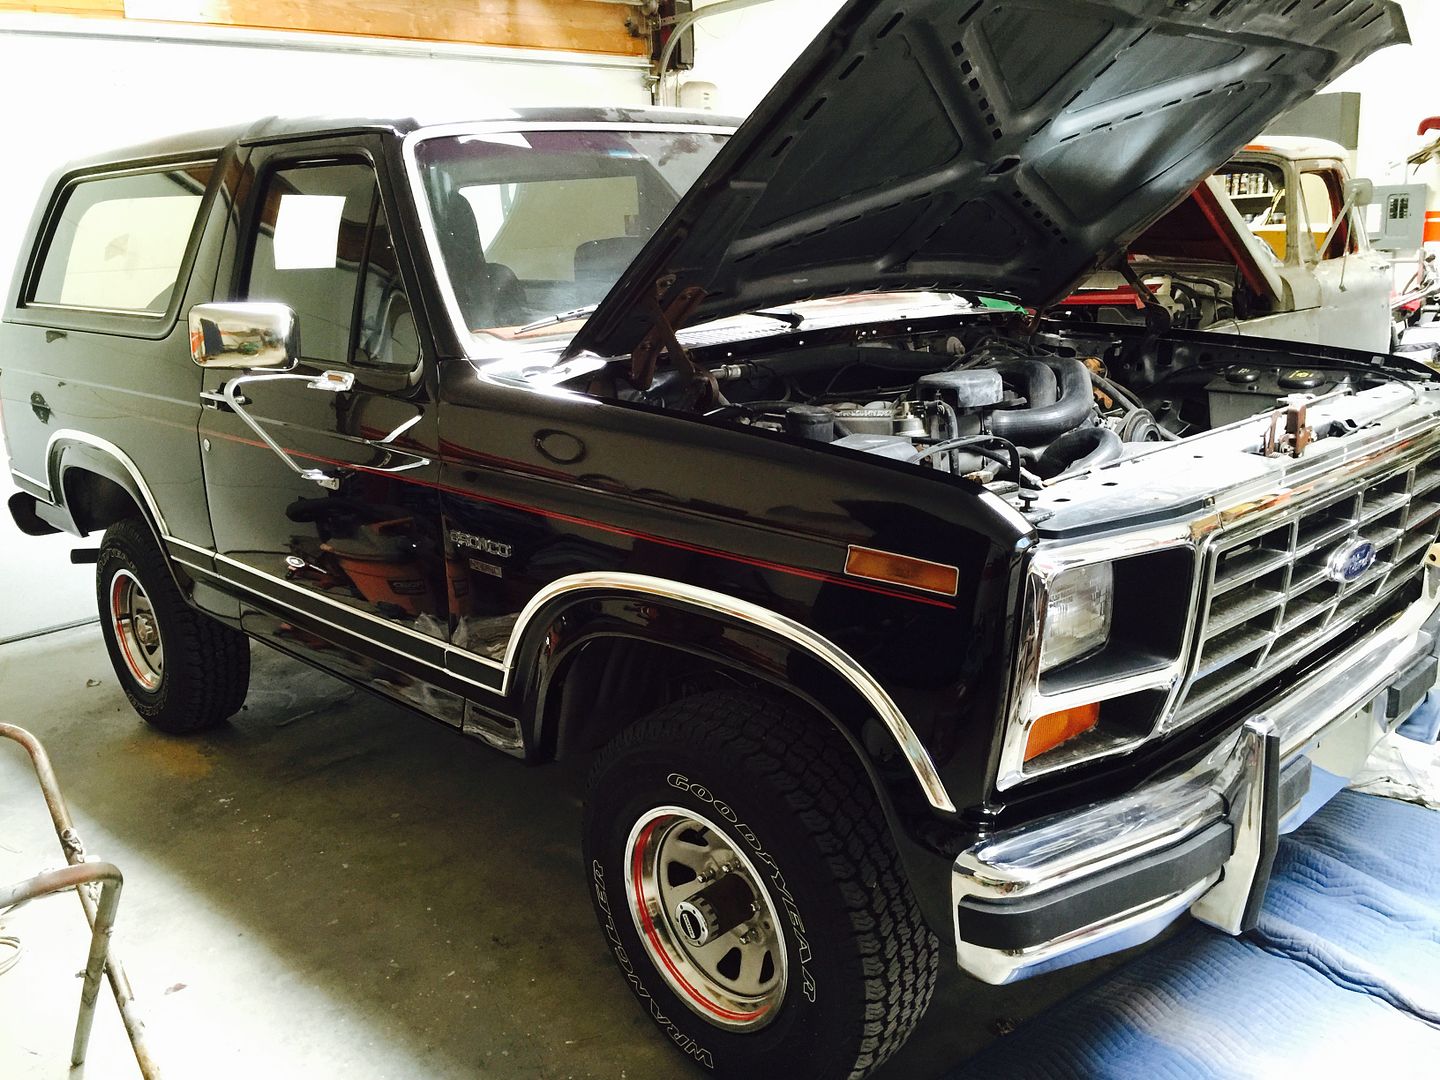
Bronco Door panels look a bit better installed.

6E9363CD-8424-4401-849A-99E8DEFDCF52.jpg


3265FB35-84D7-45BF-9694-D7F7ABCCC49E.jpg


Almost threw them in trash but little elbow grease worked wonders.

Near impossible to get good pics with cell phone. Pics get washed out.

Drivers side nearing completion.

Interior is pretty much done just needs a bit more detailing and to put the PCM up in place, Its hanging down.

Still need to install the spare tire carrier, do some buffing on roof, but the list is getting much much smaller!

72988525-E08D-4EC6-A36A-BCEA66232898.jpg
 

titanjeep

Active member
Joined
Jul 25, 2015
Messages
25
Who would have thought 50 yrs later my daughter would be doing the final restoration touches on a 30 yr old Bronco?

Trying to do this without cutting corners . .

The Bronco being 30yrs old the Arizona sun had taken its toll on interior fade. Surprisingly it held up well as far as dry rot, cracking etc but the color was fading away. Especially after having no tailgate and for a extended amount of time no topper to protect it from the sun.

We decided to re-do all the trim. Front door panels not avail for this year so restoring the only way. To me I think it all turned out fantastic!

Daughter for sure the motivating factor here.

Using side garage and 4 post hoist we stripped everything down then painted and re-assembled.

Here is a before and after of the door panels.

While I was at a "medical appt" daughter chased after dye and paint for interior.

6D5FFA70-3B10-4CE4-BCAA-B16C08D39C46.jpg

D793AAC1-C19C-45AA-A14A-780E0F977CE4.jpg

09D7D4D5-581F-454B-A99B-794AA91A8E66.jpg


Simply amazing what a bit of elbow grease will do. She also re-dyed the door panel cloth inserts.

I am unable to give her any type of financial help but hoping this job will have lasted memories.

Those are amazing. :thumbup: What materials did you use to prep and paint the panels?
 

Wanna Ride

Well-known member
Joined
Jul 28, 2010
Messages
2,790
So awesome to see you feeling better and making progress on these two inspiring projects. Good for you!

But you mentioned your Dad invented some tools that we still use today... I'm dying to know more about this, you glazed right over that. Share the story!

Oh, and you probably already know this, but I just gotta mention it. PLEASE have her buy new tailgate cables for the Bronco. I noticed one is distorted, and the sheath on the other one is cracked and exposing the rusty cable. I'm sure you've seen what happens when they break. That would just be awful to that newly refurbed tailgate. Last set I bought, were like $25 for the pair.
 
OP
T

TimeWarpF100

Well-known member
Joined
Aug 21, 2010
Messages
6,784
Location
not here
A couple pics for now. Still from cell phone will get better pics soon.

Daughter managed to drive bronco for first time. Put around 40 miles on it lunch time then she took the family to Culver's for Ice Cream this evening. Runs & drives great. Does have a pretty good oil leak which just started we will have to address tomorrow. Still need to add the spare tire carrier to back and give it a final buff n wax. Then do nit pic things.

Goal was to get it on the road then do what we can before she leaves this weekend for MN.

I will answer questions tomorrow. Just a few pics before I call it a day.

These pics look much much better on my phone and the Bronc looks much better in person . . But the general idea . .

4F3CB05A-10BD-4D17-BEB3-51FD18934B61.jpg

Charged the A/C and it now blows 36 deg at near 100 deg temps.

191EEE1A-38A7-432C-86BB-09DA711C864C.jpg

D93B5248-673D-4601-960F-2F1CFDDA15AB.jpg

A lot of smudges and fingerprints as still needs the final clean up. Trailer wiring also needs to be addressed. Spare tire carrier is finished just needs install.

50955A71-8372-4A6F-A7F9-087459FF9C7A.jpg

At the gas pump for first fill up. Approx 8-10 gallons of pretty bad gas from sitting so long. It will take a while to burn off. Smog test failed by just a fraction due to the bad gas.

5883F5F2-09EA-4890-BC29-AFB4060C1D2A.png
 
Status
Not open for further replies.
To avoid these ads, REGISTER NOW!
Top Bottom