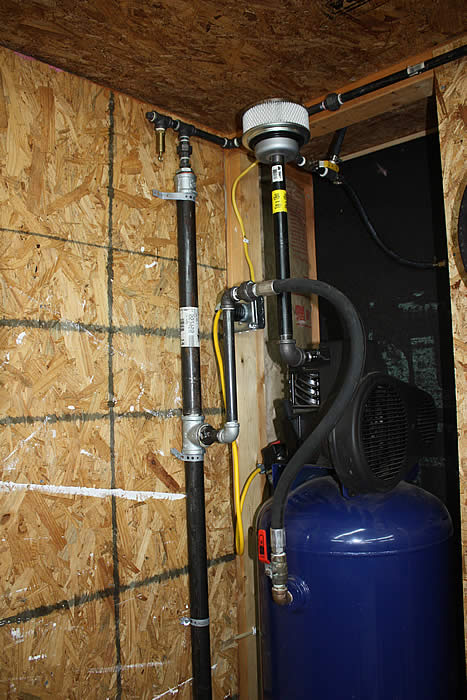
I did install the 90 to reduce noise. It may have helped a bit... seemed to take away some of what I call the "popping" noise. My compressor is what I call slow & low... it turns slow & has low noise.
The 90 is threaded into the cast iron head and is plenty tight. The compressor is a 1957 Curtis and is well built. What is yours? aluminum or cast iron? American or import? If the owners manual is warning about overtightening..... it may not be able to be tightened up like mine.

I suppose one could build a support out of angle iron or something similar that bolted down to the frame and clamped on the intake pipe to keep it from unthreading.
Sounds like yours may be a small oil free compressor? If so, It may as you have mentioned, not make much of a reduction in your noise level. That type of compressor turns fast and are very loud. The noise level isn't just from the intake air system.


")


